This post may contain affiliate links. Read our disclosure policy.
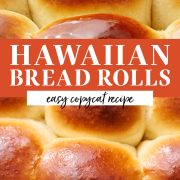
This Homemade Hawaiian Roll recipe was a true labor of love to get just right. The store-bought ones have quite a few ingredients not available in the home kitchen so it took a LOT of testing.

At first, the rolls weren’t fluffy enough. So we made a bunch of tweaks to get the texture to match the store-bought kind. Then they weren’t sweet enough. 15 batches later (yes, 15!), we finally nailed it.
Honestly, it took over a year to get this copycat recipe perfected. Luckily, we didn’t mind testing these rolls so many times because they’re THAT good.
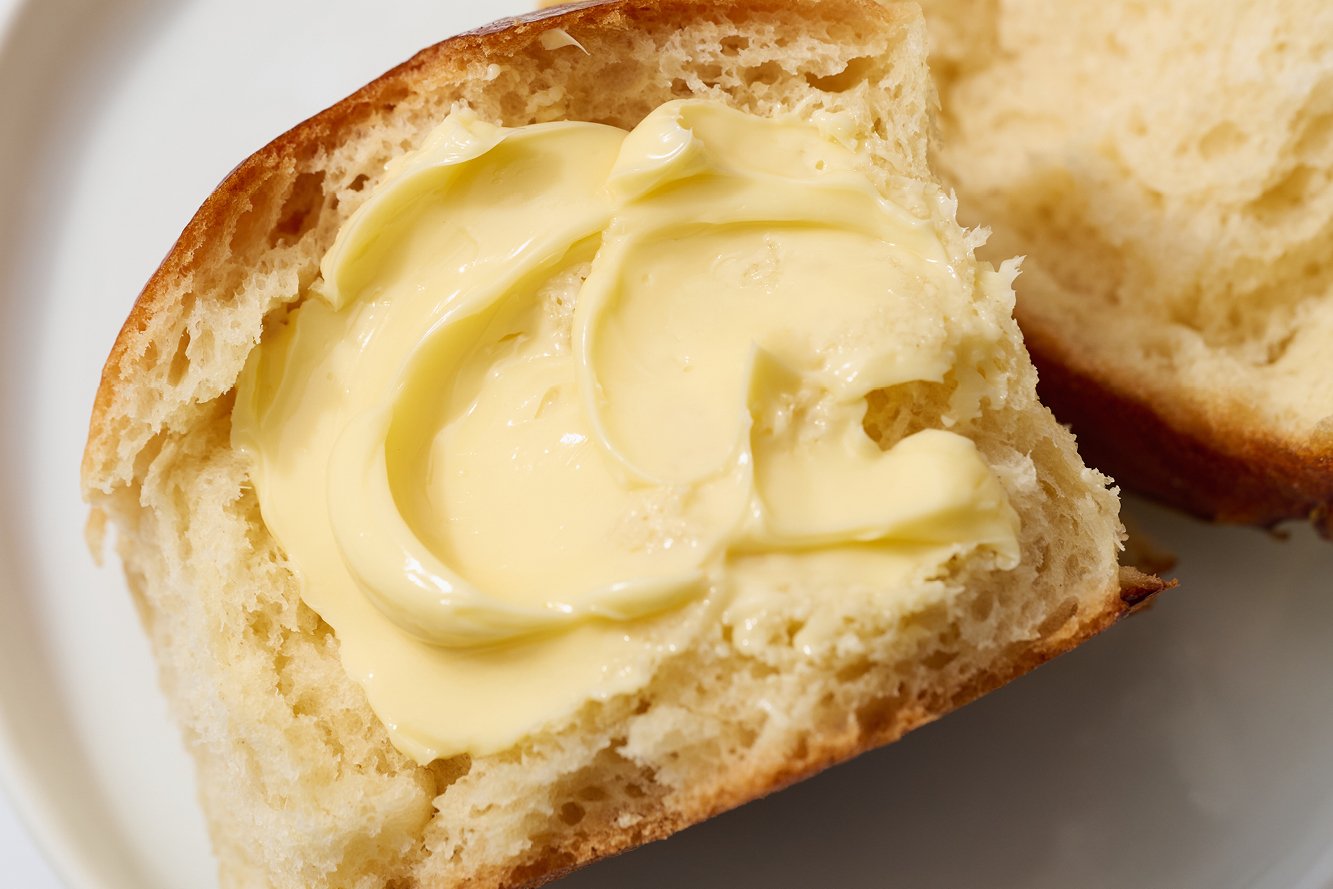
These Homemade Hawaiian Rolls are so versatile. They’re perfect as a side with dinner or as the main course (think ham and cheese sliders!). Take them as a side to a barbecue. Make little sandwiches with turkey and leftovers after Thanksgiving. The options are endless!
And bonus: the scent that will waft through your house as these bake is utterly intoxicating.
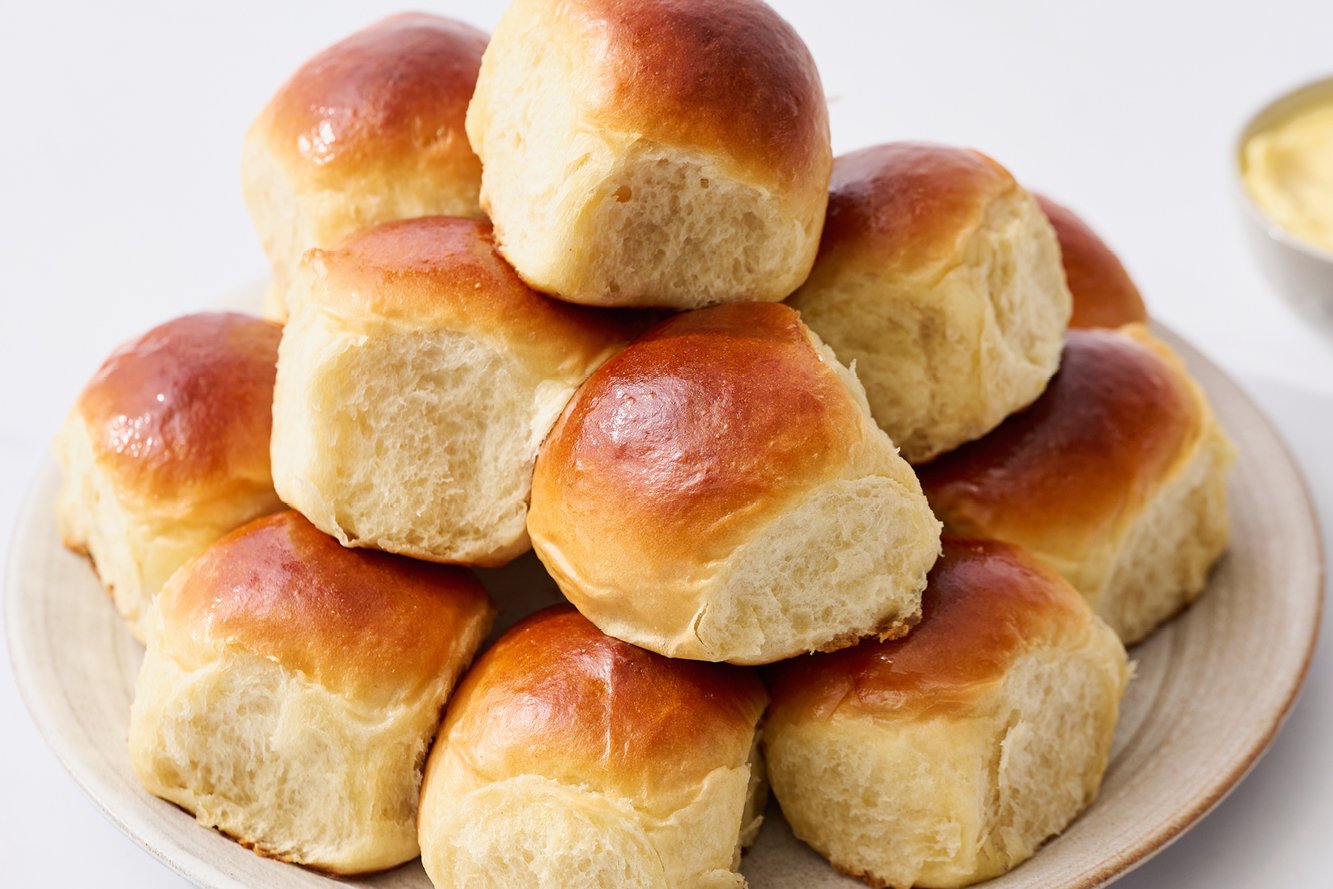
These Hawaiian Rolls are so much better than the prepackaged versions. You’ll never want to buy store-bought again after trying these!

If working with yeast feels a little intimidating, don’t fret. I’ve included a ton of tips and tricks below so even newbie bread bakers can nail this recipe.
How to Make Homemade Hawaiian Bread Rolls
What Are Hawaiian Rolls?
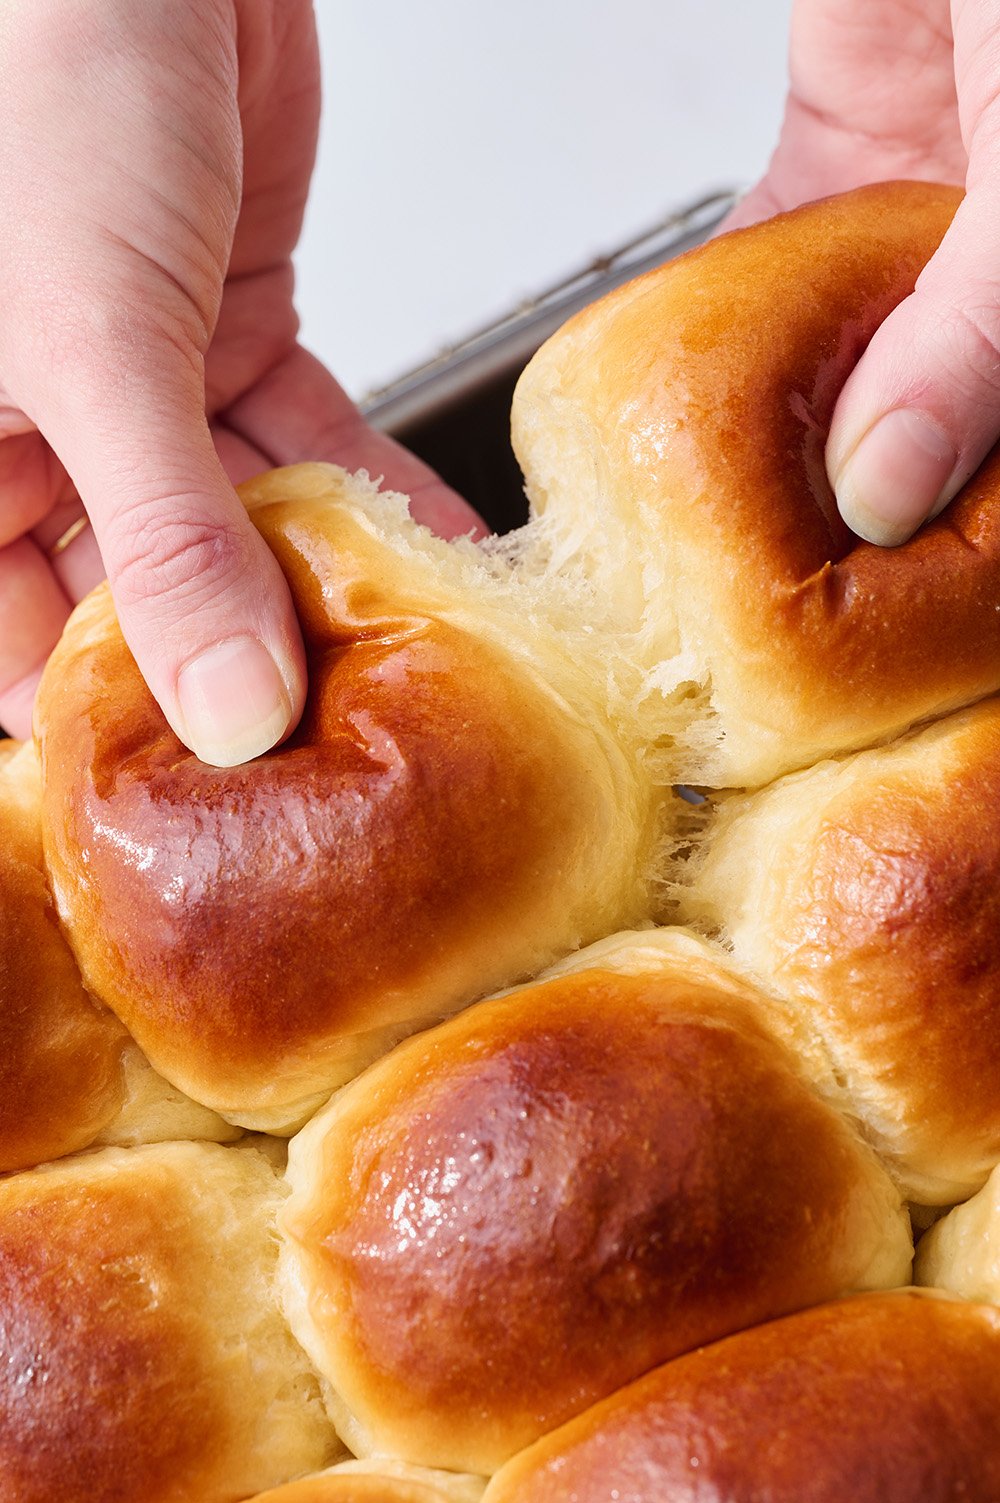
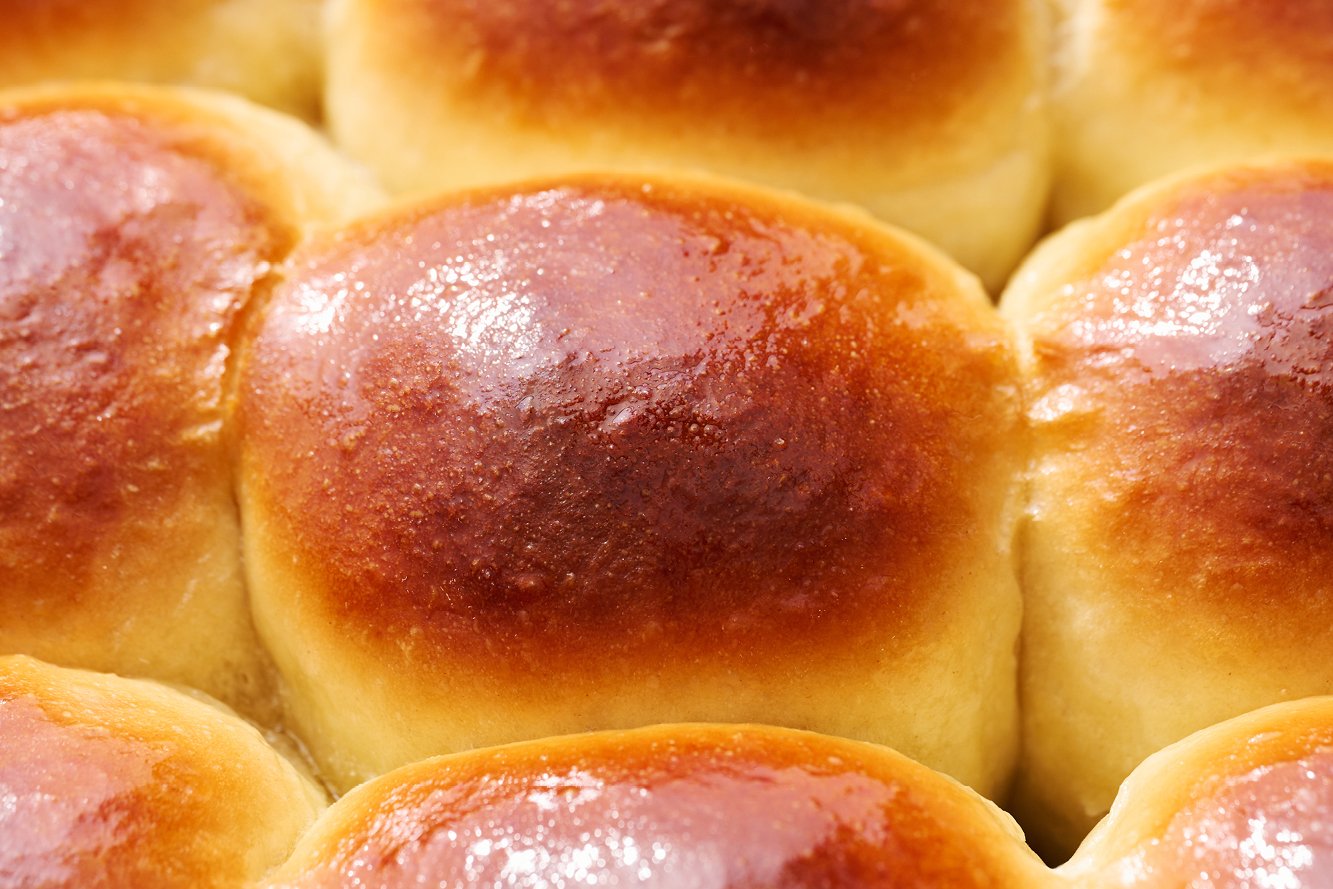
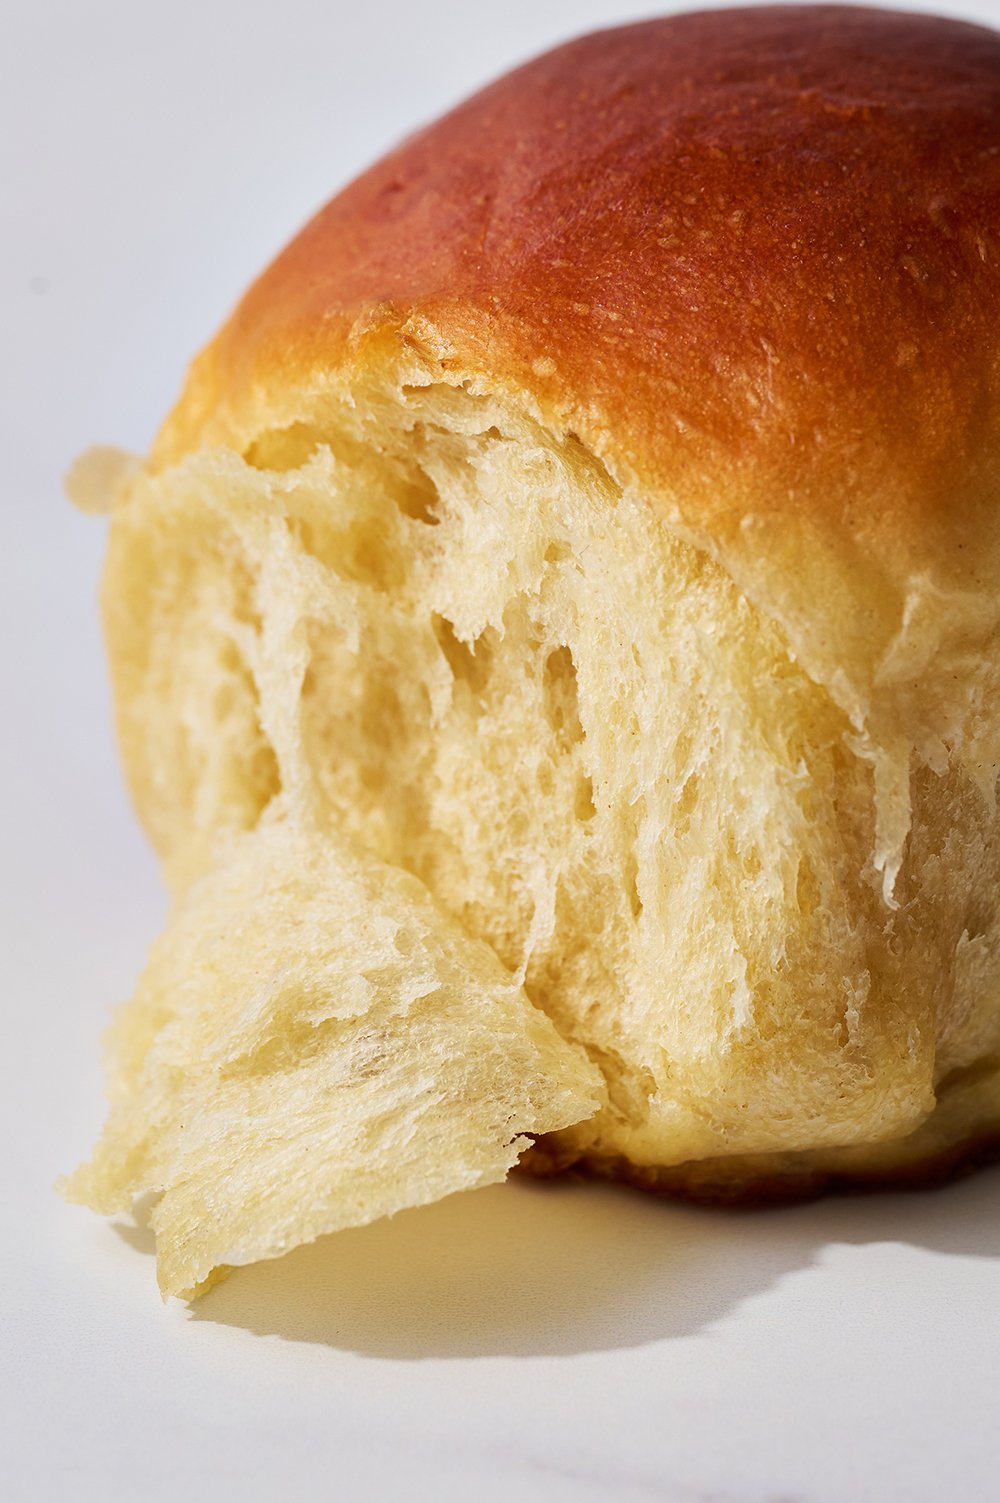
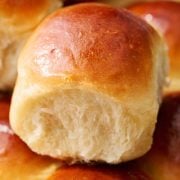
You may have seen Hawaiian Rolls at your local supermarket – but these homemade versions are SO much better! Hawaiian Rolls are distinctly sweet and ridiculously soft and light, perfect for making delicious mini sandwiches, breakfast sandwiches, sliders, and more. Your kids will go crazy for these rolls, too!
Can I Make Homemade Hawaiian Rolls Without a Mixer?
Probably… but it won’t be easy! Your KitchenAid stand mixer does all the hard work in kneading these Homemade Hawaiian Rolls. By hand, it’s going to take a lot of elbow grease, a long time, and give your arms and hands a heck of a workout. Learn more about kneading dough by hand here.
How To Make FLUFFY Hawaiian Rolls:
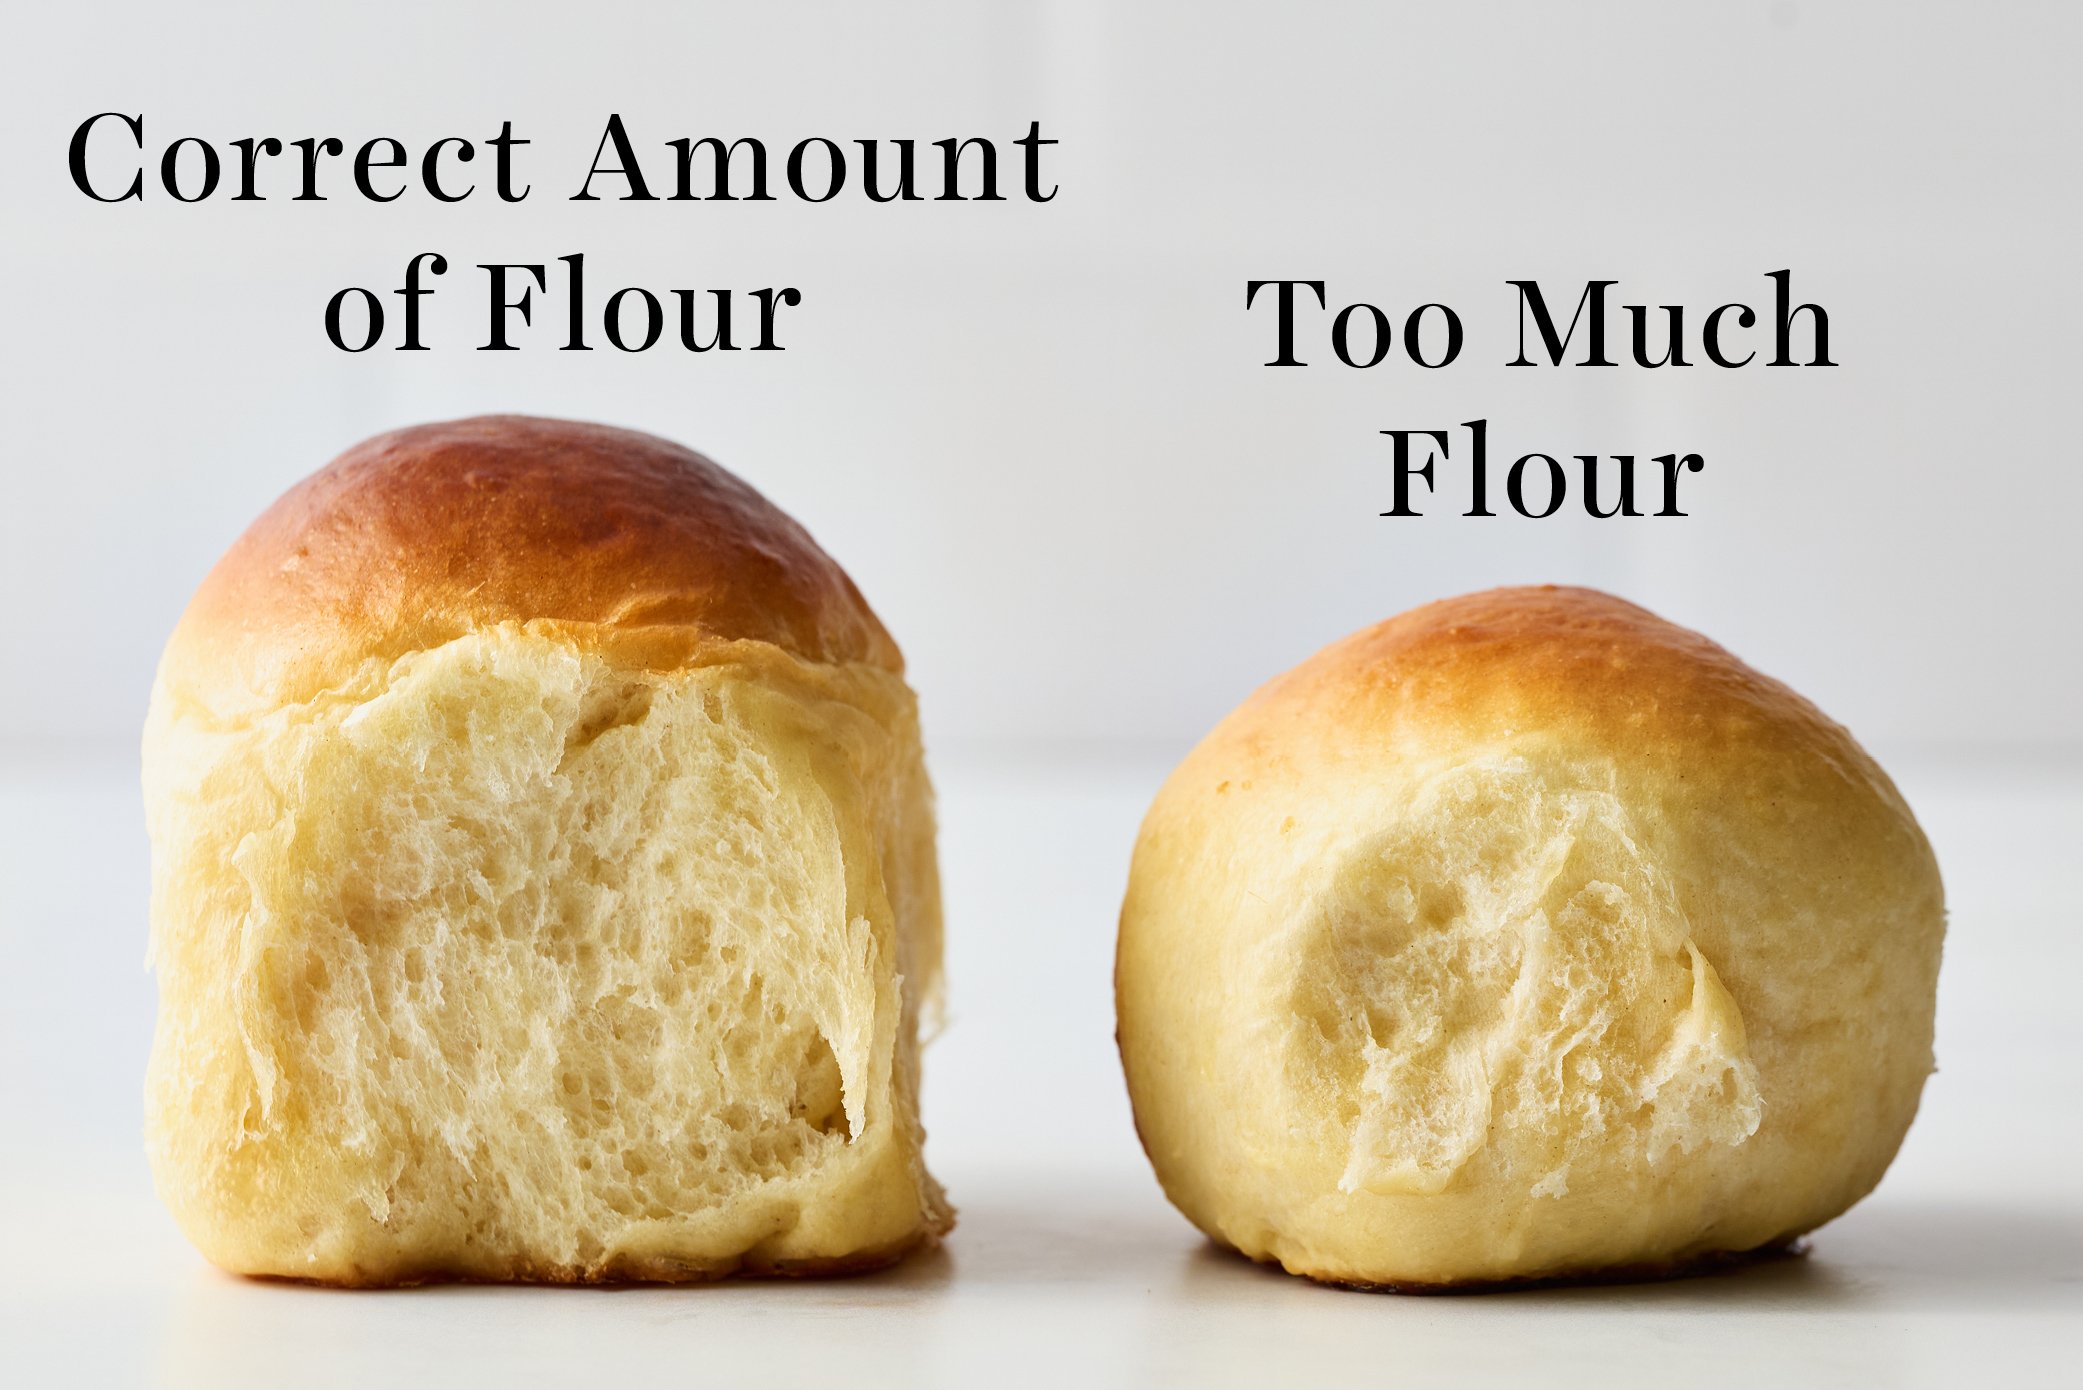
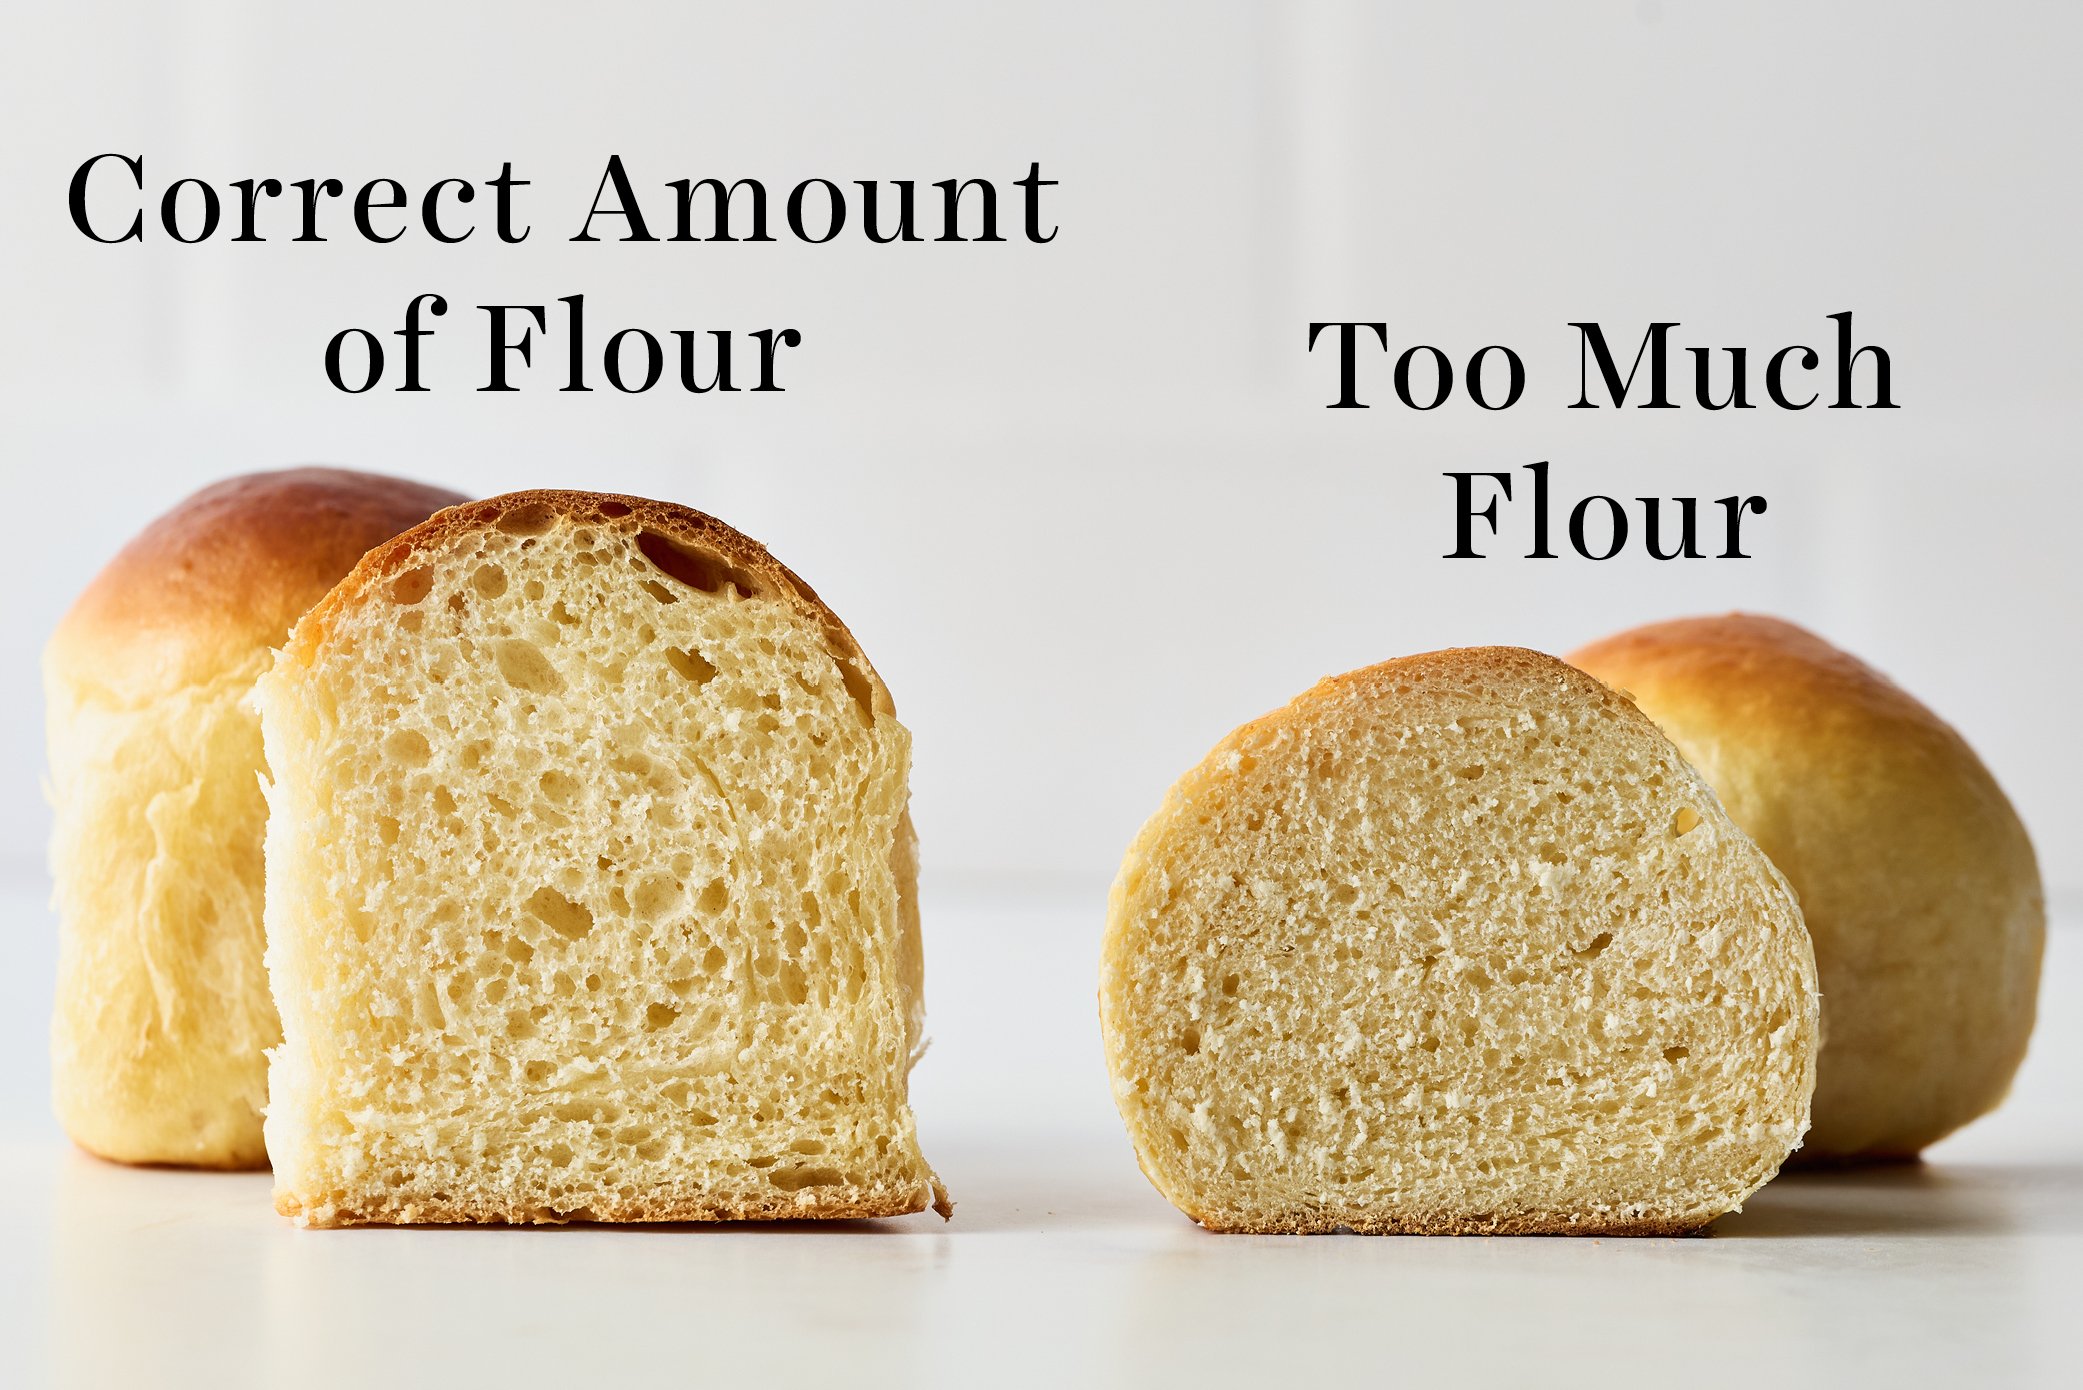
- Avoid adding too much extra flour to the dough. Since this dough is slightly sticky and enriched with milk, butter, and a lot of sugar, it takes quite a while to come together. These ingredients slow down gluten development. Your instinct might be to add extra flour; however, any extra flour will create a denser, tougher bun instead of the light, fluffy, brioche-style bun we want.

- Know your kitchen climate. This recipe was tested in Arizona, Michigan, and New York. During testing, Emily from Team HTH’s kitchen (in Michigan) was about 87% humidity, Kiersten from Team HTH’s kitchen (in New York) was about 65%, whereas our studio kitchen in Arizona was 14% humidity. The more humid your location, the stickier your dough will be. If your kitchen is about 65% humidity or higher, use the higher range of bread flour listed (4 1/2 cups, or 540 grams). Reduce the bread flour if your kitchen is less than 65% humidity. Begin with the lower range listed (4 cups + 1 tablespoon, or 516 grams) and add additional flour by the tablespoon (8 grams) as needed.
- It’s better to be slightly sticky than dense. This dough shouldn’t be unbearably sticky, but it will be tacky. Resist the urge to add extra flour as this will negatively impact the texture of the rolls. The dough will be easier to work with after the first rise!
Proofing Homemade Hawaiian Rolls Sliders:
- This dough will take some time to proof, especially if your kitchen is cold. The sugars, pineapple juice, eggs, and butter in this recipe add deliciousness but also slow the proofing process.
- The first rise will take about 90 minutes and the second rise will take about 1 hour; however, these times are completely influenced by the temperature of the rising environment.
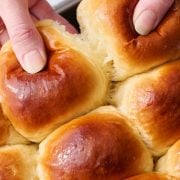
- You can tell if your bread is well-proofed by giving it a gentle poke with your finger or knuckle. Bread dough that has proofed well will spring back slowly when poked and leave an indent. If it snaps back too quickly, it needs more time.
- Don’t be tempted to speed up the rise time too drastically, as too much heat will kill the yeast and reduce flavor development.
- If you’re lucky enough to have a proofing setting on your oven, you can use that (provided you’ve tested it previously and it doesn’t get too hot!).
- If your kitchen is very cold, turn your oven on and place the bowl nearby, so it gets a little indirect warmth. If your kitchen is very hot, watch the rolls very carefully, as your rise time might be much shorter than specified.
How To Tell If You Have Over-Proofed Your Homemade Hawaiian Rolls
This can happen easily if your kitchen is very hot, or if you’re super busy and forget to check on the rolls. If your rolls have over-proofed, they will likely deflate while egg washing, or look deflated once baking. Over-proofed rolls will look a little sad, but they should still taste fine.
How to Shape Hawaiian Bread Rolls
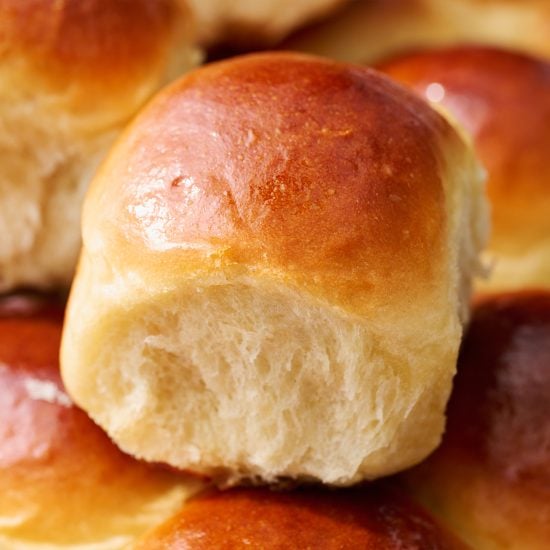
It’s important to properly shape your bread rolls for beautiful, tall, fluffy rolls.
- Once the dough is risen, press it down to deflate it slightly.
- Place the dough onto a clean surface (not a floured surface). Use a bench scraper to section the dough into 12 equal pieces. Don’t worry if they’re not perfectly equal in size. However, if you’re a perfectionist you can actually weigh the entire mass of dough, divide that number by 12, then portion each piece perfectly by weight.
- As you’re shaping each piece into a round, make sure to pinch the dough into one central point to create a tight ball. This will help the rolls rise beautifully. Don’t flour your work surface when shaping the rolls because you want some resistance to roll them into taut balls.
The Best Pan for Homemade Hawaiian Rolls
- This is my favorite pan for baking Homemade Hawaiian slider rolls, but any light-colored metal pan will work just fine.
- Avoid dark-colored metal pans, as these can cause excessive browning and dry out the edges.
- If using a glass or ceramic baking pan, you may need to extend the baking time. Learn more about baking in Glass vs. Metal Pans here.
For Those Who Prefer Not-So-Sweet Rolls
These rolls are subtly sweet, but please don’t experiment with reducing the sugar (we’ve tested it!), it’s an essential part of this copycat Hawaiian Roll recipe. The texture will dramatically worsen with a reduction in the sugar. Learn more about sugar’s role in baking here. If you prefer a less sweet roll, try my Ultimate Dinner Rolls recipe instead.
Do I Have to Use Bread Flour For These Hawaiian Rolls? Can I Use Just All-Purpose Flour Instead?
For best results, I firmly recommend sticking with both bread and all-purpose flour as written. Here’s why:
- Bread flour contains a higher percentage of protein than all-purpose flour, which helps build gluten and will aid in giving the rolls structure, height, and a little chewiness. Gluten is the backbone of any bread’s structure and since we are adding ingredients that prohibit gluten development (pineapple juice, butter, egg, sugar), that additional protein is needed to develop structure.
- When I tested a batch of Homemade Hawaiian Rolls using only all-purpose flour, the rolls were way too dense, noticeably drier, and took significantly longer to knead and rise.
- I also found that making the rolls with only bread flour yielded rolls that were too firm. The addition of a little all-purpose flour balances this out, making the rolls softer.
If you absolutely must use only all-purpose flour, just note that they’ll take much longer to knead, longer to proof, and they won’t be as soft and fluffy.
How Long Do Homemade Hawaiian Rolls Last?
These Homemade Hawaiian Rolls will keep for 3 days in an airtight container, stored at room temperature. Don’t refrigerate these Hawaiian Rolls, as it will dry them out faster. Refresh in a 300°F oven for 5 minutes, or pop in the microwave for 15-20 seconds, or until warm, before serving.
Can I Make Homemade Hawaiian Rolls Ahead of Time?
Enriched yeast doughs can have issues rising properly if made ahead. Instead, I recommend freezing the fully baked rolls as directed just below.
How to Freeze Hawaiian Rolls:
- Once cooled, place rolls in a ziptop bag or airtight container and freeze for up to 3 months.
- To thaw, leave at room temperature for a few hours.
- Reheat in a 400°F oven for 5-10 minutes, or pop in the microwave for 15-20 seconds, until warmed through, if desired.
More Bread Recipes You’ll Love:
More Sides You’ll Love:
Intimidated by bread baking? Download my *free* Beginner’s Quick Guide to Bread here.
-
½
cup
(116 grams) canned pineapple juice,
at room temperature
-
½
cup
(116 grams) whole milk,
warmed, (100-110°F)
-
5
tablespoons
(71 grams) unsalted butter,
melted and slightly cooled to just warm (~85°F)
-
6
tablespoons
(75 grams) granulated sugar
-
2
tablespoons
(25 grams) light brown sugar
-
2
eggs,
at room temperature
-
1
teaspoon
vanilla extract
-
2 ¼
teaspoons
(1 packet) instant yeast1
-
4
cups + 1 tablespoon
(516 grams) - 4 1/4 cups (540 grams) bread flour2,
dependent on kitchen climate, see notes
-
¼
cup
(32 grams) all-purpose flour
-
1 ½
teaspoons
fine salt
For egg wash & finishing:
-
1
egg,
lightly beaten
-
2
tablespoons
water
-
1
tablespoon
(14 grams) salted butter,
melted
-
Combine the pineapple juice, milk, melted butter, sugars, 2 eggs, vanilla, and yeast in the bowl of a stand mixer. Add 2 cups (286 grams) of the flour and stir with a wooden spoon until the dough forms a rough, shaggy mass. Stir in the salt. Attach the dough hook to the mixer and turn to medium-low speed. Gradually add the remaining flour JUST until the dough comes together. You may only need some of the flour, depending on your kitchen environment and brand of flour. Continue kneading on medium-high speed for 4 to 5 minutes, until a soft and smooth ball of dough forms.
-
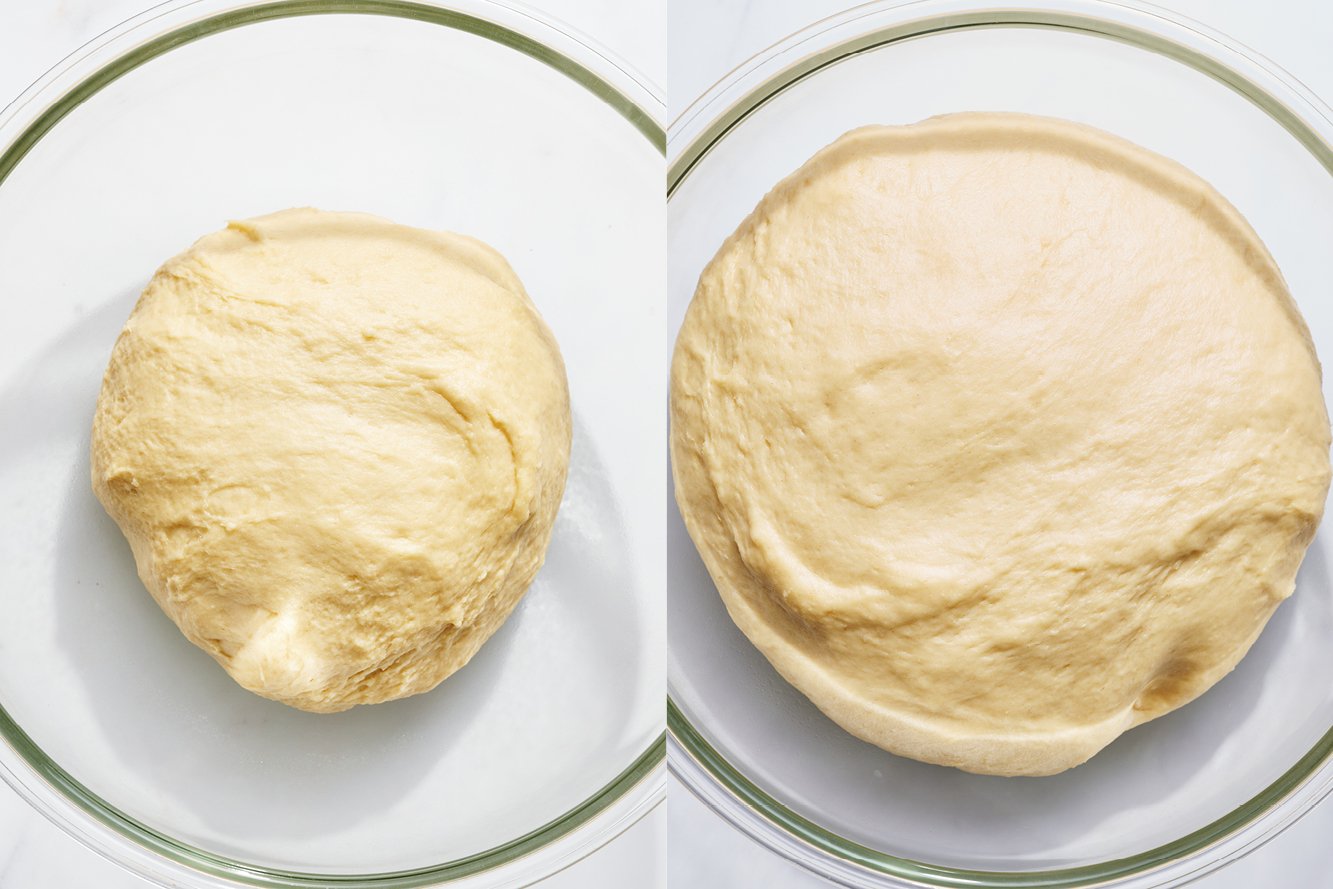
Lightly grease or wet your hands and place the dough in a lightly greased medium-sized bowl. Cover with plastic wrap. Let rise until puffy and doubled in size, about 1 ½ hours3.
-
Spray a 9x13-inch metal baking pan with cooking spray. Gently deflate the dough. Use a bench scraper or knife to divide the dough into 15 equal pieces. Shape each piece into a ball and place in the prepared pan.
-
In a small bowl, combine the remaining egg with 2 tablespoons of water. Brush all over the rolls. Cover with plastic wrap and let rise again until doubled in size, about 1 hour**.
-
Meanwhile, preheat the oven to 375°F.
-
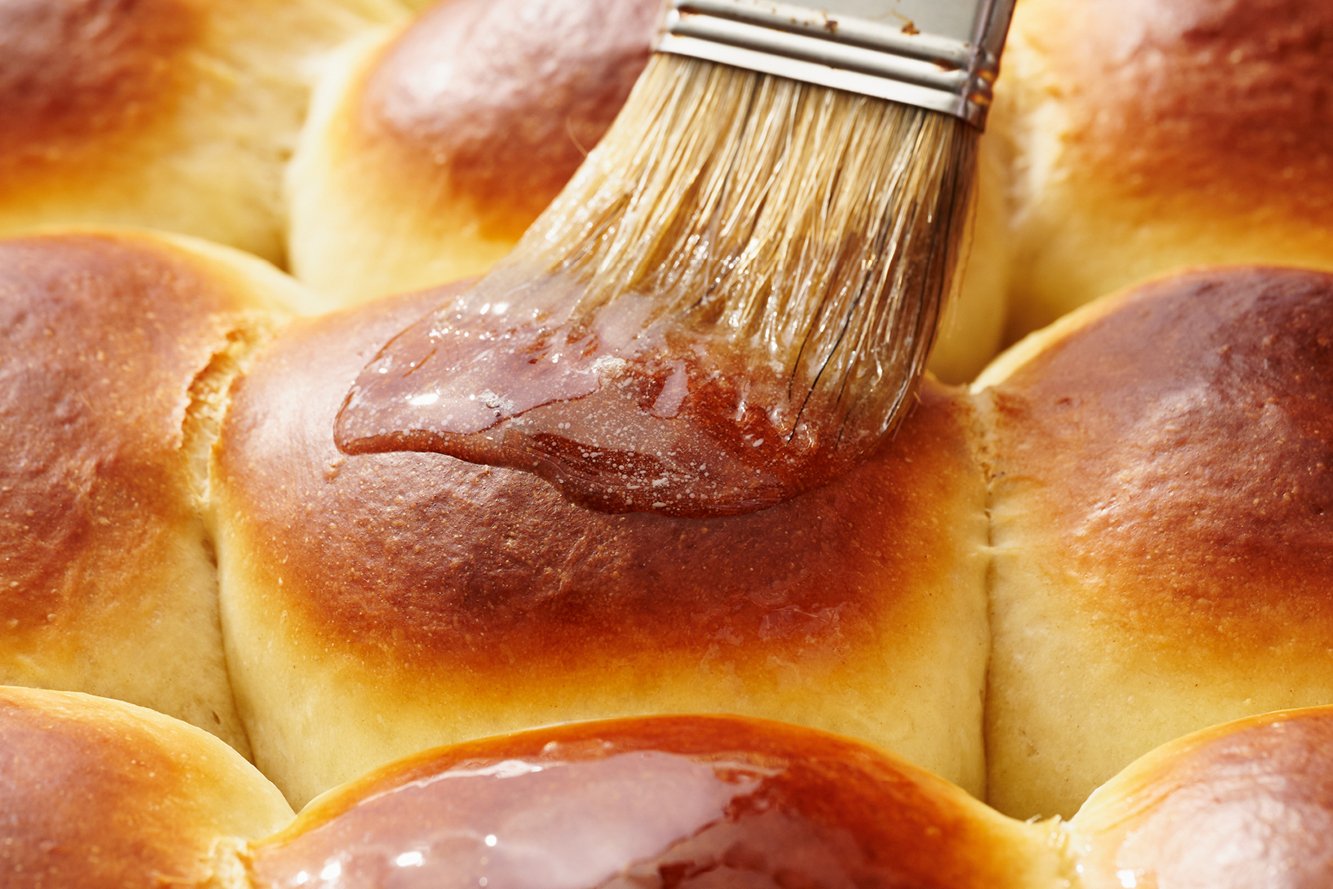
Bake the rolls for 20 minutes, or until golden brown. Brush with melted butter. Serve warm. Store leftovers in an airtight container for up to 3 days.
1. If you don’t have or can’t find instant yeast, you can easily use active dry yeast instead. Add it right in with the dry ingredients like instant yeast, just know the dough will take about 20% more time to rise. Or, to speed up that rise time slightly, simply combine it with the warm milk called for in the recipe and allow it to proof for 5 minutes before adding into the bowl with the other ingredients.
2. The more humid your location, the stickier your dough will be. If your kitchen is about 65% humidity or higher, use the higher range of bread flour (4 1/2 cups, or 540 grams). Reduce the bread flour if your kitchen is less than 65% humidity. Begin with the lower range listed in the recipe (4 cups + 1 tablespoon, or 516 grams) and add additional flour by the tablespoon (8 grams) as needed.
3. Rise time may vary depending on kitchen environment and climate.
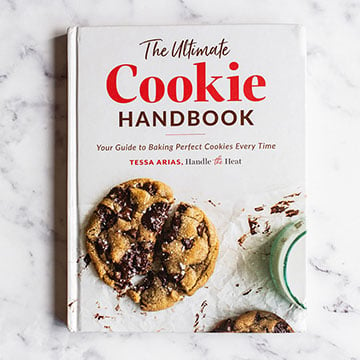
This post was originally published in 2014 and has been updated with additional tips, recipe improvements, and new photos. Photos by Joanie Simon.


This recipe is absolutely wonderful. I followed the recipe to the T, don’t mess with it! Humidity here was high (I think outside was 84%) so the dough did get sticky but once I got it out of the bowl and kneaded a little with my hands, it came together nicely. I’m not sure brushing with the egg before wrapping it with plastic for the second proof was useful, I had to redo some of the brushing before baking to make a few buns who stuck to the plastic wrap look smooth again. But they’re definitely a new favorite my kitchen!
I plan on making the rolls this weekend and it would be very helpful if they can spend some time rising in the fridge. Do you have any recommendation for this? thank you for your help.
Hi Shelley! We haven’t tried chilling this dough because previously, with the old version of the recipe, some readers found it challenging for the dough to rise fully after an extended or overnight chill period – but if it’s only for a few hours, it should be just fine! Check out the pink tip box, above the recipe, for instructions on how to freeze the rolls if you need to make them further ahead. They freeze beautifully! I hope that helps! Let us know how it goes if you give these a try 🙂
What is fine salt, and does it matter…?
Hi John! Learn more here: Kosher Salt vs. Sea Salt vs. Table Salt
I really need uniform size for this recipe and was wondering if you had any information on how much each dough piece weighed? For the old recipe version I used 3 oz proportions and they weren’t right. Iam trying for a slider size. Thank you
Hi Susan! When we tested this recipe, our entire mass of dough weighed 1,057 grams total, so that measured out to 15 dough balls at 70 to 71 grams each. Just in case your dough ends up a different weight (you may need a touch more or less flour – see the recipe notes for more info on this), I recommend placing a large bowl on your scale, taring it (so your scale reads 0) and placing the entire mass of dough in the bowl. Then, divide that number by 15, to determine exactly how many grams each ball of dough should be! I hope that helps! Happy baking 🙂
can dough be made day before and baked next day?
Hi Kristi! Enriched yeast doughs can have issues rising properly if made ahead. Instead, we recommend freezing the fully baked rolls – these freeze so beautifully! Check out the pink tip box, above the recipe, for instructions on how to freeze these rolls. I hope that helps! Let us know how it goes if you give these a try 🙂
Is the pineapple juice absolutely essential to the success of this recipe, or can plain water be used?
Hi Janet! We haven’t tried using anything other than pineapple juice, as it brings the quintessential Hawaiian Roll flavor! Instead, maybe give these Ultimate Dinner Rolls a try. Happy baking!
In my spare time, LOL, I plan to try this recipe with and without the pineapple juice, I will let you know the comparison. May not be until after Christmas, but I promise to get to this! I love a soft squishy roll.
Is the dough meant to be so sticky ?
Hi Kenya! This dough may be fairly sticky, as it’s an enriched dough with lots of added ingredients for incredible flavor and texture – but if it’s super sticky, it’s likely due to your climate. Be sure to read through all the info Tessa included above the recipe for best results, but if you’re finding the dough super sticky, feel free to add a tiny bit more flour (be careful, though – too much added flour will change the texture of these delightfully-soft rolls and make them firm and tough). Let us know how it goes! Happy baking 🙂
Just made these and they turned out amazing! Only change I made was I used mango juice instead of pineapple because it was what I had. Absolutely delicious!