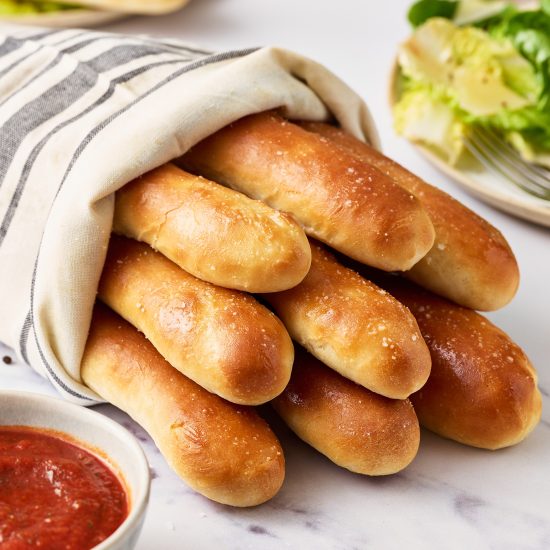
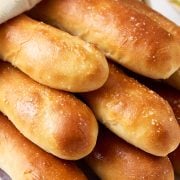
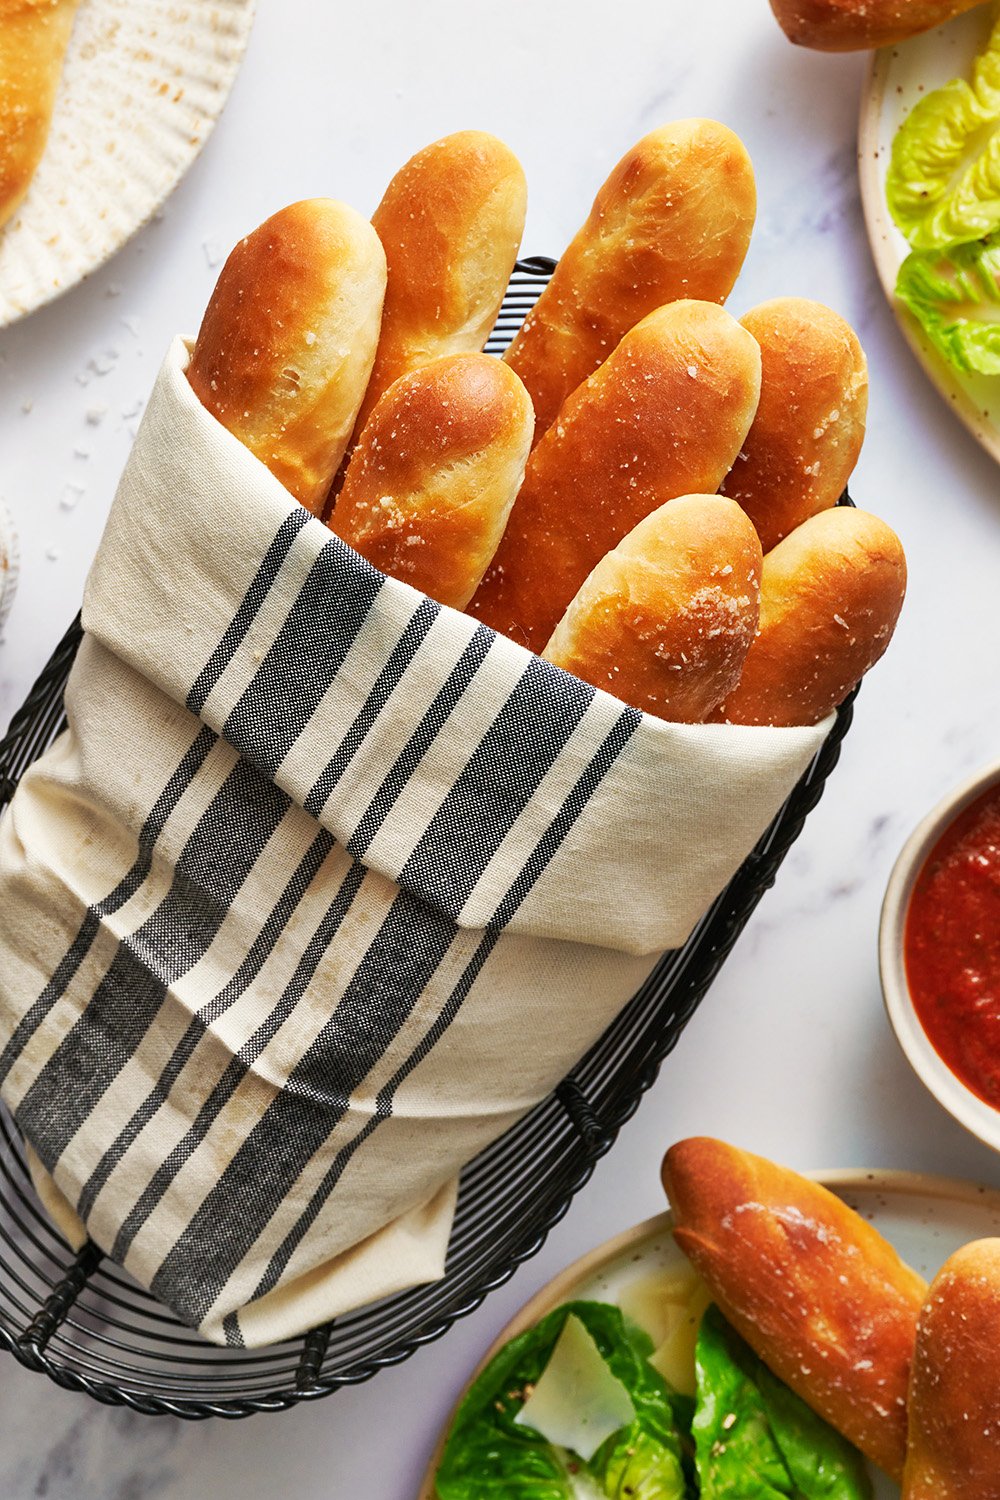
These Copycat Olive Garden Breadsticks are savory heaven.
Let’s be honest. The breadsticks are probably the most crave-worthy item on the menu at Olive Garden.
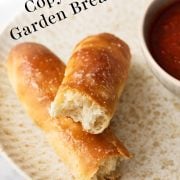
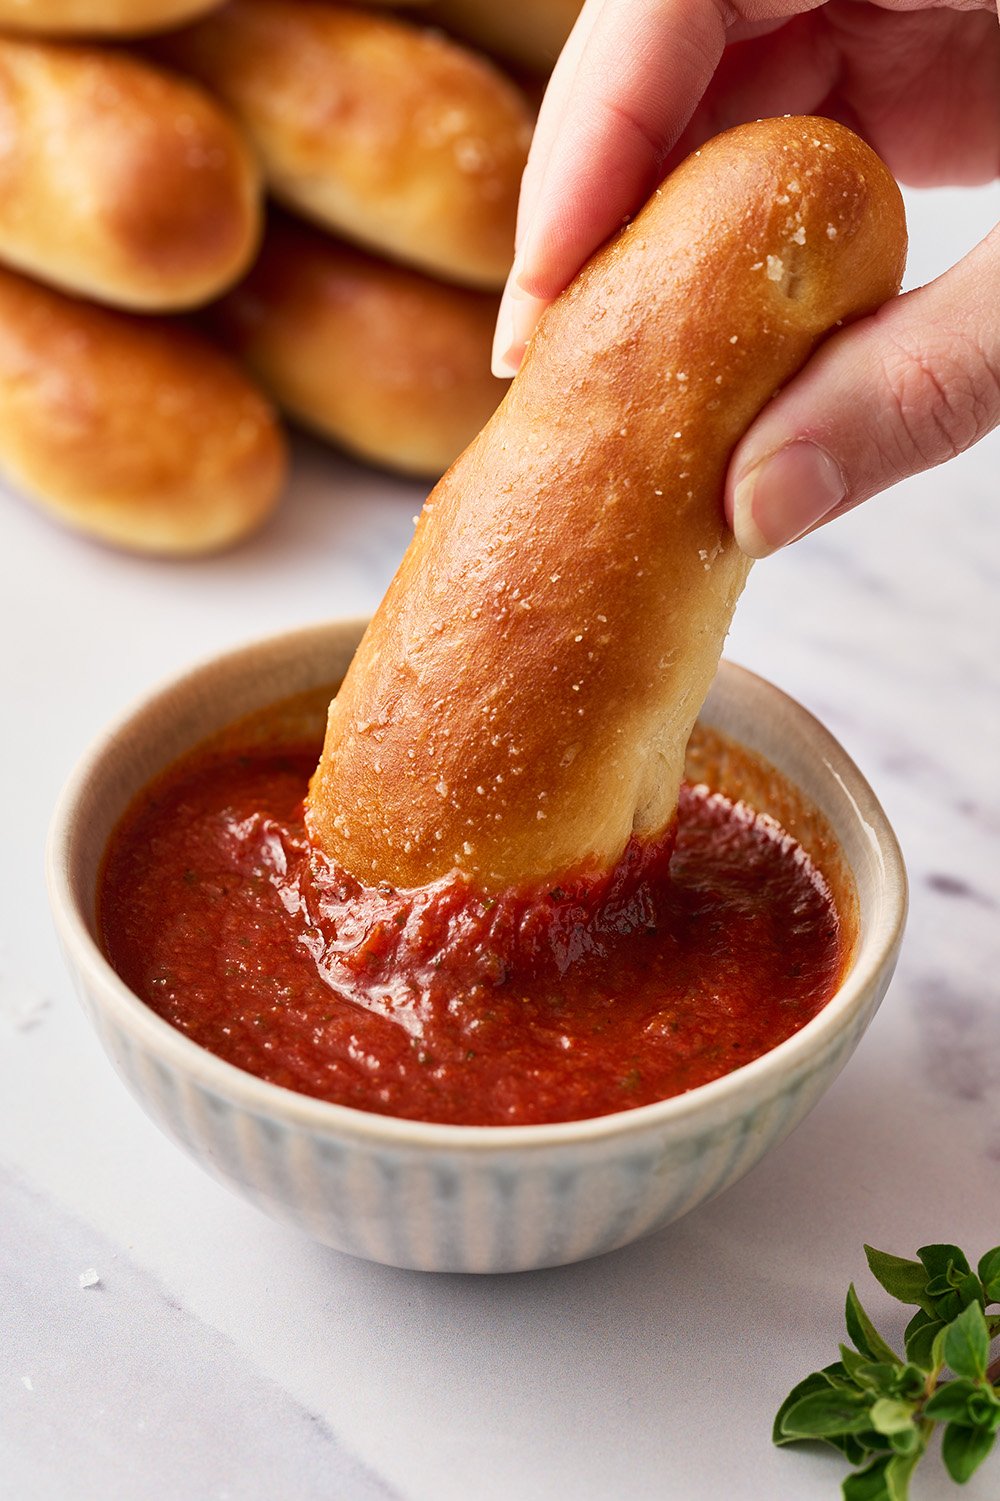
This homemade breadsticks recipe is 1000x better. The whole family will go crazy for this copycat recipe at Sunday night dinner. Especially when paired with a rich soup or sauce for dipping!
The dough recipe only has six ingredients! Get your ingredients and your stand mixer fitted with the dough hook ready to go. You can also make this dough by hand, just be prepared to knead for about 10 minutes.
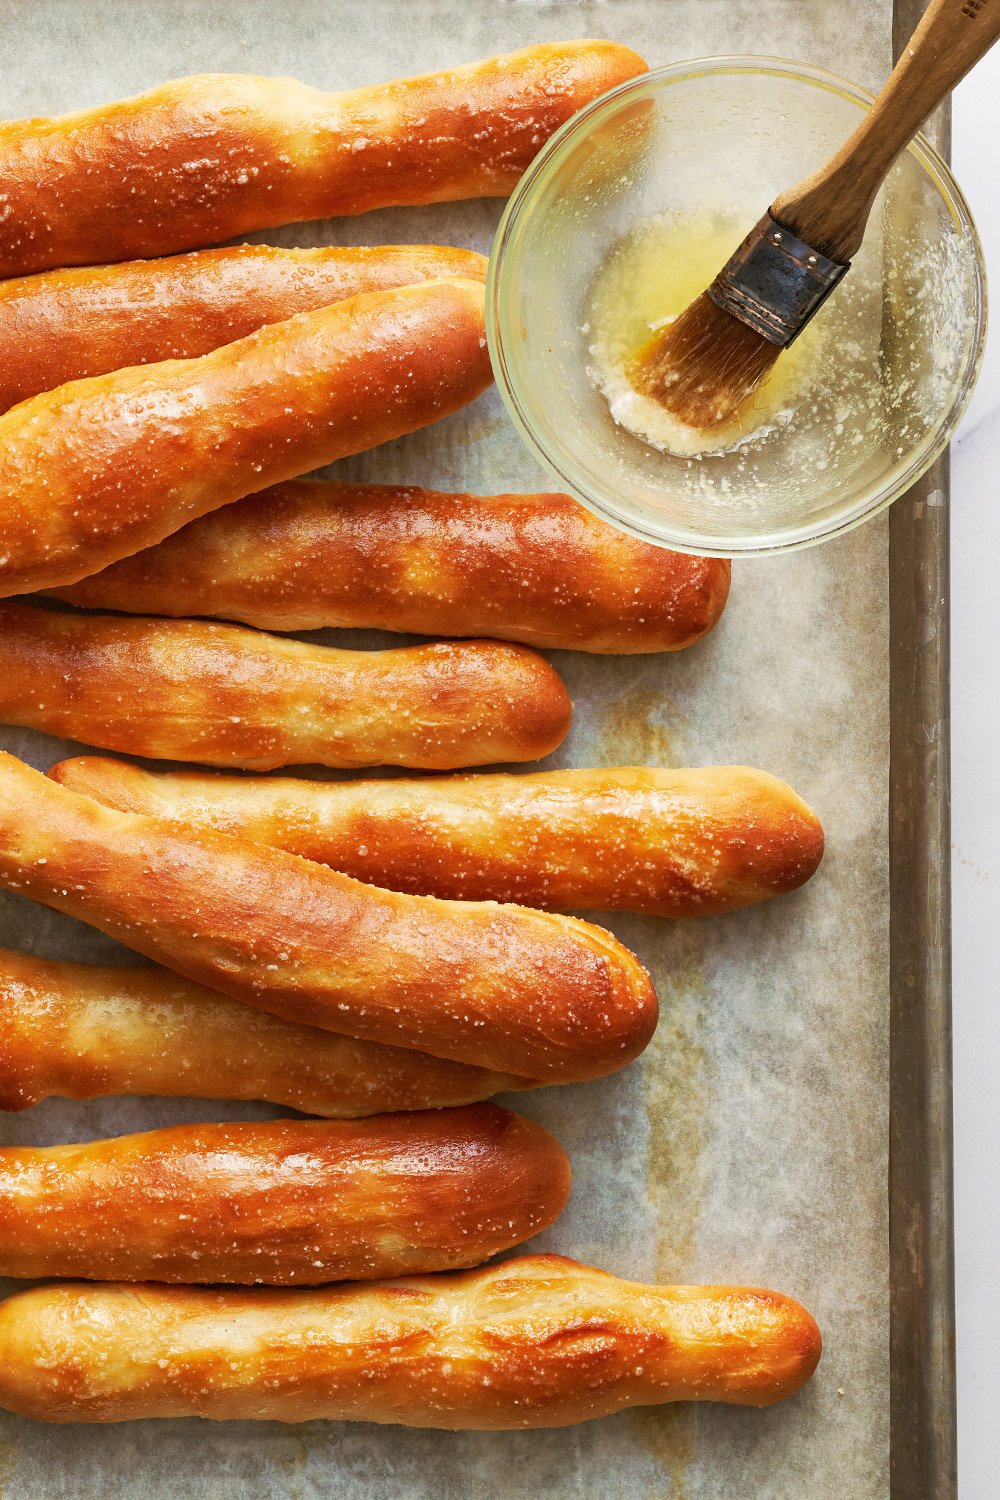
As soon as the breadsticks come out of the oven, brush with the garlic butter. Serve warm. Be careful, this Olive Garden Breadstick recipe is ADDICTIVE!
How to Make Copycat Olive Garden Breadsticks
Ingredients for Copycat Olive Garden Breadsticks:
- Water – Use warm water to help activate the yeast, but be sure it’s not so hot it kills the yeast. 100-110°F is perfect.
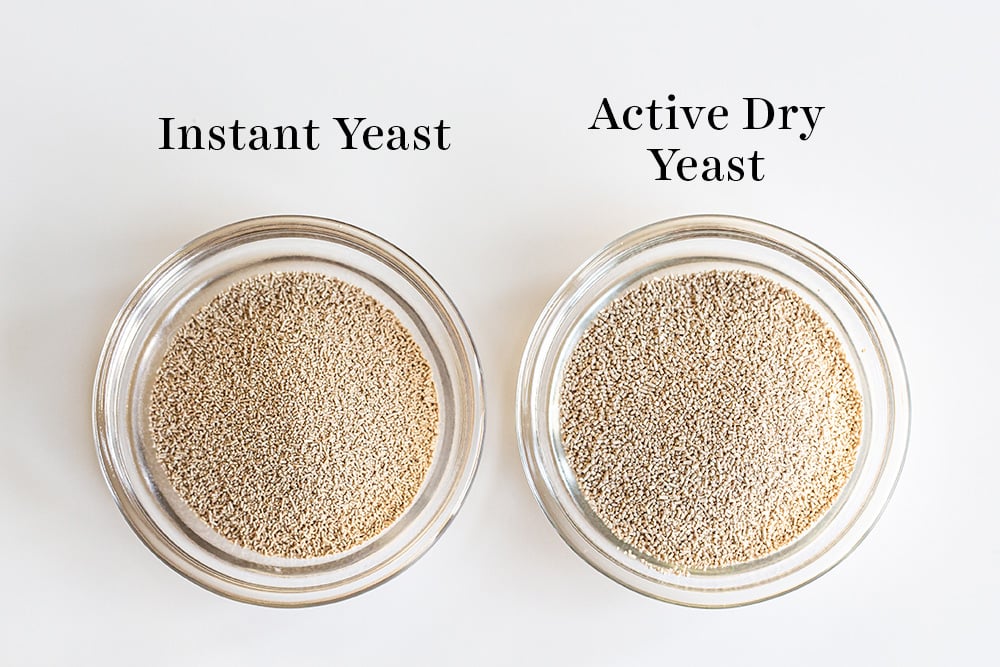
- Instant yeast – Use instant yeast for a faster rise. Learn more about Active Dry Yeast vs. Instant Yeast here.
- Sugar – Just a little. The sugar helps activate the yeast, tenderize the breadsticks, and makes them a little softer. Don’t skip the sugar! I promise you won’t find the breadsticks sweet.
- Butter – Melted and cooled slightly. Always use unsalted butter in baking and especially here because we’re adding salt to the dough and as a topping.
- Salt – I prefer to use fine sea salt instead of table salt, simply because I prefer the flavor. Learn more about the differences between types of salt here.
- Bread flour – Measured correctly! Bread flour contains a higher percentage of protein, compared to all-purpose flour, so I recommend using bread flour. More on this below.
- More butter, plus salt and garlic powder – for the utterly delicious topping, once baked.
Olive Garden Breadsticks Instructions Overview:
- Prepare the baking sheets. Prepare two baking sheets lined with parchment paper and set aside.
- Begin the dough. In the bowl of a stand mixer fitted with a dough hook attachment, combine the water, yeast, sugar, melted butter, and salt.
- Add the flour. Add gradually, while the mixer runs on low speed.
- Knead. Increase speed to medium and knead the dough for about 10-15 minutes, or until it is tacky and very elastic.
- Proof the dough. Remove the dough and place in a lightly oiled bowl and cover with plastic wrap. Let rest in a warm place until doubled in size, about 1 hour to 1.5 hours.
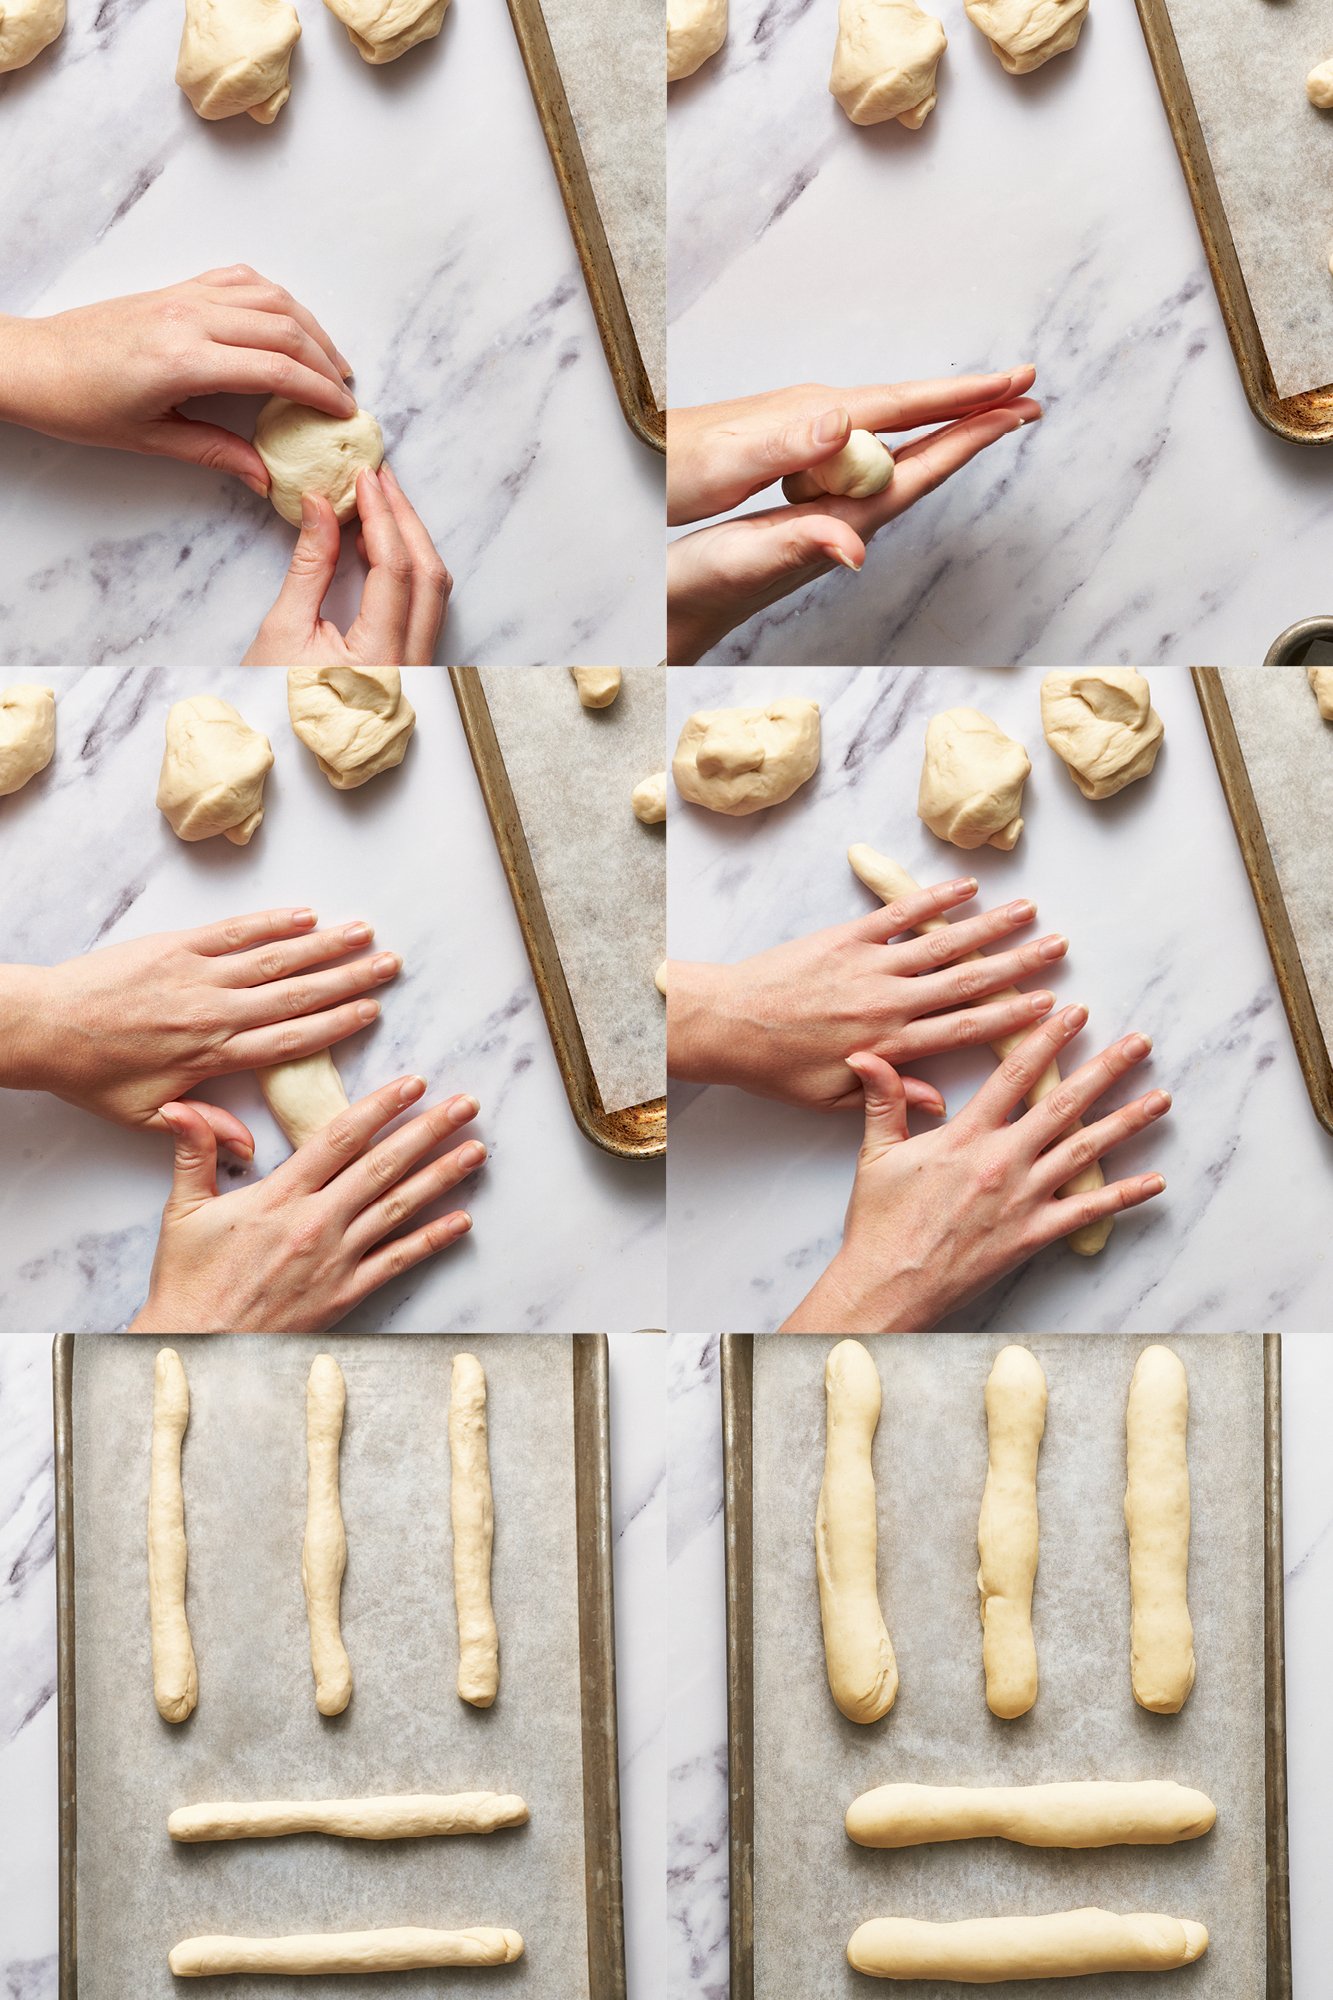
- Portion out the breadsticks. Once doubled in size, divide the dough into 12 portions. Roll each piece of dough into an 8-inch log. Place the dough logs on your parchment-lined baking sheets, about 2 inches apart.
- Proof a second time. Cover, and let rise on the prepared baking sheet until doubled in size, about 1 hour to 1.5 hours.
- Bake. Bake at 400°F for 12 to 14 minutes, or until golden brown.
- Add the toppings. Once removed from the oven, immediately brush each breadstick with melted butter and sprinkle the salt and garlic powder evenly over breadsticks.
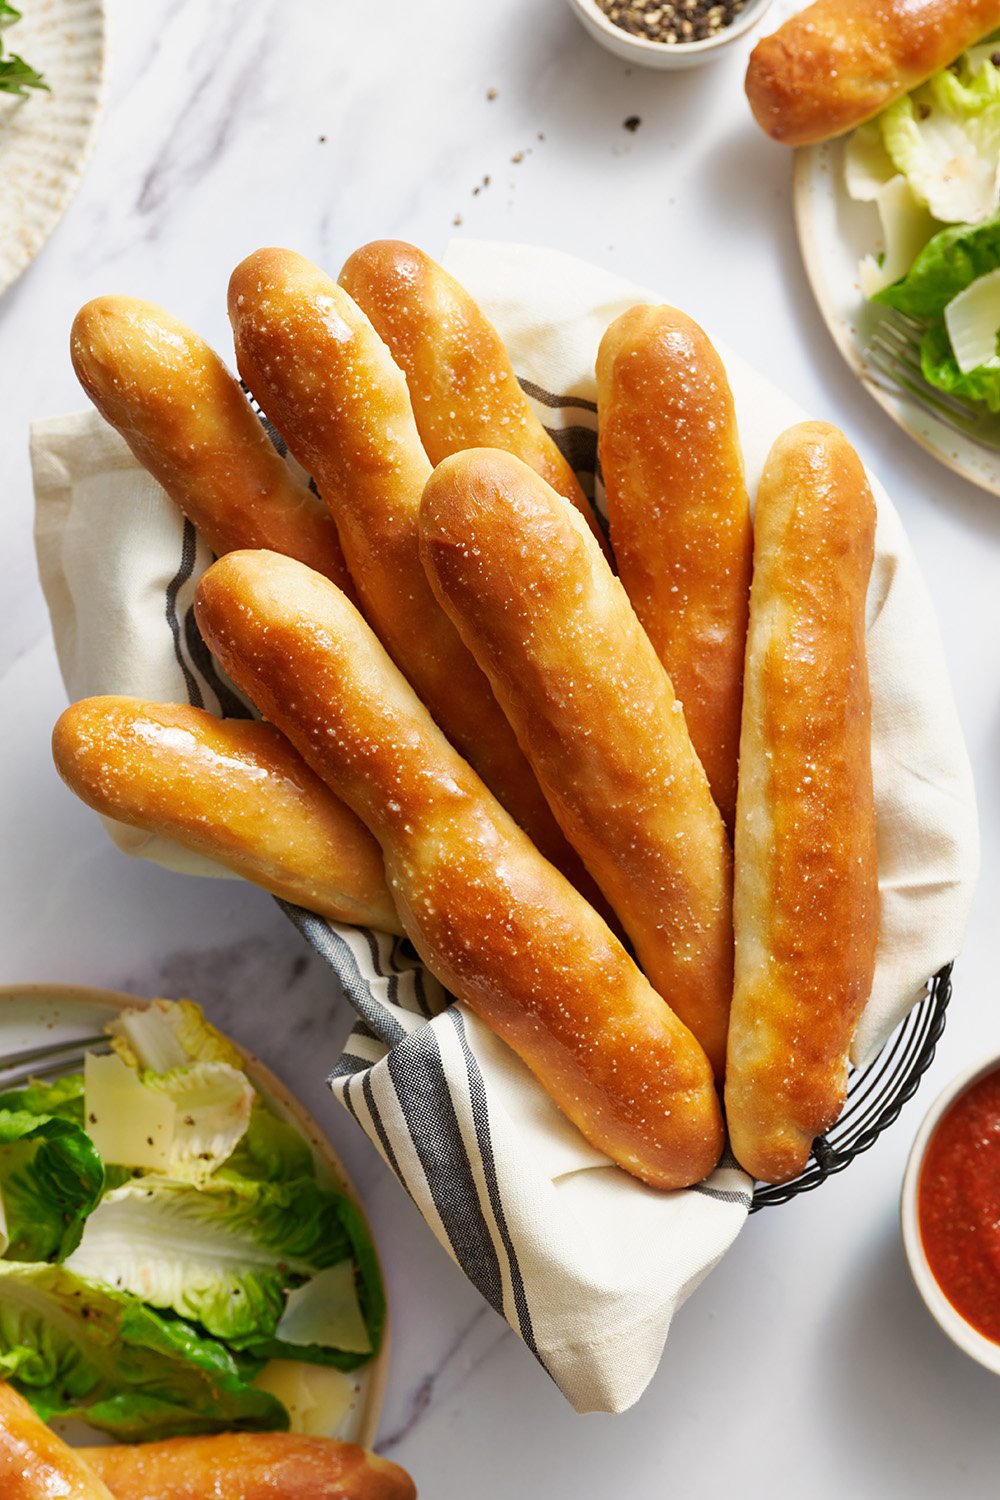
- Serve warm.
Are Olive Garden Breadsticks Vegan?
These copycat breadsticks are not vegan, and I have not tried using plant-based butter in this recipe. However, several readers have had success with Country Crock plant-based sticks (avocado oil based) or using olive oil in the dough and Earth Balance for the topping. If you give anything else a try, let me know how it goes!
Do I Have to Use Bread Flour? Can I Use All-Purpose Flour Instead?
Bread flour has a higher level of protein content than all-purpose flour, which helps create taller, well-rounded breadsticks with a nice chewy, fluffy texture. If you don’t have bread flour, use the same amount of all-purpose flour, but keep in mind that your breadsticks may turn out super soft.
Which Yeast Should I Use for Breadsticks?
This recipe utilizes a shortcut ingredient: instant yeast, also called rapid rise or quick rise yeast. One of the three should be available at most grocery stores or you can buy my all-time favorite yeast on Amazon. These types of yeast are specifically formulated to allow you to skip proofing (aka the step where you combine the yeast with warm liquid for 5 minutes). You can add instant yeast directly into the mix with all of the ingredients.
If you don’t have or can’t find instant yeast, you can easily use active dry yeast instead. Add it right in with the dry ingredients like instant yeast, but just note that the dough will take about 20% longer to rise. Alternatively, you can speed up that rise time slightly; simply combine it with the warm water and a pinch of the sugar called for in the recipe, and allow it to proof until it becomes bubbly (about 5 minutes) before adding into the bowl with the other ingredients. Learn more about the different types of yeast, and how to substitute yeasts, here.
Can I Knead the Dough By Hand?
Yes! Be sure to knead the dough properly so the breadsticks hold their shape and don’t become sad flat sticks. I call for a stand mixer to make easy work of kneading in this recipe, but you can also knead by hand. You can see my full tutorial on how to knead dough here.
How to Tell When Dough Is Risen
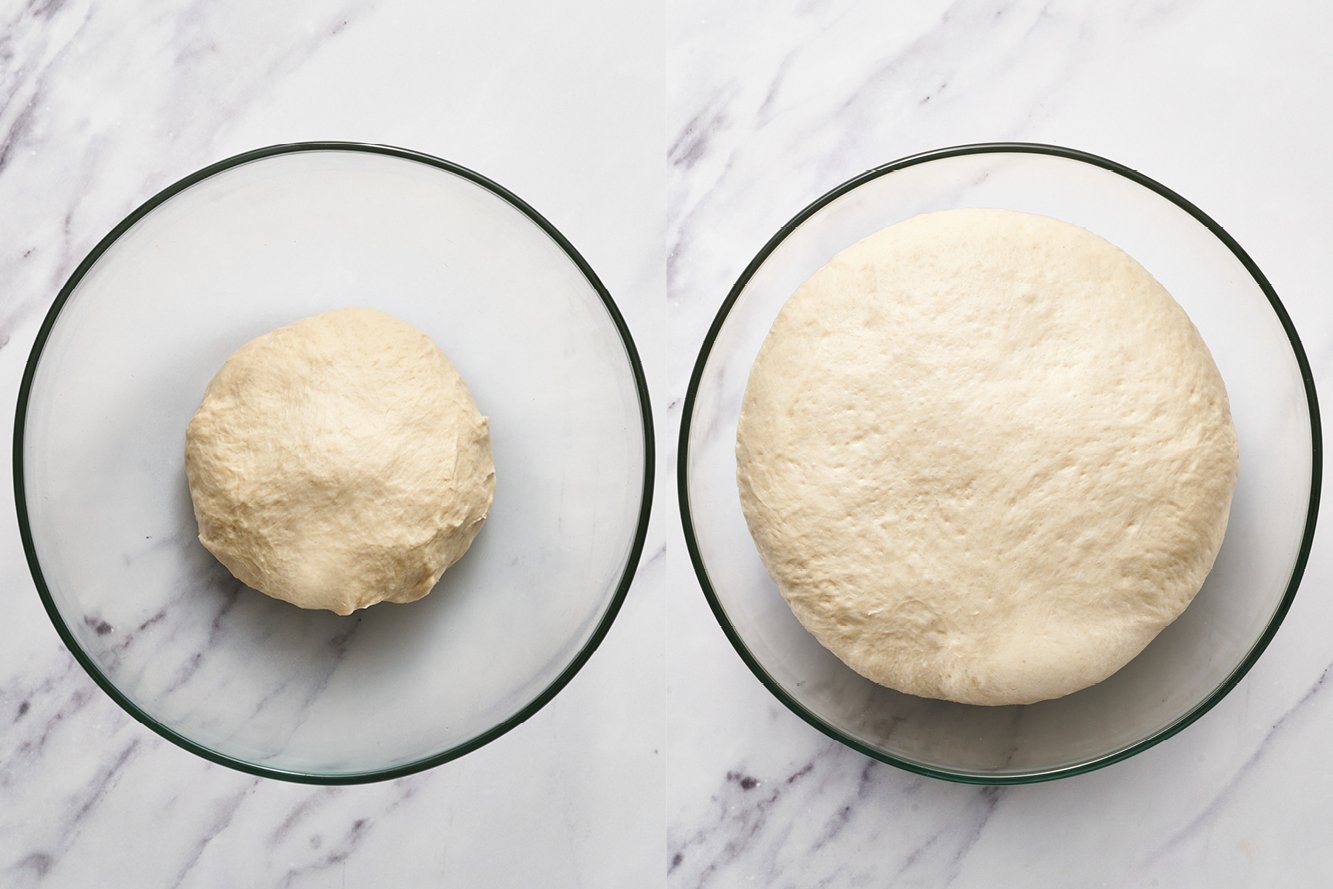
After kneading, shape the dough into a ball. Place in a lightly oiled mixing bowl. I like to use glass so I can see how much it’s rising. I’ll even take a picture of the dough before rising so I can compare later. Cover the bowl with plastic wrap, foil, or a clean kitchen towel. Let the dough rise in a warm, draft-free location. Ideal rise temperatures are between 80°F and 90°F. Lower temperatures will require more rising time.
The dough is done rising when it’s about doubled in volume and passes the “ripe” test. Gently stick two fingers in the risen dough up to the second knuckle and then take them out. If the finger marks remain, the dough is ready for shaping into balls. If not, cover and let the dough rise longer until it is.
How to Shape Breadsticks
- Once the dough is risen, press it down to deflate it slightly.
- Place the dough onto a clean surface (not a floured surface).
- Use a bench scraper or knife to section the dough into 12 equal pieces. Don’t worry if they’re not perfectly equal in size – but if you prefer, you can weigh the entire mass of dough, divide that number by 12, then portion each piece perfectly by weight.
- Roll each piece of dough into a 8-inch log. Don’t worry if they’re not perfectly shaped.
How to Make Breadsticks Ahead of Time
Basically all yeast doughs can be made ahead of time and baked off later. Refrigerating stunts the rise time and can actually allow more flavor to develop!
For this recipe, I like to allow the dough to rise once and shape the breadsticks. Once the breadsticks are shaped, cover them well (so they don’t dry out) and place in the refrigerator for up to 24 hours. Bring to room temperature as the oven preheats before baking as the recipe directs. If the breadsticks haven’t doubled in size yet, allow them to sit at room temperature until doubled.
Alternatively, to make ahead further in advance, you can freeze the dough after it has risen for the first time and been shaped into logs. Place the shaped breadsticks on a baking tray lined with parchment, freezing just until solid, and then transfer to a ziptop bag or airtight container to store in the freezer for up to 2 months. Once ready to bake, place the frozen breadsticks on parchment-lined baking trays and allow to thaw to room temperature. Let rise until an indentation made with your finger into the dough remains. Proceed with the recipe as written.
Can I Double This Recipe?
Yes, if you have a large enough mixer (at least 6 quarts). Most home mixer bowls won’t mix such a big batch of dough well enough. If you’re using a 5-quart tilt head mixer, your mixer may be overwhelmed with that amount of dough and fry itself. If that’s the case, make a single batch of dough twice.
How Long will These Breadsticks Keep?
These breadsticks are best served right out of the oven, but they will keep for 3 days or so in a ziptop bag or an airtight container. To refresh, place the breadsticks on a baking sheet, and reheat in the oven at 425°F for 4-5 minutes, or until warmed through. You can also re-brush with butter and sprinkle with garlic powder and salt at this point, if you wish.
How to Freeze Breadsticks
Place the baked, cooled breadsticks in a ziptop bag or airtight container to store in the freezer for up to 2 months. Thaw at room temperature for a couple of hours, then place the breadsticks on a baking sheet and reheat in the oven at 425°F for 4-5 minutes, or until warmed through. You can also re-brush with butter and sprinkle with garlic powder and salt at this point, if you wish, before serving.
What to Serve with Breadsticks:


I made these for my meal prep for the week. Really good! They’re perfect for dipping into stews, soups, curries etc! and they’re easy to store in the freezer/defrost. I had been making naan bread before, but it is too time consuming.
I experimented filling one like a sandwich for my son’s breakfast (shredded chicken and scrambled egg), he’s now told me he wants them every breakfast! I’m planning to doouble the recipe and double the size of them to accomodate a sandwich filling. I’m guessing I’ll need to increase the bake time if they are bigger?
I made two batches, one single and one double. I had to knead the dough by hand and found it significantly easier to do single batches. The breadsticks were the star of a party with everyone else bringing a homemade soup. Thank you for a great recipe.
Perfect everytime!
So I finished the bread and it turned out a bit dense/chewy and yeasty tasting. Not sure where I went wrong 🙁
Hi Paige! I just responded to your previous comment with a few tips as to what might have gone wrong here. I hope something there helps!
I’m making them as we speak and I’m letting the dough ball rise. I was wondering if it’s okay if my dough ball isn’t tacky at all? Like I press it and it doesn’t stick to my finger, I can stretch it but if I stretch it too fast it tears, and it’s rising very fast I’d say it’s almost completely doubled and it’s barely been 30 minutes.
Hi Paige! It sounds like a couple things could have gone wrong here.
– You may have accidentally added too much flour. How do you measure your ingredients? By volume (using cups), or by weight (using a digital kitchen scale)? When measuring by volume, it’s so easy to mis-measure ingredients (particularly flour) and throw off the entire chemistry of a recipe. Check out Tessa’s article here, where she talks about how to best measure ingredients to ensure accuracy every time.
– It sounds like perhaps your dough wasn’t kneaded long enough. If it’s tearing easily, this means the gluten strands were not formed enough, meaning you’ll have a dense, heavy bread once baked. Yeasted doughs need to be kneaded long enough to develop these gluten strands to give the baked bread height, rise, and a nice texture. Learn more about how to knead dough here.
– Finally, it also sounds like the water added to your dough was possibly a little too hot. If really hot water is added, this will kill the yeast – but if it’s just a little too warm, this will speed up the yeast’s activity, which can cause the bread to rise too fast, and even cause collapse during the second rise after shaping or in the oven while baking. A slower rise will allow the yeast to slowly rise the dough, developing flavor and texture in that time. Of course, if you live in a hot climate or your kitchen is very warm, rising times will be faster as a result of the warm environment, so keep that in mind to shorten rising times if this applies to you.
I hope something here helped, Paige, and I hope you’ll give these breadsticks another try sometime! They really are delicious 🙂
Love these so much!!! This is truly a versatile dough recipe. Aside from making these delicious breadsticks I have also separated the dough into pieces the size of large meatballs. Then I cut a string cheese into chunks and poke it into the dough and form a ball. Fry them and lightly dust them in Parmesan/garlic powder/Italian seasoning. They’re like a cheese filled savory Italian donut
I think I just like bread
I make this all the time thank you so much! Taste just like olive garden to me. Surprised it was that simple.
Perfect!