This post may contain affiliate links. Read our disclosure policy.
Life doesn’t get much better than a Peanut Butter Pie.
To me, peanut butter is one of the great pleasures of life.
I’m OBSESSED with the stuff. Especially when it’s combined with chocolate… in PIE form.
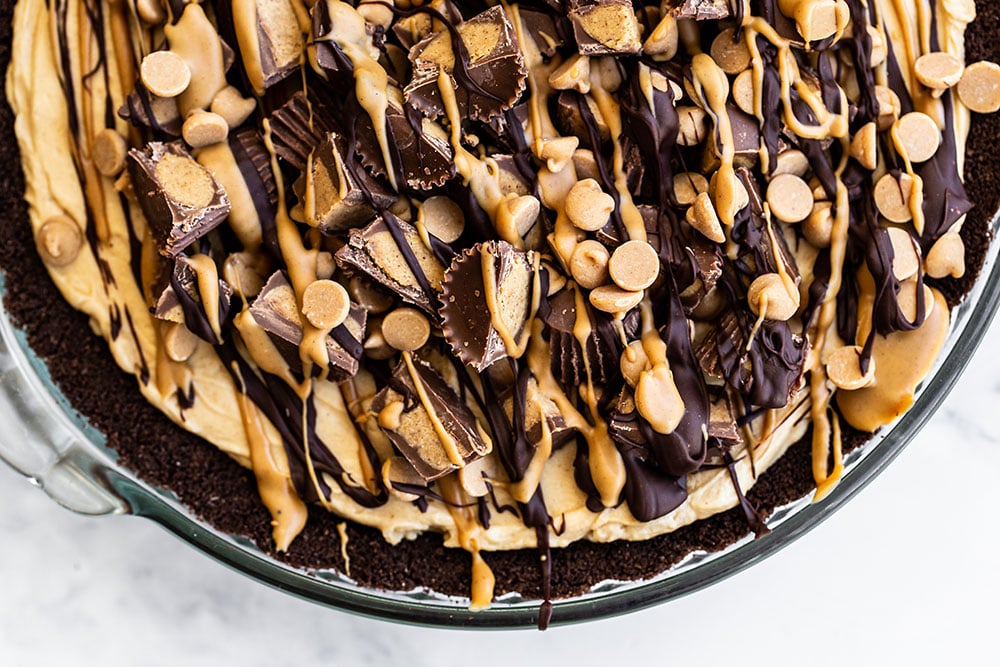
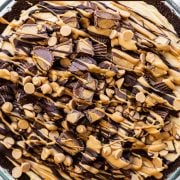
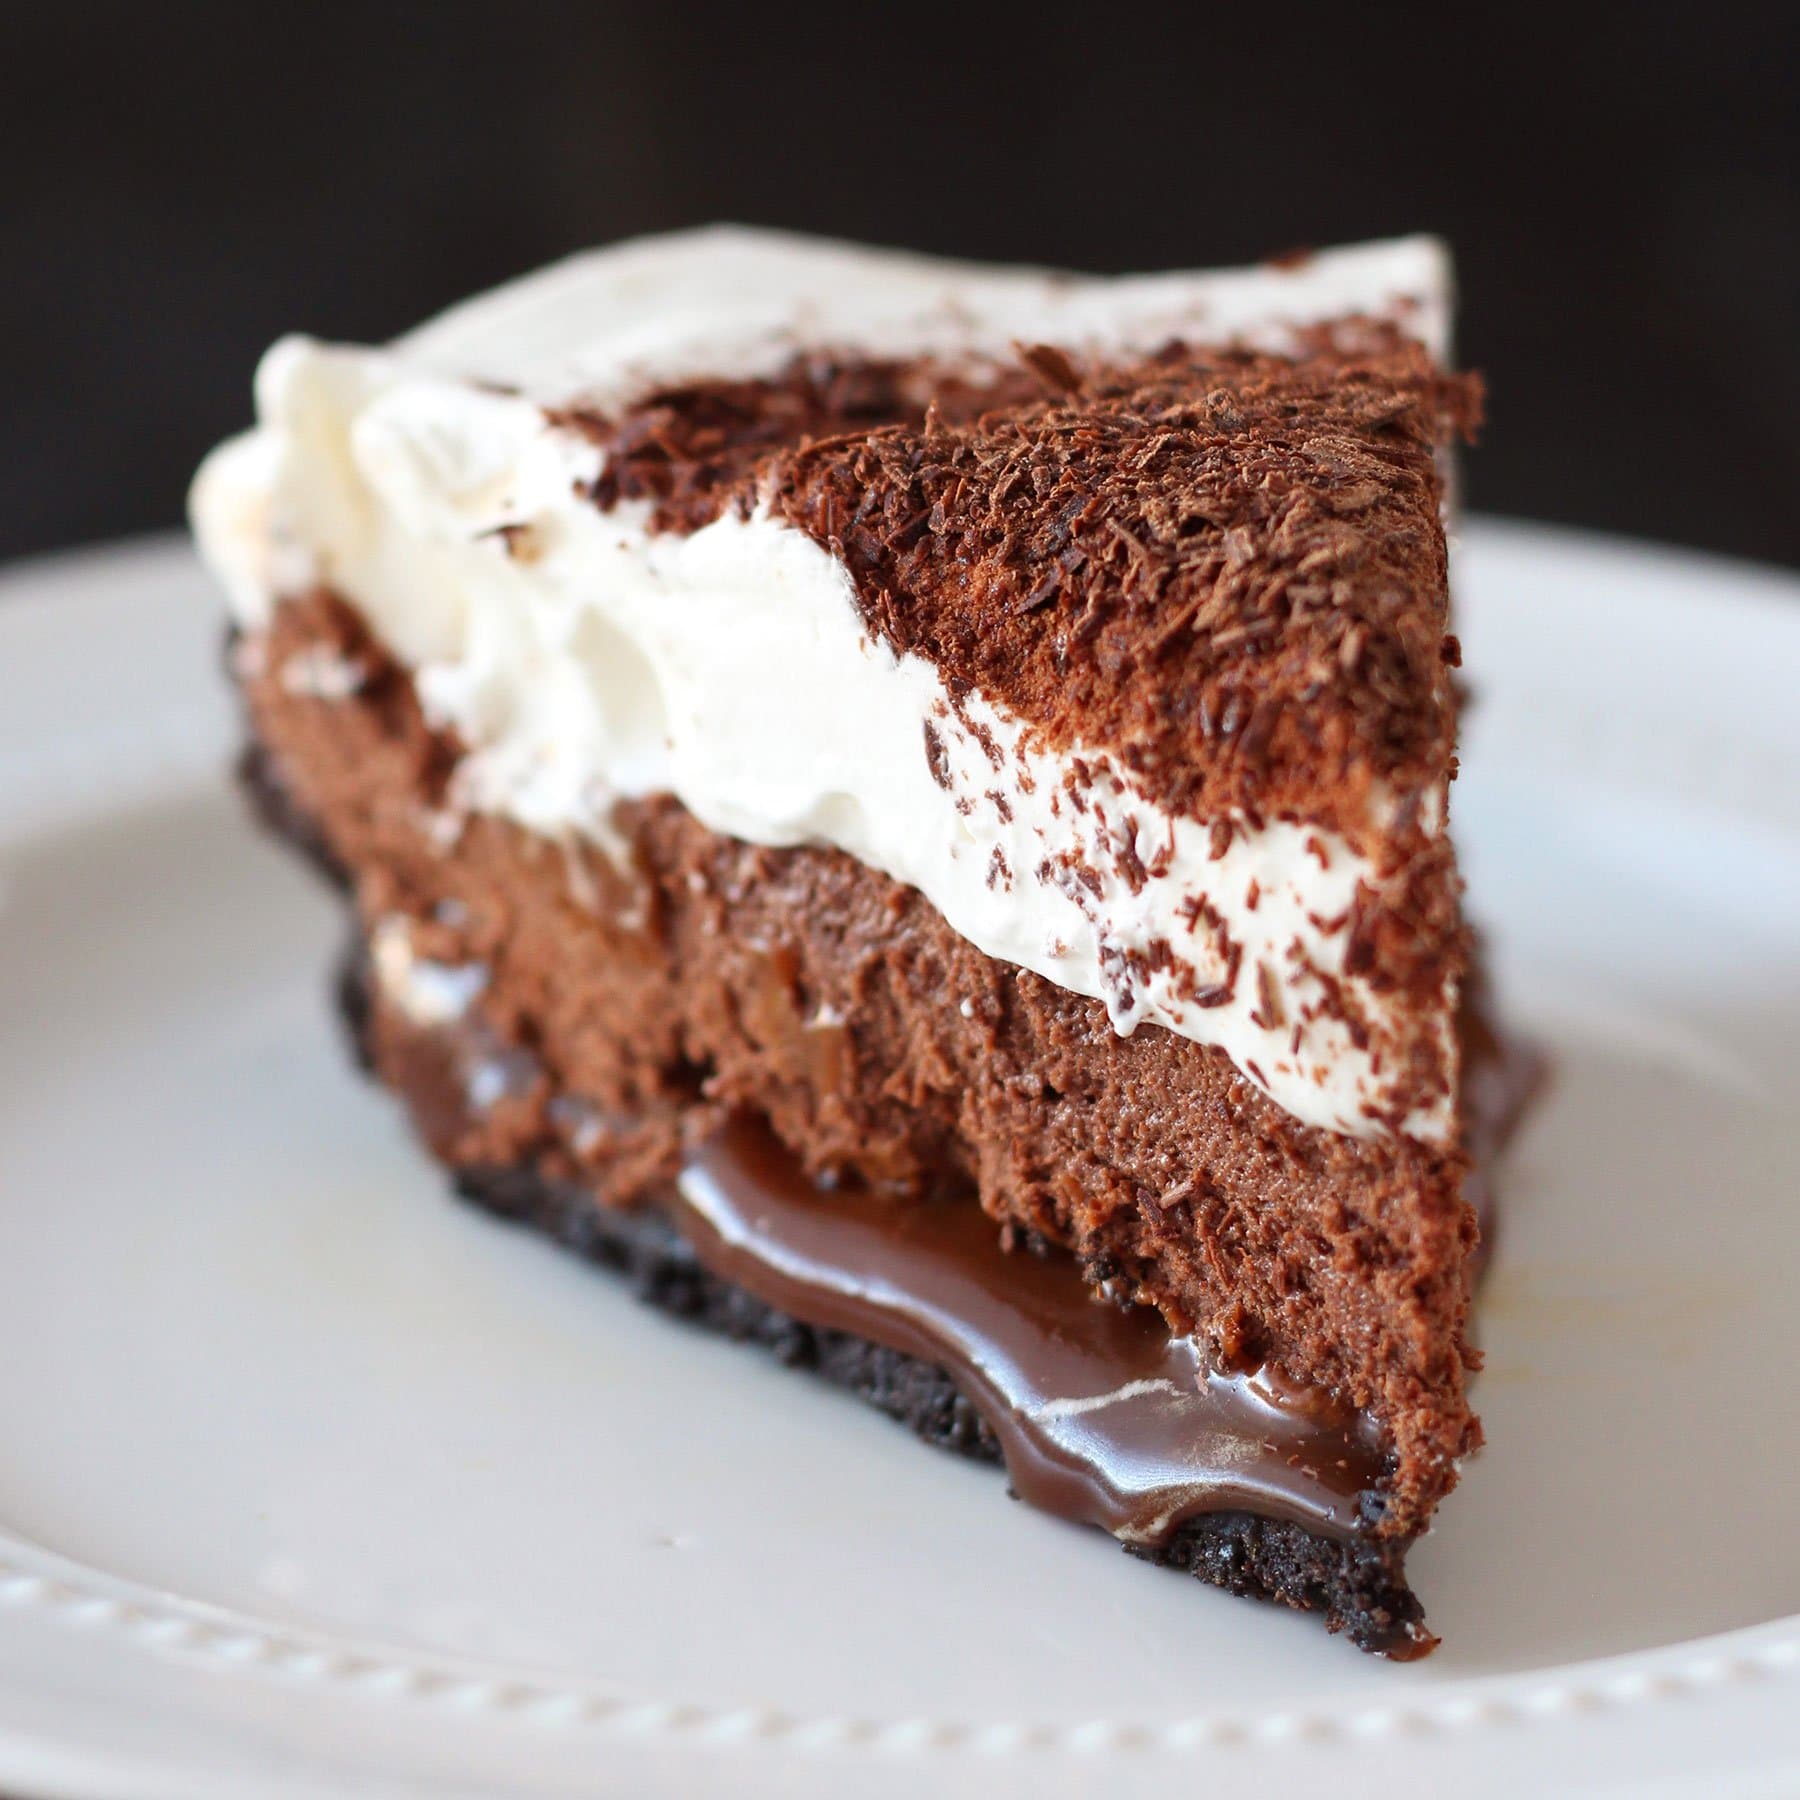
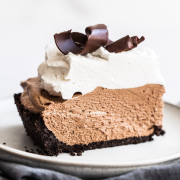
This isn’t any old peanut butter pie. I mean, just look at it. It’s over the top, messy, and unapologetically sinful in the best possible way.
I’ve accompanied this recipe with a step-by-step video to not only show you how to make this beautiful pie, but to whet your appetite for it.
Because the chocolate + peanut butter flavors truly belong together.
This easy peanut butter pie recipe is that it is a total crowd-pleaser and won’t last long at all. That coupled with the fact that it can be made completely ahead of time makes it a perfect go-to recipe for easy entertaining. Everyone will want seconds of this pie. It’s that good!
How to Make Easy Peanut Butter Pie
How to Make Peanut Butter Pie WITHOUT Cool Whip
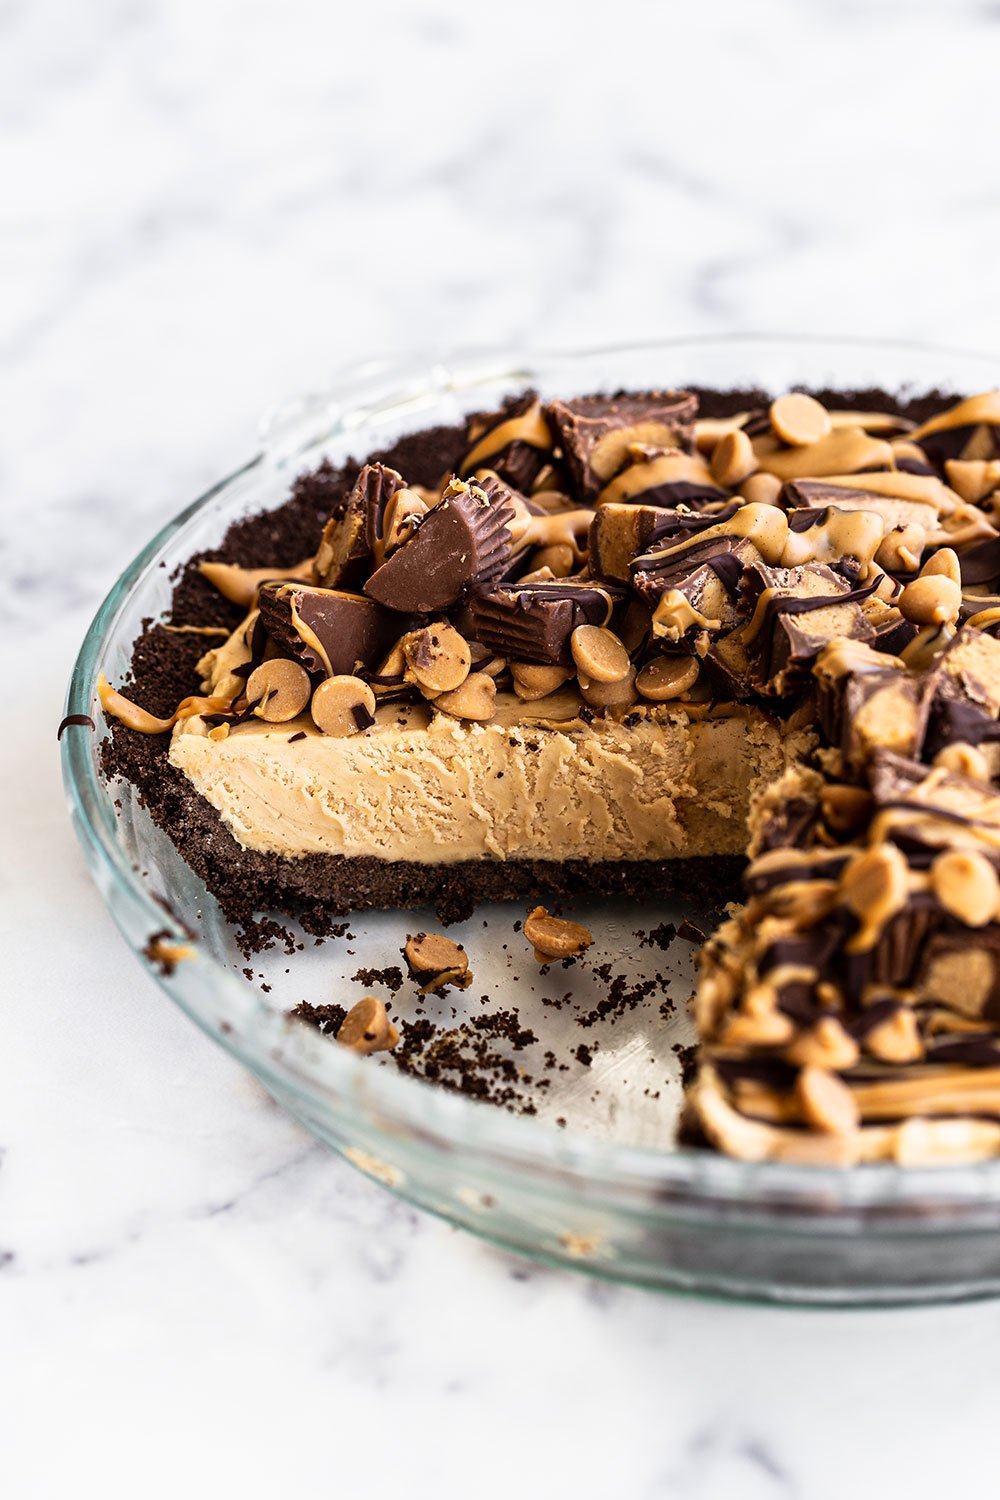
My favorite part about this pie recipe is that it’s homemade! We make the filling with a mixture of peanut butter (of course!), cream cheese, heavy cream, and powdered sugar. Whipping the cream, then folding it in with the other beaten ingredients, gives this pie a light, creamy, yet rich texture without any Cool Whip (or any other highly-process whipped topping).
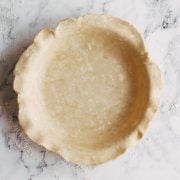
Peanut Butter Pie CRUST Variations!
This recipe calls for a chocolate graham cracker cookie crust, but you could also use:
What Kind of Peanut Butter is Best for Pie?
- Use conventional creamy peanut butter for this recipe, such as Skippy or Jif.
- Any kind of “natural” peanut butter that doesn’t include an added oil to stabilize the mixture will result in a pie filling that will become oily and separated.
- If you must use natural peanut butter, make sure it’s extremely well stirred and smooth before using.
How Much Melted Chocolate + Peanut Butter for Topping?
This is entirely up to you and your taste preferences! Simply melt the peanut butter and chocolate in your microwave and drizzle as much as you’d like over your pie.
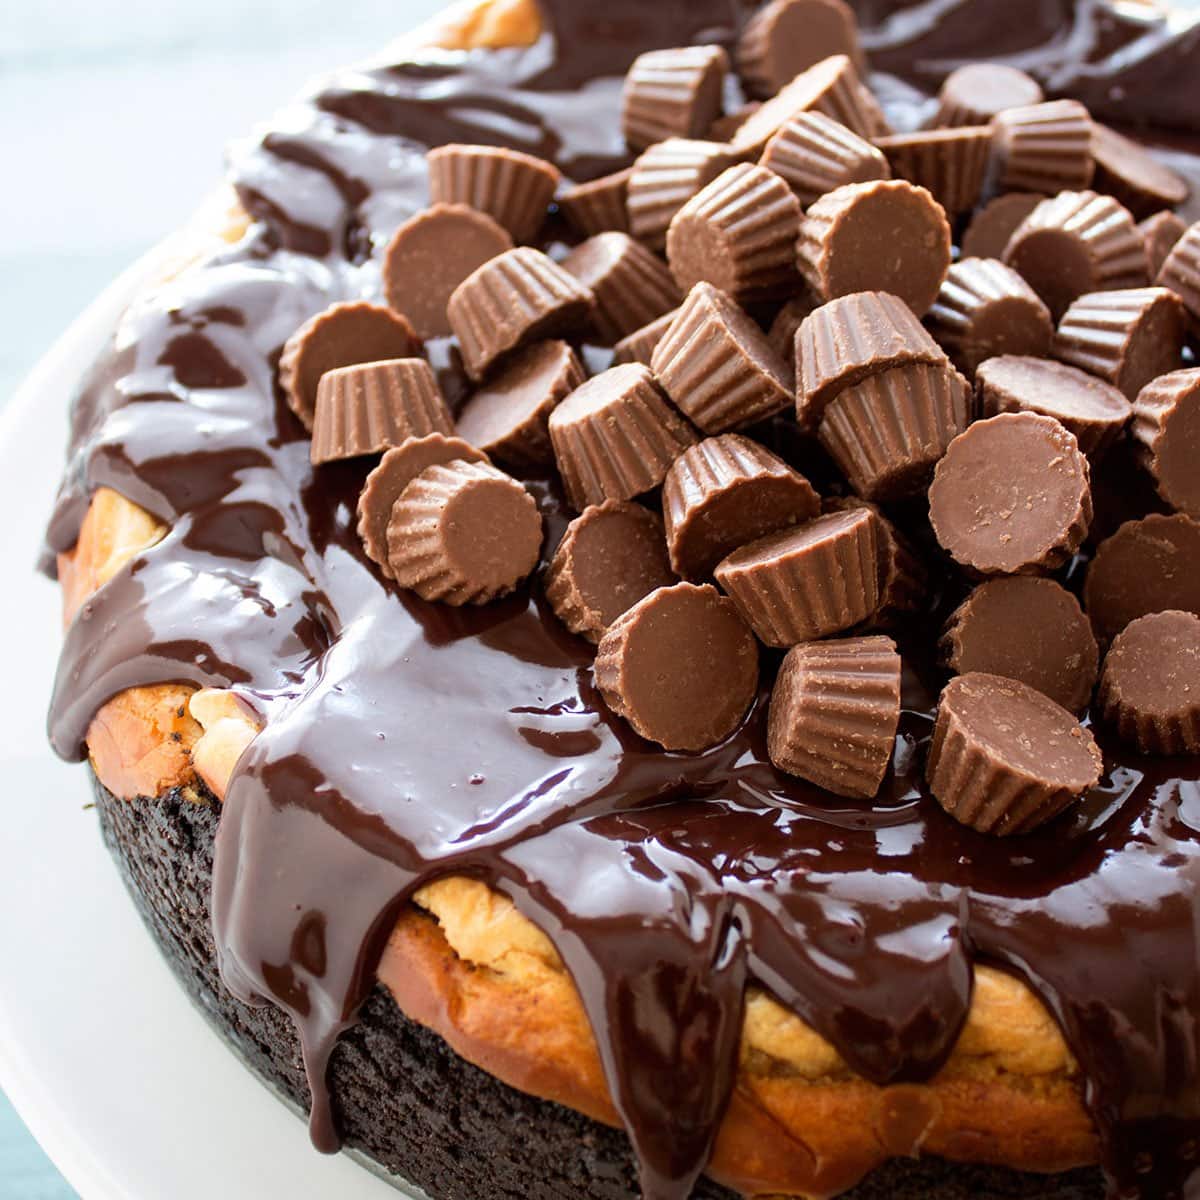
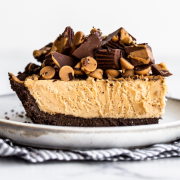
How Many Peanut Butter Cups Do I Need?
Use as many or as few as you like – and feel free to customize! If you’d like to add some Reese’s Pieces in there, go right ahead – be as creative and fun as you wish!
Can’t Have Peanuts? Use Almond Butter Instead!
- Use the same amount of almond butter as peanut butter in the recipe.
- Add 2 teaspoons of vanilla extract to the cream cheese, powdered sugar, and almond butter filling (still adding the 1 teaspoon of vanilla extract to the heavy cream mixture as well).
- For the toppings, skip the Reese’s cups and peanut butter chips and instead garnish with almond butter cups and melted chocolate, or any other toppings of your choice!
How to Serve Peanut Butter Pie
You can actually serve the finished pie frozen or refrigerated, depending on which texture you prefer – or how hot it is outside!
How Long is Peanut Butter Pie Good For?
Store covered in the fridge for up to 3 days.
How to Freeze Peanut Butter Pie:
Wrap tightly in plastic wrap and store in the freezer for up to 1 month. Serve frozen, or thaw overnight in the fridge before serving, if preferred.

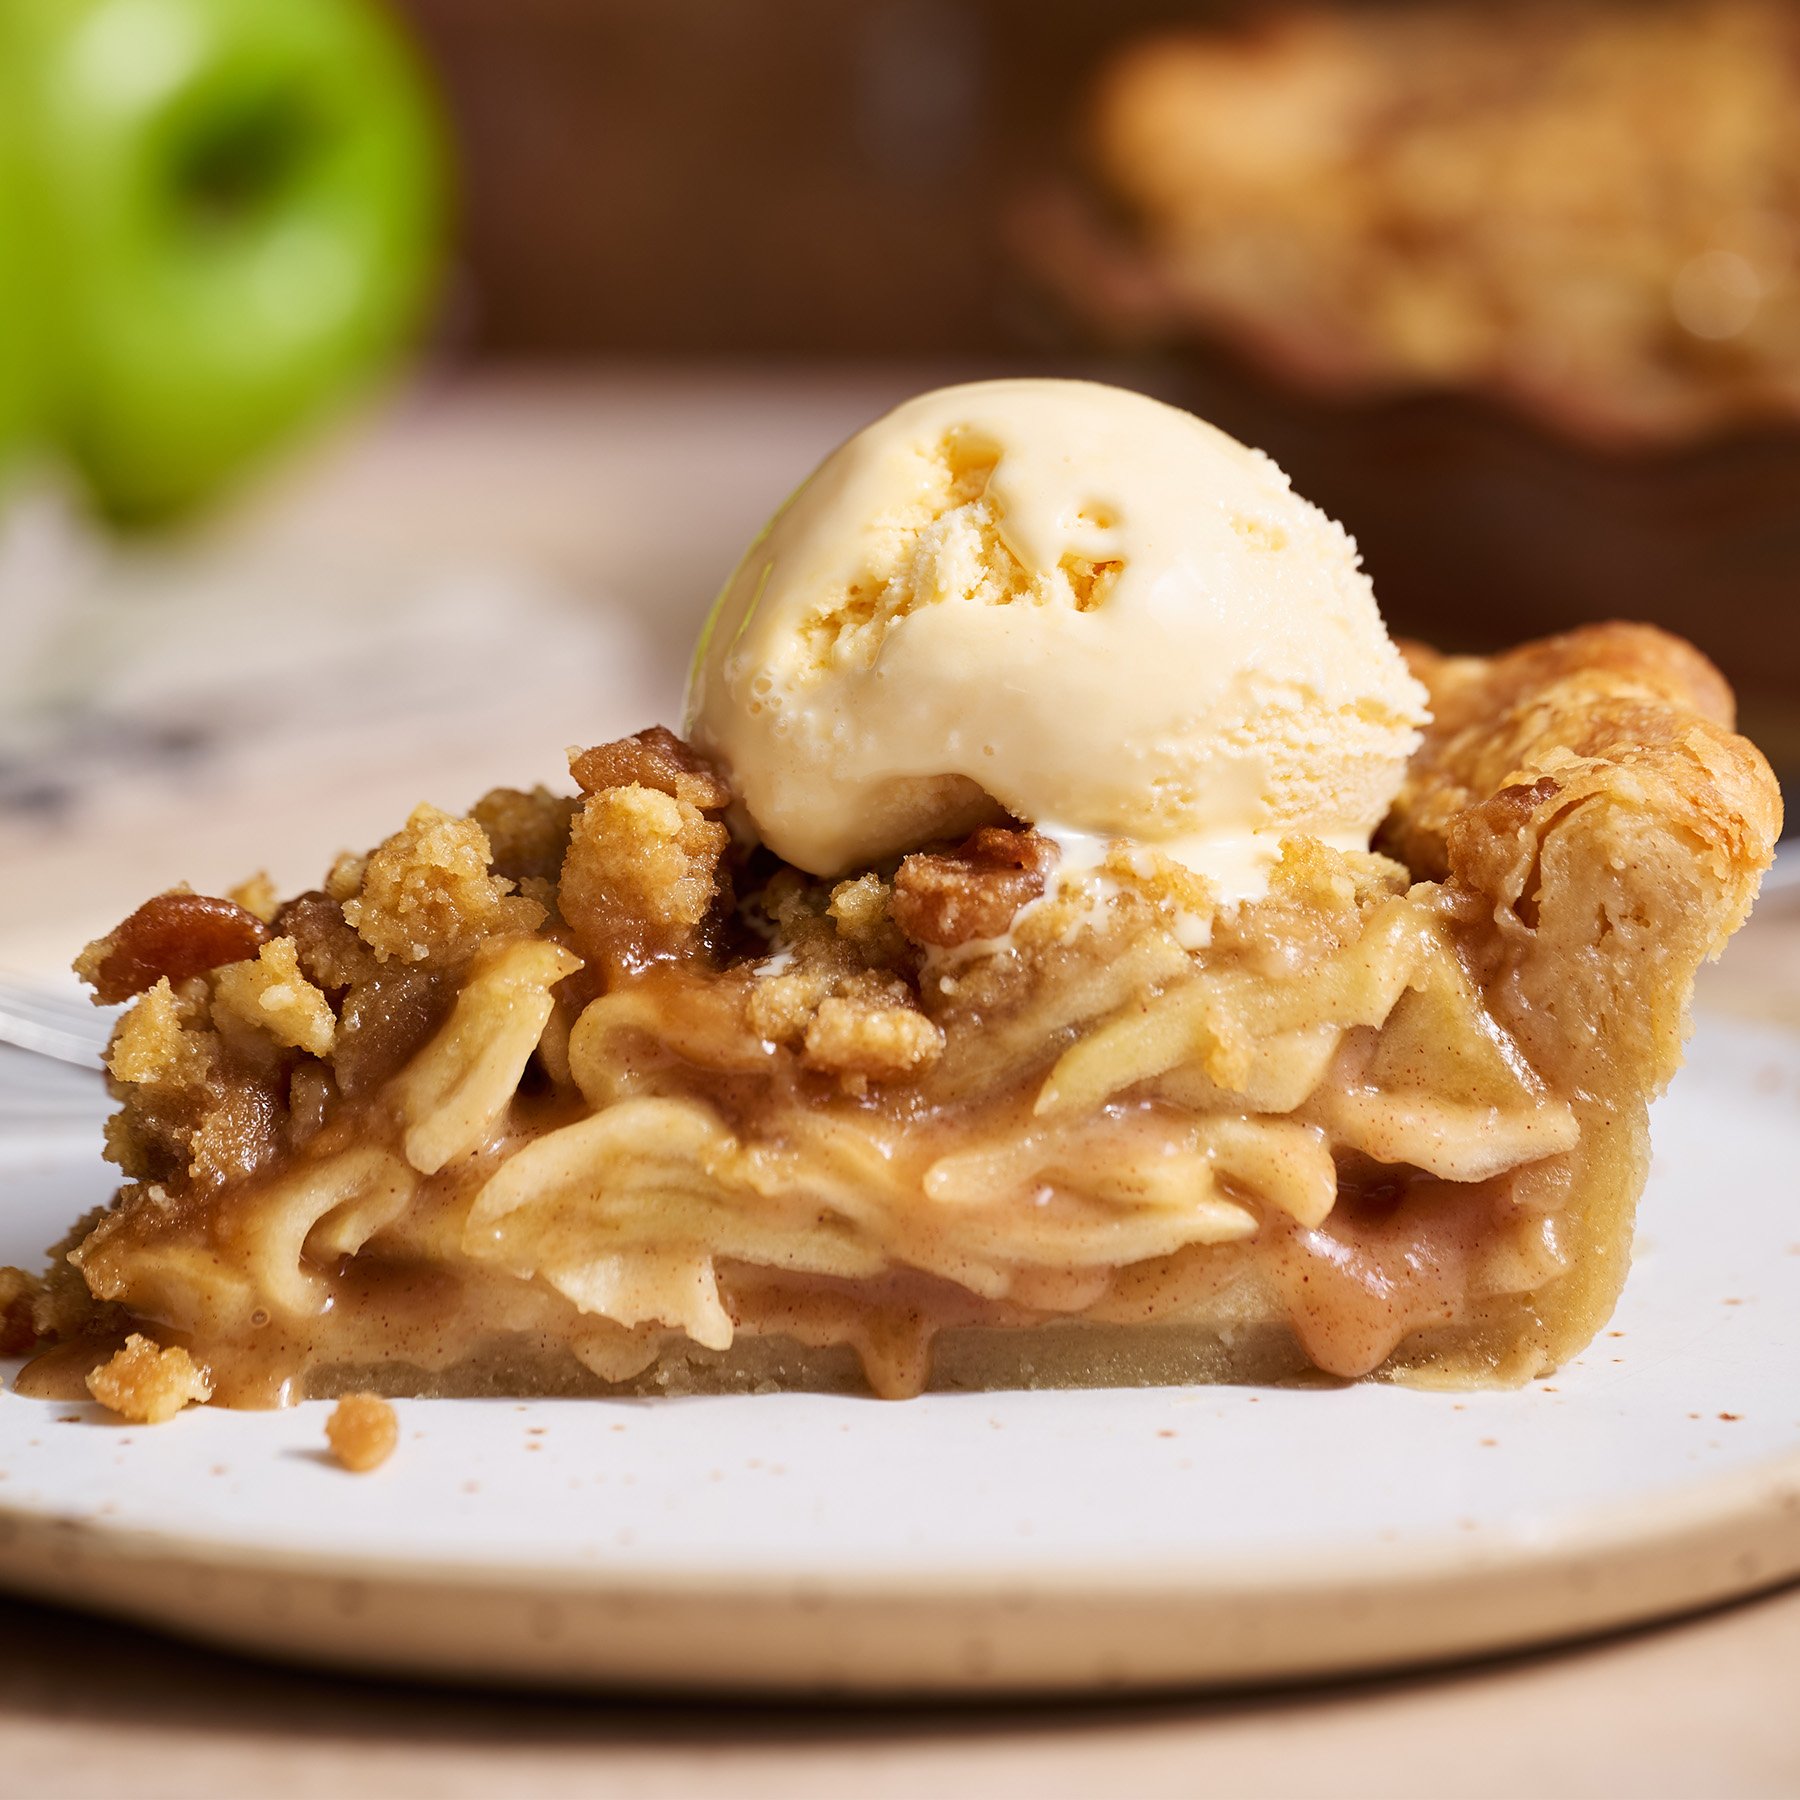
More Easy Pie Recipes:
For the crust:
-
14
whole chocolate graham crackers (196 grams)
-
1
tablespoon
light brown sugar
-
7
tablespoons
(99 grams) unsalted butter,
melted
For the filling:
-
8
ounces
(227 grams) cream cheese,
at room temperature
-
3/4
cup
(94 grams) powdered sugar plus 2 tablespoons,
divided
-
1
cup
(270 grams) creamy conventional peanut butter
-
1
cup
(240 grams) heavy whipping cream
-
1
teaspoon
vanilla extract
For the topping:
-
Melted peanut butter
-
Melted chocolate
-
Mini Reese’s cups
-
Peanut butter chips
-
Preheat the oven to 325°F.
For the crust:
-
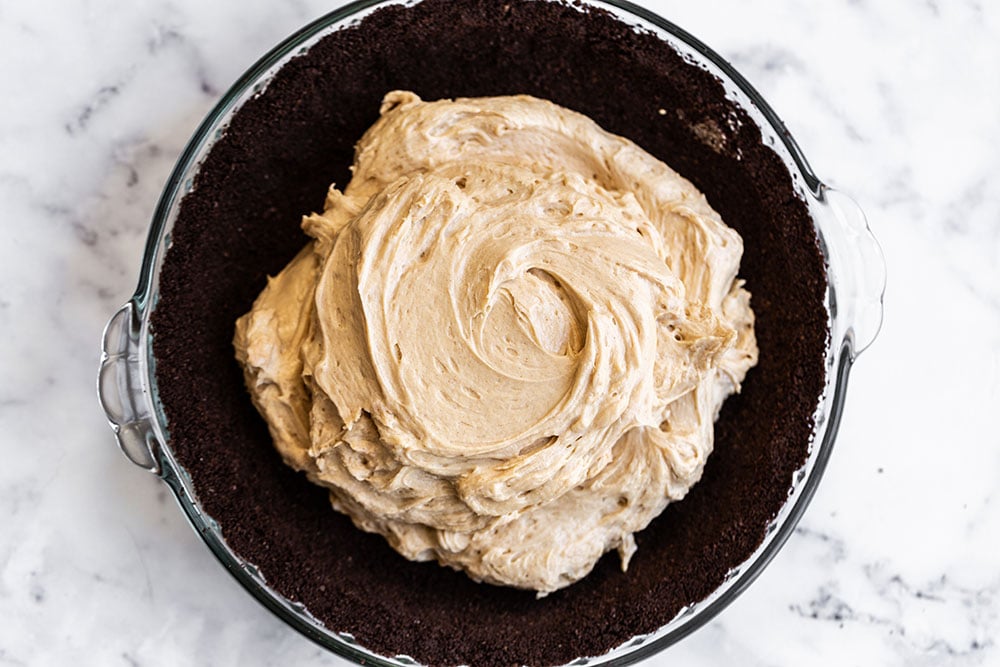
In the bowl of a food processor, process the crackers and sugar until finely ground. Add the butter and pulse until moistened. Use the bottom of a measuring cup, glass, or ramekin to press the crust mixture into the bottom and up the sides of a 9-inch pie plate. Bake until fragrant, about 10 to 12 minutes. Cool completely on a wire rack.
For the filling:
-
In a large bowl, use an electric mixer to beat the cream cheese, 3/4 cup powdered sugar, and the peanut butter until light and fluffy, about 3 minutes.
-
In a separate bowl, use an electric mixer with the whisk attachment to whip the heavy cream until thick and light. Add in the remaining 2 tablespoons of powdered sugar and the vanilla extract and continue to whip until stiff peaks form.
-
Gently fold the whipped cream into the peanut butter mixture. Pour into the prepared pie shell and freeze for 3 hours or chill in the fridge at least 6 hours.
-
Place your melted peanut butter and melted chocolate in separate resealable bags or piping bags. Snip off a tiny corner of the bag's tip. Squeeze slightly to drizzle the melted peanut butter and melted chocolate over your pie. Top with mini Reese's cups and peanut butter chips. Serve frozen or refrigerated.
-
Store in the fridge, covered, for up to 3 days, or in the freezer for up to 1 month.
Can’t Have Peanuts? Use Almond Butter Instead!
Use the same amount of almond butter as peanut butter in the recipe. Add 2 teaspoons of vanilla extract to the cream cheese, powdered sugar, and almond butter filling (still adding the 1 teaspoon of vanilla extract to the heavy cream mixture as well). For the toppings, skip the Reese’s cups and peanut butter chips and instead garnish with almond butter cups and melted chocolate, or any other toppings of your choice!
This recipe was originally published in 2015 and was recently updated with new tips & photos. Photos by Ashley McLaughlin.
April Baking Challenge
This recipe was the April 2022 selection for our monthly baking challenge! Every month you can join the challenge by baking the recipe and snapping a photo for a chance to win prizes! Learn more about my monthly baking challenges here. Check out some of the delicious pies baked by you guys!


Can you make mini pies with this such as in a regular sized muffin pan? Would the time for baking the shell be about the same?
Hi Jenny! We haven’t tried that, so I can’t say for sure – but it should work just fine! Bake the crusts approximately the same amount of time, but maybe just check a minute or two earlier – you’ll want the crusts to be fragrant and look set. I hope that helps! Let us know how it goes 🙂
I’m curious what type of chocolate to melt to drizzle on top and if you have an approximate measurement of how much?
Hi Collette! We typically use semi-sweet chocolate because that’s what we prefer, but feel free to use any type you like! As for the amounts, as Tessa mentions in the pink tip box (above the recipe), it’s totally up to you and your taste preferences! Let us know what you think of this pie once you have given it a try! 🙂
hi I made this and I Whipped the whipping cream woth the peanut butter and sugar and cream cheese . it should turn out right? I forgot to whip it separate . hope it will be fine thanks!
Hi Jolene! You may not achieve the same texture now, as the whipping cream won’t be able to become as light and voluminous, but it should still taste great! Let us know how it went 🙂