This post may contain affiliate links. Read our disclosure policy.
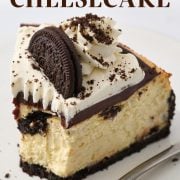
Get ready to fall in love with my Oreo Cheesecake recipe.
Seriously, who doesn’t love an Oreo? They’re the highest-selling packaged cookie in the world for a reason!
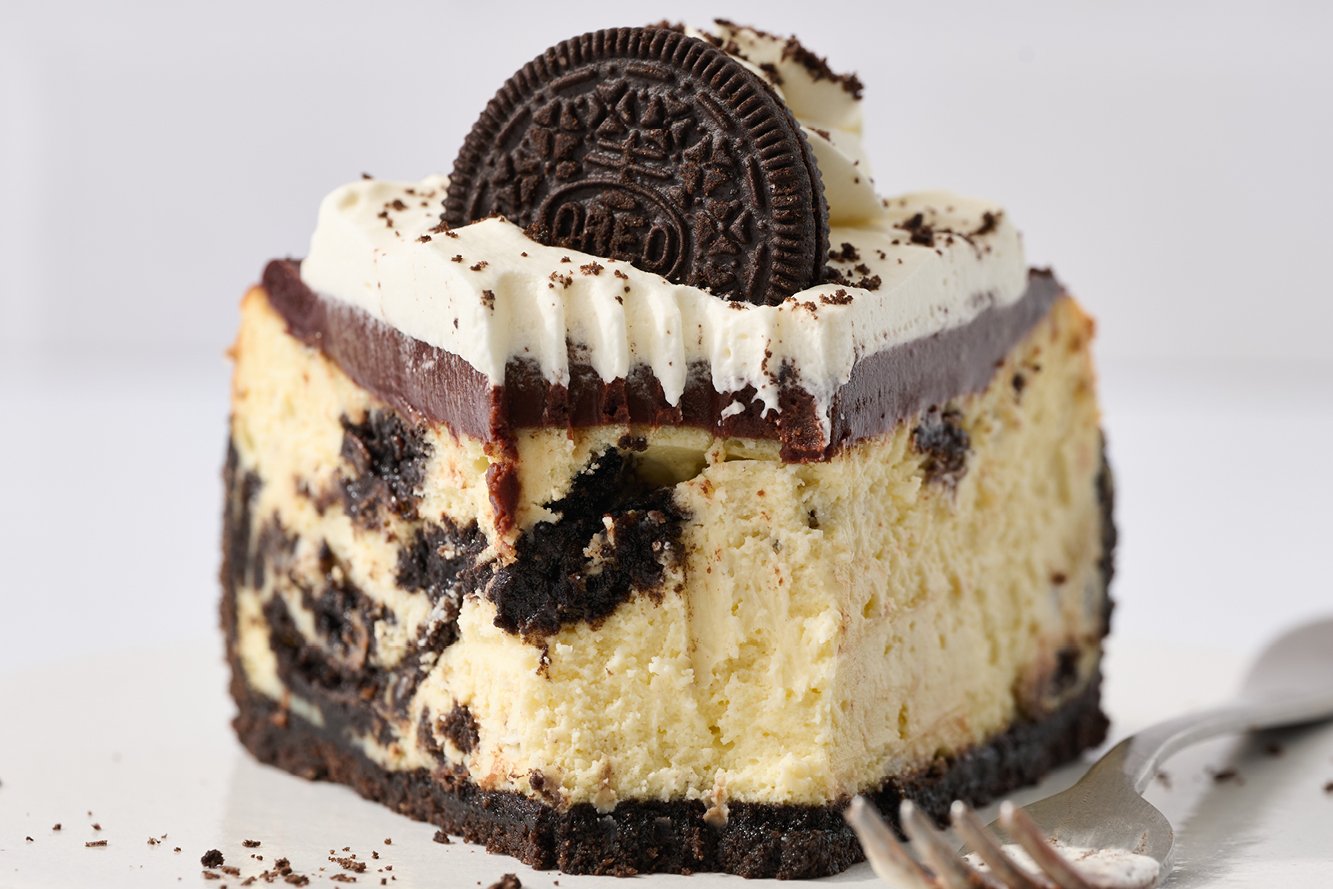
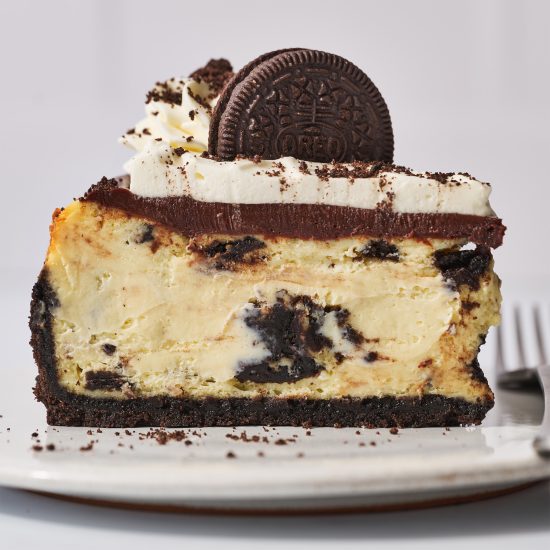
This recipe combines my love for Oreo cookies with creamy, tangy cheesecake, into one gloriously decadent dessert.
As with any cheesecake, it’s not the quickest process in the world – but it’s definitely worth the wait when you sink your teeth into this smooth, Oreo-studded cheesecake. Not to mention it’s beyond impressive to bring for the next potluck or party.
Bonus: you don’t even need a water bath to bake this baby!
How to Make Oreo Cheesecake
What Kind Of Oreos Do I Need For Oreo Cheesecake?
Use regular whole Oreos and don’t remove the filling. We haven’t tried this cheesecake using flavored or Double Stuf Oreos, so we can’t say for sure how well either will work, but let us know in the comments below if you experiment with this.
How to Make the Creamiest Oreo Cheesecake
- Use full-fat bricks of cream cheese (not the stuff in tubs meant for smearing on bagels) that are completely softened to room temperature for the smoothest texture.
- Use full-fat sour cream. This lends additional creaminess to the cheesecake, as well as a delightful tangy flavor to balance the sweetness of the Oreos.
- Don’t overbeat the cheesecake filling once the eggs are added! This will cause the cheesecake to sink in the center and crack more.

Can I Make This into Mini Oreo Cheesecakes?
We haven’t tried that, but I have a very similar recipe for Cookies & Cream Cheesecake Cupcakes here. PS: this was my first ever blog post to go viral back in the day!
What’s the Best Pan For Baking Cheesecake?
- This recipe requires a 9-inch diameter springform pan like this one, which holds 10 cups of batter.
- Please note that not all springform pans are made equally. Just because your pan is 9-inches in diameter doesn’t necessarily mean it has a 10-cup batter volume capacity. Brands may vary slightly.
- Luckily for this recipe, the batter can stand pretty close to the top of the pan since it won’t rise much in the oven so long as you didn’t overbeat the batter.
- Avoid cleaning your springform pan in the dishwasher. Hand washing will extend the life of a springform pan and maintain its nonstick coating.
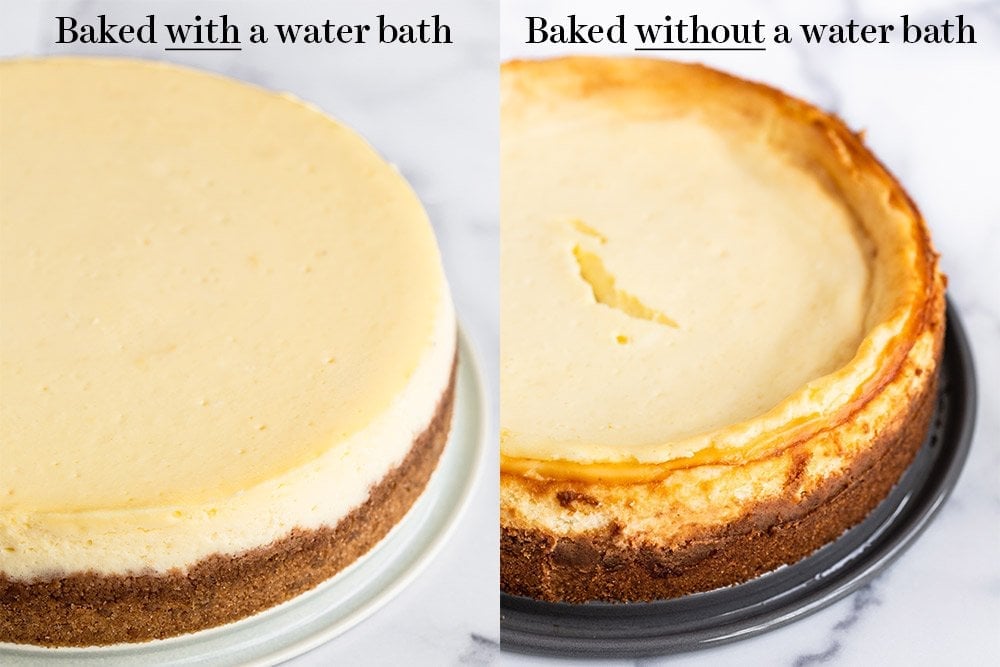
Do I Need To Use a Water Bath For Oreo Cheesecake?
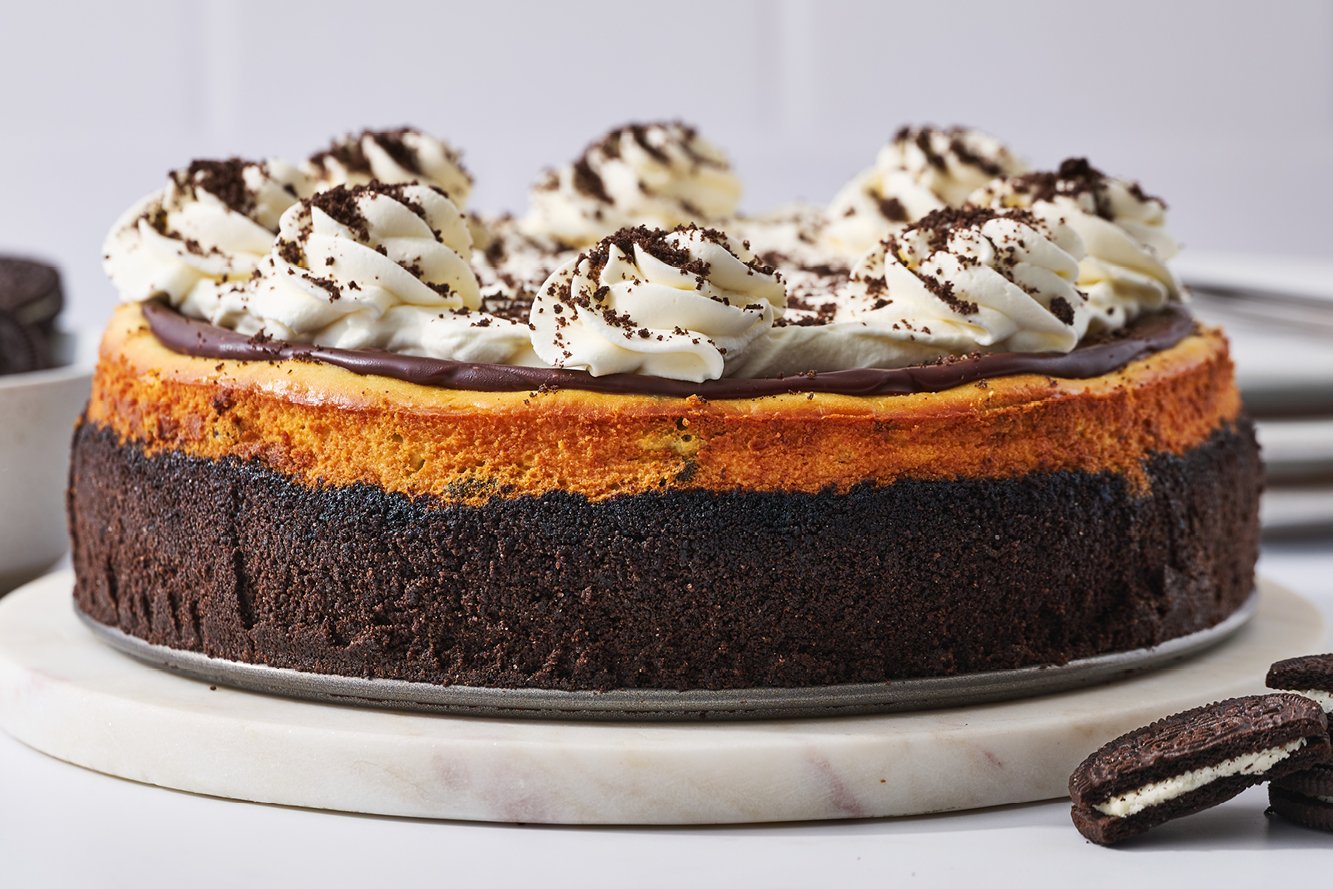
You can, but it’s not necessary. Cracks aren’t a big deal here since we’re covering the cheesecake with ganache and homemade whipped cream. We can still achieve a nice, smooth cheesecake by doing three things:
- Bake low and slow. This cheesecake bakes at 325°F. Monitor your oven’s temperature with an oven thermometer. Avoid opening the oven door any more than necessary, as this causes the temperature to fluctuate.
- Slow cooling. Once baked, turn off the oven and allow the cheesecake to cool in the oven for half an hour, with a wooden spoon wedged in between the oven and the door, to allow the oven to slowly cool. Then remove from the oven and allow it to cool completely at room temperature, before placing in the refrigerator overnight (or for at least 5 hours).
- Release from the sides. Run a flexible knife or a thin rubber spatula around the edge of the cheesecake pan after removing from the oven, so it can release from the edges of the pan. This helps prevent cracks.
If you prefer to use a water bath, follow the guidelines I outline in my How to Make A Water Bath for Cheesecake article here.
Additional Decoration Ideas
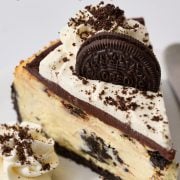
I have included instructions for topping your Oreo Cheesecake with chocolate ganache and homemade whipped cream. If you’re a big chocolate lover and want even more of a showstopping cheesecake, top with some of my Homemade Oreo Truffles. Cut the recipe in half (unless you want a full batch!) and omit the peppermint extract and crushed peppermint. After allowing the chocolate-dipped truffles to set, drizzle with melted white chocolate and place in the middle of your cheesecake, for an incredible centerpiece everyone will rave about.
How Do I Tell When Cheesecake Is Done Baking?
- Err on the side of underbaking. Do not overbake! An overbaked cheesecake will be dry and even rubbery.
- Your cheesecake should look dry at the edges but slightly wobbly or jiggly like Jell-O in the center.
- If you have a digital instant-read thermometer, the internal temperature should be 150°F.
- Remember, the residual heat of the oven will continue to cook the cheesecake even after the heat has been turned off.
- The cheesecake will also continue to set up as it chills.
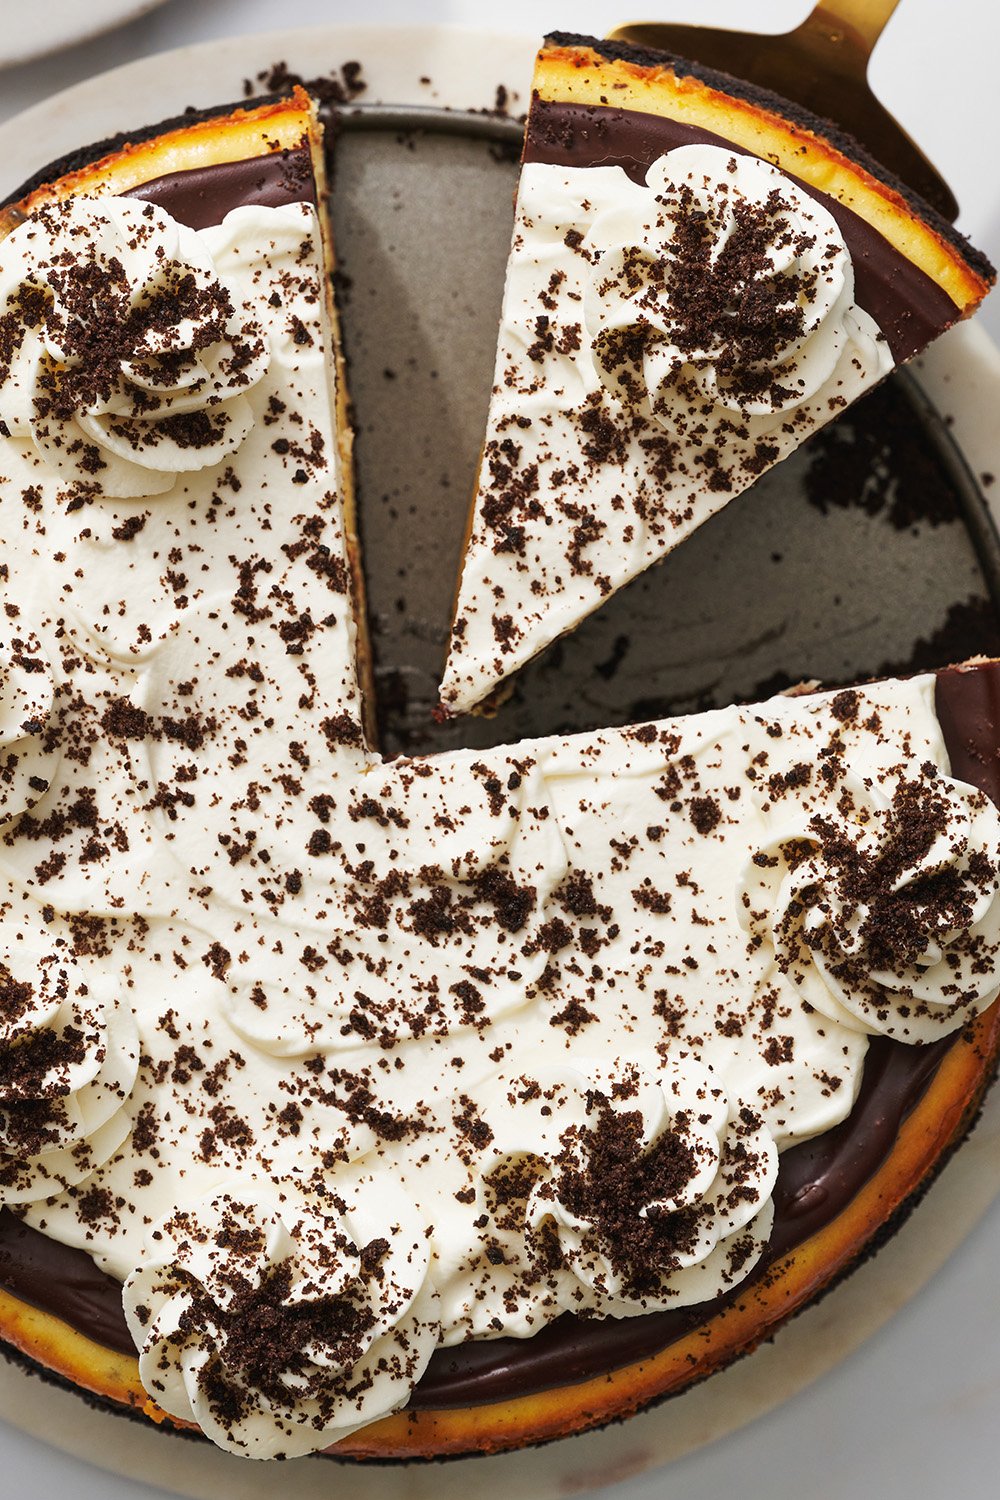
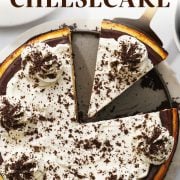
How to Perfectly Slice Cheesecake
- Make sure your cheesecake is very well chilled before slicing, so it holds its shape.
- Use a sharp chef’s knife, like this one.
- After every slice, run the knife under hot water and carefully wipe the blade dry. This creates beautifully clean slices.
How Long Does Oreo Cheesecake Last?
Store cheesecake covered in the fridge for up to 5 days. For longer storage, see freezing instructions just below.
Can you Freeze Cheesecake?
Yes! Cheesecake freezes very well without the whipped cream.
- To freeze a whole cheesecake: Wrap the cheesecake well in plastic wrap and place in a freezer bag or airtight container. Freeze for up to 2 months.
- To freeze individual slices: Place cheesecake slices on a baking sheet inside the freezer until just firm. Wrap slices individually in plastic wrap and place in a freezer bag or airtight container. Freeze for up to 2 months.
- To thaw: Defrost a whole cheesecake in the fridge overnight before slicing and serving. Defrost individual slices in the fridge overnight, or at room temperature for 30 minutes before serving.
More Cheesecake Recipes
For the crust:
-
32
(367 grams) Oreo cookies* (regular-stuffed, keep filling intact),
divided
-
4
tablespoons
(57 grams) butter,
melted
For the filling:
-
32
ounces
(907 grams) cream cheese,
completely softened to room temperature
-
5
large eggs,
at room temperature
-
1
cup
(200 grams) granulated sugar
-
1/2
cup
(119 grams) sour cream,
at room temperature
-
1 ½
tablespoons
vanilla extract
-
20
(230 grams) Oreo cookies,
quartered
For the ganache:
-
1
cup
(170 grams) semisweet chocolate chips
-
1/2
cup
(119 grams) heavy cream
For the whipped cream, optional:
-
1
cup
(237 grams) heavy cream,
cold
-
2
tablespoons
powdered sugar
-
1
teaspoon
vanilla extract
Make the crust:
-
Preheat the oven to 325°F. In the bowl of a food processor, process the cookies until they are finely ground crumbs. Remove 22 grams (about ¼ cup) of crumbled Oreo and place in a small sealed container. This will be used later for topping your cheesecake.
-
To the food processor, add the butter and pulse until moistened. Press into the bottom and half up the sides of a 9-inch nonstick springform pan. Place the pan on a rimmed baking sheet and bake for 10 minutes. Maintain oven temperature.
Make the filling:
-
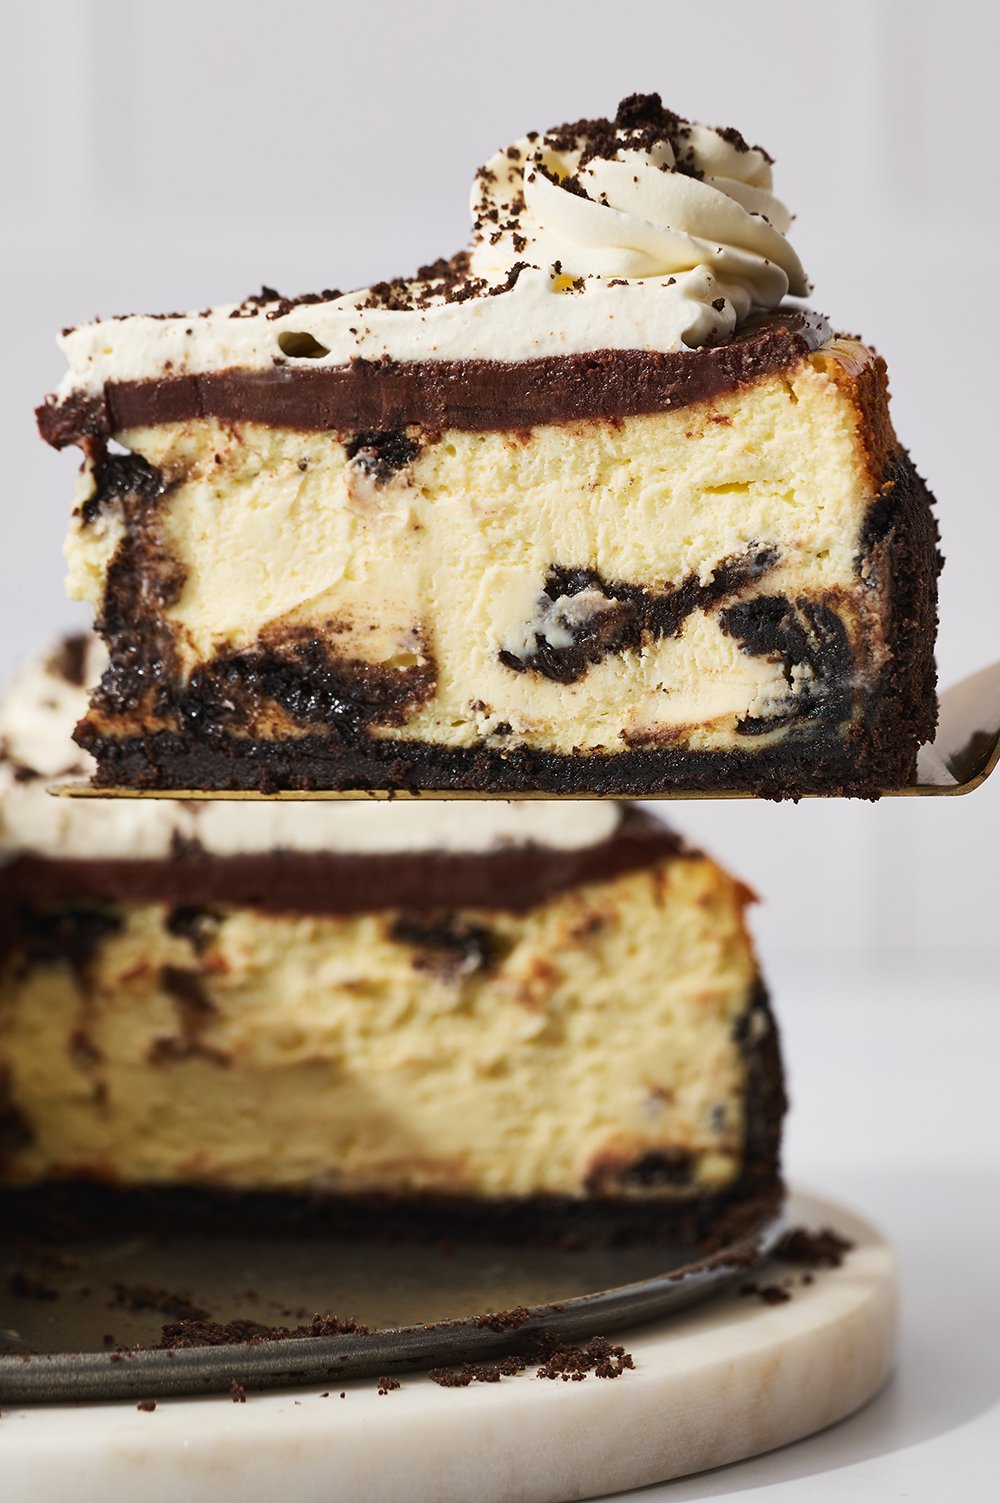
While the crust bakes, in the bowl of an electric mixer, beat the cream cheese until smooth. Add the eggs one at a time, blending after each addition until just combined. Scrape down the sides and bottom of the bowl. Add the sugar, sour cream, and vanilla and beat on low until combined. Be careful not to overmix. Using a spatula, fold in the Oreo cookies.
-
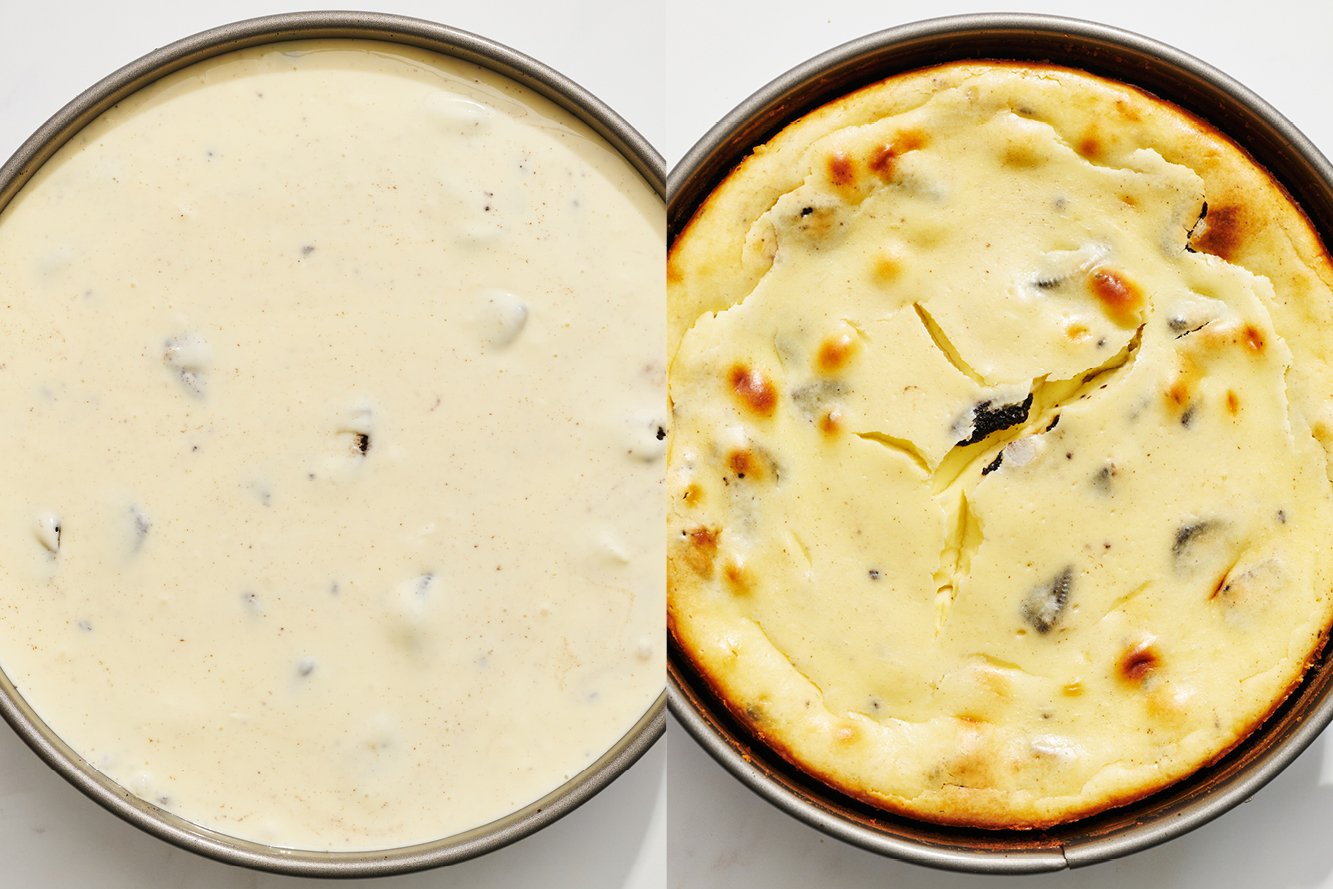
Pour the batter into the baked crust. This will fill your pan to about 80%, but don’t worry about it overflowing in the oven. With the pan still on the baking sheet, bake for about 1 hour, or until set and the edges and top look slightly dry. If the middle is slightly wobbly, that’s fine. Err on the side of underbaking rather than overbaking.
-
Turn off the oven heat and open the oven door by 1 inch. I use a wooden spoon to keep it open. Let the cheesecake cool inside the oven for 30 minutes. This helps to prevent large cracks from forming.
-
Run a thin-bladed flexible knife around the edge of the cheesecake to make sure it's not sticking to the sides (which can cause cracks as it cools). Don’t worry if your cheesecake looks lumpy, no one will know once you top with ganache and whipped cream. Let the cheesecake cool completely to room temperature on a wire rack, about 2-3 hours. Refrigerate overnight until completely chilled, or for at least 5 hours. Release the cheesecake from the pan onto a cake stand or serving plate.
Make the ganache:
-
Place the chocolate chips in a medium heatproof bowl. In a small saucepan, heat the cream just until simmering. Pour over the chocolate chips. Let sit for 3 minutes before stirring until the mixture is melted and smooth. Let cool slightly until thickened. Pour over the cheesecake and smooth evenly. Place cheesecake in the fridge to slightly set the ganache while you make the whipped cream.
Optional: Make the whipped cream:
-
Use an electric mixer to beat the cream, powdered sugar, and vanilla on high speed until stiff peaks form.
-
Using a spatula, place half of the whipped cream on top of the cooled and slightly set ganache. Smooth to meet ganache at the edges of the cheesecake. Place the remaining half of the whipped cream in a piping bag fitted with Wilton 1M tip. Pipe swirls around the outer edge of the top of the cheesecake. Lightly sprinkle the saved Oreo crumbs on top of each piped swirl, then pour the remaining crumbs in the center of the cheesecake, gently spreading evenly.**
-
Serve or cover and store in the fridge for up to 2 days.
* Get a Party Size pack (not Family Size!) of Oreos to ensure you have enough Oreos for the crust and filling. This size contains just over 60 Oreos, whereas a Family Size pack contains ~45 cookies, which is not enough for this recipe.
** For added elegance and chocolate lovers only, top with my Homemade Oreo Truffles.
This recipe was originally published in 2015 and has been updated with recipe improvements, additional baking tips, and photos. Photos by Joanie Simon.


Tess, if I have read the recipe, I would make the cheesecake for T-day on Tuesday so that it could be in the refrigerator overnight. So then would you recommend that I do the ganache on Wednesday put it back in the fridge and then the whipped cream on Thursday morning?
Thank you in advance for your help
Hi there! Yes, making your cheesecake Tuesday, topping with ganache Wednesday and adding the whipped cream at some point Thursday (the closer to serving time, the better – but a few hours will be perfectly fine) and then serving Thursday afternoon/evening will work just fine! Happy baking 🙂
Looking to make this for a xmas party this weekend! will be my first cheesecake and I’m just wondering, if I wanted to do a water-bath, just so the inside is as perfect as can be, are there any mods to the recipe?
I read your water-bath recipe as well and it mentioned 1 hour and 15 min at 325… so would that be correct in this case?
Any assistance would be greatly appreciated and thanks so much for all the recipes!
yaz
Hi Yaz! We haven’t tried this recipe using a water bath, and as Tessa mentions in the pink Tip Box above the recipe, it’s not important here because cracks won’t be visible! If you want to give it a try regardless, following all Tessa’s tips and tricks in this article will be perfect – no modifications necessary. Let us know how it goes! 🙂
This is the 3rd handle the heat recipe I have made and just like the other 2, it did not disappoint. This was easy to make and it impressed everyone at Christmas dinner! Instead of making the oreo truffles, I used the extra heavy cream to make homemade whipped cream which I stuck in a piping bag with a star tip. I topped each piece off (as I served it) with whipped cream and a 1/4 of an oreo. This was extremely delicious! Can’t wait to have an occasion to make this again!
It’s official! I’m upset! I want to make this RIGHT NOW, but I have to wait until I’ll have more money to go shopping with! Now I’m saving up for my HS Reunion…the timing of this recipe for me…stinks! But I will make it & for now…I’ll have to stop looking at the pictures & trying my eyes out! Dear L-rd ot looks Scrumpdillyumptious!☺❤
Hi Tessa!
Would this recipe still work if I were to make in mini cupcakes size? Should I cut down the baking time?
Thank you in advance,
Janice
All of your recipes are wonderful, just wish i could print off all the tips that you put with them. thanks again
OMG!!!!! I asm soooo making this for Thanksgiving!! Just one more thing to be thankful for!! LOL!!!
Um, this is AMAZING, Tessa! I’m drooling. Love the truffles on top! So perfectly decadent.
So much YUM!!! i think I gained 10 lbs. just looking at it 🙂
OMG, if this is not a sinful dessert, then I don’t know what is. It looks amazing!
This is pure heaven and just pure genius! I just can’t even look at it without drooling!