This post may contain affiliate links. Read our disclosure policy.
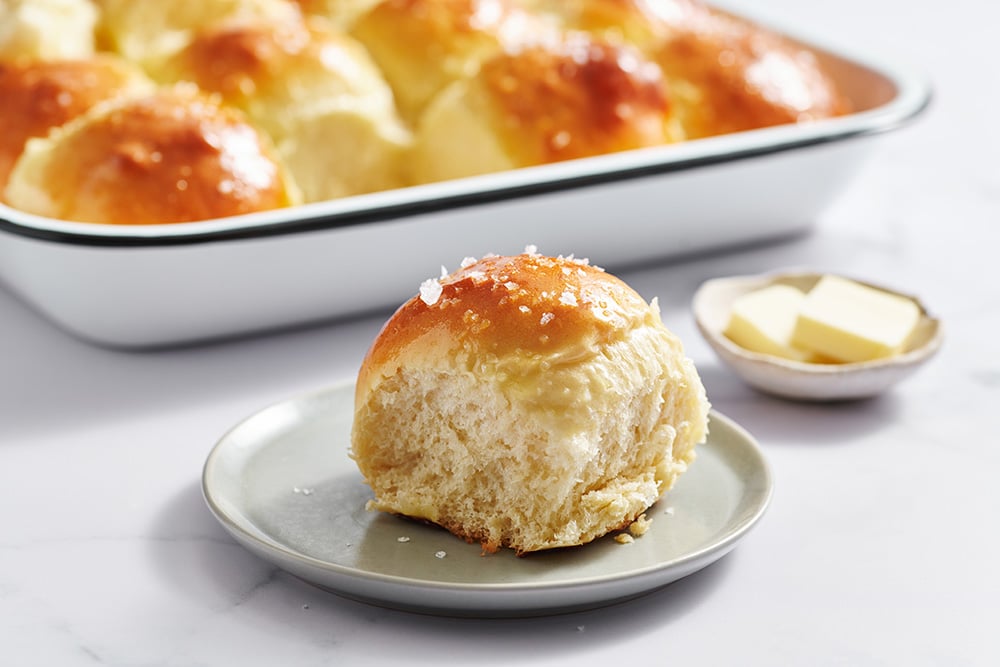
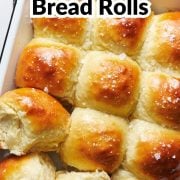
This Ultimate Dinner Roll recipe is the most delicious dinner roll recipe you and your family will ever try!
There’s no need to be intimidated by homemade yeast bread baking – especially with a practically foolproof recipe like this one for the best-ever Ultimate Dinner Rolls.
I promise this dinner roll recipe is way easier than it may seem. These will become the surprise star of your Thanksgiving dinner table, Easter brunch, or just your Sunday night family dinners!
I actually originally developed this recipe in 2013 after testing tons of tweaks on dinner rolls for my Ultimate Dinner Roll Guide post here. I learned exactly what made homemade dinner rolls fluffy or hard, tender or crusty, and compiled my favorite tweaks to create this recipe for Ultimate Dinner Rolls!
Over the years, I’ve continued to tweak and improve the recipe to make it even more soft, fluffy, and flavorful.
I hope you give this dinner roll recipe a shot soon. If you’re still nervous about working with yeast, get my *free* Beginner’s Quick Guide to Bread here.
How to Make the Ultimate Dinner Rolls
Top Tips for Fluffy, Soft Dinner Rolls
- Avoid adding too much extra flour to the dough. This dough is enriched with milk, butter, and sugar. These ingredients slow down gluten development and can make the dough a little sticky. Your instinct might be to add extra flour; however, any extra flour will create a denser, tougher roll instead of the light, fluffy, soft dinner roll we want.
- Measure your flour correctly. I highly recommend using a digital kitchen scale for accuracy, but if you don’t have one, be sure to use the spoon and level method to ensure you’re not accidentally compacting too much flour in your measuring cups. Learn more about that here.
- Don’t skip the sugar. There’s just a touch in these dinner rolls, to help make the rolls tender and golden brown. Learn more about sugar’s role in baking here (spoiler alert: it does SO much more than simply sweetening!)
Do I Have to Use Bread Flour?
Bread flour has a higher level of protein content than all-purpose flour, which helps create tall dinner rolls with a nice chewy, fluffy texture. If you don’t have bread flour, use the same amount of all-purpose flour – but your rolls may just be slightly shorter and less chewy, and may take longer to knead and rise.
Which Yeast Is Best to Use For Dinner Rolls?
- This dinner roll recipe utilizes a shortcut ingredient: instant yeast, also called rapid-rise or quick-rise yeast.
- One of the three should be available at most grocery stores or you can buy my all-time favorite yeast on Amazon.
- These types of yeast are specifically formulated to allow you to skip proofing (aka the step where you combine the yeast with warm liquid for 5 minutes). You can add instant yeast directly into the mix with all of the ingredients.
- If you don’t have or can’t find instant yeast, you can easily use active dry yeast instead. Add it right in with the dry ingredients like instant yeast – just know the dough will take about 20% more time to rise.
- Or, to speed up that rise time slightly, simply combine it with the warm water and milk called for in the recipe and allow it to proof for 5 minutes before adding into the bowl with the other ingredients.
What Type of Milk Should I Use?
Whole milk produces the absolute best flavor and texture. I don’t recommend using a non-dairy or low-fat milk unless you absolutely must.
What Type of Salt for Dinner Rolls?
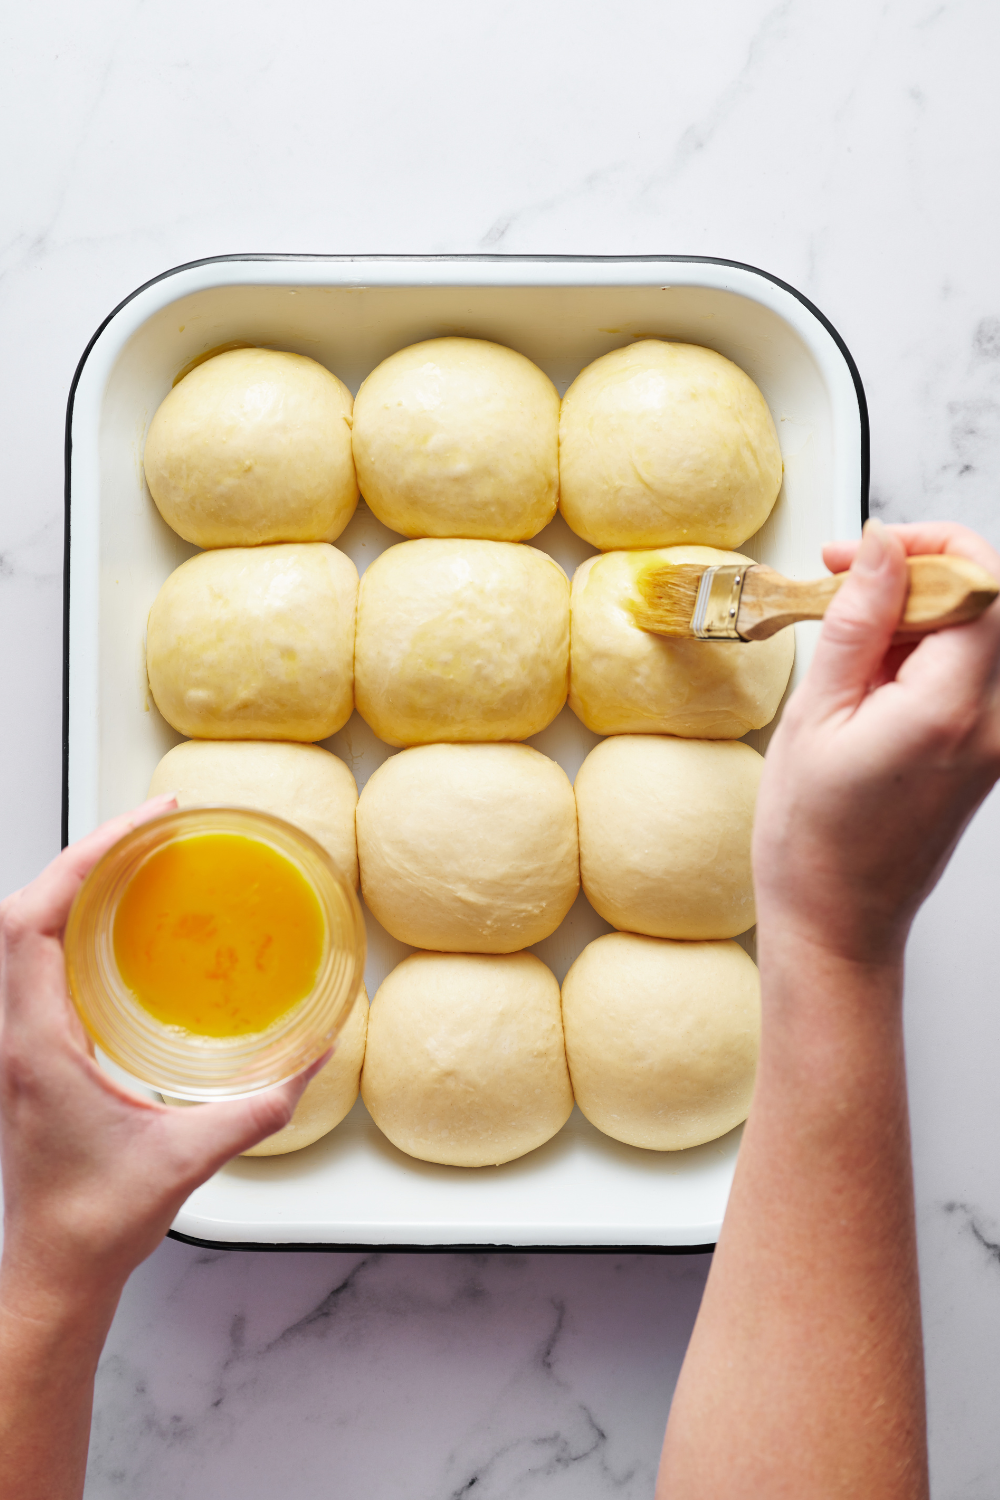
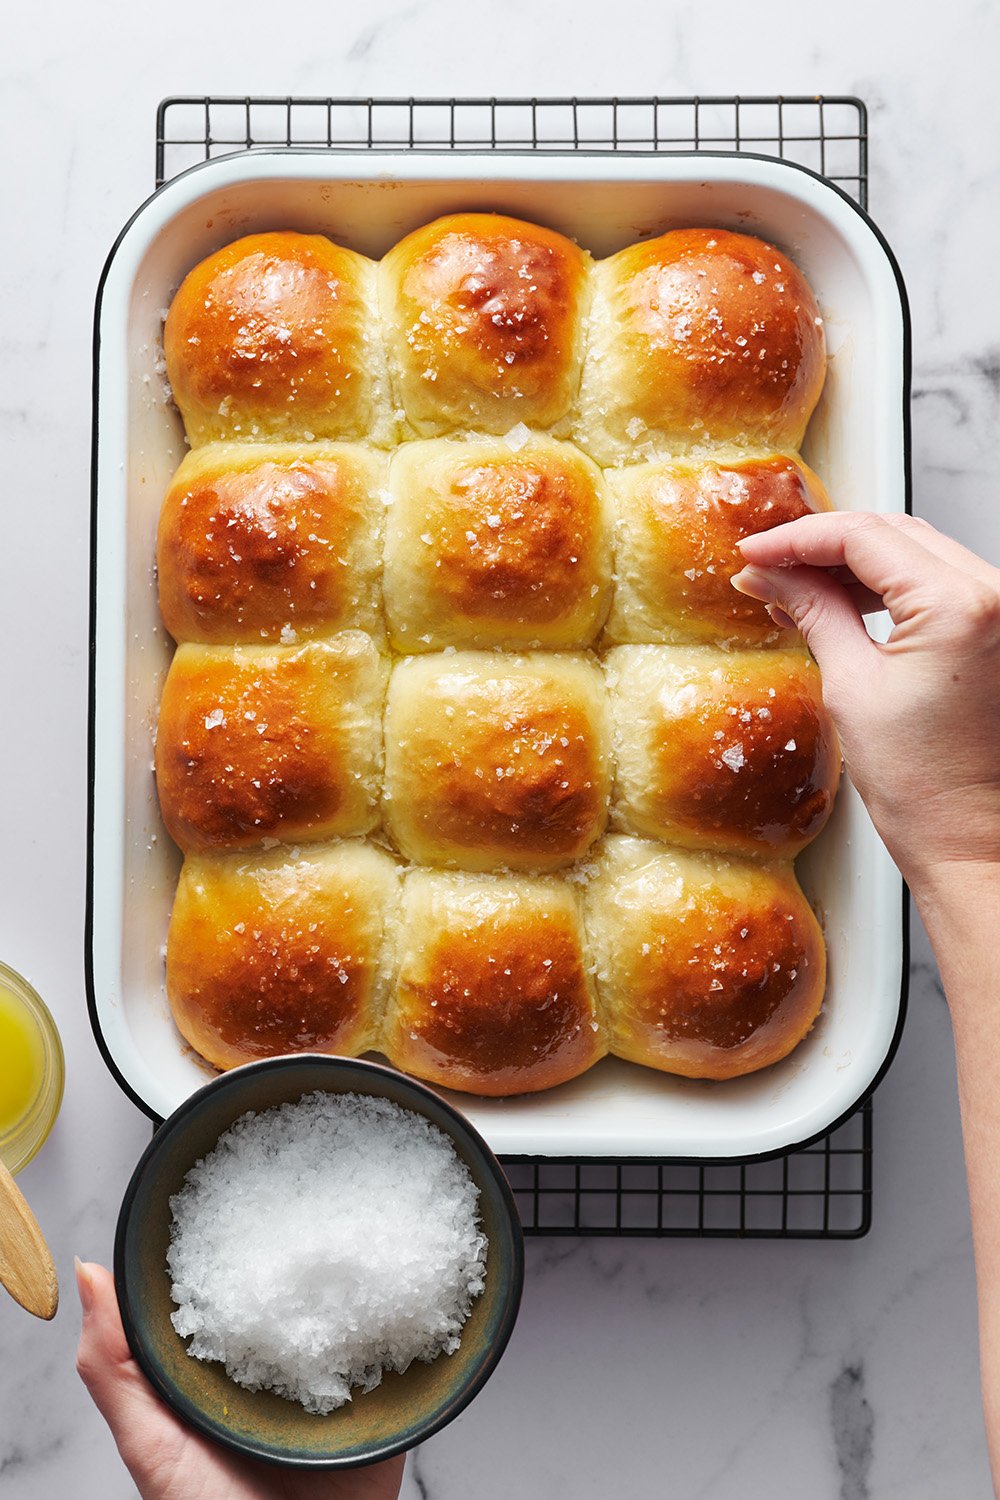
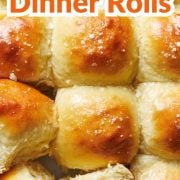
I recommend using fine sea salt inside the dinner rolls, and I also love sprinkling flaky sea salt on top of the freshly baked and buttered rolls, for even more flavor. Learn more about different types of salt here.
Can I Knead the Dough By Hand?
Yes! I call for a stand mixer to make easy work of kneading in this dinner roll recipe, but you can also knead by hand. Be sure to knead the dough properly, until the dough is smooth and elastic, to get rolls that hold their shape and bake up nice and fluffy. You can see my full tutorial on how to knead dough here.
How to Tell When Dough Is Risen
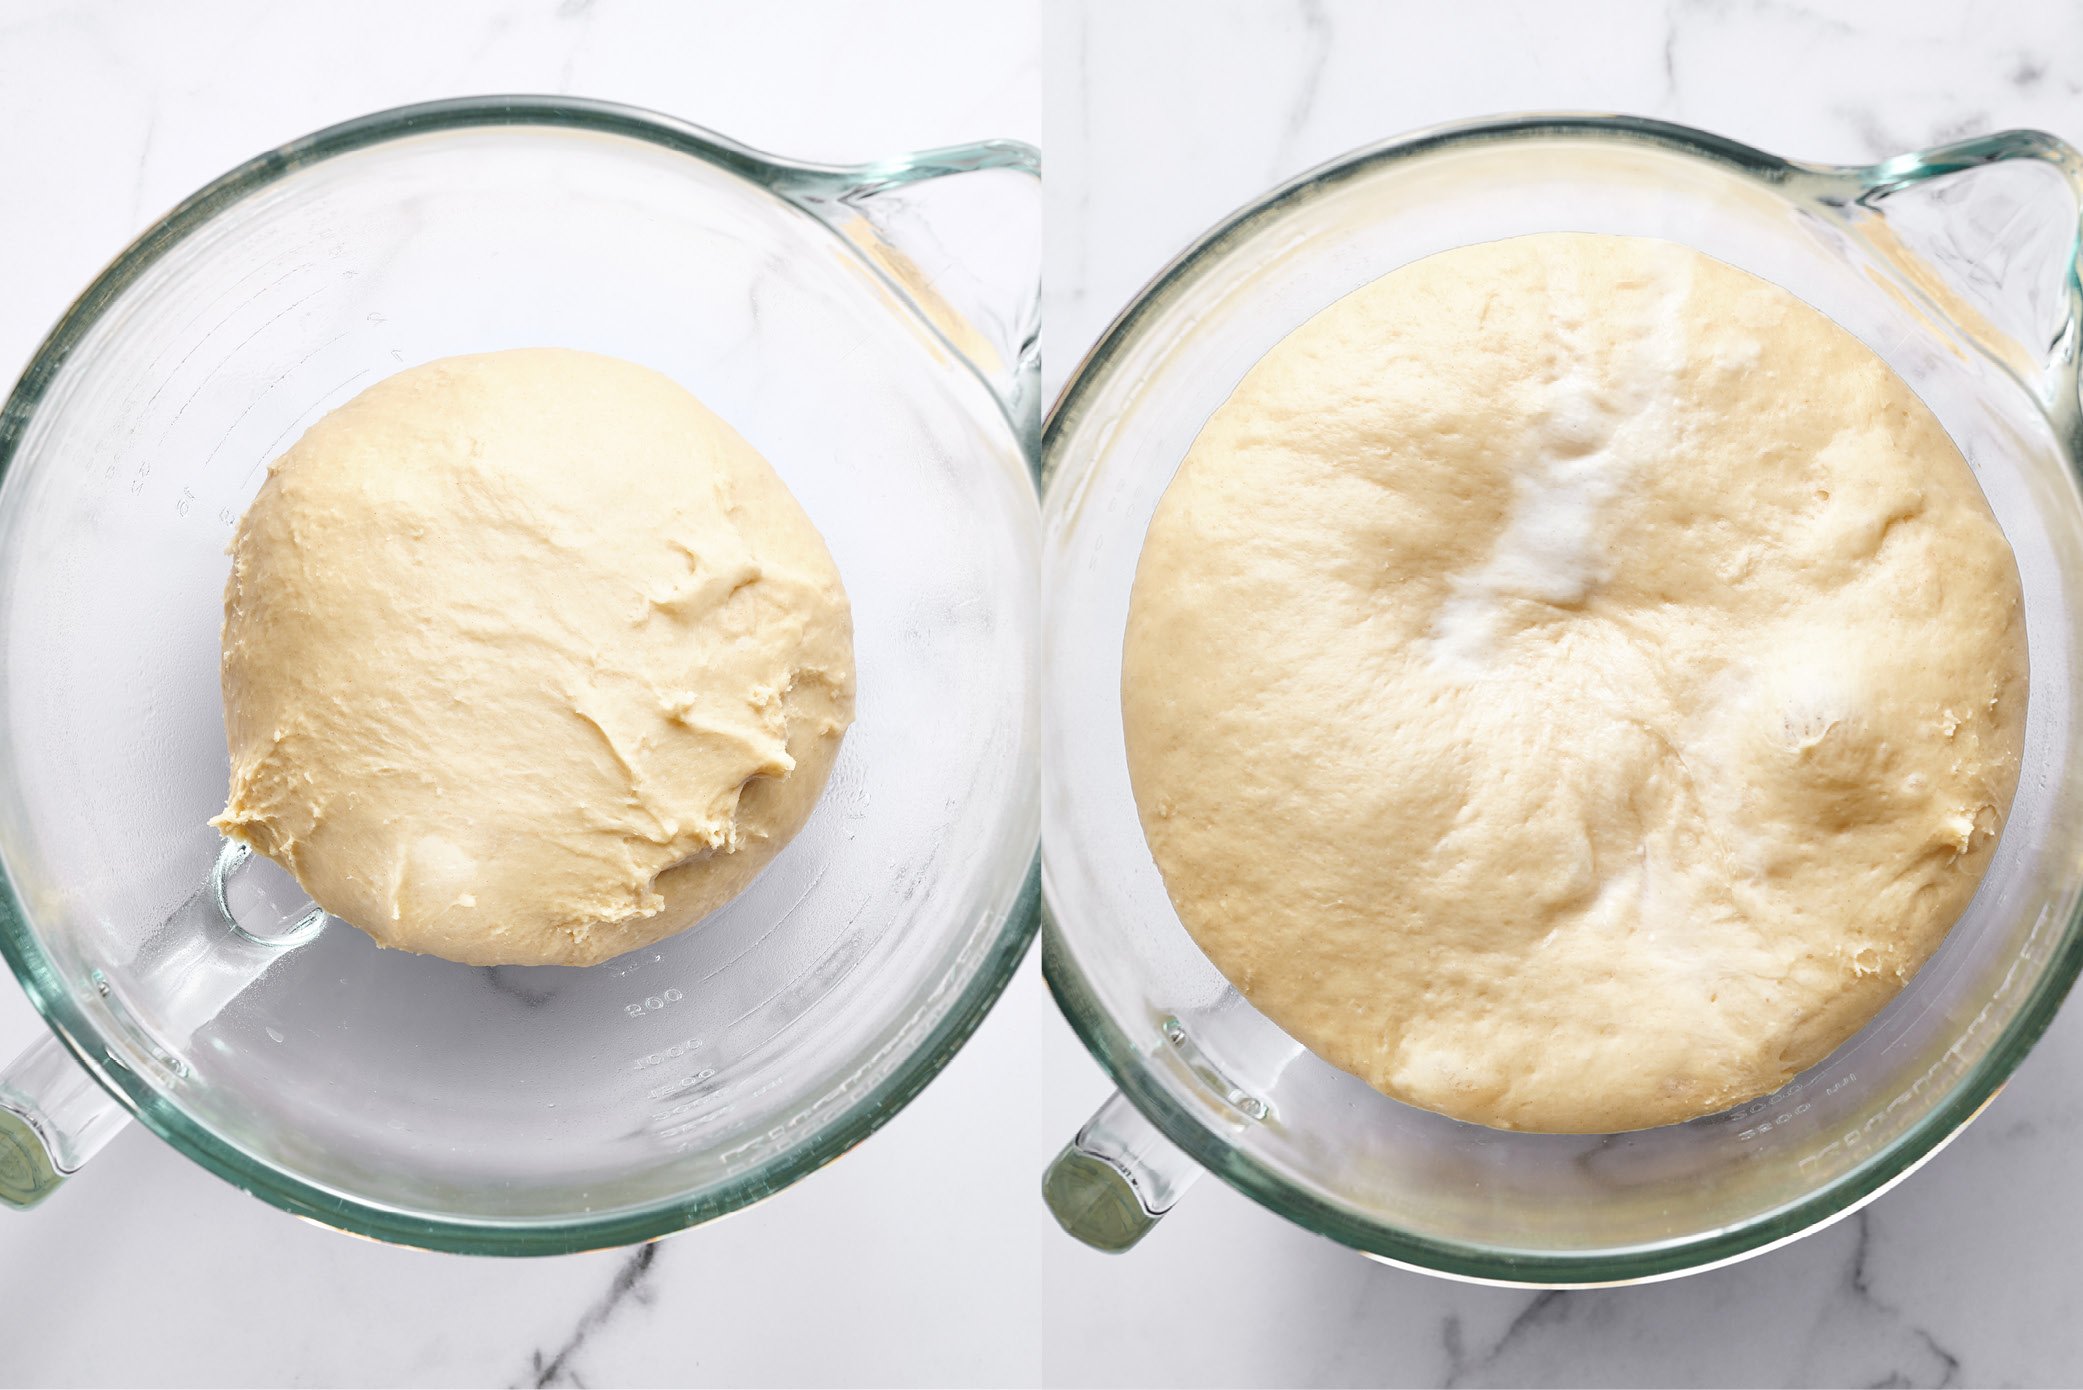
After kneading, shape the dough into a ball. Place in a lightly oiled mixing bowl. I like to use glass so I can see how much it’s rising. I’ll even snap an iPhone picture of the dough before rising so I can compare later. The dough should be turned over to oil the top so that it doesn’t dry out. Cover the bowl with plastic wrap, foil, or a clean kitchen towel. Let the dough rise in a warm, draft-free location. Ideal rise temperatures are between 80°F and 90°F. Lower temperatures will require more rising time; warmer temperatures will mean a shorter rising time.
The dough is done rising when it’s about doubled in size and passes the “ripe” test: gently stick two fingers in the risen dough up to the second knuckle and then take them out. If the finger marks remain, the dough is ready for shaping into balls. If not, cover and let the dough rise longer until it is.
The same finger test can be done again when the rolls are shaped before baking. Here’s what my dough looked like before and after rising:
How to Shape Bread Rolls
- Once the dough is risen, press it down to gently deflate.
- Place the dough onto a clean surface (not a floured surface).
- Use a bench scraper to section the dough into 12 equal pieces. Don’t worry if they’re not perfectly equal in size. However, if you’re a perfectionist, you can weigh the entire mass of dough, divide that number by 12, and then portion each piece perfectly by weight.
- As you’re shaping each piece into a round, make sure to pinch the dough into one central point to create a tight ball. This will help the rolls rise beautifully. Don’t flour your work surface when shaping the rolls because you want some resistance to roll them into taut balls.
You can also get creative with shaping this dinner roll recipe! Check out my article for 5 Ways to Shape Bread Rolls here.
What Type of Pan for Dinner Rolls?
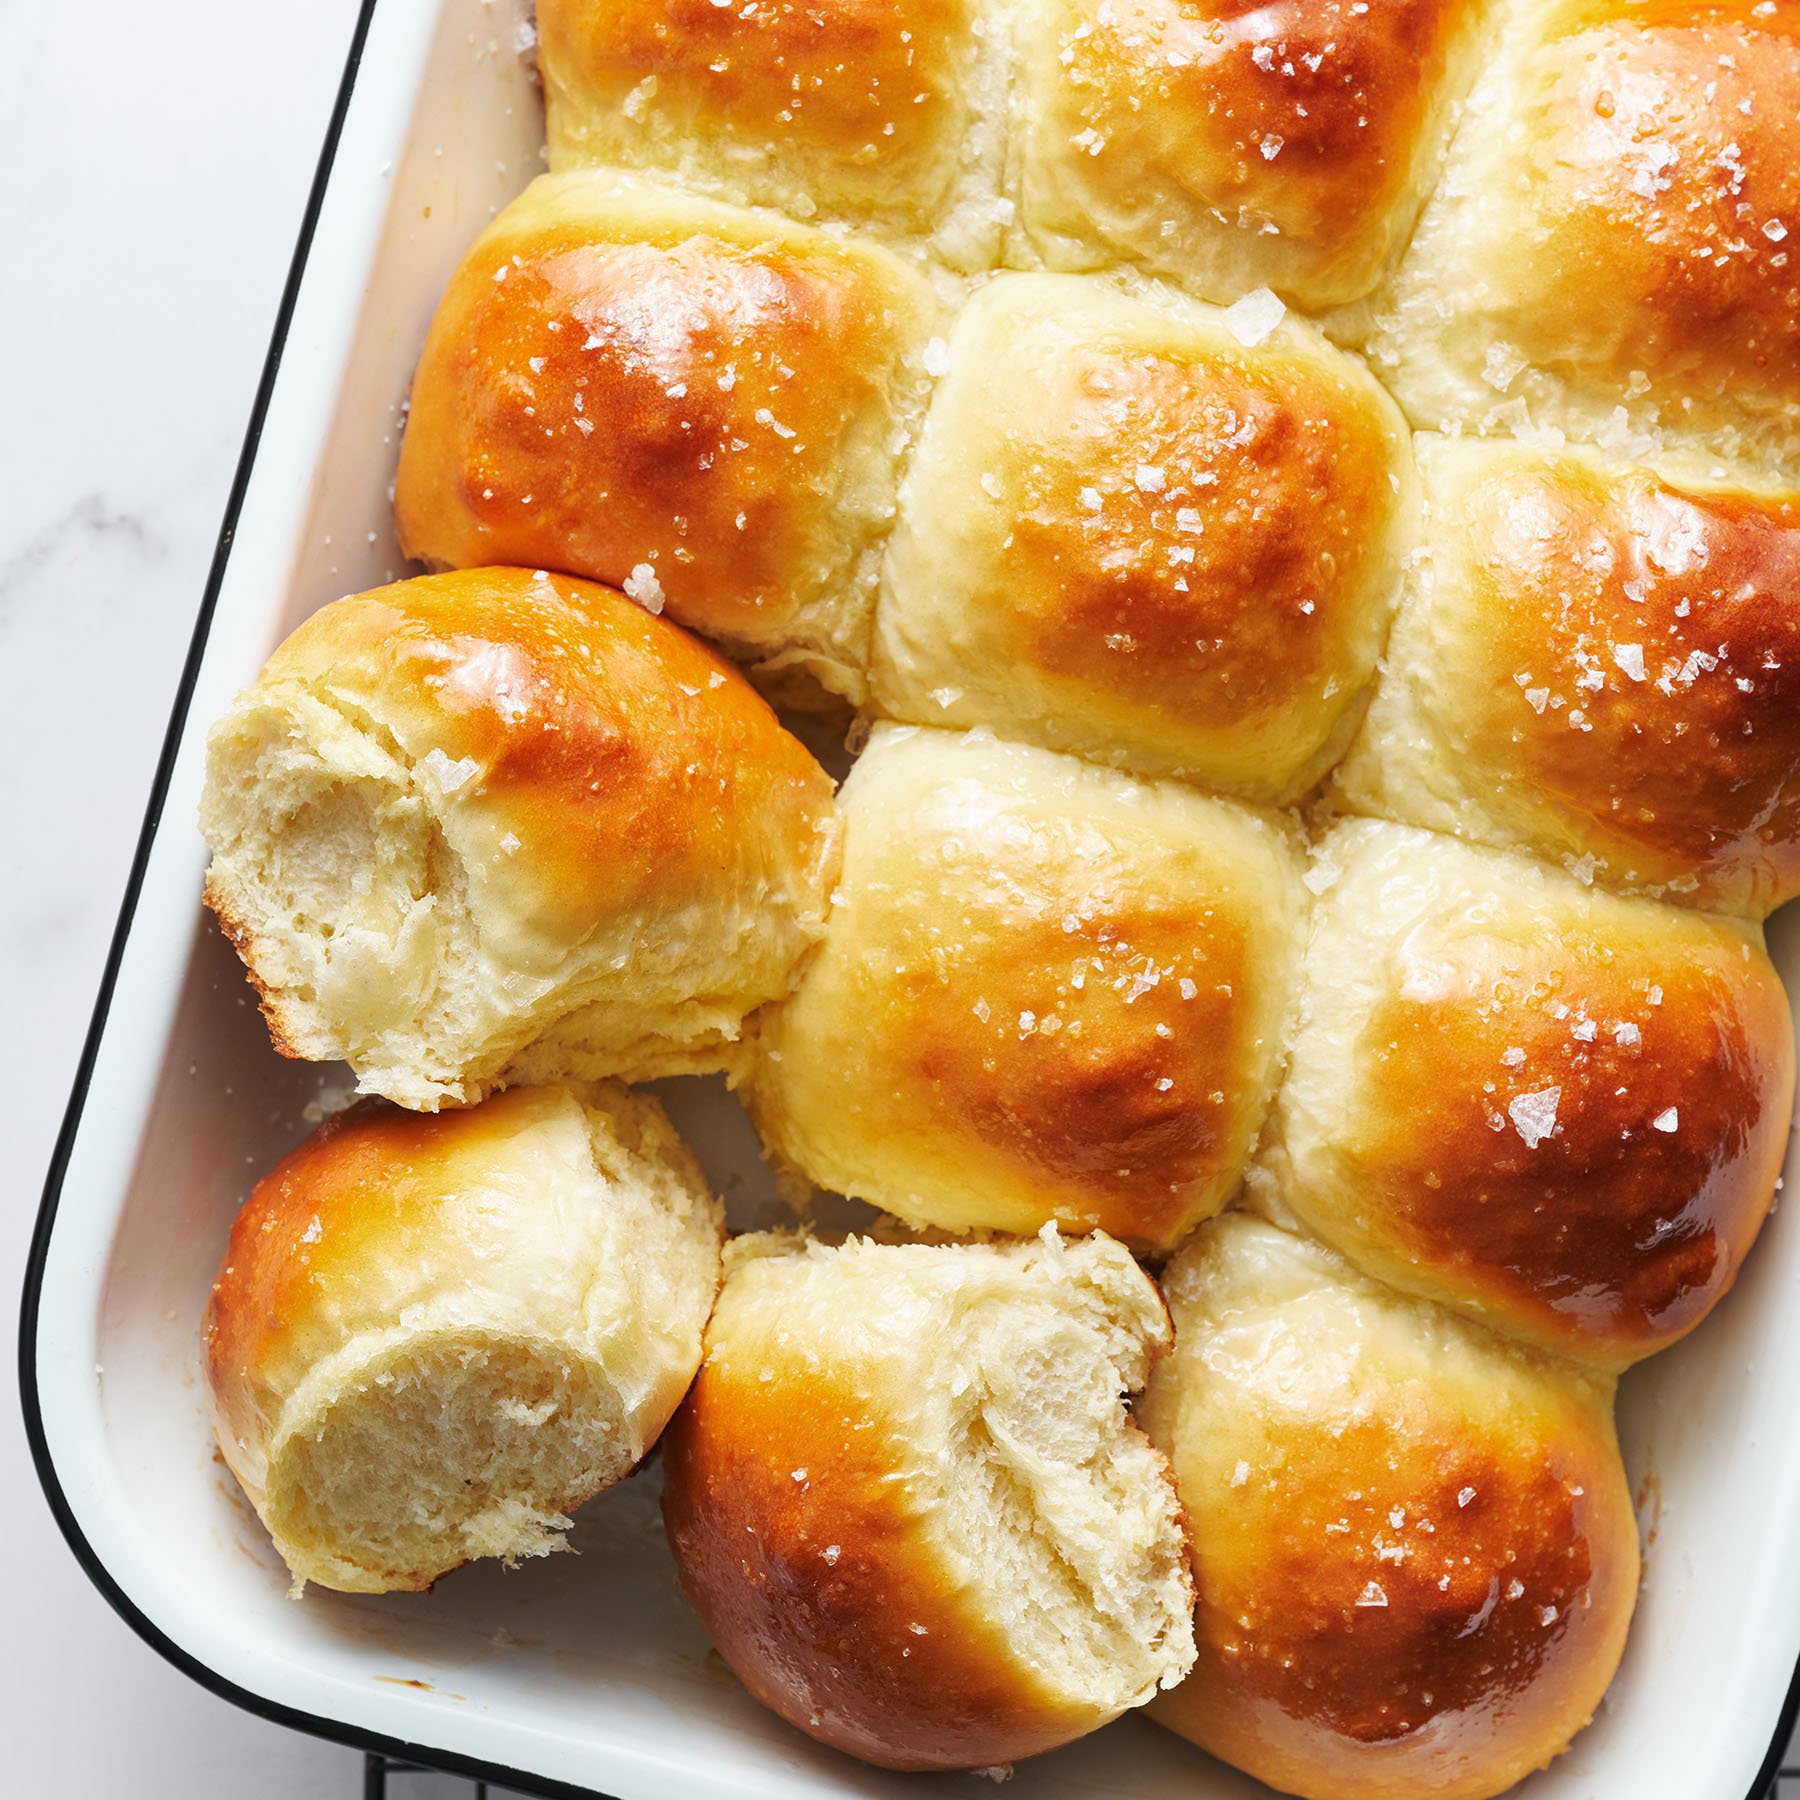
This recipe was written to use a 9×13-inch baking pan. While I usually prefer metal baking pans over glass or ceramic (metal conducts heat more efficiently), I actually prefer the table presentation ceramic pans offer when making dinner rolls. Also, because ceramic (and glass) conduct heat more slowly than metal, it allows these rolls to stay soft in the centers.
How to Make Dinner Rolls Ahead of Time
Most yeasted doughs can be made ahead of time and baked off later by simply chilling the dough. Refrigerating basically stunts the rise time and can actually allow more flavor to develop!
For this dinner roll recipe, here’s my recommended method:
- Make the dough all the way through to rising once and shaping into rolls.
- Once the rolls are shaped, cover the pan well with plastic wrap and place in the refrigerator for up to 24 hours.
- When ready to bake, bring to room temperature as the oven preheats before baking as the recipe directs.
- If the rolls haven’t doubled in size yet, allow to sit at room temperature until they do.
- The rolls are best served the day they’re baked. However, you can easily reheat the rolls briefly in the oven or toaster oven at 300°F until warmed through to refresh before serving.
If you need to prep these rolls further in advance, see the freezing instructions just below.
How to Freeze Dinner Rolls
- Freeze the dough after it has risen for the first time and been shaped.
- Place the rolls in a baking dish, cover tightly with plastic wrap, and store in the freezer for up to 2 months.
- When ready to bake, loosen the plastic wrap and thaw to room temperature.
- Let rise until an indentation made with your finger into the dough remains.
- Proceed with the recipe as written.
More Dinner Roll Recipes You’ll Love:
-
1/4
cup
lukewarm water
-
1
cup
warm milk (100 to 110°F)
-
1
tablespoon
unsalted butter,
melted plus more for greasing
-
2
large eggs,
lightly beaten
-
2
tablespoons
granulated sugar
-
1 1/2
teaspoons
fine salt
-
2 1/4
teaspoons
(1 packet) instant yeast
-
4 1/2
cups
(572 grams) bread flour
For egg wash & finishing
-
1
egg,
lightly beaten
-
Melted butter
-
Flaky sea salt,
for sprinkling
-
Combine the water, milk, 1 tablespoon of the melted butter, eggs, sugar, salt, and yeast in the bowl of a stand mixer. Add 2 cups of the flour and stir with a wooden spoon until the dough forms a rough, shaggy mass. Attach the dough hook to the mixer, turn to medium-low speed, and gradually add the remaining flour, kneading until a mass of dough begins to form. Continue kneading on medium-high speed for 4 to 5 minutes until a soft, smooth ball of dough is formed. The dough should feel elastic and slightly tacky to the touch.
-
Lightly spray a large clean bowl with cooking spray and place the dough in the bowl. Cover the bowl lightly with plastic wrap. Let rise for about 1 hour to 90 minutes at room temperature or until the dough is big, puffy, and about doubled in size.
-
Grease a 9x13-inch or similarly shaped baking pan with butter. Gently deflate the dough. Use a bench scraper, knife, or pizza wheel to divide the dough into 12 equal pieces. Shape each piece into a ball and place in the prepared pan. Lightly cover the dough with plastic wrap and let the rolls rise for about 1 hour, or until about doubled in size.
-
Preheat the oven to 375°F.
-
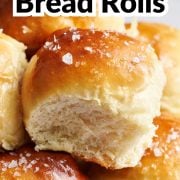
Brush the rolls gently with the beaten egg. Bake the rolls for 20 minutes, or until golden brown. Brush with melted butter and sprinkle with salt. Serve warm. Store leftovers in an airtight container or ziptop bag for up to 3 days.
If you’re interested in improving your bread baking skills, check out my FREE guide:
This recipe was originally published in 2013 and has been updated with new photos and more baking tips. Photos by Joanie Simon.
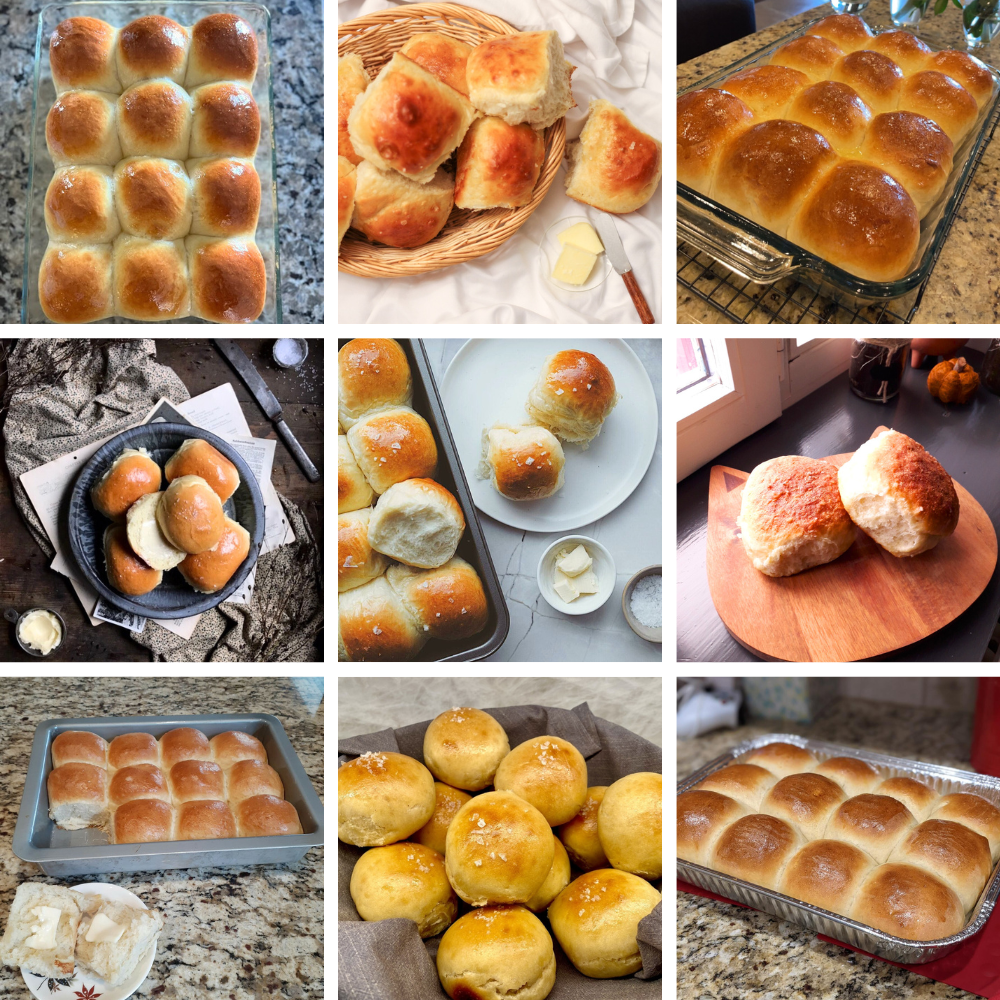
November Baking Challenge
This recipe was the November 2021 selection for our monthly baking challenge! Every month you can join the challenge by baking the recipe and snapping a photo for a chance to win prizes! Learn more about my monthly baking challenges here. Check out everyone’s dinner rolls:


Made these for Thanksgiving. The best rolls I have ever made (and I make homemade every year). Will be using this recipe from now on. So good!!!
Amazing!! So happy you loved them!
Anyone know if this recipe can be doubled? I’ve heard sometimes recipes with yeast don’t turn out well when doubled.
Hi there! Yes, readers have successfully doubled this recipe. Just make sure your mixer can handle the extra dough 🙂
Amazing and easy recipe!! They turned out so delicious on the first try!!
Hooray! So happy you loved them, Maria!
Simple, easy, and delicious! A foolproof dinner roll recipe.
I made these for Thanksgiving and they were a huge hit! Super fluffy and the salt on top really complemented the roll.
I made this recipe yesterday and my family really loved it a lot everyone at home really appreciated me and that made me feel very happy all credit goes to you thank you so much for the recipe.
So happy everyone loved them, thanks for the comment!
EXCELLENT! Definitely my new go to recipie – Ah, handletheheat lady, you never fail. #respect to your marvelous skills.
I never knew how badly I needed (no pun intended) these dinner rolls until I made them the first time. Now, I would happily eat them every single day. Super easy to make, and so yummy! For Thanksgiving I shaped them into little turkeys (my brother thought his was a baseball mitt – must work on my technique), and everyone raved about them – the texture, the taste, etc. Even my Hawaiian roll devotee brother (the baseball fan) has said that he doesn’t care if I ever serve Hawaiian rolls again, but every family dinner NEEDS to have these rolls. This recipe hit one out of the park (sorry, couldn’t resist the baseball reference).
Wow, that’s incredible! Love your idea of shaping them into turkeys too, how cute! And I love the puns haha 🙂 Thanks for the comment!
Such tasty and easy recipe! Will definitely make it again soon! 😀
So Good! This is my first time I’ve worked with yeast and it was so easy. Im going to make this recipie many more times.
We made these for Thanksgiving this year and they were a huge hit will everyone, including the kids! The recipe is so easy! I’ll never buy store bought rolls again.
Amazing!! So glad they were such a hit, thanks for the comment 🙂
Great recipe! Family loved it!
These were so easy to make and tasted phenomenal! Easy to make while working from home, and definitely a make-again recipe!
Great rolls and easy recipe. I kind of questioned using bread flour because most recipes use all purpose but the rolls came out so fluffy and soft.
Delicious! Straight forward recipe! My rolls turned out amazing even though I ran out of bread flour.
I just made this last night and they are so good. I think they could’ve been baked longer, but the tops were getting quite crispy. There is nothing wrong with the recipe. I think if you make them you need to add loads of butter once they are finished because it makes them taste so good 🙂
So happy you loved this recipe, Cali! The tops can brown a bit in the oven, but once you cover them in butter after they’re baked, it should soften the tops up to perfection 🙂
I’m not a big bread maker or eater…but will definitely make these rolls again! They are easy and delish! Just takes a little bit of planning. I made 18 rolls … weighed each of mine out to 52grams each. Baking was about 17 minutes.
A Great recipe! I made it for thanksgiving dinner! Really delicious!
My rolls came out beautifully light and fluffy. They were delicious, and definitely a recipe to make again. I did have a few problems with the bake. FYI… I used a digital scale to weigh all ingredients, and used jar yeast, not a packet. The problems I had were that they came out very dark on top, but doughy on the bottom. Also, 5 of them had large air pockets after the second rise. Any suggestions on what I should do differently next time? TIA
Hi Kathleen! So glad you loved this recipe! Air pockets can result from a couple different things: sometimes if your dough is risen in an area that is too warm, the bread can actually start “cooking” before the yeast has finished acting, so when your rolls are placed in the oven, the rise is slightly exaggerated, creating large air pockets. It could also be from when shaping the rolls into balls and folding in air pockets as you shape (I’ve had that issue in the past myself). I’m assuming you baked your rolls on the middle rack, correct? Do you have an oven thermometer? You noted that your rolls were doughy on the bottom but also light and fluffy. I want to make sure I read this properly, but as the rolls cooled, did that doughiness disappear?
Thanks for your help, Emily! Since the air bubbles appeared before my bake, I’m guessing the problem happened when I shaped them. I’ll just have to practice that more. When the rolls came out if the oven they were doughy/under baked on the bottom. I’m pretty sure they were not on the center rack. I look forward to making these again with your solutions. Even though mine were less than perfect, they were still very tasty!
Lots of fun and easy to make!
Extremely easy to make, these dinner rolls are absolutely delicious! Definitely will be making again!
My Kitchenaid Mixer failed while kneading the dough, and overprocessed. It was a struggle to overcome that, in looks and texture. But they tasted fine. I will retry when my new Mixer arrives!
My dinner rolls would have been great if my Kitchenaid Mixer hadn’t given up while kneading. I think it overprocessed and made the dough too stiff. I will be trying these again soon with a new mixer! They tasted fine but my texture and browning were screwed up.
While these were not my favorite rolls I’ve ever made, I still enjoyed the texture of them! The recipe was easy to follow and the rolls turned out beautiful. If I were to make these again, I would add more salt.
These came out perfect!
These rolls have such great flavor! They are buttery and rich and fluffy. I’m in the process of moving so I had to make my batch in two smaller disposable pans instead of one, but they still turned out pretty well. I also added rosemary and garlic to the butter I put on top of the rolls which was very nice. I appreciate how easy and versatile this roll base can be!
Glad you enjoyed them, Madeline! Good luck in your move!
I love the addition of the salt to the top. The mixer made this a really simple roll to make. Never made bread with a mixer before. Brilliant!
I loved this recipe. Bread baking has really become my thing during Covid. I made mine smaller based on previous comments. I made 24 instead of 12 and really liked the size and texture
Loved these dinner rolls! Made them for Thanksgiving dinner and everyone loved them. They were perfectly soft and fluffy!
Love these! Super quick and easy to make and my family loves them every time!
Love these buns! Super quick and easy to make. My family loves them every time!
Made these for thanksgiving and they were delicious. Super soft and the butter and salt on the top added nice flavor.
These were a hit at Thanksgiving!
Made these rolls for thanksgiving, everyone loved them! I will be using this recipe again.
It was easy to follow and tastes amazing!
Delicious and easy to make! Great warmed up as well if you manage to have leftovers.
100% amazing recipe with great results!!
It came out to be super soft and fluffy. It has become my favorite recipe.
Made these for Thanksgiving this year, instead of buying the standard “brown & serve” rolls I usually get. Obviously, these were far superior! These were really easy to make, once I got over the idea that rolls would be daunting. And they came out great! they were delightfully soft and the brushing of butter and sprinkling of flakey salt made them a joy to dip into gravy. 🙂
The only downside to these was having to let the dough sit so long, but that is just the nature of bread. 🙂
I’ll be making these every Thanksgiving from now on!
Glad you enjoyed these rolls, Mike! I agree, they’re fantastic dipped into gravy!
These were insanely easy and came out great. I made two batches for Thanksgiving and they were a hit at both houses. It is so worth it make your own rolls! Definitely will make these again!
Rolls were delicious and the dough came together pretty easily.
Really enjoyed making this recipe. Easy steps, even a beginner baker could do it. Made these for thanksgiving and everyone loved the them.
These are Perfect. Yummy and thick rolls. The recipe was easy to follow.
These rolls were wonderful! Fluffy and light and honestly so easy to make! A perfect addition to our Thanksgiving table. Thanks, Tessa!
These rolls were so easy to make! They turned out big and fluffy. I received lots of compliments at Thanksgiving.
Donna
These turned out amazing. Will be making these every year for Thanksgiving!
Absolutely a hit!!! Everyone raved about them!!!
Ok, so my first try they were dense. I decided to try again because Tessa’s recipes never miss. Lol! I discovered that I completely missed the step that said to let the rolls rise a second time before baking. I found my error! This time they were huge and fluffy and amazing! OMG! I can bake bread now. Who knew? Thank you for this simple delicious recipe.
Oh no haha! So happy you decided to try the recipe again and were able to enjoy these rolls how they’re meant to be! 🙂
I tried your method of forming the dough balls and then keeping them overnight it the fridge and the flavor they developed was definitely worth it! Would absolutely make these again.
These were delicious!! My first attempt was a total fail! After three hours my dough had not risen even a quarter of an inch! I Threw that batch out and started over the next morning and they turned out fantastic!! I have yet t come across a Tessa recipe that hasn’t been amazing! Thanks Tessa!
Oh no! I wonder if your yeast wasn’t fresh? I’m so happy you tried again and they turned out perfectly 🙂
These rolls are delicious! They can also be made in smaller balls, if desired. And, they can be made ahead, rising overnight in the refrigerator to bake the next day.
Delicious! Also easy to make smaller sized rolls, if desired.
These were a big hit at Thanksgiving and I will be making these again!
Easy, delicious and perfect!!
These were a huge hit at our Thanksgiving dinner! Thank you!
This recipe was fairly easy overall and a HUGE hit at my family’s Thanksgiving dinner! With the butter glaze and little bit of sea salt, the rolls were perfection without any additional butter needed.
Not to be dramatic, but if you’re not making these rolls, I don’t know what you’re doing with your life. Because they are INCREDIBLE. My whole family was more excited about these rolls than the entire Thanksgiving dinner. They wouldn’t stop talking about the rolls and I am now required to make them every year because they are THAT good.
Amazing to hear this! Happy they were such a hit! 🙂
I made a double batch for thanksgiving and they came out perfect!
So easy and turned out great! Loved them!!