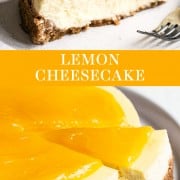
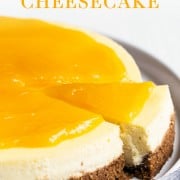
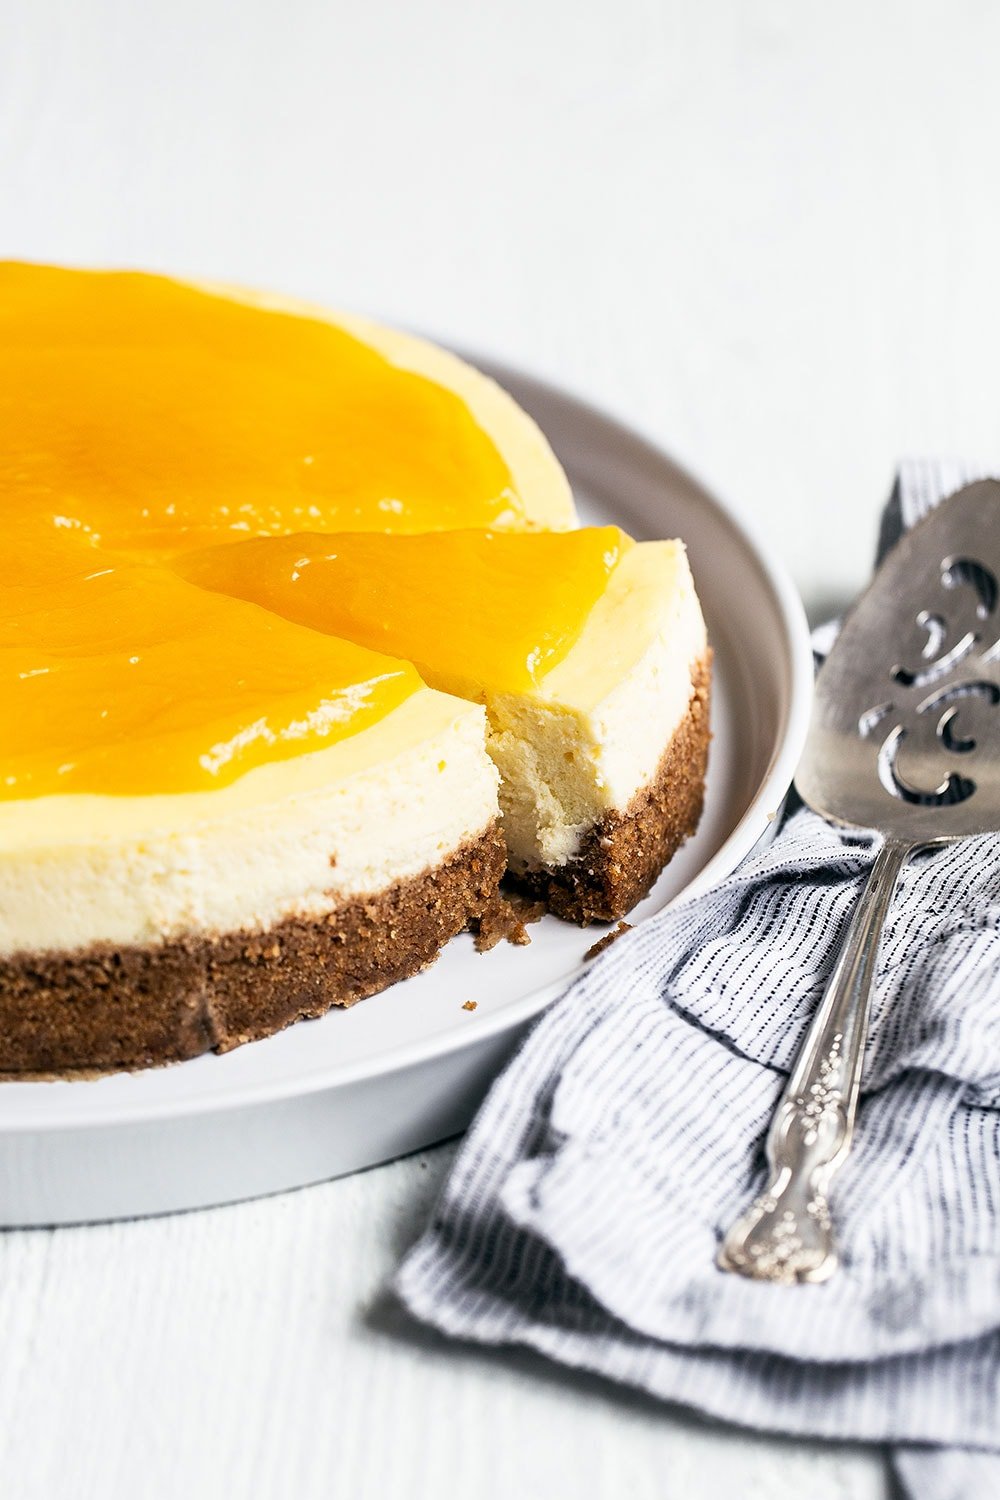
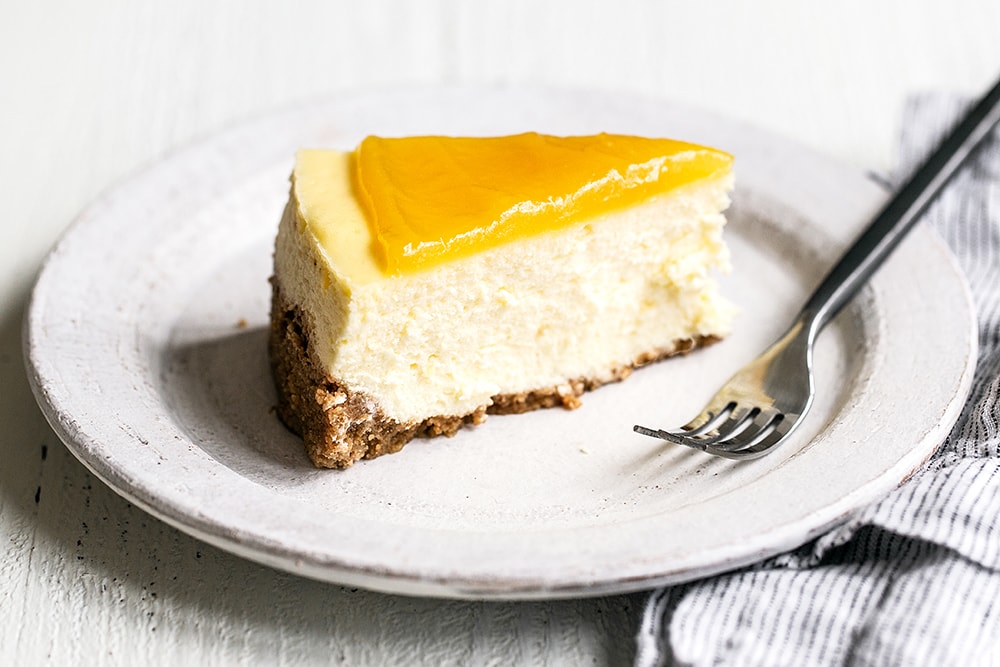
This Lemon Cheesecake may be my favorite cheesecake that I’ve eaten in recent history.
Which is a bold statement, because I make a LOT of cheesecake.
Not only that, but I would usually choose chocolate over lemon any day.
But the bright, fresh, tart lemon flavor complements the tangy cream cheese and sour cream in the filling so well that it’s truly a match made in culinary heaven.
I hope you’ll give this cheesecake recipe a try. I think your friends, family, coworkers, and neighbors will LOVE it!
How to Bake a Perfect Lemon Cheesecake
Below are all of my best Cheesecake tips and tricks. I suggest reading this over before you head into the kitchen. I’ve tried to answer every question in advance so you can make the best cheesecake EVER!
Do I Need to Use a Springform Pan?
Yes. Cheesecakes are traditionally baked in a springform pan, which is a deep pan with a removable bottom. This makes easy work of removing the cheesecake from the pan and cutting beautiful slices. I do not recommend using any other pan for this Lemon Cheesecake – or any other cheesecake recipe.
I like this Nordic Ware 10-cup springform pan. I highly recommend hand washing these pans to preserve their nonstick surface and spring mechanism.
How to Make a Graham Cracker Crust
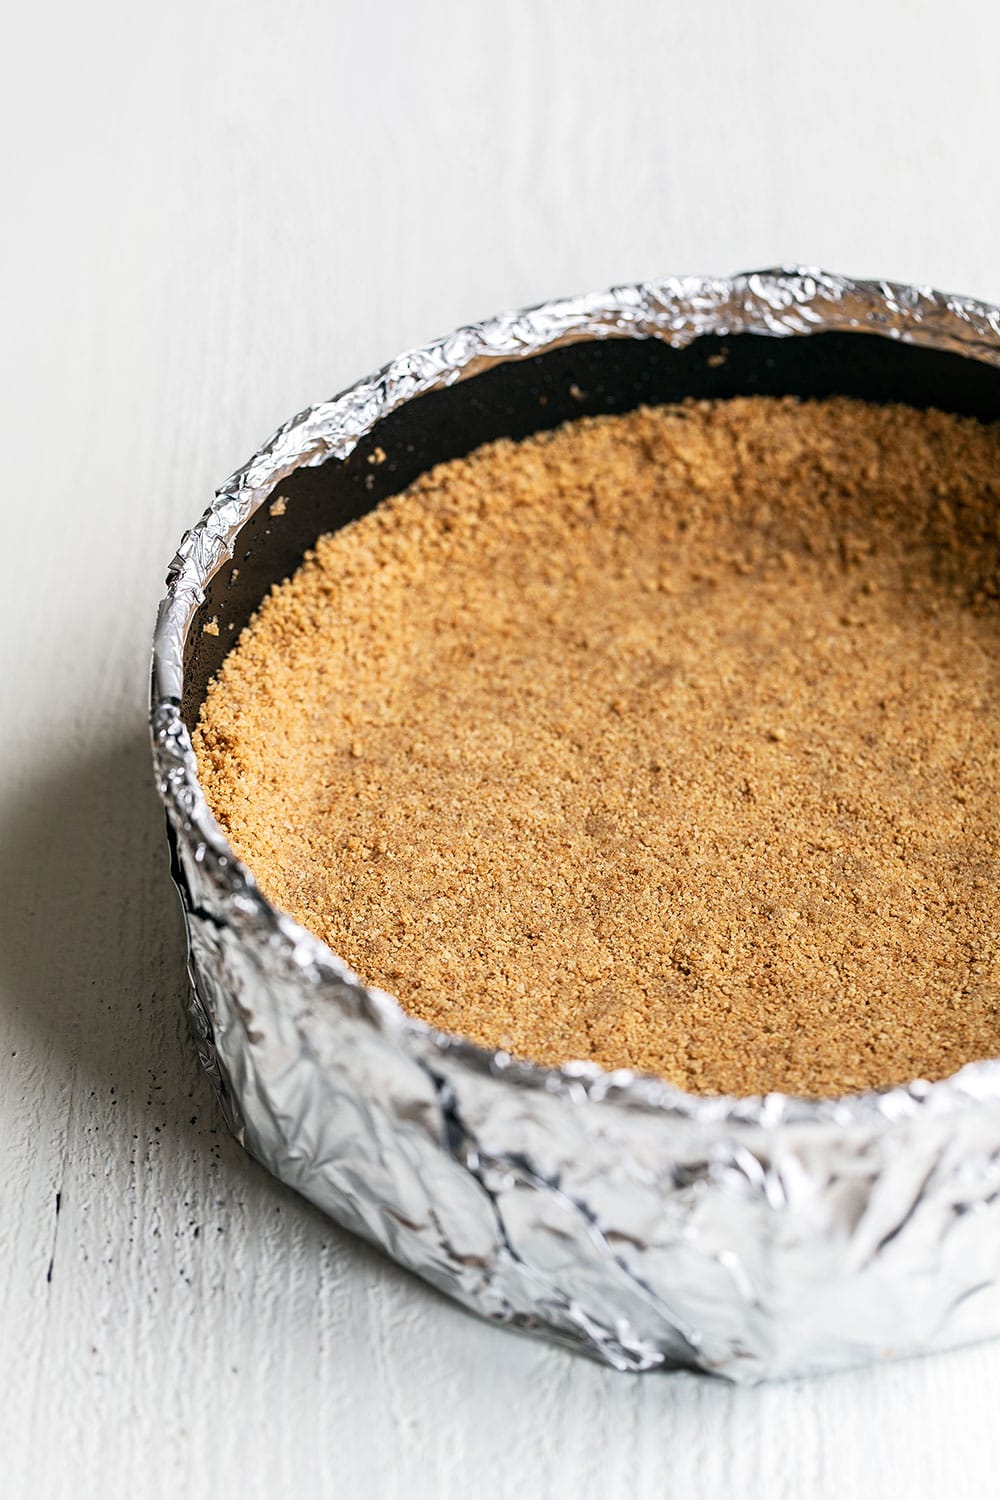
The crust is probably the simplest part of any cheesecake, and this lemon cheesecake is no exception! If you don’t have a food processor to grind the crackers, place them in a ziptop bag and use a mallet or rolling pin to grind them up. The finer the crust is ground, the less crumbly it will be once you go to slice the final cheesecake.
You can always buy prepared graham cracker crumbs. You’ll need 1 3/4 cups or 230 grams of graham cracker crumbs from about 15 whole graham cracker (whole meaning one rectangular cracker).
Do I Have to Use Graham Crackers for This Lemon Cheesecake?
No! If you live somewhere they aren’t available, feel free to use digestive biscuits instead. You could also use the same amount of ground vanilla wafers, gingersnap cookies, Biscoff cookies, or any other similarly-textured cookie with flavors to compliment your lemon cheesecake.
How to Prevent Cracks in Cheesecakes

Perfectly smooth cheesecake with zero cracks requires 4 precautions. I’ve listed them below. But even if a crack occurs, this cheesecake is topped with lemon curd, so you might be able to disguise any imperfections. You could also top with whipped cream if you’d prefer!
1. Ingredients (and Their Temperatures) Matter
- Be sure to use high-quality full-fat cream cheese bricks. It really makes a difference!
- Don’t use cream cheese that’s for spreading on a bagel.
- The cream cheese should be completely softened to room temperature. If it’s too cold, it won’t mix thoroughly and you’ll end up with little bits and pockets of unblended cream cheese.
- Make sure your eggs are at room temperature too.
2. Don’t Overbeat Cheesecake Filling
- One of the absolute KEYS to making perfectly smooth and creamy cheesecake is to blend the cream cheese and sugar to oblivion.
- THEN once the eggs are added, only beat until they’re incorporated.
- If you overbeat the batter once the eggs are added, you run the risk of causing all sorts of problems, like large cracks on the cheesecake surface.
- Scrape down the bottom and sides of the bowl frequently.
3. No Quick Temperature Changes
- Gentle and slow heat and then slow cooling.
- Don’t open the door often while baking.
- Once the cheesecake is baked, turn off the oven, crack open the oven door, and allow the cheesecake to slowly and gently cool for an hour inside the oven.
- Bake the cheesecake in a water bath to ensure gentle baking. Tips for that below.
- Run a thin knife around the edge of the cake as soon as it comes out of the oven.
- Only after chilling in the fridge should you remove the springform ring.
4. Don’t Overcook Cheesecake
- The oven’s residual heat will continue to cook the cheesecake.
- If your cheesecake looks slightly wobbly or jiggly in the center when the baking time has ended, that’s perfectly okay.
- Err on the side of underbaking as opposed to overbaking.
- It should look slightly dry on the surface.
How to Prepare a Water Bath for Cheesecake
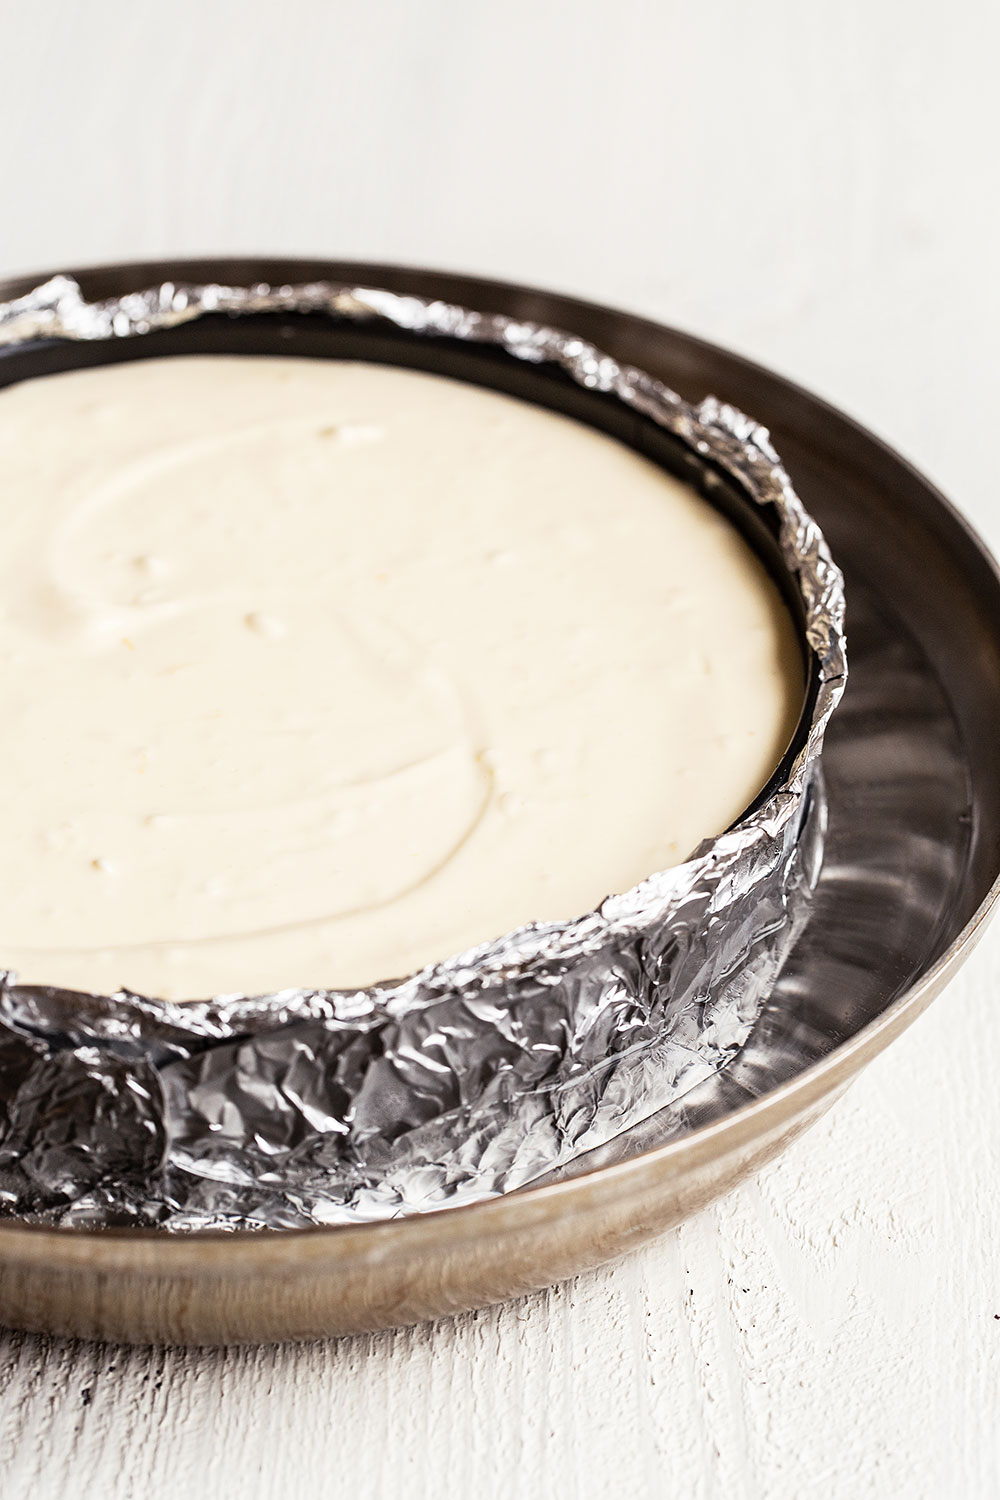
There are two essentials to preparing a water bath.
- Make sure you have a baking pan that’s deep enough and wide enough for the springform pan to fit inside. A roasting pan is ideal, but I’ve used a large cake pan or a large skillet. Get creative if you need to!
- Protect your springform pan from the water. You don’t want any water to seep through the cracks of the pan and make your cust mushy. Even if your springform pan says it’s “leakproof” – it’s probably not.
To seal off the pan, place a large square of heavy-duty aluminum foil underneath the pan. You want the heavy-duty stuff for bigger sheets of foil to completely encompass the base of the pan. Gently fold the edges up and around the pan. Repeat twice so there are three sheets of foil, to ensure a waterproof seal. Gently fold the top of the foil around the edge of the pan. I’ve even used duct tape to seal the foil, to prevent water from leaking through.
Reader Holly shared a wonderful tip for keeping the water out, “I use a turkey roasting bag, then put a layer of foil around the bottom and sides of the pan to hold it in place. I don’t close the bag over the top. Keeps the water out and the crust dry.”
How to Serve Lemon Cheesecake:
- This part requires the most patience! You must let it chill in the fridge for 5 hours before serving! I usually like to let it chill overnight, just to make sure it’s completely set and I’m able to cut clean, pretty slices.
- Remove the cheesecake from the springform pan. You can leave it on the removable bottom, or move it to a serving platter.
- Top evenly with lemon curd.
- If time permits, let the cheesecake sit at room temperature for 30 minutes before serving, for best taste and texture.
- Use a fairly big sharp knife like this one to cut slices. Run the knife under hot water and carefully wipe off the blade between each slice, so they’re clean and pretty. Then slide a metal server underneath the graham cracker crust to ensure it doesn’t crumble.
How to Store Lemon Cheesecake:
- Store the lemon cheesecake in the fridge for up to 2 days after you top it with the lemon curd.
- You can also freeze the cheesecake (without the lemon curd). You can place the whole cheesecake (or individual slices) on a baking sheet inside the freezer until firm. Wrap the cheesecake or each individual slice in plastic wrap and place in a freezer bag. Freeze for up to 2 months.
- To serve, defrost a whole cheesecake in the fridge overnight. You can also defrost individual slices in the fridge overnight, or at room temperature for 30 minutes.
Can You Put Lemon Curd on Cheesecake?
Yes! Lemon curd tastes delicious on top of classic cheesecake recipes, and this Lemon Cheesecake recipe wouldn’t be complete without lemon curd on top.


I intend to make this in a 6” tin.
Does the baking time needs to be reduced?
Thanks
I’d highly suggest using a 9-inch springform pan with this recipe, or try to find a recipe that uses a 6-inch pan. I’d be cautious of using a 6-inch pan with this recipe as your cheesecake will more than likely overflow! I haven’t tested that size, but depending on the depth of your pan, you’d actually need to increase your baking time due to the cheesecake being thicker. Again, I haven’t tested this, but you’d probably also need to decrease your baking temp as well; otherwise, your cheesecake will brown too quickly before it’s completely cooked.
This is a fabulous recipe! Thank you. I know changing ingredients in a recipe can change the out come of the finished product, but, I prefer a nut crust to a gram cracker crust. My question is will the change in crust make a significant difference in the baking of the cheesecake. Thank you, pt
I’ve not tried a nut crust with this recipe, so I can’t say for sure! Let me know how it goes if you give it a try 🙂
I want to know lemon curd will be poured just before serving or can be poured before keeping it in the fridge to settle
I’d recommend topping with the lemon curd right before serving 🙂
How awesome is this cheesecake?! Super awesome, and I will tell you one of the reasons why. I was juggling 8000 things yesterday for Easter Sunday and had done such a great job following the instructions…..or so I thought. As I put the filling in I thought the batter felt a little thicker, but continued on. Baked it and seemed okay – a little light in the top but I was good. And then it hit me………I did not add the eggs. Yup, devastated. Well, gave it a tentative try and thought maybe it will work. Well it absolutely did, everyone loved it and actually thought the texture was great. Also, I did make my own lemon curd and served with sliced fresh strawberries on the side. Thank you!!! Will make again – either way!
Oh my gosh, Jennifer lol! I’m sure your heart just about stopped! Especially on Easter of all days! I’m so happy it still turned out ok! It sounds especially delicious with your homemade lemon curd and strawberries!
Can you do this without a crust?
I made this for my sister in law and she declared it the best she ever had!!
Excellent. Easy. Yummy. If this is your first cheesecake experience just follow Tessa’s instructions, especially regarding pan wrapping and water bath. The only change I made, was using (2) 7” pans because I didn’t have the recommended size. I cut baking time by 20 minutes and my cakes were perfect. 🙂
This is a great recipe. Easy to follow even if its your first cheesecake experience. Thanks Tessa, I always turn to your recipes first whenever I want to try something new!
Instead of placing the foil wrapped cheesecake pan into a water bath that invariably caused a soggy crust I simply put the water bath
BELOW the cheesecake.
It works fine and no more soggy crusts!
This was absolutely delicious!! (I say this in past tense, because the cheesecake literally lasted 1 day. 1 DAY). I felt like I was in heaven with every single bite! I used a premade crust that I bought from the supermarket, and lightly covered the top with heavy-duty aluminum foil. There was no problem with the bubble bath since the hot water didn’t jump into it at all. It chilled slowly, and I got no cracks. Light cheesecake with a slight lemon taste, paired with the lemon curd it was just another level of delicious. All the work is worth it!
Thanks for the tips on making cheesecake. Another tip I have is on wrapping the springform pan. I’ve had the seam of the springform pan cut through the foil on the bottom so I started putting a piece of plumbers tape (it’s like electrical tape, but thicker) over the seam before wrapping it in foil. I’m sure other tapes would work just fine also as long as it covers up the sharp edge of the seam on the pan.
beautiful cheesecake, thank you for the scratch recipe too, because why not? (time but still much better than scratch
Superb recipe which I’ll Prepare n taste.
I don’t see a recipe for the lemon curd.
I’ve added a note to the recipe about the lemon curd!
Is there no recipe for the Lemon Curd? Can Lemon Curd be purchased from a grocery store?
Yes! It’s usually stocked next to the jam and jellies 🙂