

Top 10 Pie Tips

This post is sponsored by OXO. All opinions provided are my own. Thanks for supporting me in working with brands I love to bring you new recipes!
This post may contain affiliate links. Read our disclosure policy.
And really, there’s nothing worse than spending hours working on a homemade pie only to be disappointed by the final product. Especially when you’re serving a large crowd and want everyone to be impressed!
Since you all seemed to love my Best Ever Pie Crust recipe, I figured I’d compile all of my best pie-making tips in one place. That way you can use this post plus that recipe as your go-to resources this Thanksgiving.
I’m thrilled to be partnering with OXO on this post. Their product design is so well thought out and executed that I’m constantly recommending their products. So I reached out to them earlier this year to see if they’d like to work together and YAY they said yes. I’m seriously such a huge fan of all of the brand and am can’t wait to share more of what we’re cooking up over the next few months.

Now, let’s get onto my pie baking tips.
1. Keep the butter cold the entire time!
The moment your butter begins to warm, everything can go wrong. It gets melty and sticky and creates a mess. It will no longer produce those pockets of steam as it melts in the oven, which creates those layers of flakiness. And your crust and decorate edges will lose their shape. Take whatever lengths necessary to keep your butter cold every step of the way, including:
- Refrigerating all of your ingredients and equipment, especially if your kitchen is over 73°F.
- Lining your work surface with freezer bags full of ice and a little water for 10 minutes.
- Returning the pie dough to the fridge if it warms up too much.
2. Use a pastry blender for quick and flaky crust.
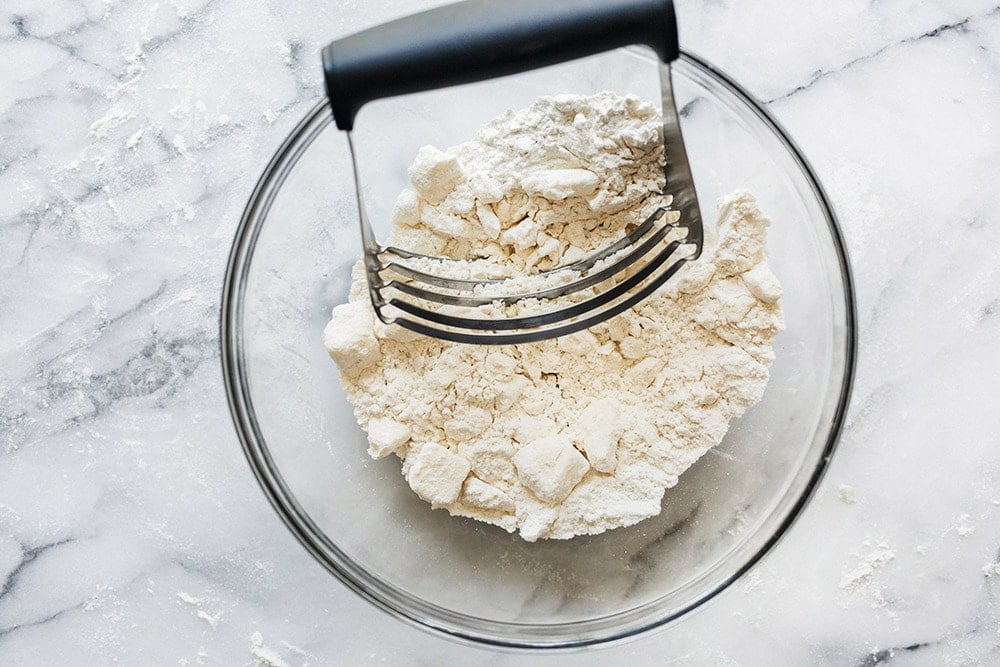
No need to lug your food processor out to make pie dough. Making it by hand is super quick and easy, especially if you use the OXO Dough Blender with Blades. It’s so much stronger and more efficient.
You may have been told to blend your butter into the flour until it’s the size of “peas.” Well in my experience that is MUCH too small. Large chunks of butter in your crust will stay colder than smaller chunks, and will turn into wonderful layers of crispy flaky goodness while baking. Butter the size of pebbles, or even larger, should be perfect.
3. A bench scraper is your friend.
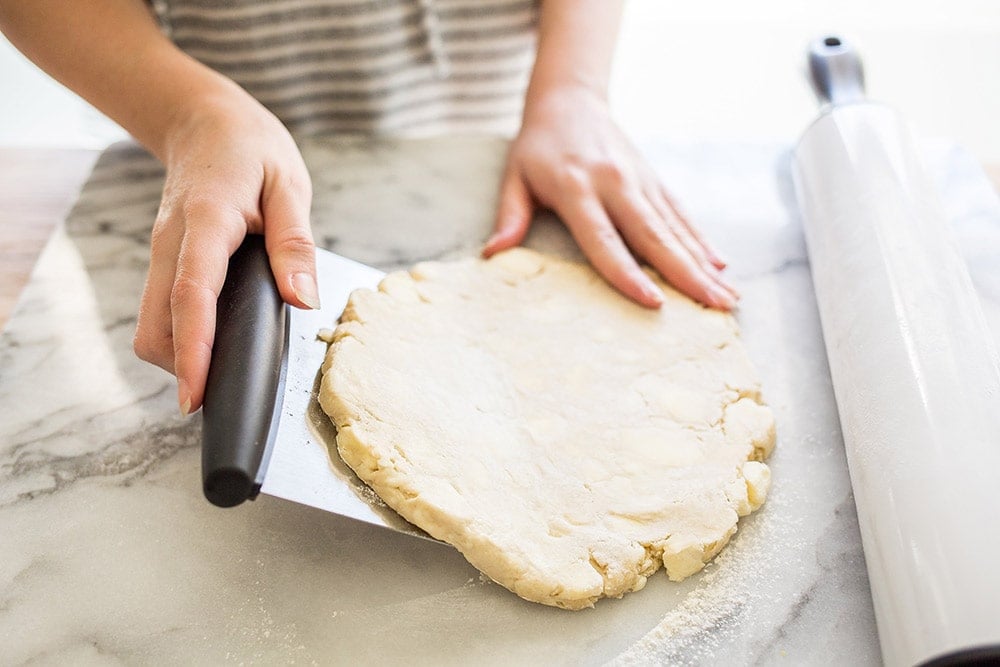
As you roll the dough out, it’s important to keep it moving. This prevents sticking, which can cause rips and tears. I love to use the OXO Multi-Purpose Scraper & Chopper to easily lift and maneuver the dough as I’m working with it. It’s also helpful to lift up the dough and sprinkle more flour underneath it if you notice any sticking. If you’re working to make designs with your pie dough, like a lattice top, the measurement markings on this blade are super handy as well.
4. Shrinking? Give the dough a break.
If you have problems with your crusts shrinking while baking, then they likely need more time to rest. This allows the gluten to relax so it doesn’t snap back to its original smaller shape. Sometimes it’s helpful to think of pie dough like a rubber band. It needs some time to stretch out.
For best results rest the dough:
After mixing it: wrap it in plastic and refrigerate for at least 30 minutes. Especially if your kitchen is warm. If your kitchen is cool, you may be able to skip this.
After rolling it out: let it rest on the counter for 5 minutes before placing it into your pie tin if you have issues with shrinking. Do NOT stretch the dough to mold into the tin, as it will snap back like a rubber band while baking.
After filling it: Refrigerate the assembled pie for 10 minutes before baking it.
5. Blind bake at a lower temperature.
This allows you to place the pie in the oven once without having to worry about changing the temperature later. Perfect for when you’re in the mists of holiday baking chaos. This also prevents the crust from slipping or shrinking and ruining any decorative edges. Learn more in my How to Blind Bake Pie Crust article. At 350°F a fully baked crust may take up to 1 hour, but that’ll depend on your pan, which brings us to our next tip…
6. Pay attention to your pan.

The material of your pie pan can make a huge difference in how your pie bakes.
Glass bakes more slowly than aluminum, but since it’s slow and you can physically see how brown your crust is getting, you’re less likely to over-bake. The OXO Glass 9” Pie Plate is wonderful because it’s made from borosilicate glass to withstand extreme temperature changes without shattering. Meaning you can take it from the freezer to the oven safely, as I describe below in tip #8. The OXO pie plate is also nice and deep, so you can really get a lot of delicious filling inside your pie!
7. Protect those edges.
It’s really easy for the edges of your pie crust to get overly browned or even burnt while the bottom is still soggy. That’s always such a disappointment after spending so much time on a homemade pie! So if you’re blind baking your crust, get a large piece of foil, or even two pieces, to create an overhang that extends beyond the edges of the pan. This will protect those delicate borders. Additionally, using a glass pie pan reduces the risk of over-baking since it heats more gently.
If you’re baking a filled pie, or double crust pie, try creating a pie shield. Gently wrap the edges of your piecrust in foil. Remove the foil during the last 15 minutes of baking, or until the edges are golden brown. This step is especially important when baking your pie from the freezer, which brings us to the next tip…
8. Freeze your pies to save your sanity.
Here’s the low down on how to freeze your pies a few different ways to make them ahead of time. I always take advantage of at least one of these make-ahead steps during the holiday baking season.
Pie Dough
Pastry dough can be shaped into a disc and frozen for up to 2 months, well wrapped in plastic. Defrost in the fridge overnight.
You can also freeze already rolled out dough if you have room in your freezer. You can use it straight from the freezer; just let it sit at room temperature briefly so it becomes easier to press into the pie tin.
Unbaked pie shells can also be covered and frozen for up to 2 months. No thawing necessary.
Pie Fillings
Fruit fillings are perfect for freezing, especially if your fruit is at peak ripeness. The easiest way this is done is to make your filling according to the directions. If cooking is involved, let cool completely. Cover a pie plate with foil. Scoop pie filling into pie tin, cover, and freeze until very firm.
Remove filling and peel off foil. Place frozen block of filling in an airtight container and freeze for up to 3 weeks. To serve, place the filling into the same pie tin with the crust and follow the recipe to bake.
Whole Pie – Unbaked
If the unbaked pie filling contains eggs (custard, pumpkin, pecan, etc.) it can’t be frozen. Follow the directions below for freezing the baked pie.
Fruit pies freeze better unbaked. Assemble the pie fully, double wrap in plastic, and then freeze for up to 1 month. If baking straight from the oven, be sure to use a pie plate like OXO’s, which can withstand that temperature change without shattering. You’ll also want to add about 45 to 60 minutes to the total baking time if baking from frozen, wrapping foil around the edges if they begin to brown too quickly.
Whole Pie – Baked
Bake and cool your pie completely, then wrap tightly in plastic wrap and freeze for up to 1 month. Defrost in the fridge overnight, then re-fresh in a 350°F oven for about 12 to 15 minutes.
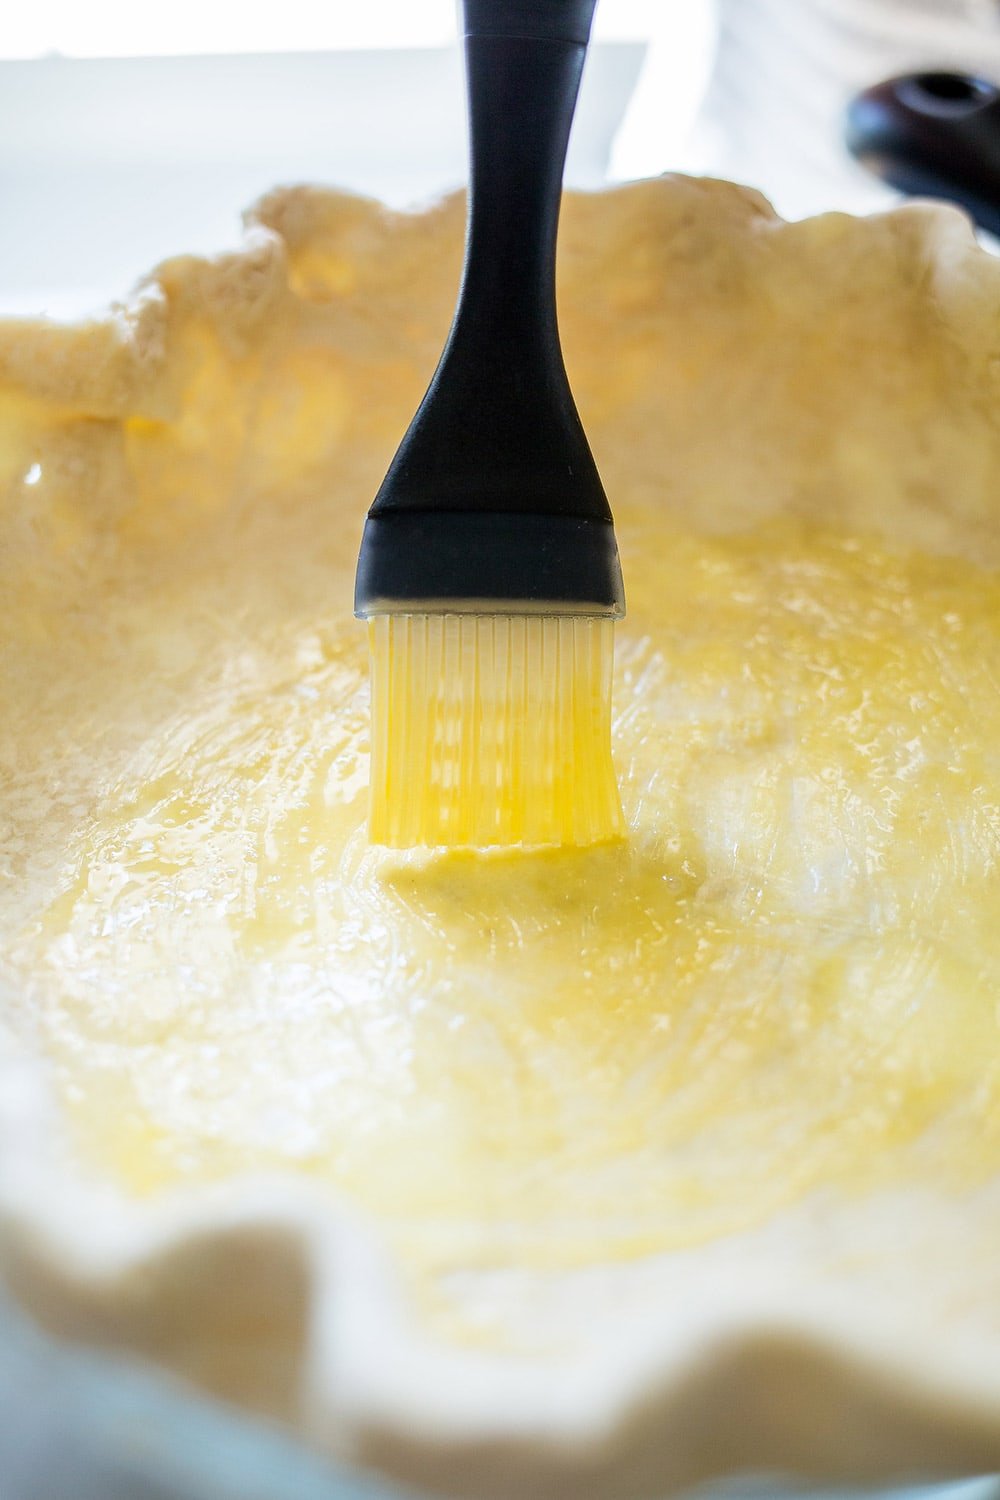
9. Eliminate soggy crusts three ways.
Blind baking as described in tip #5 can seriously reduce soggy crusts. You may want to at least partially bake your bottom crust if your recipe doesn’t call for that. Twenty minutes at 350°F should be enough to prevent sogginess.
If soggy crusts are a typical problem for you, brush the bottom of the crust with a beaten egg before adding the filling. I prefer to use the OXO Silicone Pastry Brush because it’s way easier to clean. You can also sprinkle a little flour over the bottom of your crust before adding the filling.
Lastly, avoid holding your unbaked pie in the fridge for too long. Completely assembled pies should only be refrigerated for a few hours before baking, otherwise the moisture in the filling with create a soggy crust.
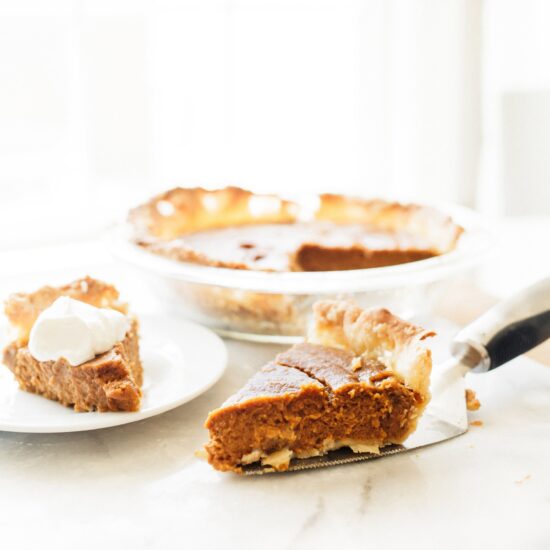
10. Make three cuts before serving your first slice.
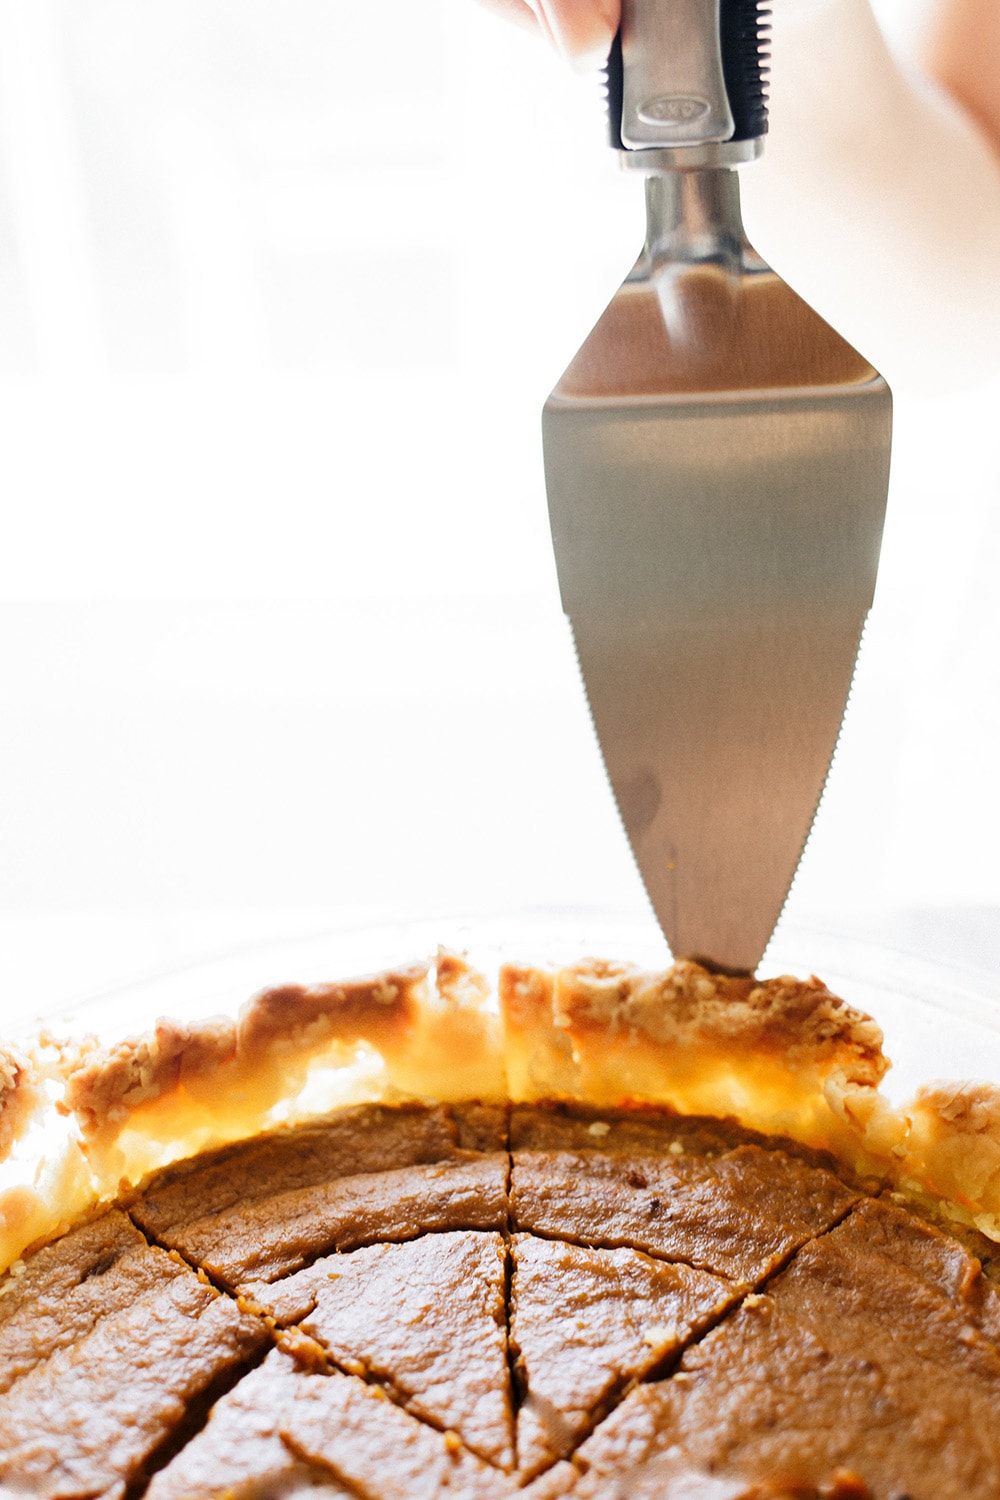
There’s nothing worse than serving your homemade pie only to have the first piece look like a total mess. So before you go to remove your first piece of pie, making a third cut to form the second piece of pie. This gives you wiggle room to remove that first slice without making a big mess. The OXO SteeL Pie Server comes in handy here because it’s flexible yet durable and sharp while easy to grip.
I hope you found these tips helpful! I can’t wait to see all of your Thanksgiving pies this year. If you think I missed a good tip, please share it in the comments below.

Author: Tessa Arias
I share trusted baking recipes your friends will LOVE alongside insights into the science of sweets. I'm a professionally trained chef, cookbook author, and cookie queen. I love to write about all things sweet, carb-y, and homemade. I live in Phoenix, Arizona (hence the blog name!)
About Tessa...
I share trusted baking recipes your friends will LOVE alongside insights into the science of sweets. I'm a professionally trained chef, cookbook author, and cookie queen. I love to write about all things sweet, carb-y, and homemade. I live in Phoenix, Arizona (hence the blog name!)
Leave a Comment & Rating
Add a Review or Question
© Handle the Heat - handletheheat.com

As a trained chef and cookbook author, I share trusted baking recipes your friends & family will love alongside insights into the science of sweets. I help take the luck out of baking so you *always* have delicious results! Learn more here.

-
6 Crowd-Pleasing Thanksgiving Recipes


Order your Ultimate Cookie Handbook Hardcopy!

Join the Handle the Heat Community

Instead of digging through cookbooks and magazines and searching the internet for amazing recipes, subscribe to Handle the Heat to receive new recipe posts delivered straight to your email inbox. You’ll get all the latest recipes, videos, kitchen tips and tricks AND my *free* Cookie Customization Guide (because I am the Cookie Queen)!
Thank you for sharing, I would like to know more about how to make a lot of pie with different methods. Keep sharing amazing content
I am not able to download the Trouble shooting tips for pies. I have tried several times. Any suggestions?
Hi Carole! Do you have pop-ups blocked on your device? If so, that could be the case. Please email me at [email protected] if that still doesn’t work for you, and I’ll be happy to assist further 🙂
Hi tessa. I am confused as to which heating element should I used in making pie crust because my oven has 3 heating modes: lower heat only, upper and lower heat without fan, and upper and lower heat with fan. Can you help me? Because when I made pie crust it turned soggy instead if crispy. Maybe I selected the wrong heating mode.
Will you explain what “Blind Baking” is? I’m not sure I understand…
Sure, Alicia! Blind baking is the concept of baking the pie shell “empty,” or without any filling inside yet. You bake the shell completely if you plan to fill it with something unbaked, like maybe a cream or pudding filling. OR, you can partially blind bake the shell before filling and finishing baking to avoid having a soggy crust. Does that help?
Thanks for the tips especially the last one I love to bake to worked in a bakery that we made everything from scratch loved it
Thank you for these tips, Tessa! I need all the pie help I can get. Haha! I love OXO products as well – didn’t know they made a bench scraper or a glass pie pan. I’ll have to check those out!
I use the scraper at least once a week for just about everything!! Thanks, Erica 🙂
Some great tips! Especially that last one, I don’t think I’ve ever served a pie that wasn’t messy, haha!
Haha, thanks Kelly! xo