This post may contain affiliate links. Read our disclosure policy.
This post is sponsored by Kikkoman. All opinions provided are my own.
This post is sponsored by Kikkoman. All opinions provided are my own.
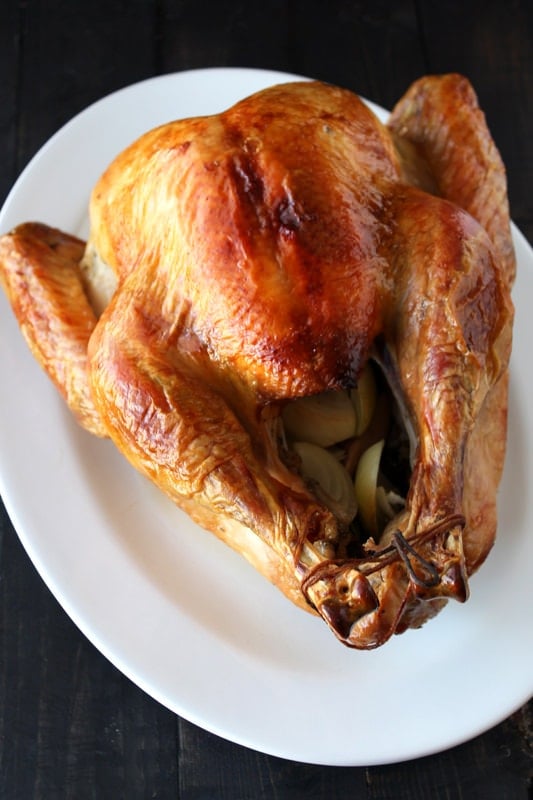
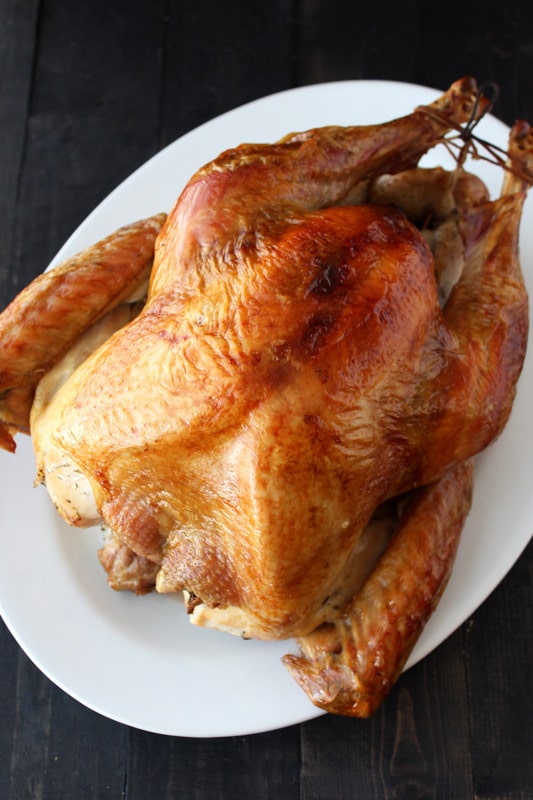
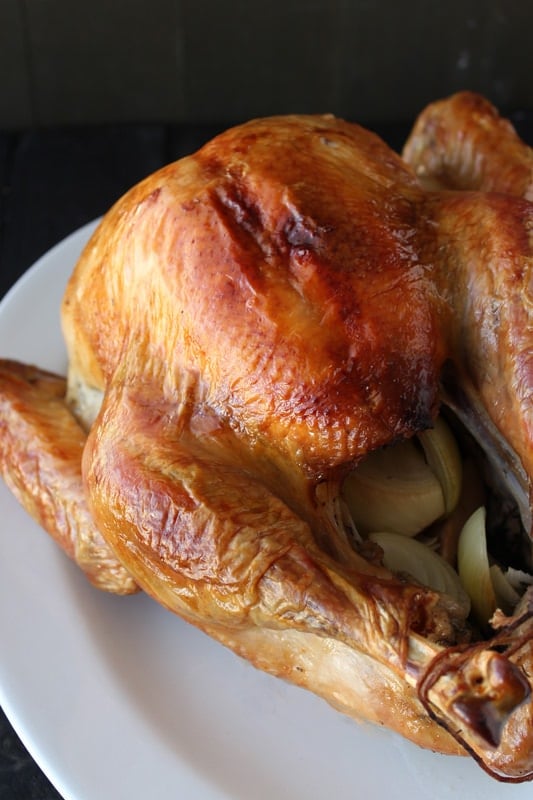
Have you ever brined a turkey before? Do you even know what “brine” means? Up until a few years ago I had never heard of the concept of brining meat. And up until the very turkey you see in these photos, I definitely had never brined a turkey. In fact, I had never even cooked a whole turkey! Can you believe that? I’ve cooked a whole breast and plenty of other roasts but my family is always a bit nontraditional for Thanksgiving and anytime we’ve ever had a whole roast turkey at our T-day table someone else has prepared it.
So when Kikkoman asked me to share their brine recipe using their soy sauce, I immediately got to work on researching everything I possibly could about brining and roasting a Thanksgiving turkey. Now I’m sharing everything I’ve learned with you! Read the tips below before following the recipe to ensure turkey success on Thanksgiving. Remember to plan out the time it will take to brine and roast so that your turkey is ready on time for your T-day meal! Also be sure to enter the BRINING KIT GIVEAWAY below because Kikkoman is giving away TEN kits to my readers!
Cooks Illustrated did a fascinating experiment on brining meat that is detailed in their book The Science of Good Cooking*. They discovered that some crazy molecular processes occur when lean meat is soaked in salty water that basically yields juicer and more tender cooked meat. To put this scientific theory to the culinary test, they roasted three batches of pork loin, one that was soaked in plain water, one that was soaked in brine, and one that was cooked straight from the package. The brined pork absorbed three times the amount of liquid over the water soaked pork. The weights of the pork loins were taken before and after roasting and the brined pork lost 25% less weight than the other two samples, meaning it retained much more moisture. That means that brining lean meat truly does help it stay moist and tender. It also helps the meat taste better as the seasoning thoroughly penetrates the meat! Additionally, turkey benefits more from brining because it is so large and lean. It’s a win-win and I promise if you follow my tips and the recipe your turkey will not just taste like salt.
Turkey Brining and Roasting Tips
1. Use a fresh turkey
If possible try to use a fresh turkey and avoid “self-basting” or kosher turkeys when brining. Frozen turkeys are almost always injected with a sodium flavoring solution. However, it is not always possible to acquire a fresh turkey so if you are using a frozen turkey, be sure to defrost in the fridge then VERY thoroughly rinse with water. Also brine for LESS TIME if using a frozen injected bird, about 8 to 10 hours, longer if using a bigger turkey.
2. Find a big container and COMPLETELY submerge
This may be the most challenging part of brining, finding a container large enough to completely submerge the turkey in brine AND keep it below 40°F at all times. Luckily Kikkoman supplied me with a 5 gallon brining bucket (see below to enter my brining kit giveaway to get your own bucket) and I was able to remove two shelves in my fridge to accommodate the bucket. If you don’t have a large bucket, try using a very large stockpot, tub, or any other sanitized vessel. You can even clean out the meat drawer in your fridge and brine in there, so long as it’s large enough and airtight. If there’s no way your fridge can accommodate brining a turkey, fill a large resealable brining bag/oven bag with your brine and turkey, and plop in a cooler filled halfway with ice. Cover the bag with more ice, close, and brine as directed. Change out the ice as necessary.
3. Thoroughly rinse, again
Rinse before you brine, but REALLY rinse after you brine. In fact, completely submerge the bird in fresh water in the sink and let it soak for about 10 minutes. Don’t skip this step if using a frozen turkey, this will help control the saltiness. Pat dry very well with paper towels. You can even let your turkey air dry for an hour at room temperature, this will ensure your skin is nice and crisp. It will also help your turkey cook more evenly since it won’t be so cold! Just be sure you have enough time to do so.
4. Blast the heat then reduce
Blast the heat to 475°F, cook for 30 minutes, then reduce to 350°F to finish off the roast. This comes from Alton Brown and it really is a great trick not just for turkey but for roast chicken too. This crisps up the fat in the skin without overcooking the meat. Rubbing down the skin with canola oil also promotes browning and crisp skin.
5. Cover up those breasts!
Blasting the heat then reducing helps crisp up the skin, but another common problem with roasting whole turkeys is that the breast meat dries out before the dark meat is fully cooked. To avoid this, shape a large sheet of tin foil into a triangle, brush with canola oil, and form to the breast of the turkey. Place the foil breast plate onto the turkey after the initial blast of heat to protect the breasts from overcooking.
6. Roast on a rack
If you don’t have a roasting pan, that’s totally fine. What you do need is a roasting rack, one that is shaped like a V and elevates the bird from the pan so that air can circulate and it can cook evenly. You can place a rack on any large, rimmed, and sturdy baking sheet. See the end of this post for product links.
7. Use a thermometer
You MUST MUST MUST use a thermometer to gauge doneness when roasting a turkey. If you don’t have one, buy one, it’s a worthwhile kitchen investment. I highly recommend an electronic oven cord thermometer that allows you to stick the probe into the breast of the turkey and monitor the internal temperature the entire time you’re roasting. You can even set these types of thermometers to alert you when the meat reaches the desired temperature. You might also consider purchasing an oven thermometer if you don’t already have one to ensure your oven is heating to the correct temperature. My oven is often 30°F off when it first says it’s preheated.
8. Let it rest
Despite how amazing the turkey both looks and smells when you remove it from the oven, resist the temptation to immediately carve into it. Wait AT LEAST 15 minutes, twice as much time for a very large bird, so that the juices have time to reabsorb. Believe me, it’s better to have juicy and moist meat that may not be super hot than terribly dry but hot meat.
-
12 to 18
pound
turkey, neck and giblets removed, preferably fresh but defrosted if frozen
For the brine:
-
2
gallons
cold water
-
10
ounces
Kikkoman Naturally Brewed Soy Sauce
-
1/2
cup
kosher salt
-
1/2
cup
sugar
-
2
tablespoons
dried sage
-
2
tablespoons
dried rosemary leaves
-
2
tablespoon
dried thyme
For roasting:
-
Fresh herbs, such as thyme, rosemary, and sage
-
1
onion, peeled and chopped
-
1
apple, cored and chopped
-
Canola oil
-
Very thoroughly rinse off the turkey under cold running water in a clean sink. Be sure to rinse the inside cavity.
-
In a lidded 5 gallon bucket or other large food-safe vessel combine all the brine ingredients, stirring until the salt and sugar are dissolved. Completely submerge the turkey in the brine solution. Allow the turkey to brine for at least 12 hours, up to 18 hours for larger birds. If using a frozen injected turkey, brine for 8 to 10 hours.
-
Preheat the oven to 475°F. Place a roasting rack on a large rimmed sheet pan or prepare a roasting pan.
-
Discard the brine and remove turkey to a clean sink. Rinse thoroughly under cold running water for several minutes. Fill the sink with water and let the turkey soak for 10 minutes. Remove turkey from water, allowing water to drain from cavity, before patting dry with paper towels.
-
Place the turkey on the roasting rack. Fill with fresh herbs, onion, and apple. Tuck the wings under the bird and tie the legs together with twine. Coat the skin liberally with canola oil. Fold a very large sheet of tin foil into a triangle that will fit over the breast of the turkey. Brush the foil with canola oil. Mold the foil, oiled side down, to the breast of the turkey, like a breast plate, then set aside for later. Place a digital thermometer probe into the breast of the turkey, making sure it is well inserted but not touching any bone. Insert the turkey in the oven, legs first. Roast the turkey at 475°F. for 30 minutes.
-
Remove the turkey from the oven, remove thermometer probe, and carefully place the foil triangle over the breast. Reinsert the thermometer probe over the foil and return the turkey to the oven. Reduce the oven temperature to 350°F, and roast until the internal temperature of the breast reaches 161°F, about 2 hours, depending on the size of the turkey. Remove from oven, tent loosely with foil, and let rest for 15 to 30 minutes, longer for large birds, before carving to ensure juiciness.


Tessa , thank you for all your wonderful recipes 🙂
We started brining a couple years ago, any meat any size . Brining makes such a big difference . There are so many wonderful brining recipes on the Internet but many times I make up my own , it’s so much fun to experiment !! We brined our last turkey and then smoked it , all I can say is “wow”. Happy Brining !!
Just AWESOME!!!!
When you say replace the probe over the foil…do you mean to push the probe through the foil and into the meat again? Under the foil and then over the foil?
Legs first? Can you not just put the turkey in as you normally would (long side of pan going into oven first, legs at one side or the other) and place the probe once, no moving it around.
I have never gone through so many steps just to cook the bird once it is in the oven, other than basting when needed.
Will these extra steps make a better tasting bird?
If all this makes a difference, and is really needed to assure a juicy tasty bird, please let this reader know.
Yes when I say reinsert the probe over the foil I mean to push the probe through the foil and into the meat, that way the foil can hug the meat of the breast, preventing it from overcooking, and not be tented by the probe.
I give all the reasons for the steps within the post, I wouldn’t write arbitrary steps. If I didn’t feel the method made a big difference in assuring the bird comes out tender and juicy, I wouldn’t include it. You want to maintain the probe in the breast meat so that you can pull the bird out when it comes to 161°F, ensuring the breast meat doesn’t overcook but allowing the dark meat to cook enough. You aren’t really moving the probe around, you are simply removing it quickly to place the foil, then reinserting it over the foil. It’s not really complicated. By placing the legs in first, the brunt of the oven’s heat is hitting the dark meat which can be cooked to a higher temperature, again ensuring the breast meat doesn’t dry out and that the bird is cooked evenly.
Reading through the steps might seem daunting, but I can assure you that when are you actually in the kitchen completing the extra steps to ensure a moist juice turkey, they only take MAYBE an extra five minutes, no more time than continuously basting the bird takes. Hope that clears up your confusion.
These are great brining and roasting tips. Thanks! 🙂