I definitely ate Pop Tarts frequently when I was a kid. Though by the time I was in Jr. High, apparently my taste buds had become more refined because suddenly Pop Tarts seemed too sugary sweet, especially for breakfast. I started to realize that so much sugar in the morning would inevitably lead to a crash a few hours later and then math class would seem even more boring.
Yet, I still find myself craving Pop Tarts every once in a while. There’s something to be said about a portable treat that simply includes a sweet filling wrapped in buttery pastry and topped with a smooth icing. There’s a reason pop tarts have been so popular!
Homemade pop tarts require some assembly (and therefore patience), but the fun part is in the fact that you can fill them with whatever you like.
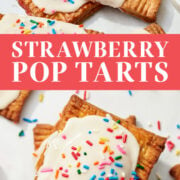
I chose strawberry jam filling for these Copycat Homemade Strawberry Pop Tarts, but you could do anything your family likes. Same goes with the topping, feel free to get creative with icing flavors or sprinkles.
Whether you’re enjoying these for breakfast or as an after-school dessert, these Strawberry Pop Tarts are sure to be a hit. Enjoy with a glass of cold milk!
How to Make Homemade Strawberry Pop Tarts
What are Pop Tarts?
Pop Tarts are sweet pastries, made from two rectangular pastry crusts, sandwiched together and filled with a wide assortment of sweet fillings, and typically finished with a sweet icing glaze on top. They are known for being a favorite quick, sweet breakfast treat. Pop-Tarts are a typical childhood favorite, and can be found in any American supermarket. They are available in some other countries in supermarkets or specialty stores, too.
Store-bought vs. Homemade Pop Tarts
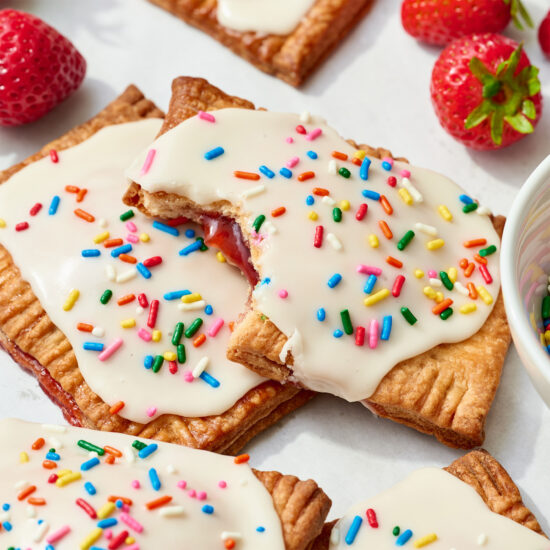
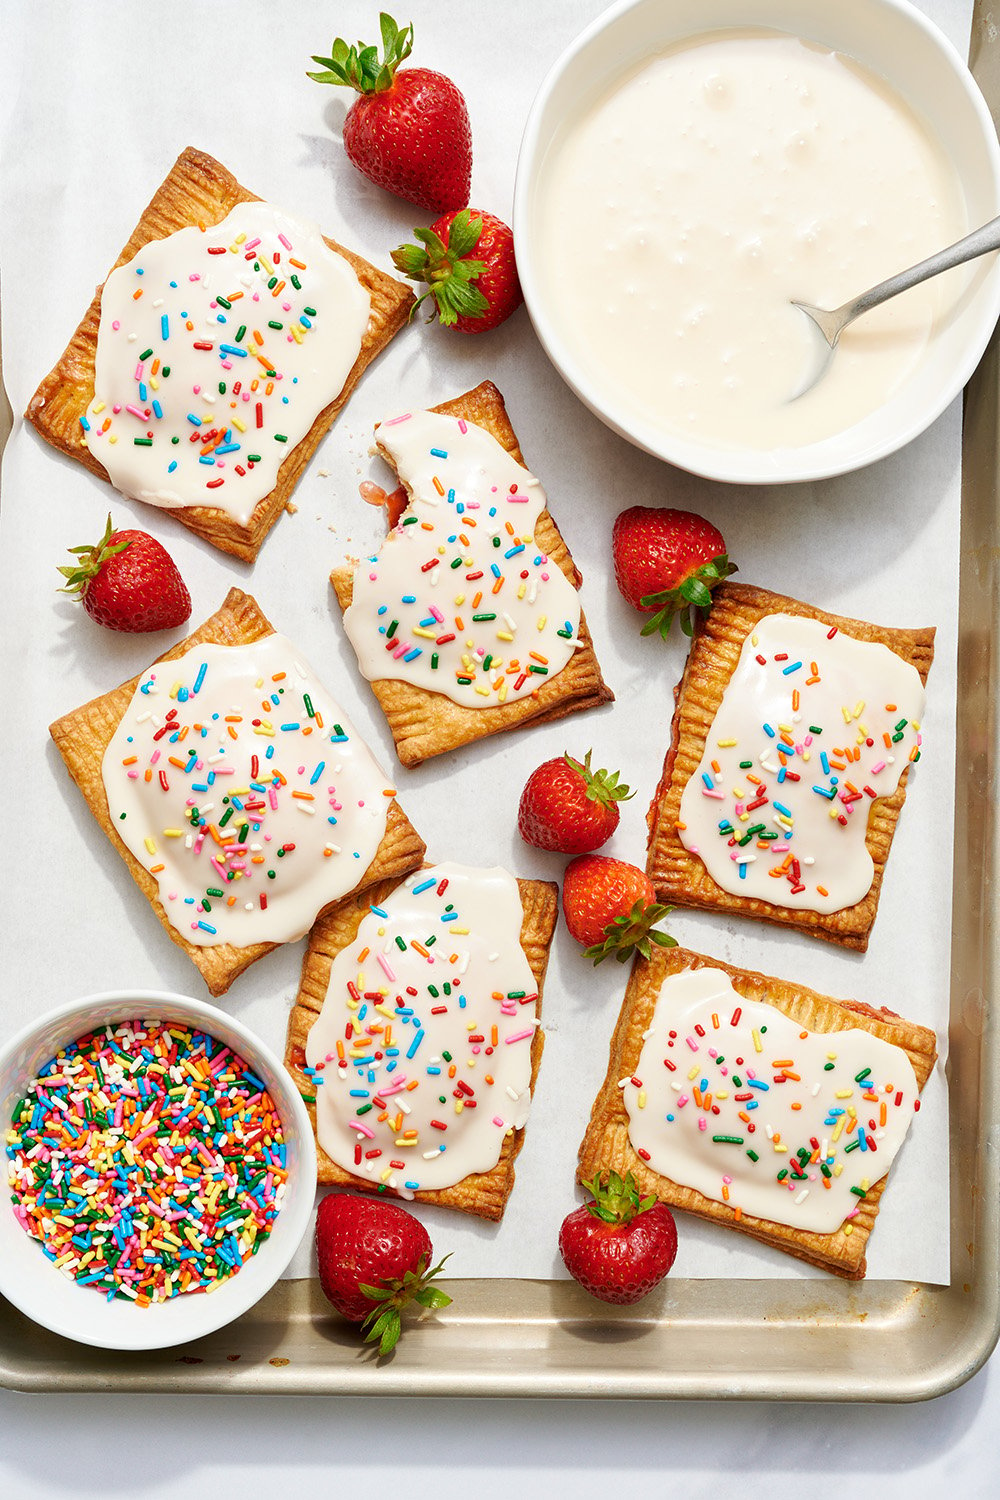
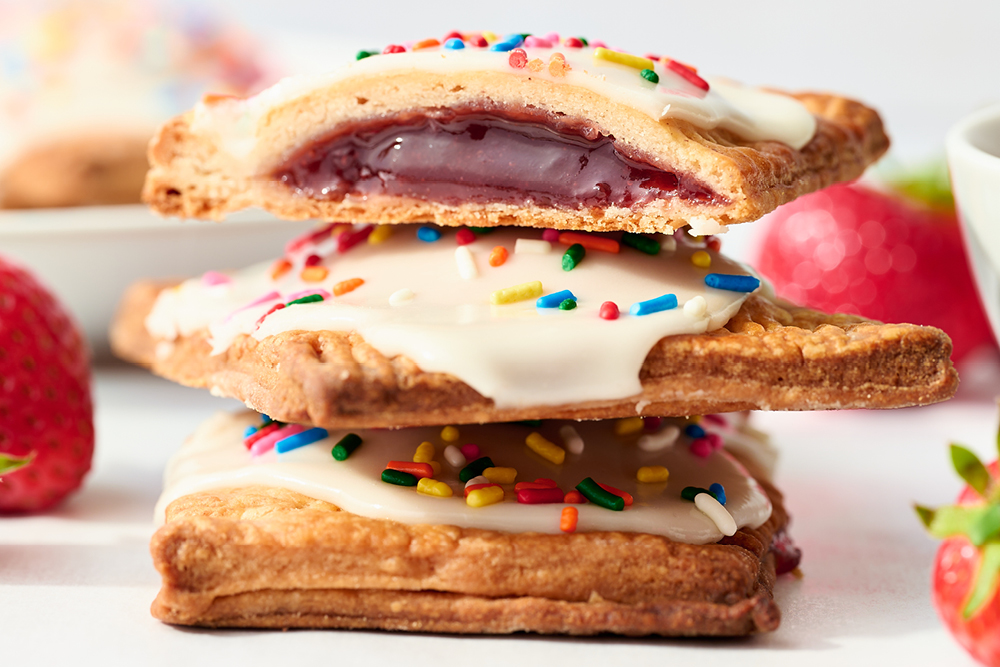
If you’re used to the store-bought ones, then you are in for a TREAT with homemade. They taste so much more flavorful and balanced. The crust is so much flakier and you can really get generous with that icing on top! Just take a look:

Ingredients for Homemade Pop Tarts:
- All-purpose flour – measured correctly! If you add too much flour, you may end up with rubbery pastry that doesn’t get a crisp and flaky texture in the oven.
- Granulated sugar – it’s not a pop tart if it isn’t sweet, though these are more balanced than the store-bought kind.
- Salt – helps to balance out the sweetness in the dough.
- Cinnamon – just a little to bring a delicious, light spice to the pastry.
- Butter – always use unsalted butter in baking. Make sure it’s cold for this recipe to prevent it from melting as it’s mixed to ensure that lovely flaky pastry.
- Water – again, make sure it’s cold to help the pastry get flaky.
- Honey – just a touch. Even this little bit of honey improves the strength of the dough, helps the pastry retain moisture as it bakes, and gives the finished product a richer color and fuller flavor. It also assists in preventing staling, meaning your pop tarts will stay delicious and fresh longer! Don’t worry if you don’t have any honey in the pantry, you can safely leave it out and your pop tarts will still be delicious!
- Strawberry Preserves – for the strawberry filling! Less is more.
How to Make Homemade Strawberry Pop Tarts recipe:
- Prepare your pans. Line two baking pans with sheets of parchment paper.
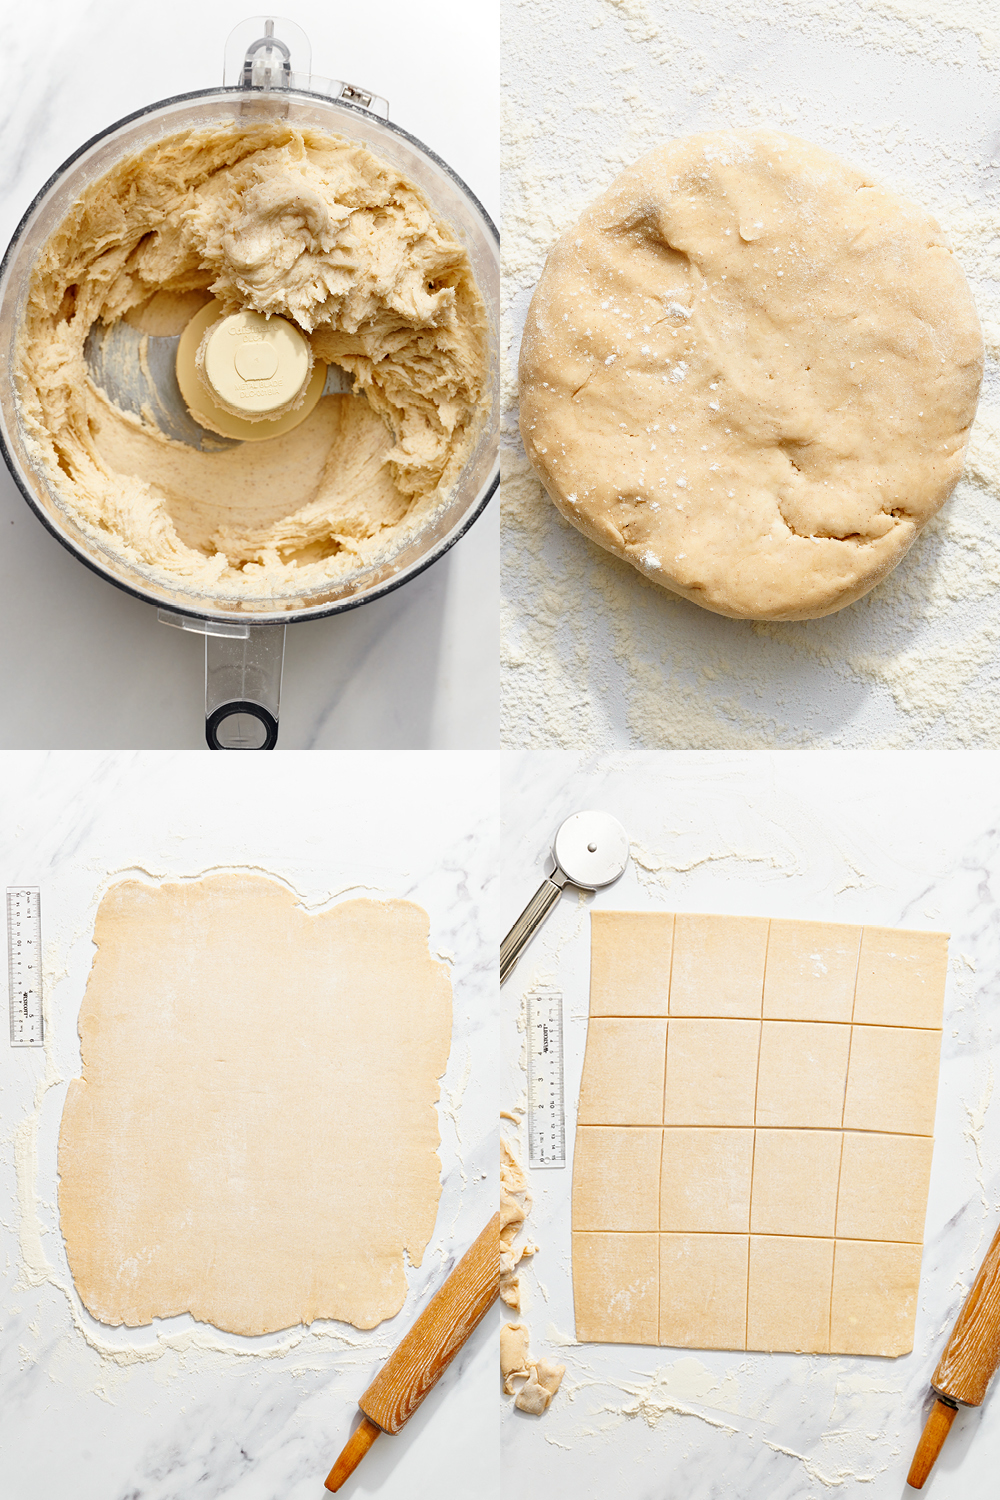
- Make the dough. In a food processor or large bowl, add the flour, sugar, cinnamon, and salt. Pulse lightly. Add the cubed butter and pulse. Pour in the cold water and honey.
- Roll out the dough. Lightly flour a work surface. Shape the dough into a 1-inch thick, 7-inch diameter circle (use a ruler for total accuracy!). Wrap the dough in plastic wrap and chill for 30 minutes to 1 hour. Use a rolling pin to roll the dough into a rectangle. Cut the dough into 3-inch by 4-inch rectangles.
- Assemble the Pop Tarts. Brush the dough lightly with water, ensuring that the edges get wet. Fill each center with 1 heaping teaspoon of strawberry preserves. It will look like a tiny amount but I promise, it’ll be plenty. Any more and it’ll burst out during baking. Cover each filled pastry with a second piece of dough and crimp the edges together with a fork to seal the Pop Tart.
- Make the egg wash and bake. Mix the egg and water. Brush each filled rectangle with egg wash. Bake until golden brown and pastry is fully baked. Allow to cool on a wire rack.
- Make the glaze. Stir together the sifted powdered sugar, vanilla, milk, and corn syrup.
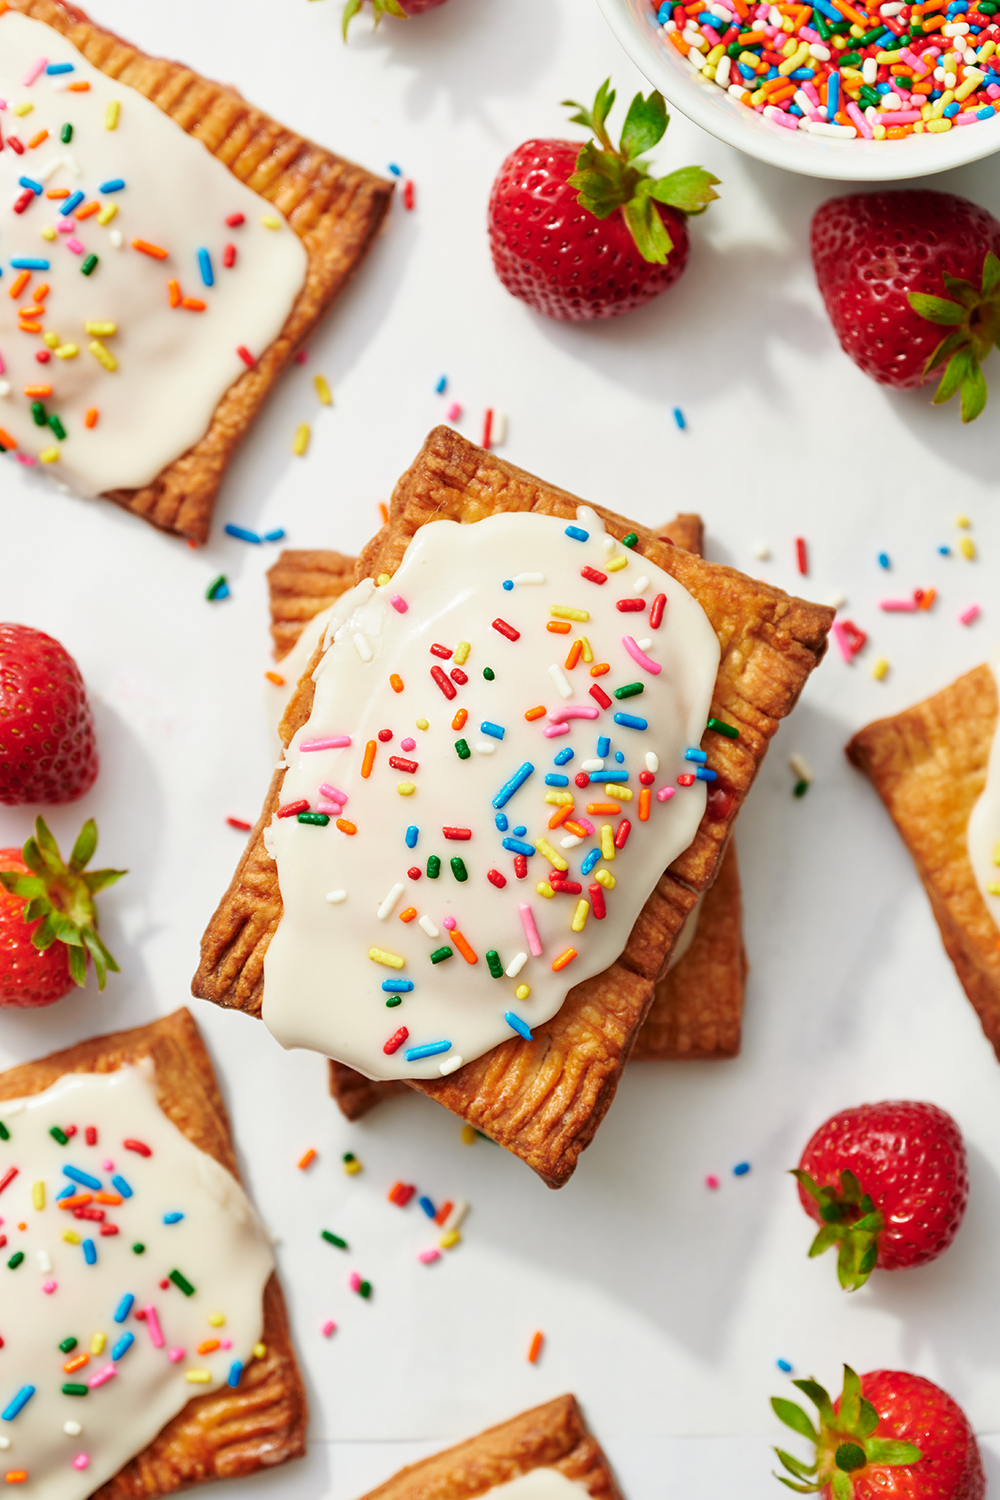
- Frost the Pop Tarts. After the Pop Tarts have cooled completely, glaze each Pop Tart. Top with sprinkles and enjoy!

Tip for Homemade Pop Tarts: Keep pastry ingredients cold!
Just like most typical pie or pastry dough recipes, temperature is important here. Keeping the butter and water nice and cold prevents the butter from melting, and ensures your dough is nice and flaky once baked. As with any pastry, be careful not to overmix or overhandle, so your pastry doesn’t end up rubbery!
Can I reheat these Strawberry Pop Tarts in a toaster?
We haven’t tried that, but I wouldn’t recommend it! Real Pop-Tarts contain a bunch of artificial ingredients that are designed to keep intact and not melt their way into your toaster; these homemade ones don’t contain those same ingredients. The glaze would definitely make a big old mess and probably ruin your toaster! If you wish to eat these pop tarts warm, I would recommend reheating them for a few minutes in a hot oven, and then serving a little of the glaze on the side, if you wish (glazing hot pop tarts will cause the glaze to soak right into the pastry, making the pastry soggy).
Do I have to use corn syrup in the glaze?
The pop tart glaze contains just a little corn syrup, which helps the glaze set up nicely and dry on top of the pop tart, so it’s not wet to the touch. Corn syrup gets a bad reputation, and sure, it’s not exactly a health food, but it’s really just an invert sugar (meaning that it’s a sugar that’s liquid at room temperature). I think people confuse the corn syrup we use for baking with the commercial variant, high fructose corn syrup, which can be found in processed foods. They’re not the same thing, and the basic baking variety can actually do some really cool things in baked goods. If you prefer to skip it, just note that the glaze will stay pretty wet and won’t dry or harden fully, so you won’t be able to store the pop tarts stacked on top of each other without the glaze getting messed up.
PS: Did you know that agave syrup contains more fructose than high fructose corn syrup? (not that it’s used in this recipe, but interesting nonetheless)
Can I use any other type of jam in Homemade Strawberry Pop Tarts?
Yes, you can use any type of jam or preserves you like for the filling! Everything else can stay the same, but just swap out the same quantity of jam filling for any other flavor you prefer.
Can Homemade Pop Tarts be made ahead of time?
You can make the pastry dough up to a day in advance – just store it in the fridge, wrapped well in plastic wrap. Alternatively, you can fully assemble the pop tarts and cover well with plastic wrap, and store in the fridge for up to one day before baking.
Also, just know that these pop tarts are just as delicious if not more so on the second day as they are right after baking!
How long will Homemade Pop Tarts keep?
Store pop tarts in an airtight container at room temperature for up to three days. They will keep a day or two past that, but they won’t be as flaky and delicious past three days.
Can you freeze Homemade Pop Tarts?
Unbaked, assembled pop tarts can be frozen on a baking tray until solid, then transferred to a ziptop bag or airtight container for up to a month. Thaw in the fridge for an hour or so before baking, cooling and glazing!
You can also freeze baked, cooled and unglazed pop tarts in an airtight container or ziptop bag for up to a month. Simply thaw at room temperature for an hour, then reheat in the oven for a few minutes or until crisp again, then cool, glaze and serve! Just note that the crispness of the pastry is definitely lost somewhat using this method – but they will still taste good!


Hi!’I just made these and have a question about the recipe. The recipe states to roll the dough out to 8” c 3 feet. Is this correct? The photo in the recipe of the rolled out dough wasn’t 3 feet-looked a lot shorter actually. Can you please clarify? Thanks. I couldn’t roll the dough out to 3 ft-only about 20 inches and it was slightly thicker than 1/8”.
Hi Carol! The size stated in the recipe were the dimensions we, as a team, enjoyed the Poptarts the most, and decided together that this was the best thickness to eat and enjoy! Rolling smaller didn’t get them quite thin enough and therefore resulted in a slightly less crisp Poptart. Rolling that little bit thinner was nice and crisp and closer to a real Poptart. I hope that makes sense, and I hope you enjoyed your Poptarts!! 🙂
These look divine!! I want to make these over the weekend! Thanks for sharing!
Thank you for posting a healthy alternative for pop tarts. My kids like pop tarts but I do not like all the processed things they add in the store bought ones. Yours is delicious and an easy to follow recipe with tons of other good recipes as well!
I want to add vanilla… How much would you add?
1 teaspoon should work.
Just made these with whole wheat flour and I put homemade blueberry jam inside. The wide eyes I got from my friends were worth it! Served them warm, and they were just as good the next day right out of the fridge. I am going to make these again, and try to use less butter.
These look so delicious! I can’t wait to try this… I think I’ll do it tonight! This may sound like a stupid question, but I’m assuming you keep these refrigerated right? Lol. I’m a noob!
xoxo, Christine
I used to get a Hot Fudge Pop Tart everyday during break in middle school…loved ’em! Way too sweet for me now though. Yours look amazing! Definitely something that is better homemade. Need to try these!
I definitely still crave pop-tarts and though I’ll occasionally succumb and pick up a box of them, homemade is definitely my preference. The Nutella version is my fave!
Tess, I’m positive you already know about this, but I just discovered it….this could be delish inside of one of your pop tarts,,,,,,
Vhttp://bakingbites.com/2013/01/trader-joes-crunchy-speculoos-cookie-butter-reviewed/
It looks soooo fresh and yeppers….portable is always a good thing!
I love homemade pop-tarts! So much better than store-bougt cardboard!
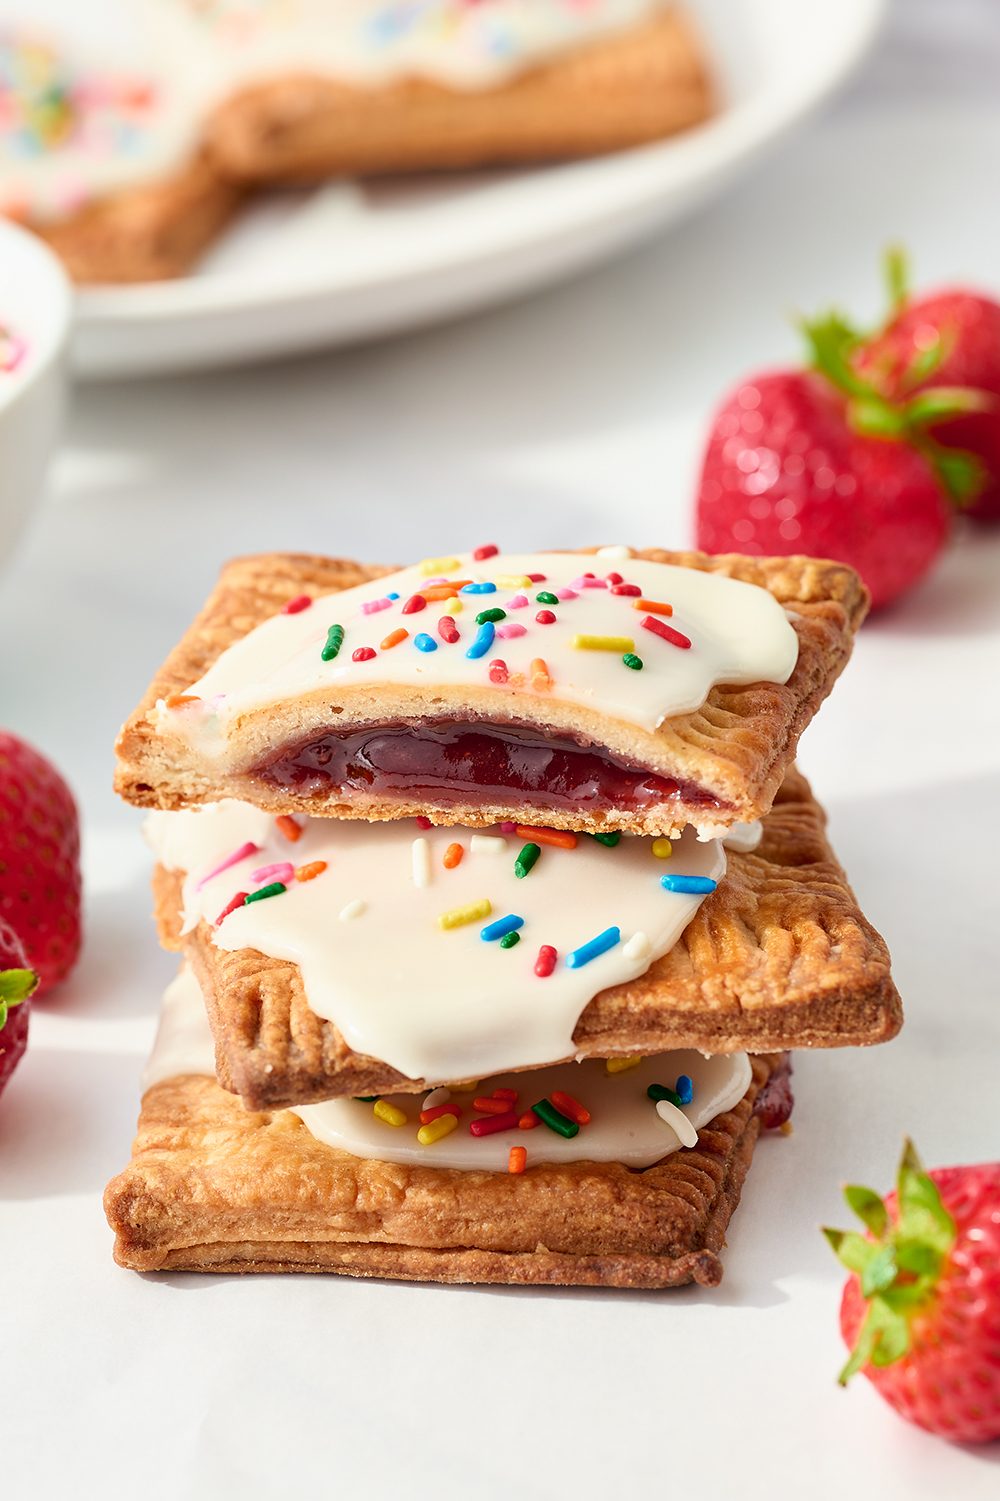
I know this is silly, but I kind of wanted to see it split in half so we could see the line of filling inside. That was my favorite part, breaking it to see the mystery “fruit” flavor! Obviously this is before they put the matching sprinkles/frostings on the outside. Too sweet!
I love the idea of combining nutella and marshmallows in a pop tart, not for breakfast (unless weekend), but could be nice though 🙂