This post may contain affiliate links. Read our disclosure policy.
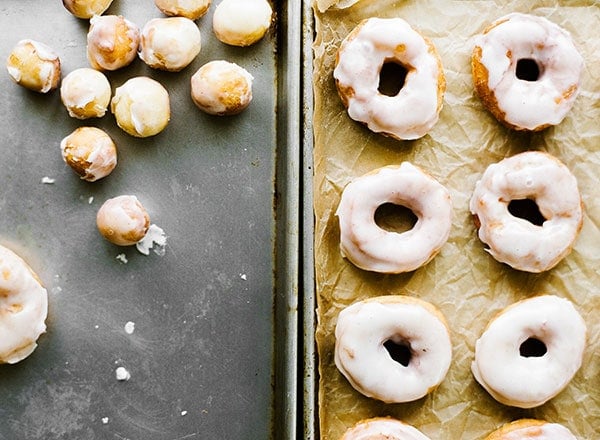
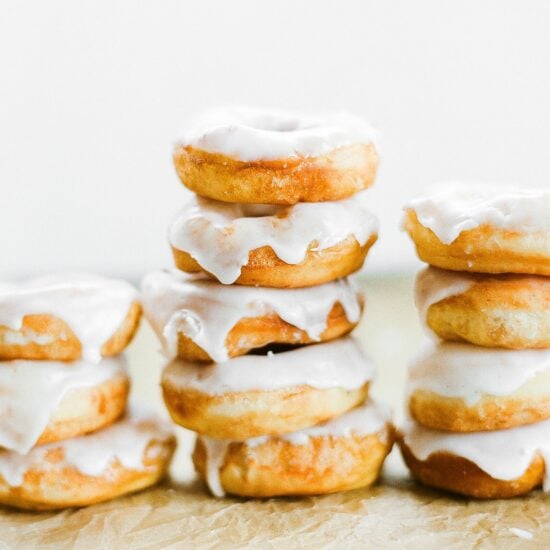
Is there anything better in this world than a freshly glazed still-warm doughnuts? It’s the epitome of comfort food in my book.
I love when the doughnut is so light, fluffy, and warm that it practically melts in your mouth. Although baked doughnuts can be delicious, nothing compares to that sensation.
Is your mouth watering yet? I guess you’ll just have to add these Glazed Doughnuts to your “to bake” list right this moment! If you do make a batch, be sure to take a picture and tag me on Instagram with #handletheheat so we can all see.

If you don’t have a
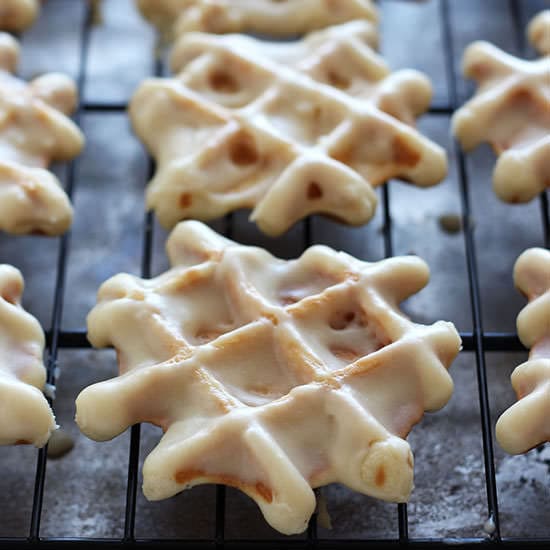
doughnut cutter, you can use a biscuit cutter + piping tip or bottle cap to cut out shapes. Get creative!
3 Glazed Doughnut Tips
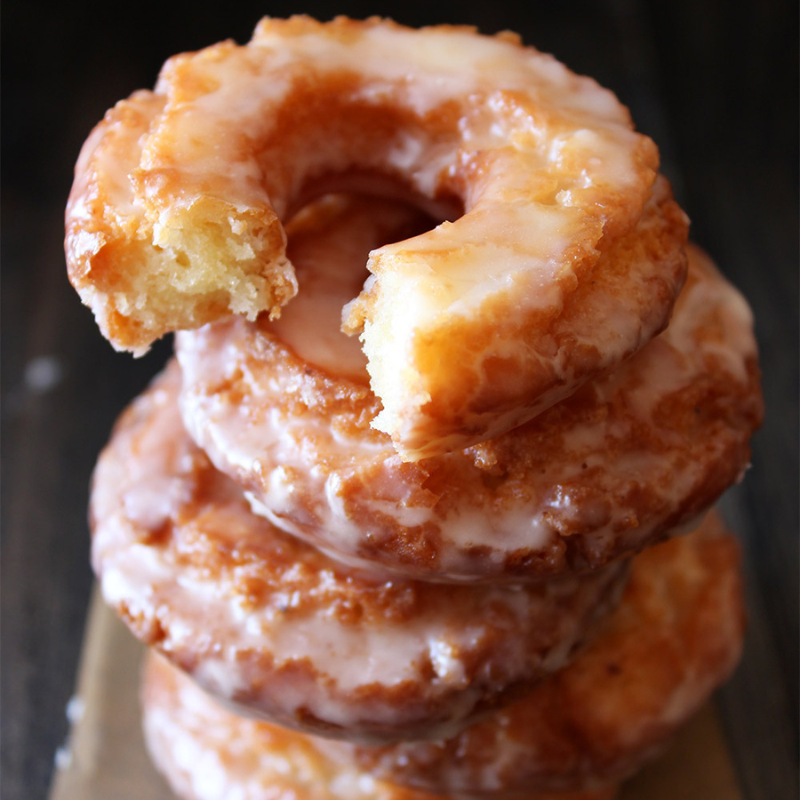
1. Yes, this recipe must be FRIED!
It truly is best that way. If you don’t want to deal with frying, the doughnut base in this recipe is my favorite for baking. I always use a thermometer when I’m deep frying, so I can make sure the oil is the perfect temperature. Too cold and your doughnuts will be greasy. Too hot and your doughnuts will be overly browned on the outside and undercooked in the center.
2. Yes, you can make these ahead of time!
The dough can be made and shaped and allowed to rise in the fridge overnight. Let the dough come to room temperature as you heat your oil.
It makes bringing the dough together super simple because it requires no proofing and rises faster. However, if you don’t have instant yeast you can use the same amount of active dry yeast. Simply combine the yeast with the warm milk for 5 minutes to proof before adding into the recipe.
Like most fried foods, the doughnuts are definitely best served the day they’re made. I always like the allow the glaze to set for at least 20 minutes before serving. That way they truly look and taste like gourmet doughnuts.
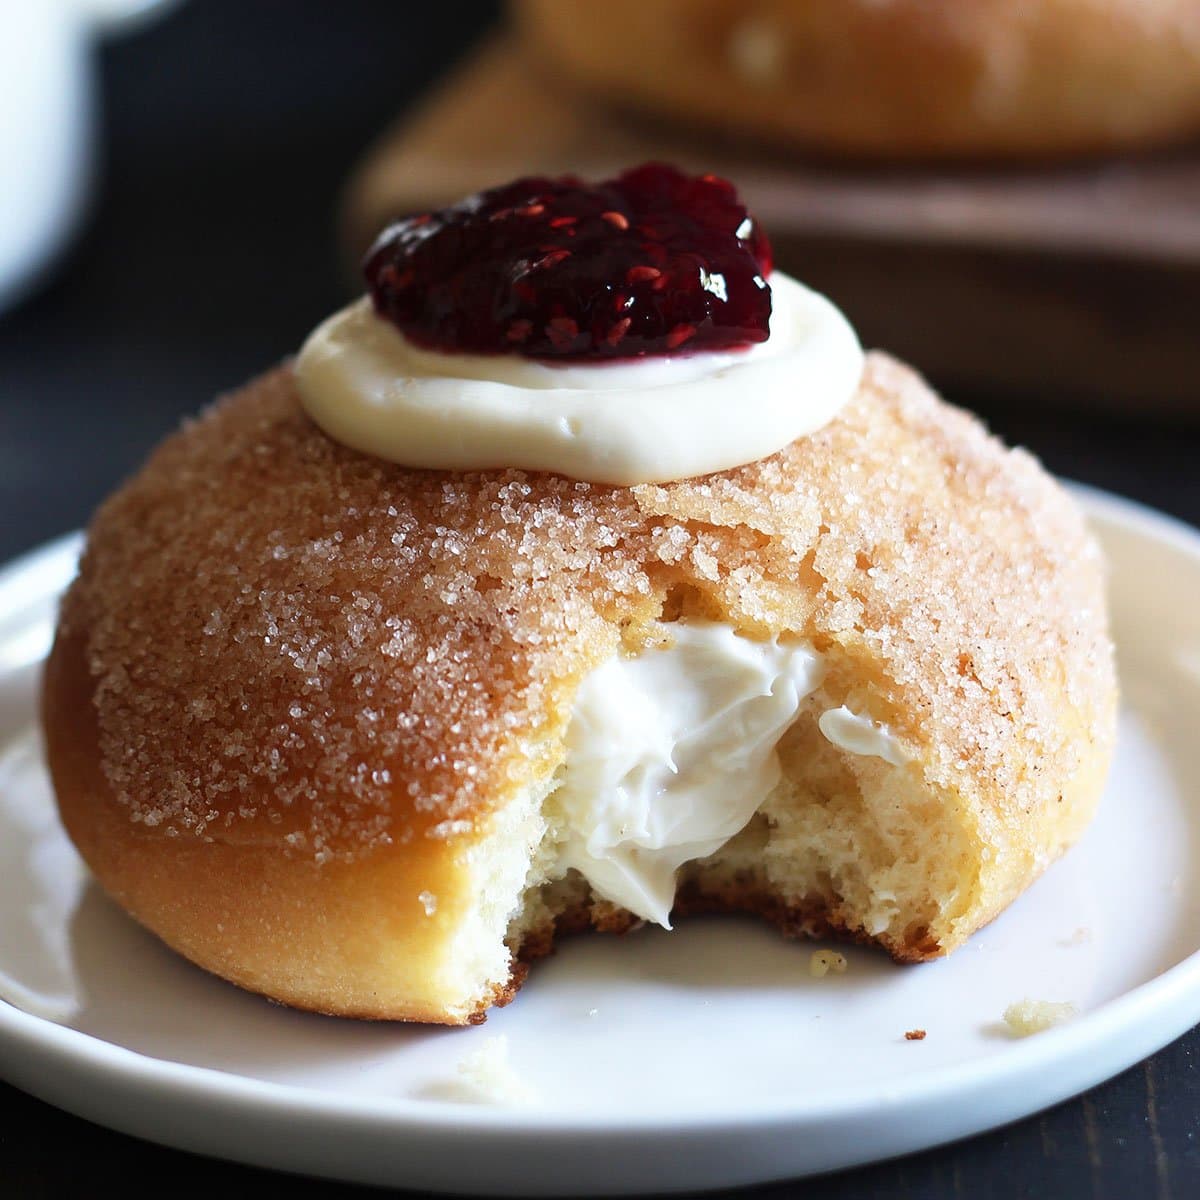
If you want to get creative with the glazes, I have a free download with my top 5 doughnut glaze recipes just below. When I’m frying a batch of doughnuts, I’ll usually make at least two glaze flavors to make sure everyone gets their favorite!

Photos by Constance Higley.
For the doughnuts:
-
1/2
teaspoon
salt
-
1/4
teaspoon
ground nutmeg (omit if you don't like nutmeg!)
-
1/4
cup
(50 grams) granulated sugar
-
2 1/4
teaspoons
(1 package) instant yeast
-
3
cups
(380 grams) all purpose flour
-
1
large egg
-
1
cup
whole milk, lukewarm
-
2
tablespoons
(28 grams) unsalted butter, melted
-
1/2
teaspoon
vanilla extract
-
6
cups
peanut or vegetable oil or 2 1/2 pounds shortening
For the glaze:
-
3 1/2
cups
(438 grams) powdered sugar, sifted
-
1 1/2
teaspoons
corn syrup
-
1/4
teaspoon
salt
-
1/2
teaspoon
vanilla extract
-
1/3
cup
hot water
Make the dough
-
In a large bowl, mix together all the ingredients until well combined. Let the dough rest for 5 minutes. Knead the dough with an electric mixer fitted with a dough hook or by hand until smooth and soft, about 6 to 8 minutes. Place the dough in a large oiled bowl, cover with plastic wrap and let rise in a warm place until doubled in size, about 1 1/2 to 2 hours.
-
Punch the dough down and turn it out onto a lightly floured work surface. Roll the dough out into 1/4-inch thickness and cut with a doughnut cutter or with a large round cutter and a small cutter for the holes. Cover the dough with a clean kitchen towel and let rise until doubled in size, about 1 hour (unless following the Make ahead instructions below).
Make ahead
-
To make ahead, once the doughnuts are cut, they can be covered and allowed to rise in the fridge overnight. Let come to room temperature before frying.
Fry the doughnuts
-
Heat the oil in a large, deep, and heavy pan to 350°F. Place three doughnuts in the oil at a time and fry until golden brown, about 1 minute per side. Do not overcook the doughnuts. Drain on a paper towel-lined plate.
Make the glaze:
-
Mix all ingredients in a bowl with a whisk until smooth. Immerse each doughnut into the glaze. Place glazed doughnuts on a wire rack above a lined sheet pan to catch any excess glaze. Let sit for 20 minutes until glaze is set before serving.


Do the doughnuts have to be set overnight ?
Hi Gabrielle! No, your doughnuts do not need to rise overnight. I just updated the recipe wording so the make ahead instructions are a little more separated from the rest of the recipe. Thank you for pointing that out! Enjoy your doughnuts 🙂
I want to make the fried donuts for our friends when we go camping. I was going to experiment with freezing the raised/shaped donuts, but when I saw your recipe, it made sense to ask for your assistance. I figured, they would need to defrost and come to room temp before frying, what suggestions do you have?
I love your recipes and your information and our camping friends will love to have this treat!
Thanks!!!!! Jan
Wow Jan! What an awesome friend you are to make fried doughnuts for everyone when camping!!! Now I’m going to want one every time I go camping haha! I’ve honestly never tried what you’re proposing with freezing the dough, so I can’t say how that would work, but I imagine it would be fine! There are make ahead instructions in the pink box above the recipe where you could use a cooler in place of the fridge to rise overnight. Please let me know how everything goes!
I made the dough EXACTLY as the recipe (which I rarely do, I love to experiment). Once I cut the doughnuts/holes, I made three groups – 1. put in the frig to proof overnight 2. proofed till doubled and put in the freezer 3. froze immediately. In the morning, took #3 out of the freezer and allowed to rise until doubled, took #2 out of the freezer and allowed to come to room temp and finally took #1 out of frig and brought to room temp.
Fried as directed in three batches and then glazed as directed.
Terribly disappointed on all three. Batch #1 was the fluffiest, but none of them were particularly light, mostly bready texture. I don’t know what I did wrong.
Jan
Hmmm…I’m not entirely sure what went wrong either! Normally dense doughnuts are due to too much flour being added or being underproofed. Do you use a scale to measure your ingredients? For your three experimental groups, did you experiment with them AFTER you covered the cut dough with a clean kitchen towel and let rise until doubled in size, or did you skip this last rise and immediately put them in the fridge/freezer? If so, that could definitely be the problem, a missed rise. Let me know, I want to help you figure this out!
Look so tasty. Love the tutorial.
The glaze turned out too thick and tasted bad, like straight powdered sugar. It ruined the donuts.
Hi Tessa!
Love the tutorial, are we to keep the donuts to cool before applying the glaze? I’ve found with other recipes the glaze sets and then starts melting, however I dipped the donuts soon after frying which probably meant it was too hot?
Would really appreciate your help!
Any tips for frying? I did everything you said, but the doughnuts just tasted like oil and were not even close to being edible.
I’m into baking these days. And I’m glad I found your website. Never made doughnuts before, but I’ll try make these ones soon. They look so good! Thanks for sharing your recipe. =)
Let us know how they turn out if you give them a go! xo
Doughnuts have been on my ‘to bake’ list for so long! I’m always put off by the deep frying as I’ve never attempted it before. I’m so keen to try this recipe though, is a large saucepan suitable?
Hi, Emma! I hope you’ll give these a try then 🙂 A large saucepan should work just fine.
They look yuum yuum.plz can I exclude d corn syrup,or replace it?
If you can’t get it you can just exclude it. The glaze won’t be quite as shiny and similar to bakery style doughnuts, but will still be delish.