This post may contain affiliate links. Read our disclosure policy.
You guys know I am obsessed with peanut butter. But recently I found this amazing cinnamon roasted almond butter at the farmer’s market that replaced my daily PB addiction for a few weeks.
So for the first time in years I had peanut butter after not having eaten the stuff for a while. And you know what?! For some reason it tasted ultra peanut buttery!!
The flavor felt like it was bouncing off my tongue and doing cartwheels. It made me realize that I had almost developed a food tolerance for peanut butter that was preventing me from truly tasting it since I ate it all of the time.
Does that make ANY sense?! Once I experienced that PB explosion I was instantly inspired to bake with it.
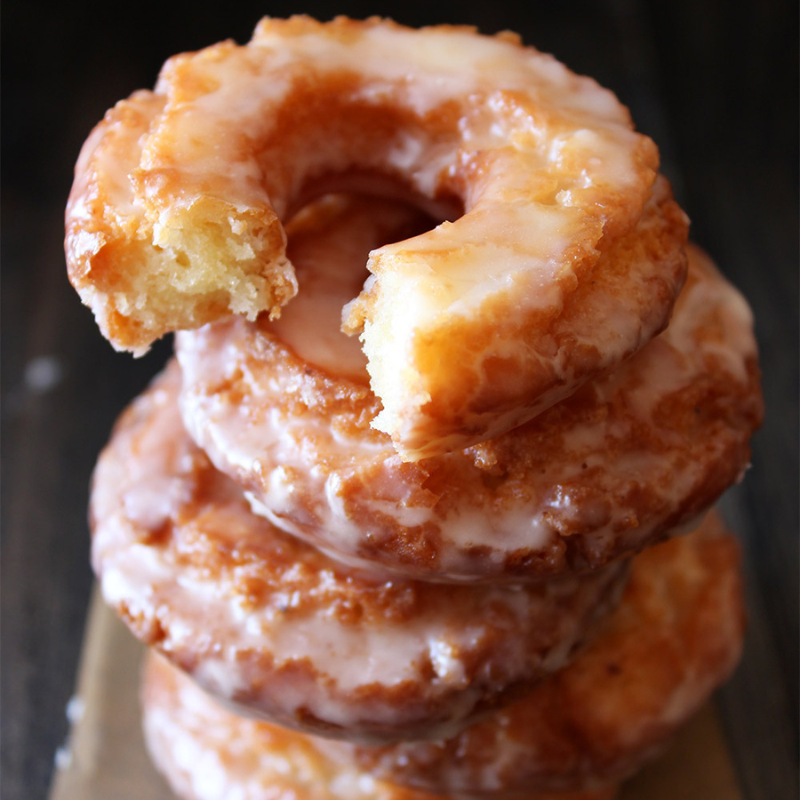
I landed on doughnuts, since I recently discovered my favorite way to make baked doughnuts. They taste and feel as close to the fried ones as possible without a drop of oil.
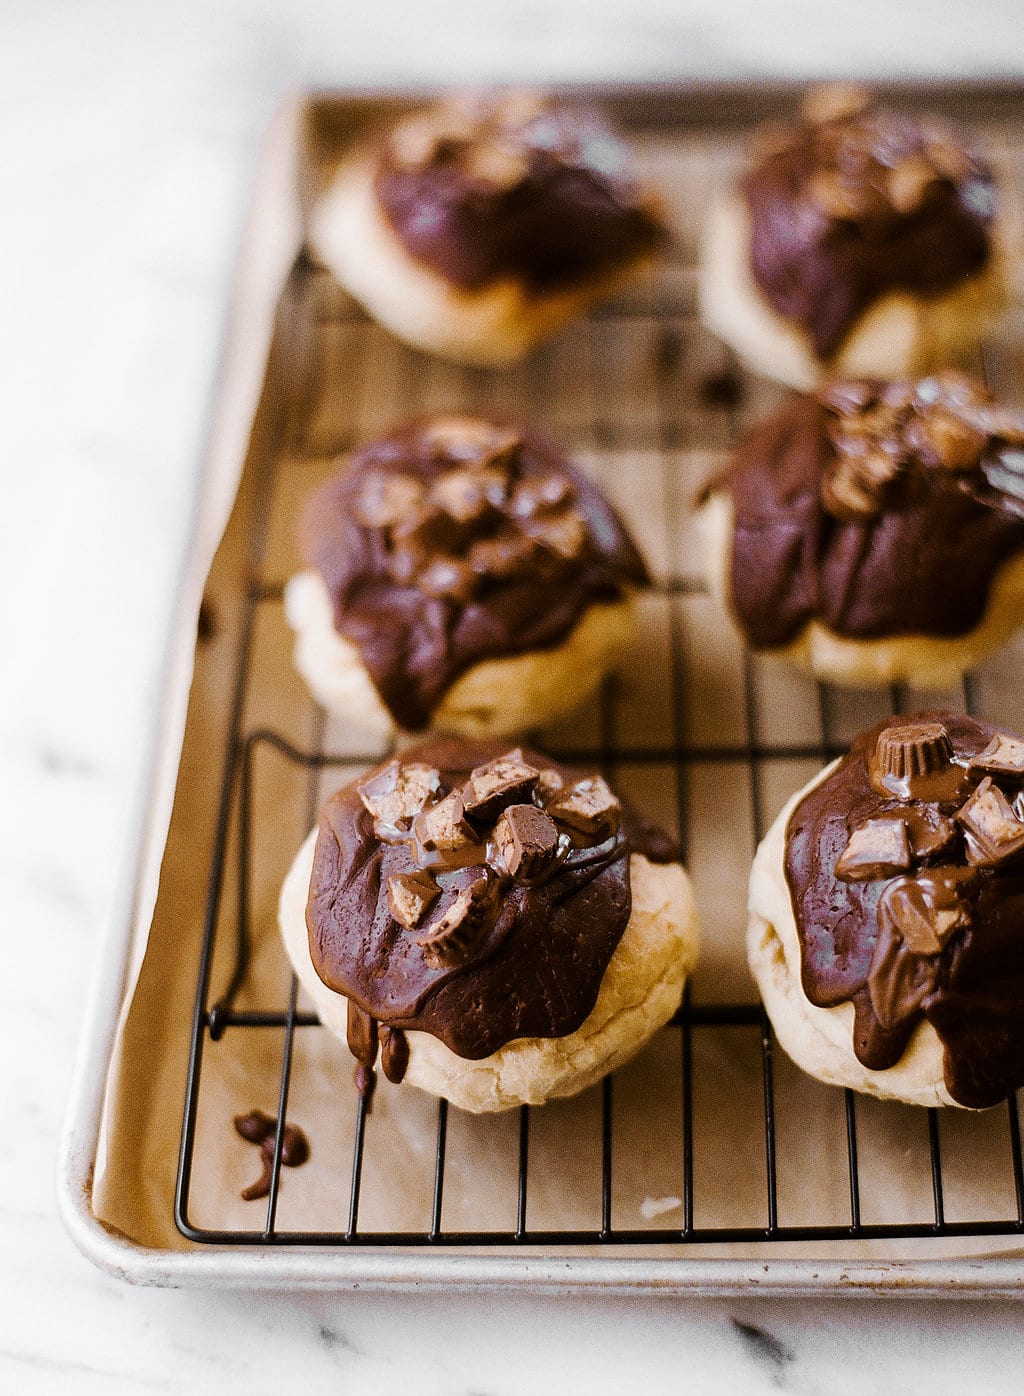
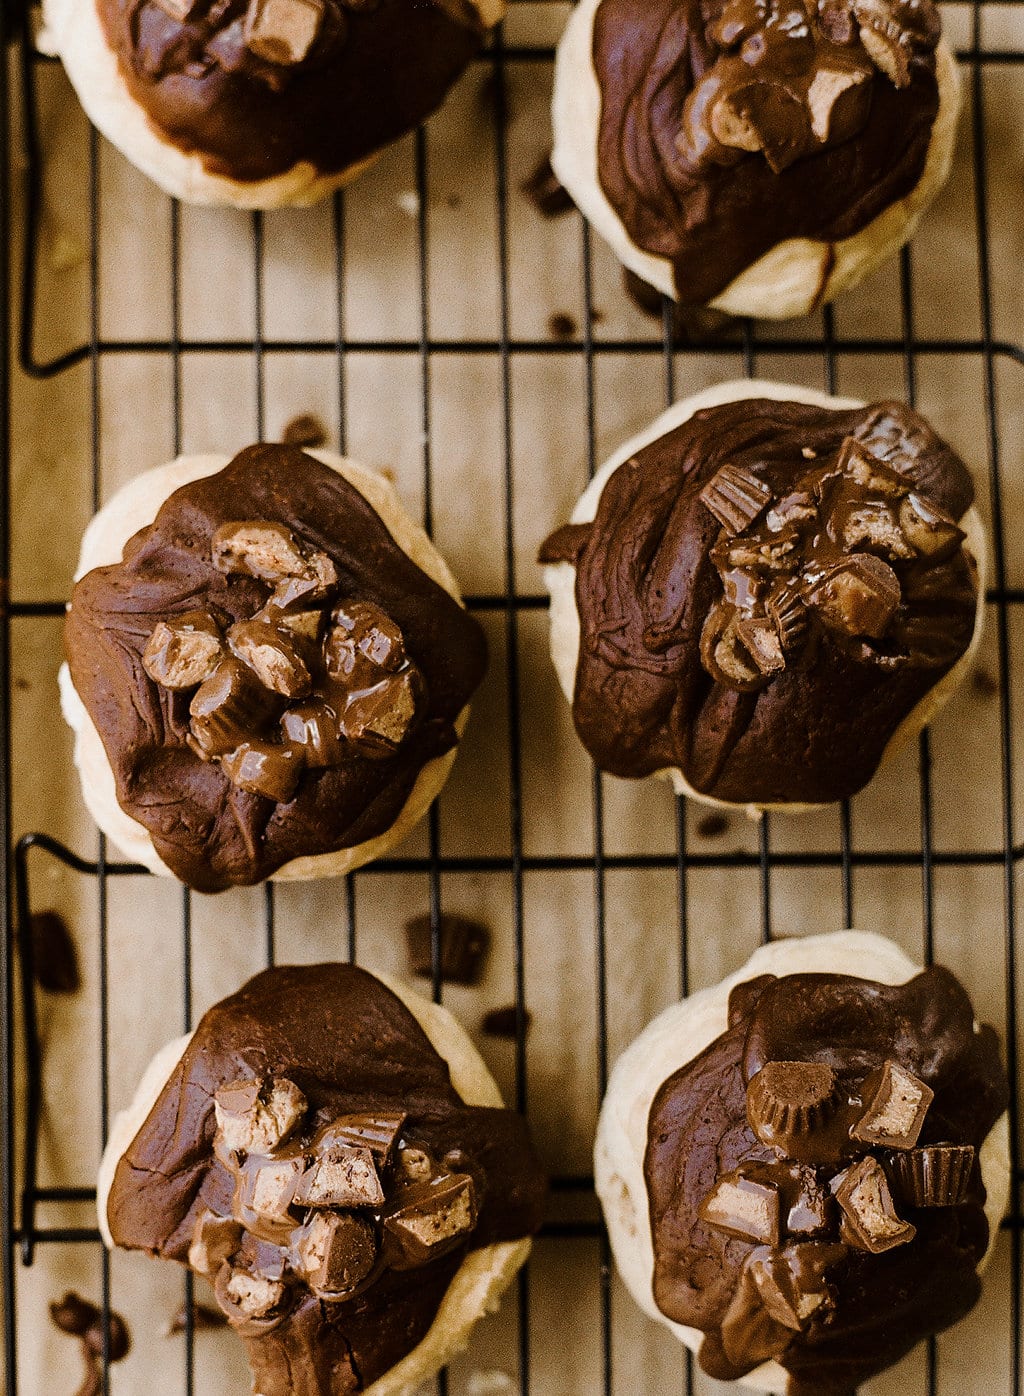
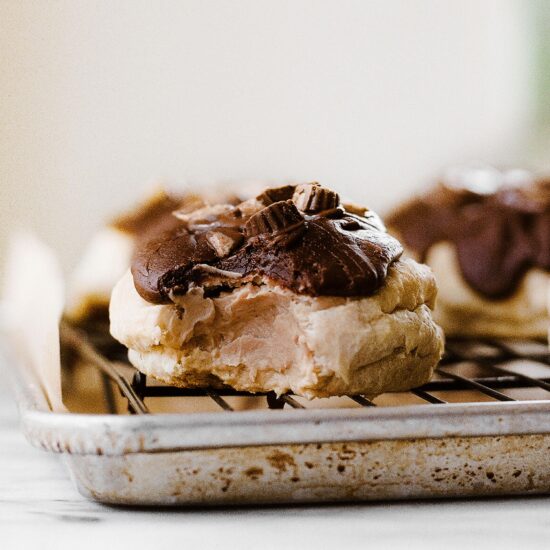
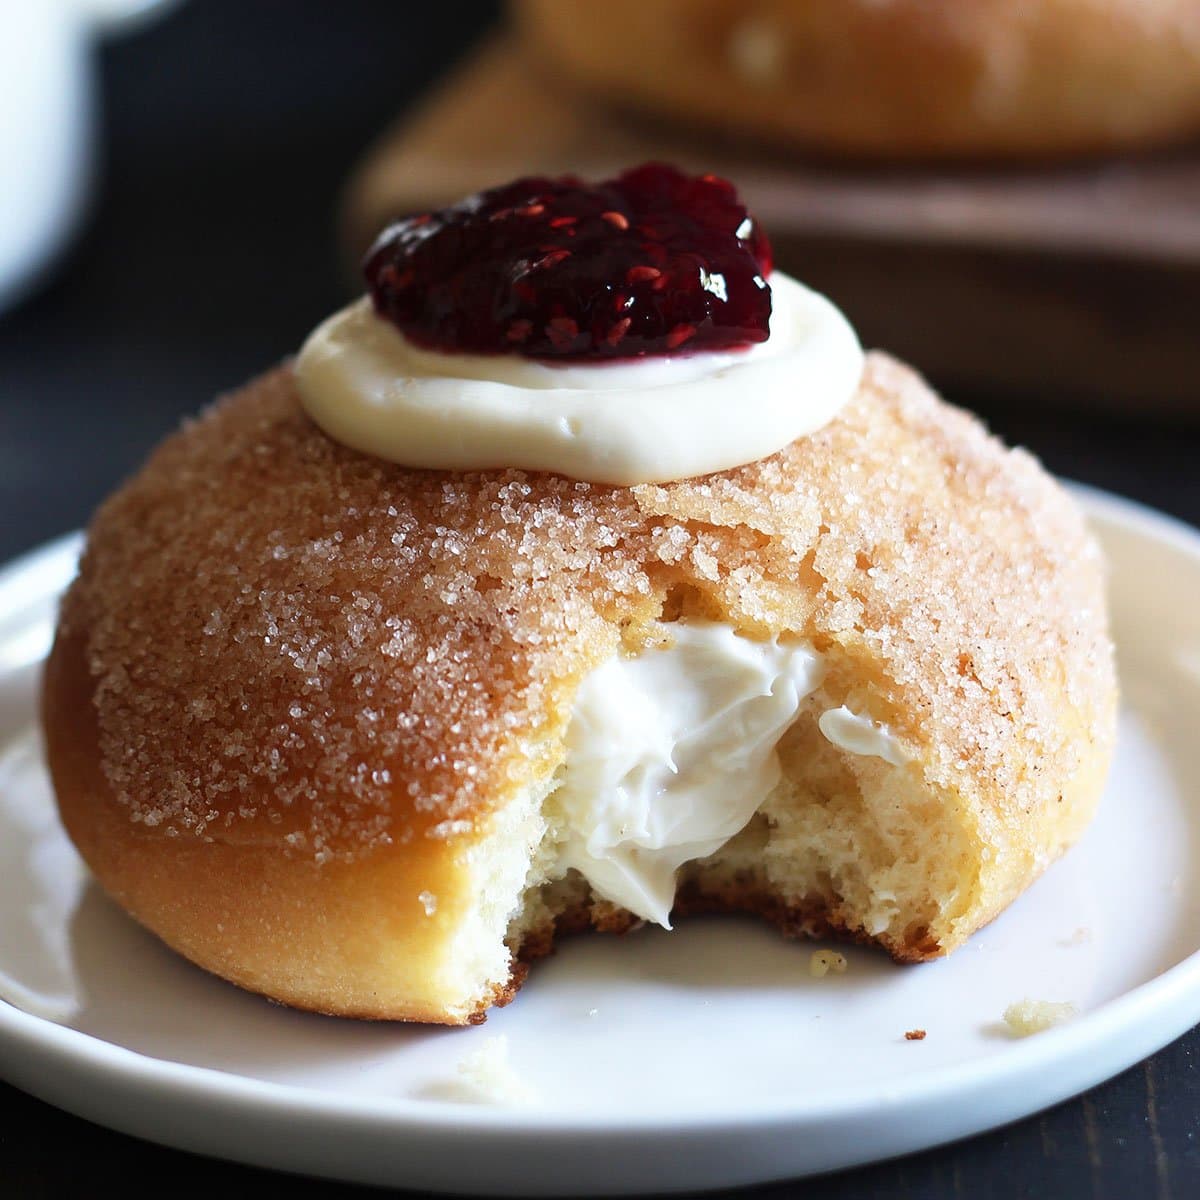
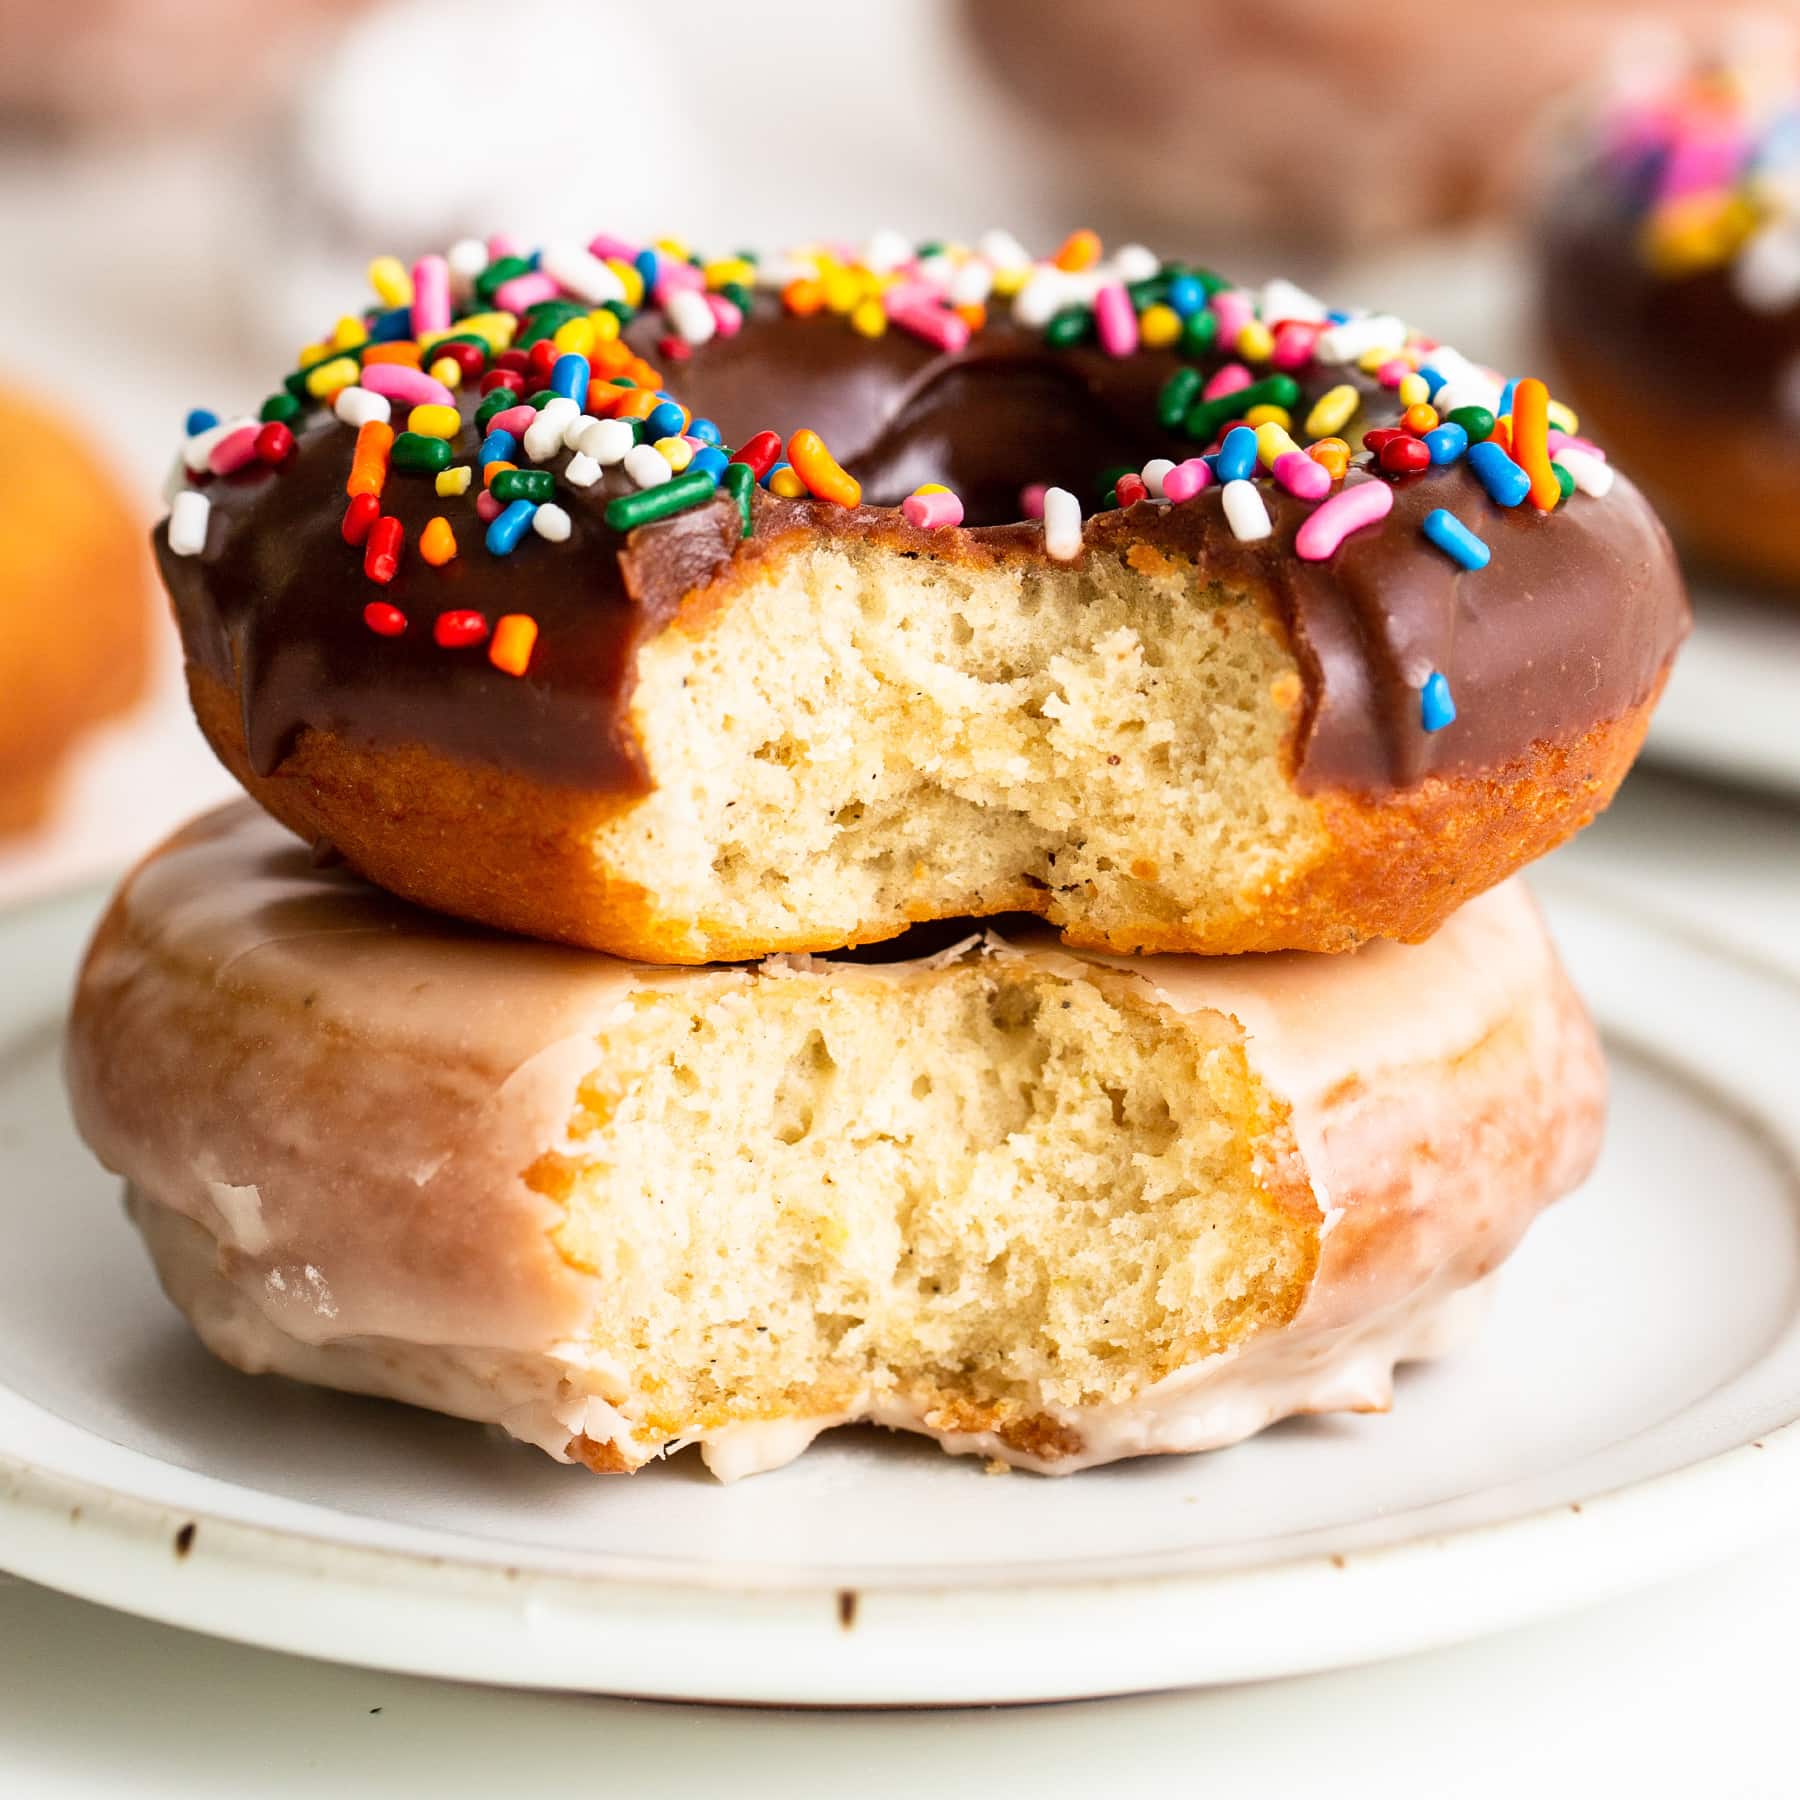
That base recipe comes from my Cheesecake Stuffed Baked Doughnuts. I added peanut butter to the cream cheese filling, topped with chocolate glaze, and garnished with a sprinkling of mini chopped peanut butter cups.
Basically, these Peanut Butter Cup Baked Doughnuts are out of this world good.
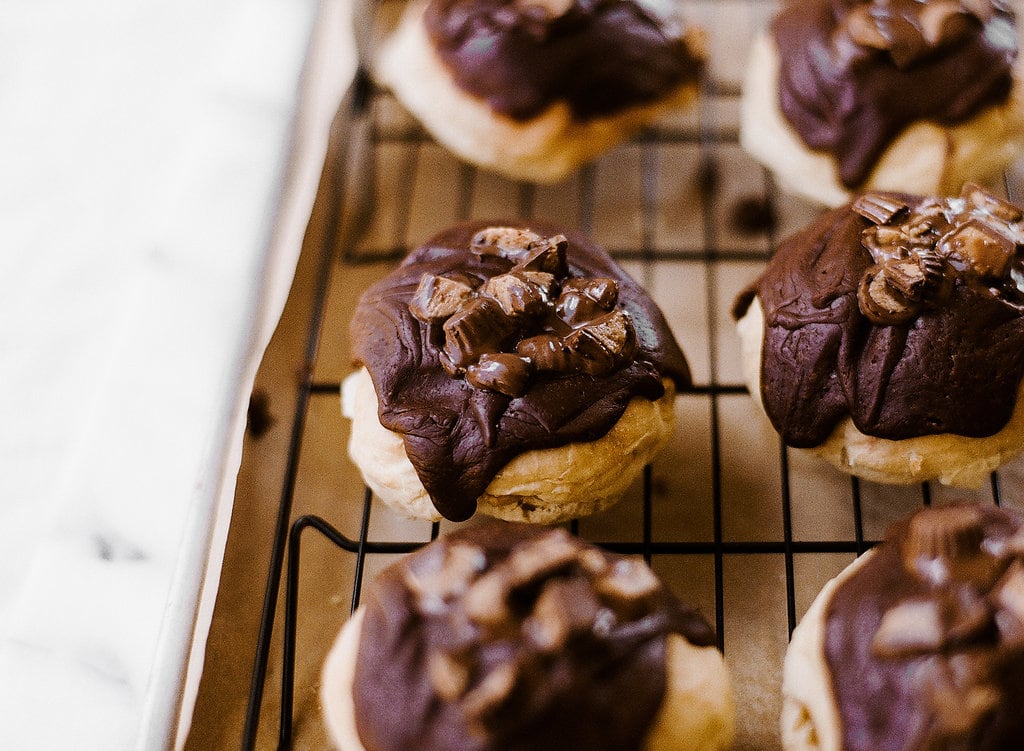
Since the temperature literally reached 120°F here in Phoenix recently, I’ve had to basically refrigerate or freeze anything with chocolate to prevent it from melting. Including these doughnuts, which is why the glaze looks a little hardened. Usually it’s softer, but honestly it was delicious both ways.
If you make and enjoy this recipe, be sure to snap a picture and share it on Instagram, tagging #handletheheat, so we can all see your creations!
Photos by Constance Higley.
For the doughnuts:
-
1/2
cup
warm water
-
1/2
teaspoon
vanilla extract
-
2 1/4
teaspoons
(1 packet) instant yeast
-
4
large egg yolks
-
1/3
cup
(65 grams) granulated sugar
-
2 1/2
(319 grams) cups all-purpose flour
-
1/4
teaspoon
fine salt
-
4
tablespoons
(57 grams) unsalted butter, at room temperature
-
1/4
cup
heavy cream
For the filling:
-
4
ounces
(113 grams) cream cheese, at room temperature
-
1/2
cup
(122 grams) peanut butter
-
1/4
cup
heavy cream
-
1/4
cup
(31 grams) powdered sugar
-
1
teaspoon
vanilla extract
For the glaze:
-
4
tablespoons
(57 grams) unsalted butter
-
2
tablespoons
whole milk
-
2
teaspoons
light corn syrup
-
1
teaspoon
vanilla extract
-
2
ounces
(57 grams) semisweet chocolate, chopped
-
1
cup
(125 grams) powdered sugar, sifted
-
Mini peanut butter cups, chopped, for topping
Make the doughnut dough:
-
In the bowl of a stand mixer fitted with the dough hook, combine the water, vanilla, yeast, eggs, and sugar. Gradually add in the flour then salt, mixing until absorbed. Add the butter and cream and beat on medium speed for 6 to 8 minutes, or until a smooth sticky dough forms. Remove the dough to a lightly greased bowl, cover, and let rise until doubled in size, about 1 to 1 1/2 hours. At this point the dough can also be refrigerated and allowed to rise overnight.
Finish the doughnuts:
-
On a lightly floured work surface, roll the dough out to about 1/2-inch thickness. Using a round cookie cutter, cut out 6 rounds from the dough. OR, tear off pieces of dough weighing 100 grams each and shape into balls. Place on a large parchment-lined baking sheet spacing far apart. Cover and let rise until puffy, about 30 minutes.
-
Meanwhile, preheat the oven to 350°F. Bake the doughnuts for about 12 to 15 minutes, or until golden brown and puffed.
For the filling:
-
In a medium bowl using an electric mixer, beat the cream cheese, peanut butter, heavy cream, sugar, and vanilla until very well combined.
-
Remove the cream cheese mixture to a piping bag fitted with a long filling tip. Insert the tip into the side of a doughnut and squeeze the filling inside to fill. Repeat for the remaining doughnuts.
Make the glaze:
-
In a medium saucepan over medium heat, combine the butter, milk, corn syrup, and vanilla and heat until the butter melts. Decrease the heat to low and add the chocolate, whisking until melted. Turn off the heat and add the powdered sugar, whisking until smooth.
-
Immediately dip the doughnuts into the glaze. Place glazed doughnuts on a wire rack above a lined sheet pan to catch any excess glaze. If the glaze begins to set return the saucepan to low heat and stir until liquid again. Let the glaze set on the doughnuts for 30 minutes before serving.
-
Doughnuts are best served the day they’re made.


Hi Tessa! Thanks for all the great recipes. Your blog is one of my go-tos. My fiance is OBSESSED with a version of this donut from a shop in New Orleans, and when I saw these here I knew I had to try them. I made them this morning and so far they have rave reviews. I wanted to ask a couple of things.
My dough didn’t turn out as “fluffy” in the middle as yours did. When I went to fill them, I felt like there wasn’t room to fill, and some of the donuts broke (which was fine since they were being glazed anyway. Any clue what I did wrong? I made them last night and put them in the fridge. Should I have let them rise for a couple of hours first? (I didn’t, instead when I got up, I put them in a warm microwave per red star yeast’s website to get them to rise a bit more.) Also, if i’m using the tear-off method to make the 6 balls, how big should the dough balls themselves be? I think maybe mine were too long and not tall enough?
Anyway, thanks again! For others who may be reading this, for the glaze I used simple syrup instead of corn syrup since I didn’t have corn syrup, and I used bittersweet chocolate and it all turned out just great!
Hi, Katelyn! Sometimes if I’m filling something where I really want the filling to be a star, I might tear out a small amount of the inside of the doughnut, or whatever it is, to cram as much filling inside then cover with lots of glaze or position strategically on a tray lol.
But it does sound like your second rise perhaps didn’t puff up enough to get that fluffier interior. If allowing to sit overnight in the fridge, I would let them sit at room temperature longer next time until they’re visibly puffy. It’s not really a matter of how big the dough balls are, it’s more about how tightly formed they are. You want the balls to be very sturdy and tightly bound so they hold a round shape well. I hope that makes sense.
Thanks for this yummy recipe. I’m wondering what size filling tube you recommend? I have made many pastries, but never a filled pastry. I want to try this one! I’m seeing on Amazon lots of reviews for tubes that are too thin for thicker fillings. Do you have a specific size you use?
I just used one I purchased at a local cake decorating store. I wouldn’t worry too much about the size since the filling is quite easy to work with!
I am a momtrepteneur and i really love your recipes helps me a lot. Ty so much xoxo
Wow Tessa…. these are amazing..can they be made in mini or smaller sizes? How would you adjust the baking time? Thank you for all of your wonderful recipes, and chef-y inspirations…
Hi Tessa!
I want to know about the measuring cup. Is there any differences between the measuring cup at my country in Asia and America measuring cup. Because sometimes I need to convert by myself,the recipe that I got from US blogger. I love to use kitchen scale rather than measuring cup.It’s because there the differences between the amount of ingredients that I measured using kitchen scale by myself and the chart that I got on internet. Thank you.