This post may contain affiliate links. Read our disclosure policy.
Ricotta is one of my favorite ingredients that I just don’t use enough. I love to add ricotta onto pizza when ordering out. If you haven’t tried that, you absolutely must next time!
Recently ricotta was on sale at the store so I stocked up to experiment with different ways to use it in baking. I recently saw a ricotta herb bruschetta at a restaurant and loved the idea of combining fresh herbs with ricotta cheese.
Immediately the idea for Ricotta Herb Bread Rolls popped into my mind. But I wasn’t sure if the recipe would work. I had never added a soft cheese like ricotta added straight into a bread dough and hadn’t seen it done many times in other recipes. I was worried the cheese would weigh the dough down and it wouldn’t be light and fluffy.
That’s exactly what happened the first time I made these rolls. My ratios were all off and the rolls were horribly dense and dry. But I wasn’t giving up!
After some more tweaking and testing I’m SO happy with the final result of this recipe.
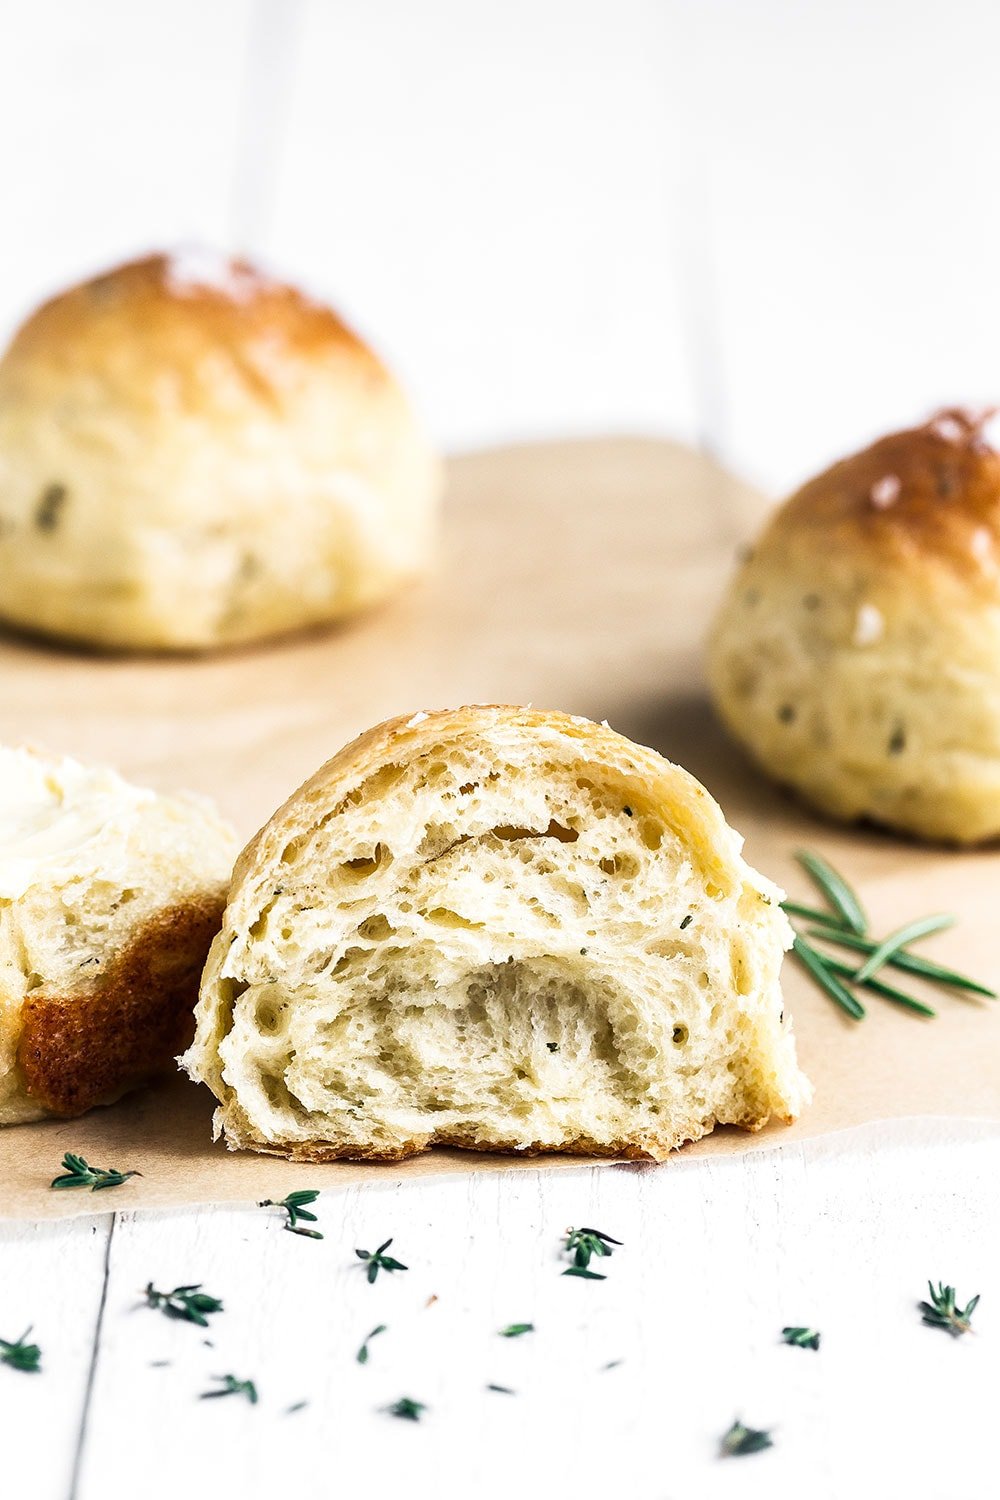
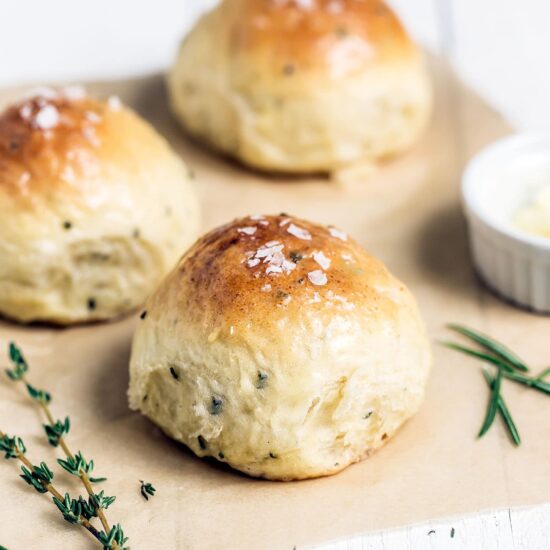
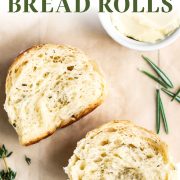
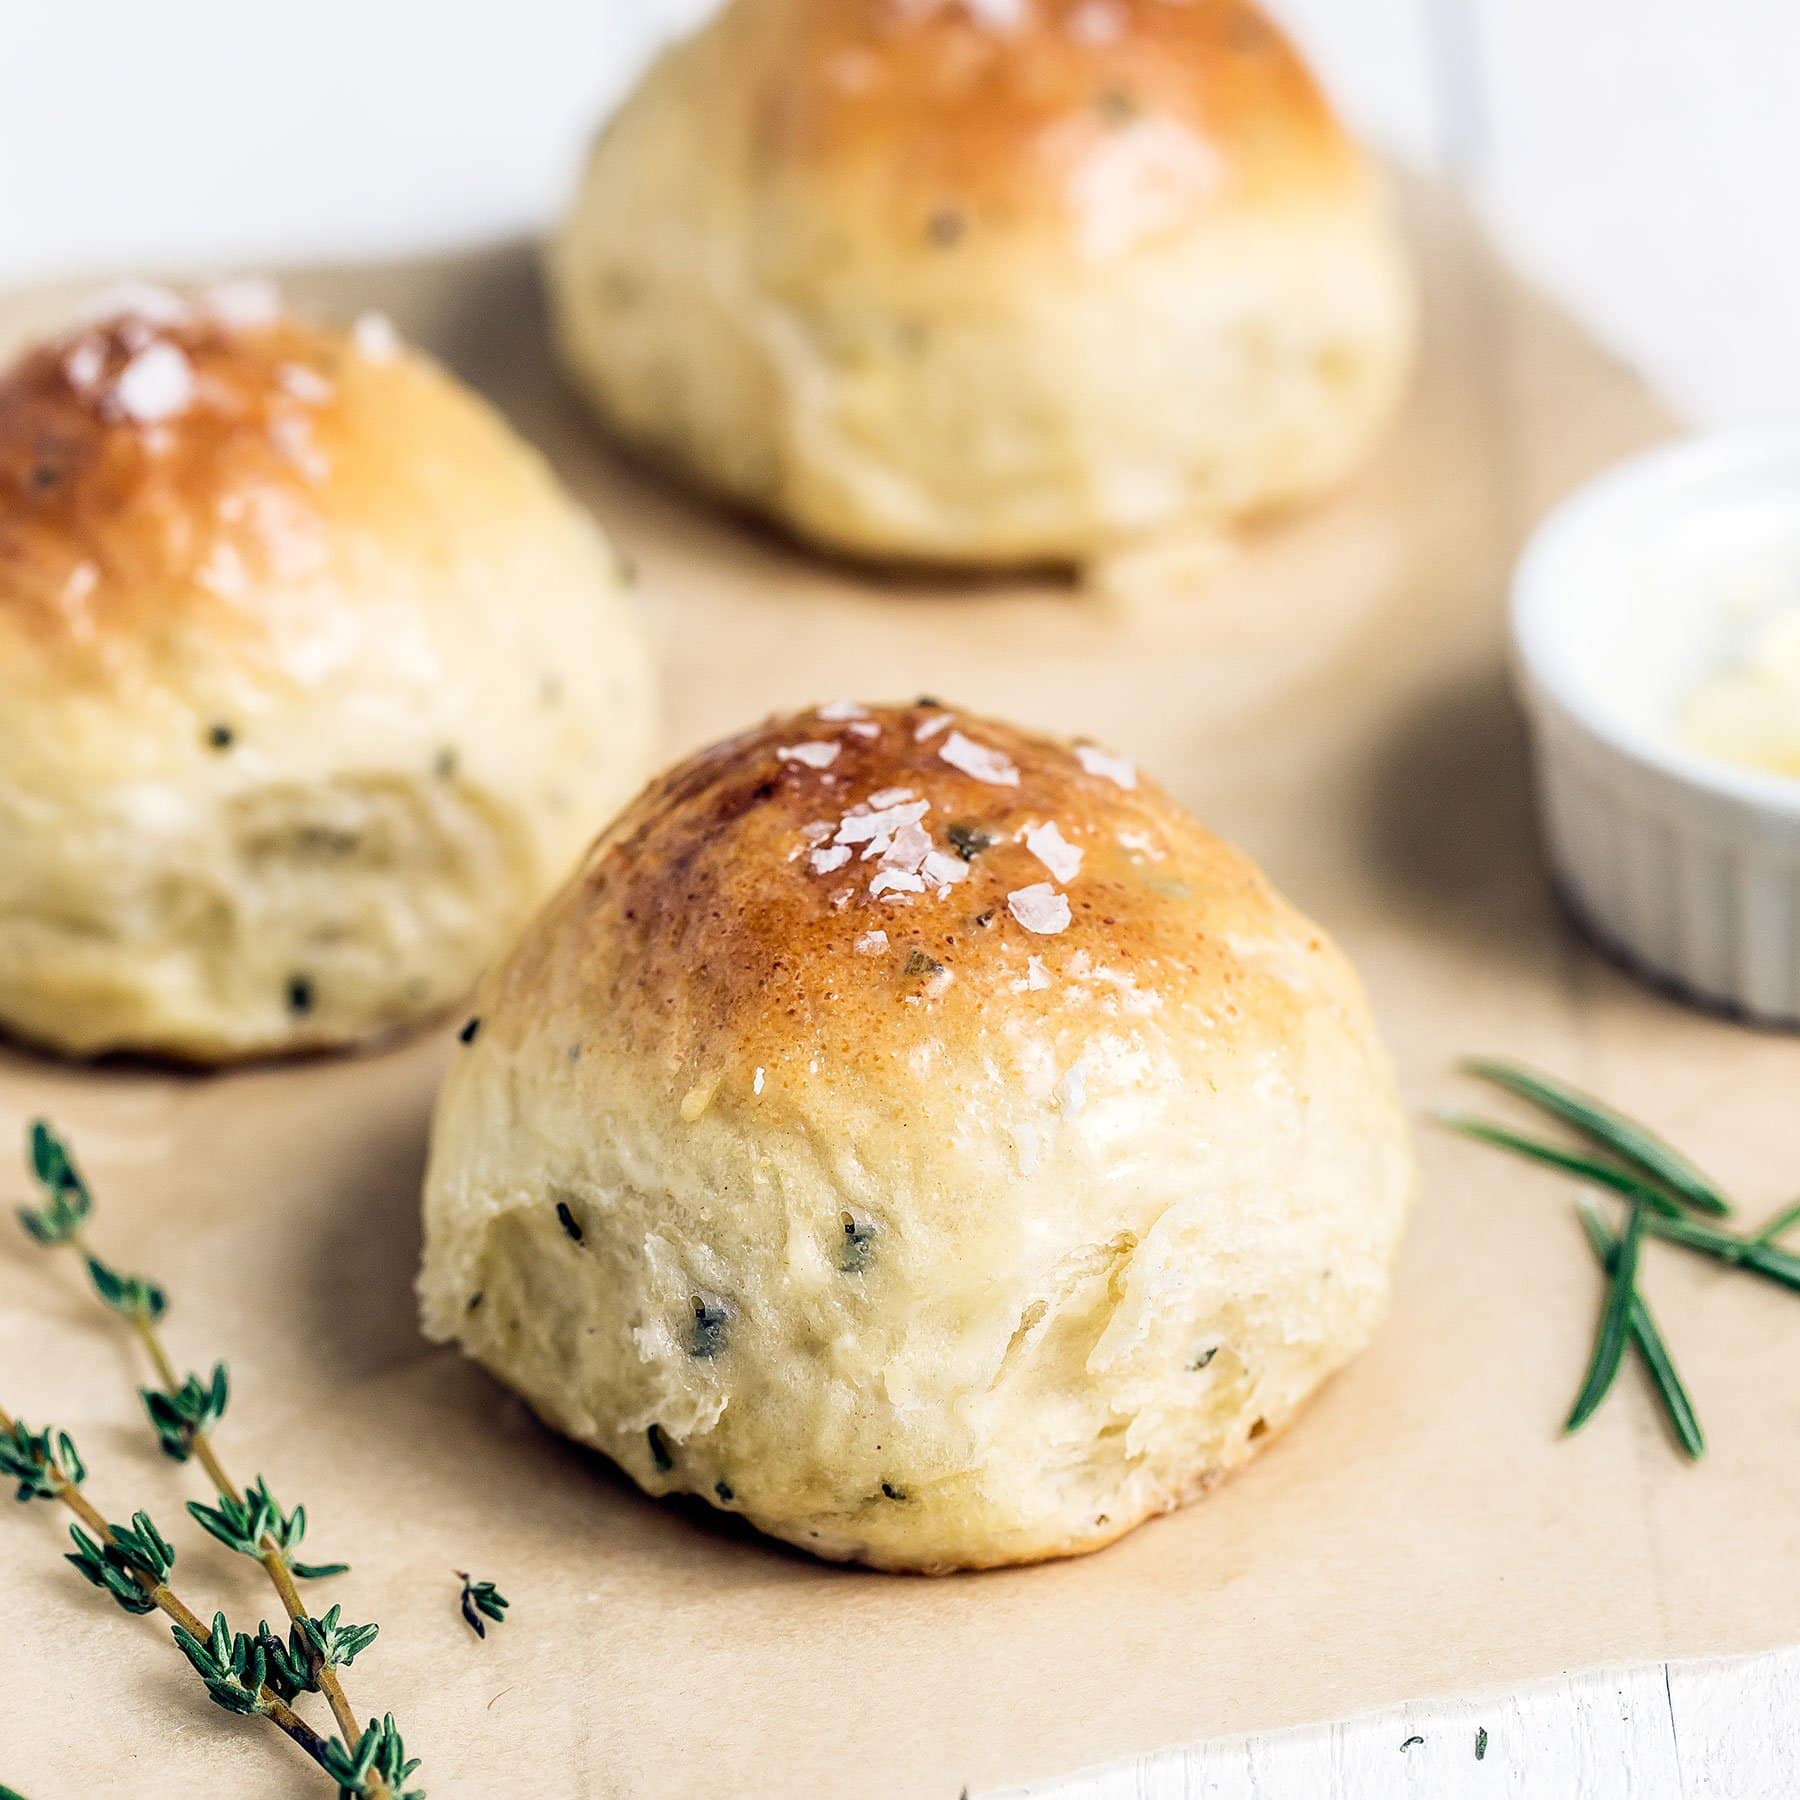
These Ricotta Herb Bread Rolls are perfectly pillowy soft like marshmallows. They’re loaded with flavor and when you smear some quality butter and sprinkle a little flaky sea salt on top… well it’s like you’re dining at an expensive restaurant!
These bread rolls are bound to be a crowd pleaser for any family dinner or celebration. Take a peek at the recipe tips I wrote below if you’re intimidated by homemade bread baking or have a question about the recipe. I tried to answer any you might have! You can also download my free bread guide here.
Ricotta Herb Bread Rolls Recipe Tips
Yeast
This recipe utilizes a short cut ingredient: instant yeast. For this recipe you can also use rapid rise or quick rise yeast. One of the 3 should be available at most grocery stores or you can buy my all time favorite yeast on Amazon. These types of yeast are specifically formulated to allow you to skip proofing (aka the step where you combine the yeast with warm liquid for 5 minutes). You can add instant yeast directly into the mix with all of the ingredients.
If you don’t have or can’t find instant yeast, you can easily use active dry yeast instead. Simply combine it with the warm liquid called for in the recipe and allow it to proof for 5 minutes before adding into the bowl with the other ingredients.
Flour
The exact amount of flour you’ll need will depend on your kitchen environment and even the brand of flour you’re using. Things like humidity and altitude can affect your dough. That’s why I give a range of flour instead of a precise measurement in this recipe. You may very well not end up using the full amount of flour. Add it in gradually just until the dough comes together.
I’d always rather have a sticky dough than add too much extra flour and create dense, tough, or dry bread. As the dough rises the flour will continue to absorb extra moisture and it won’t be quite as sticky when you go to shape the rolls anyways!
Ricotta
Use a high quality ricotta cheese in this recipe. Bring the cheese to room temperature before using.
Kneading Bread Dough
Using a stand mixer fitted with the dough hook makes easy work of kneading dough. However, if you don’t have a mixer you can knead this dough by hand. Click here to see my step-by-step video on how to knead dough perfectly by hand.
Rising
The ricotta adds some richness to this dough, so it may take slightly longer to rise than other recipes do. If you’re not sure if your dough is risen, conduct the ripe test: Gently stick two fingers in the risen dough up to the second knuckle and then take them out. If the indentations remain the dough is “ripe” and ready for the next step in the recipe. If not, cover and let the dough rise longer until the indentations remain.
Make Ahead
Basically all yeast dough can be made ahead of time and baked off later on! For this recipe, I like to make the dough all the way through to rising once and shaping the rolls. Once the rolls are shaped, cover them and refrigerate for up to 24 hours. Bring to room temperature as the oven preheats before baking as the recipe directs. If the rolls haven’t doubled in size yet, allow to sit at room temperature until they do.
Refrigerating basically stunts the rise time and can actually allow more flavor to develop!
The rolls are best served the day they’re baked. However, you can easily reheat the rolls briefly in the oven or toaster oven at 300°F until warmed through to refresh.
More Bread Recipes:
Photos by Ashley McLaughlin.
-
1/4
cup
warm whole milk (100 to 110°F)
-
1
cup
(246 grams) part skim ricotta cheese, at room temperature
-
2
tablespoons
olive oil, divided, plus more for coating
-
2
whole eggs, at room temperature
-
1
teaspoon
granulated sugar
-
1 1/2
teaspoons
fine salt
-
1
tablespoon
minced fresh rosemary
-
1
tablespoon
minced fresh thyme
-
2 1/4
teaspoons
(1 packet) instant yeast
-
3 1/2 to 4
cups
(445 to 508 grams) all-purpose flour
-
Flake sea salt, for sprinkling
-
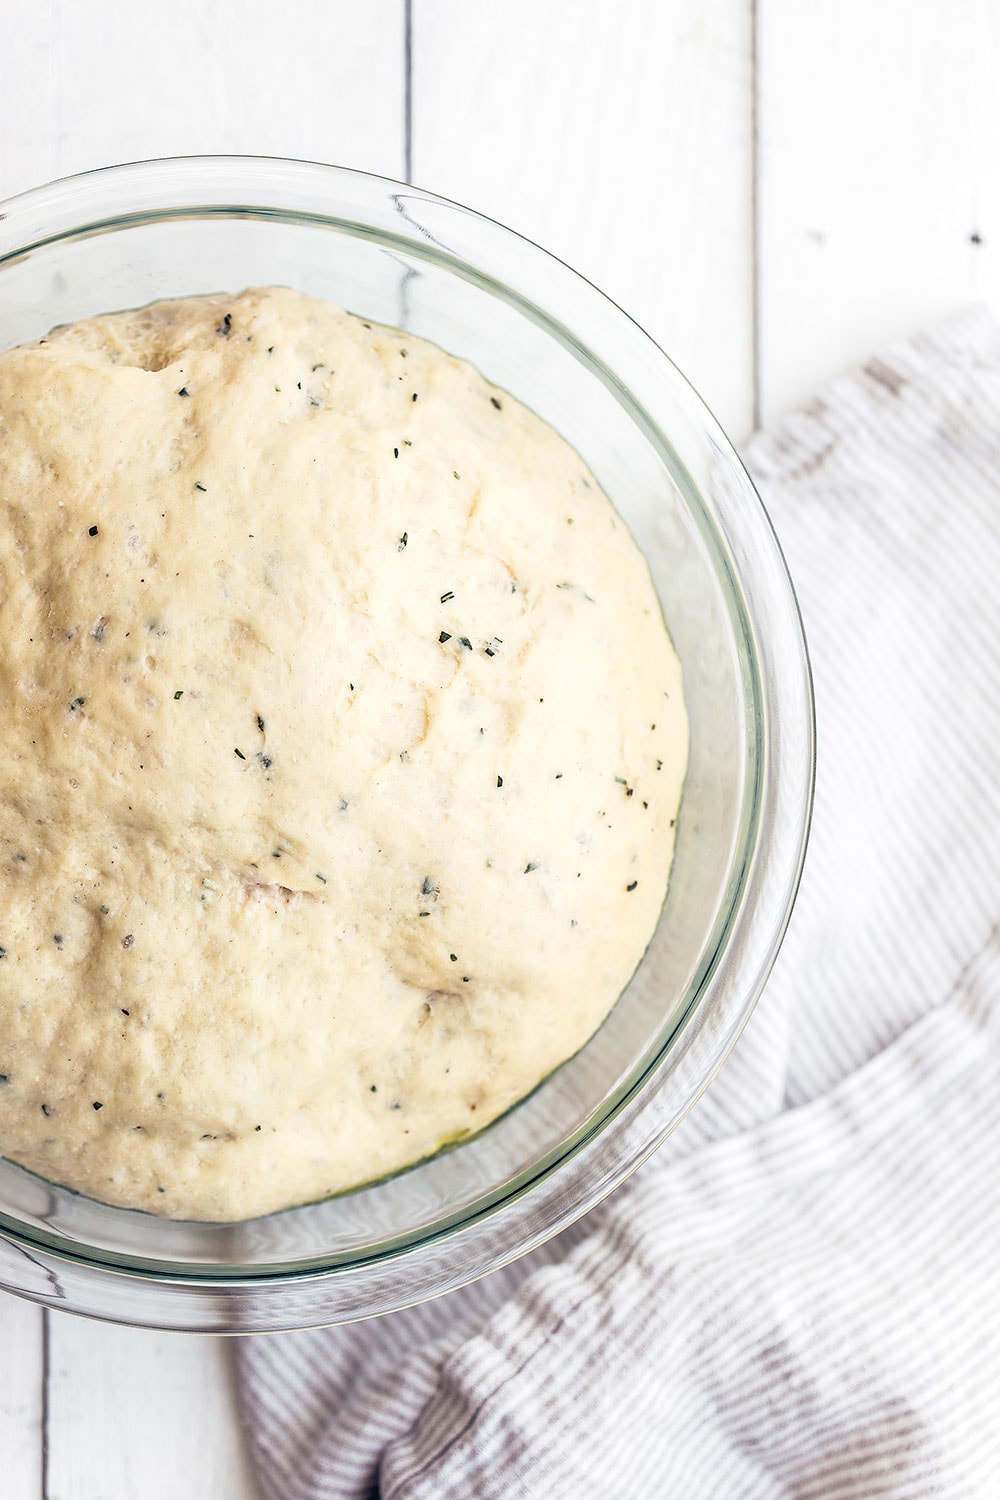
In the bowl of a stand mixer, combine the milk, cheese, 1 tablespoon of the oil, eggs, sugar, salt, herbs, and yeast. Add 2 cups of the flour and stir with a wooden spoon until the dough forms a rough, shaggy mass. Attach the dough hook to the mixer, turn to medium-low speed, and gradually add 1 1/2 cups more flour, kneading until a mass of dough begins to forms. Continue kneading on medium-high speed for 4 to 5 minutes until a soft, smooth ball of dough is formed, adding more flour only as needed. The dough should feel elastic and slightly sticky to the touch. Avoid adding too much additional flour.
-
Lightly coat large clean bowl with olive oil and place the dough in the bowl. Cover the bowl lightly with plastic wrap. Let rise for about 1 1/2 hours at room temperature or until the dough is big, puffy, and about doubled in size.
-
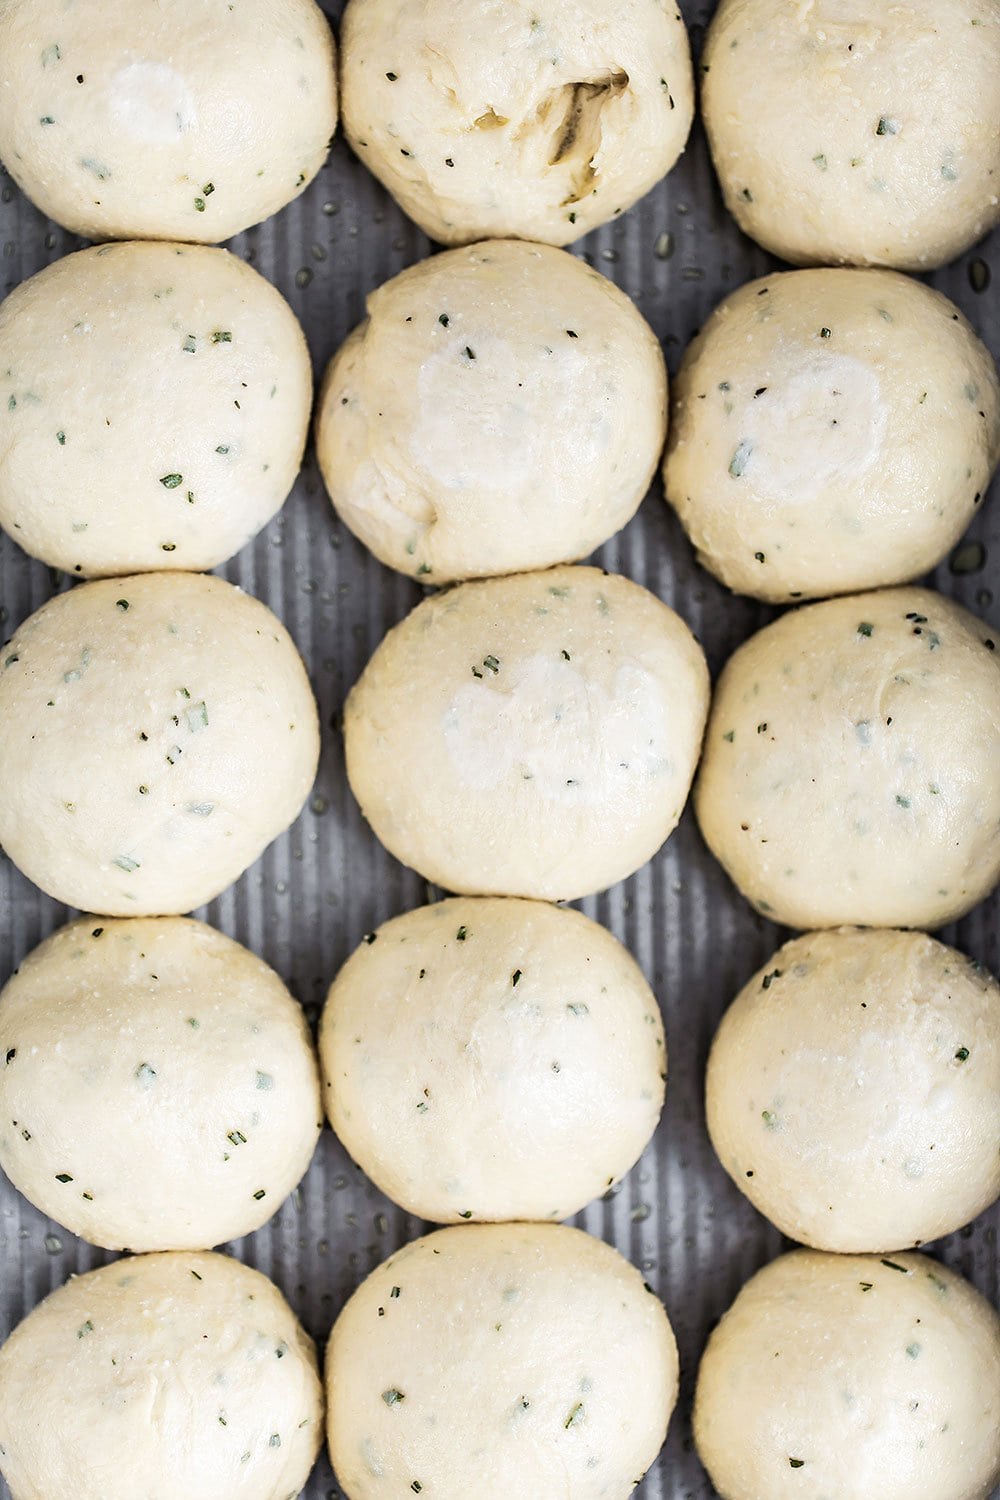
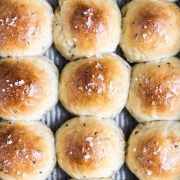
Spray a 13×9-inch baking pan with cooking spray. Gently deflate the dough. Use a bench scraper, knife, or pizza wheel to divide the dough into 15 equal pieces. Shape each piece into a ball and place in the prepared pan. Brush with the remaining 1 tablespoon of olive oil and sprinkle generously with flake sea salt. Lightly cover the dough with plastic wrap and let the rolls rise for 45 minutes, or until about doubled in size.
-
MAKE AHEAD: At this point the shaped rolls can be covered and allowed to rise in the fridge overnight. Bring to room temperature before baking.
-
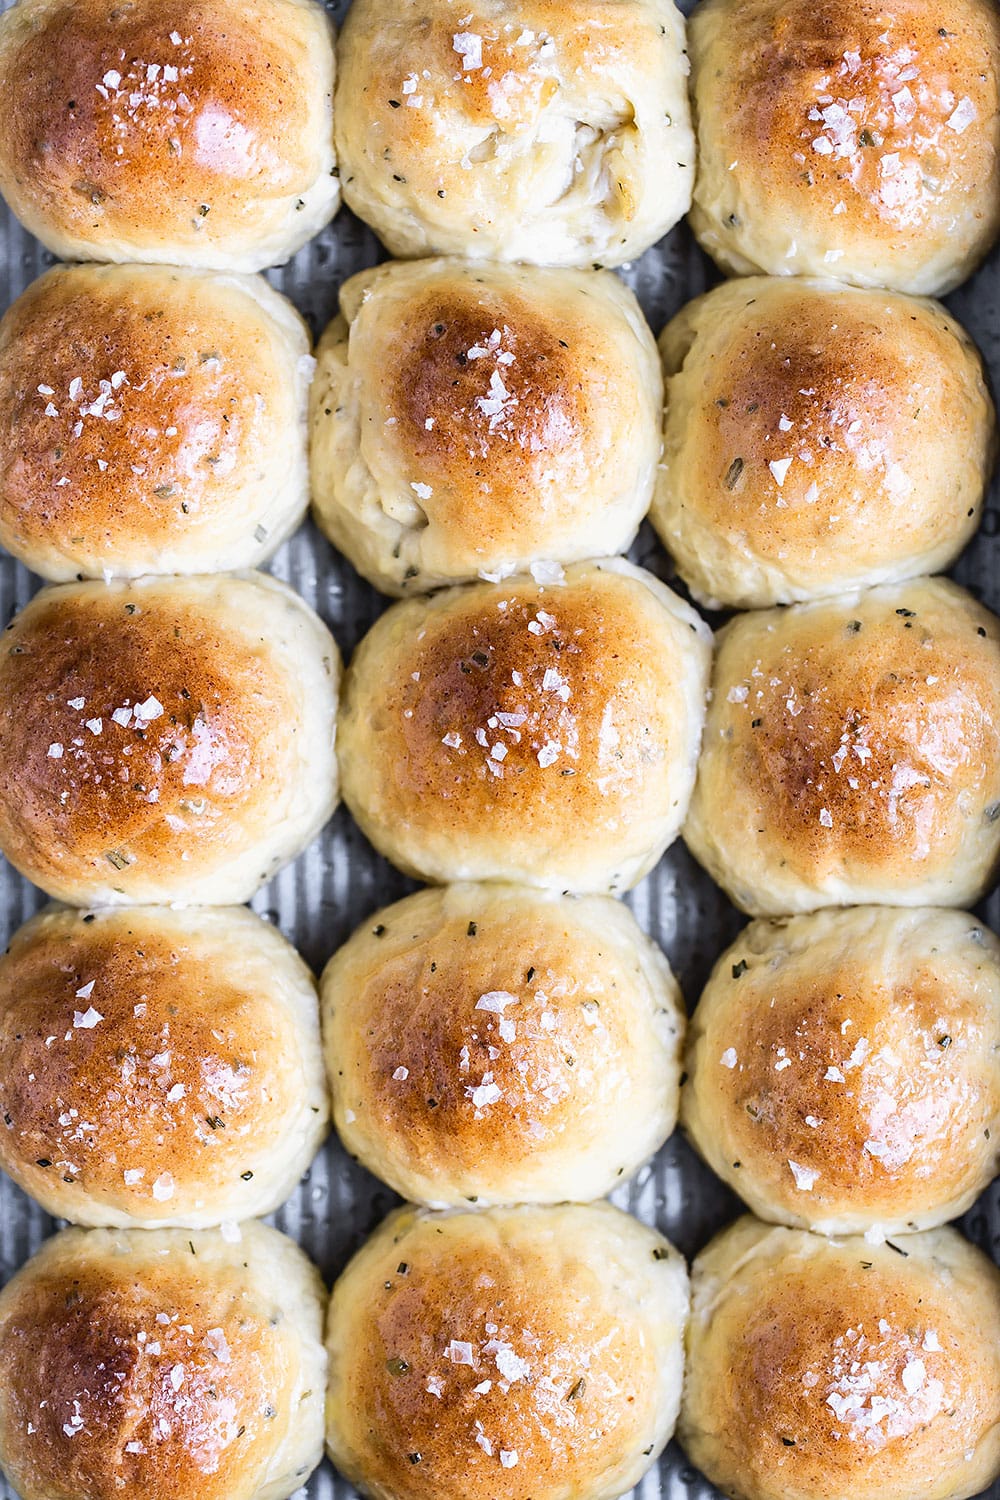
Preheat the oven to 375°F.
-
Bake the rolls for 25 minutes, or until golden brown. Serve warm. Store leftovers in a plastic bag for up to 3 days.


Hi, do you think this recipe would work with different herbs such as dill, or cardamom and caraway?
Hi Kimby! We haven’t tried that, so I can’t say for sure. Let us know how it goes if you give that a try 🙂
i d like yo make these for christmas.how does this do if i triple the recope.i woll need anout 4 dozen.
Hi Annette! You can definitely double or triple this recipe – but any time you make a double or triple batch, you run the risk of accidentally missing additional quantities of ingredients (eg adding only 2 eggs instead of 4, for example). Also, most mixer bowls won’t hold such a big batch of dough – or even if they will, the mixer’s motor won’t be strong enough to knead it well. So, we typically recommend simply making the single batch of dough twice or three times, rather than doubling or tripling the dough in one batch. Take a look at Tessa’s make-ahead instructions above the recipe, to assist with this.
That all being said, if you are confident you’ll add the correct quantities of each ingredient, and you’re mixing by hand and/or have a professional-sized mixer, go for it – just be careful to mix everything thoroughly and knead until the dough is soft and elastic, as Tessa mentions in the recipe. I hope that helps! Let us know what you think of these rolls once you’ve given them a try! 🙂
Can I use water instead of milk?
Hi Lydia! We haven’t tried that, but the rolls definitely won’t be as rich and flavorful without the milk.
Can you refrigerate the shaped rolls for more than 24hrs? I’m hoping to store them in the fridge for 3 days before baking.
Hi Freda! Refrigerating this dough more than 24 hours ahead may result in dried out or over-proofed rolls that then deflate when baked. You can try the make-ahead-and-freeze method Tessa outlines in her Ultimate Dinner Rolls – but we haven’t tried this technique on the Ricotta Herb rolls, so I can’t promise it will work as well. Let us know how it goes!
After bringing the ricotta to room temp there was water in the bottom of the bowl. Do I use that water or discard it?
Hi Suzi! You can discard that separated liquid! I hope you enjoy these rolls 🙂
I was thinking about trying this recipe with my sister’s homemade ricotta, but her ricotta isn’t a true ricotta – it’s made with lemon juice instead of whey. She said that the moisture content could be different because of that. Do you know if it would still work with this recipe, or would I have to use a true ricotta made with whey?
Hi Jamie! I’m sorry, but we have never tried using anything other than store-bought ricotta. You can definitely give these a try with your sister’s homemade version, but I cannot say how they will turn out! If you do give that a try, let us know what happens!
I made this with 4 cups of flour but added 4 extra tbsp of warm water. Not bad for my first try. The bread is flavourful
How bad do you think this would be to knead without a stand mixer?
Hi there! We call for a stand mixer to make easy work of kneading in this recipe, but you can also knead by hand. Check out Tessa’s full tutorial on how to knead dough here. Let us know what you think of this recipe!
Yum! Thank you for the recipe. It was a great way to use up a cup of ricotta that was staring at me accusingly in the fridge. And they were yummy as is, but I felt the need to dip them in olive oil and basalmic vinegar. I used dried herbs and soaked them for about 10 minutes before making the dough.
LOVE your idea of dipping the rolls in oil and vinegar, yum!! So happy you enjoyed this recipe, Shauna, thanks for sharing 🙂
These are wonderful! I’ve made them twice now and my husband loves them! I only need 3 1/4c of flour to get the dough right. They are flavorful and stay fresh well for a couple of days!
So happy to hear you both love this recipe, Margie! Thanks for letting us know 🙂
Finally got around to making these. Sooooo good. Great as dinner rolls. Breakfast rolls. Anytime rolls. Basically I can’t stop eating them and this batch won’t be making it to the freezer cause there are no leftovers. Delicious with a bit of garlic butter.
I’m so glad you enjoyed these bread rolls!
I’ve made these rolls multiple times. They’re delicious! The first time I made them was the best. I think I was lucky and got the dough just right. You must follow the instruction about adding the flour very carefully. It is my impression that the amount needed is more than 3 but less than 3 and a half cups. I’ve never used all four cups. I guess a lot depends on the size of the eggs and the moisture of the ricotta you use.
So glad you tried these rolls out!
Is there a substitute for eggs as we are vegan?
I’m not sure, I don’t work with vegan substitutes!
I just made a test batch of these, but the first thing I noticed was that at about 19 minutes of baking the bottoms were getting too brown. I took them out of the oven, thought they looked done so I cut into one. Pretty good! I only baked 4 of them, shaped the rest of them and froze them. I’m going to try another batch tomorrow at 350 F, watch the time also, see if that keeps the bottoms from overcooking. But the taste is right there, excellent recipe!
Did you line your baking pan with anything? And were you using a light or dark baking pan? Tinfoil and dark baking pans will cause bread rolls to brown faster on the bottom, while parchment paper can help prevent browning. Let me know if that helps!
Can Dried Rosemary & Thyme be used instead of fresh? Measurement still the same? Thanks
I would definitely recommend fresh if you’re able to! I haven’t personally tested this recipe with dried herbs, but some other readers have reported success using dried herbs.
what is “part skin” ricotta? A typo, I would guess, but if not please explain. Thx.
That should be part skim. Thank you for catching that, Jim!
Loved these rolls! They are so soft and fluffy on the inside and had a good crunch on the outside. I made mine a bit bigger (about 95-100 grams per roll) and I ended up with 9 rolls. I baked them for 2-3 minutes more and they were perfect. Great recipe!
Would be great to be able to easily print a copy of your recipe like other sites. Any suggestions?
Amazing recipe! Thank you so much for this; my family loves them!
These bread rolls are the best bread rolls I’ve ever made, so delicious I’ve shared with all my friends. They are easy to make, I had my 3-year-old help me! I will try this recipe again and try a loaf instead on rolls.
My husband and I both loved these!
Good recipe. Makes rich, moist, and dense bread. Used dry herbs because I could not get fresh at that time. I tried making in rolls as well as in a loaf (baked 45 min for a loaf). Both worked great!
This looks really good, but I only ended up using two cups of flour and the bread was already really heavy. I’m not sure if that’s correct.
Dear Tessa, I would love to make these. I have a question though. What is “part skin” ricotta? Is it reduced fat ricotta? Could I use full fat?
Tessa, these lol so amazing that I have to try them, even though I’ll need to use a gluten free flour mix. I already crave them. I’m wondering if I can freeze them after shaping and before baking.. so I can cook only 3 or 4 at a time and eat them fresh out if the oven. Like I do your cookies ☺️❤️ I roll the dough in logs and freeze so I can cut off however many cookies we want to eat during movie time. I freeze some of your bar recipes after cooking, for the same reason, just thaw 2 or 3 and have a late night treat. I’ve had good success converting to gluten free, but bread rolls will be a new try. Thank you for such wonderful recipes.