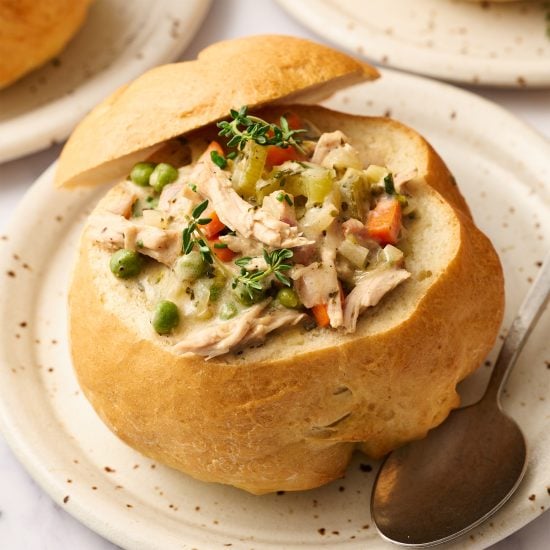
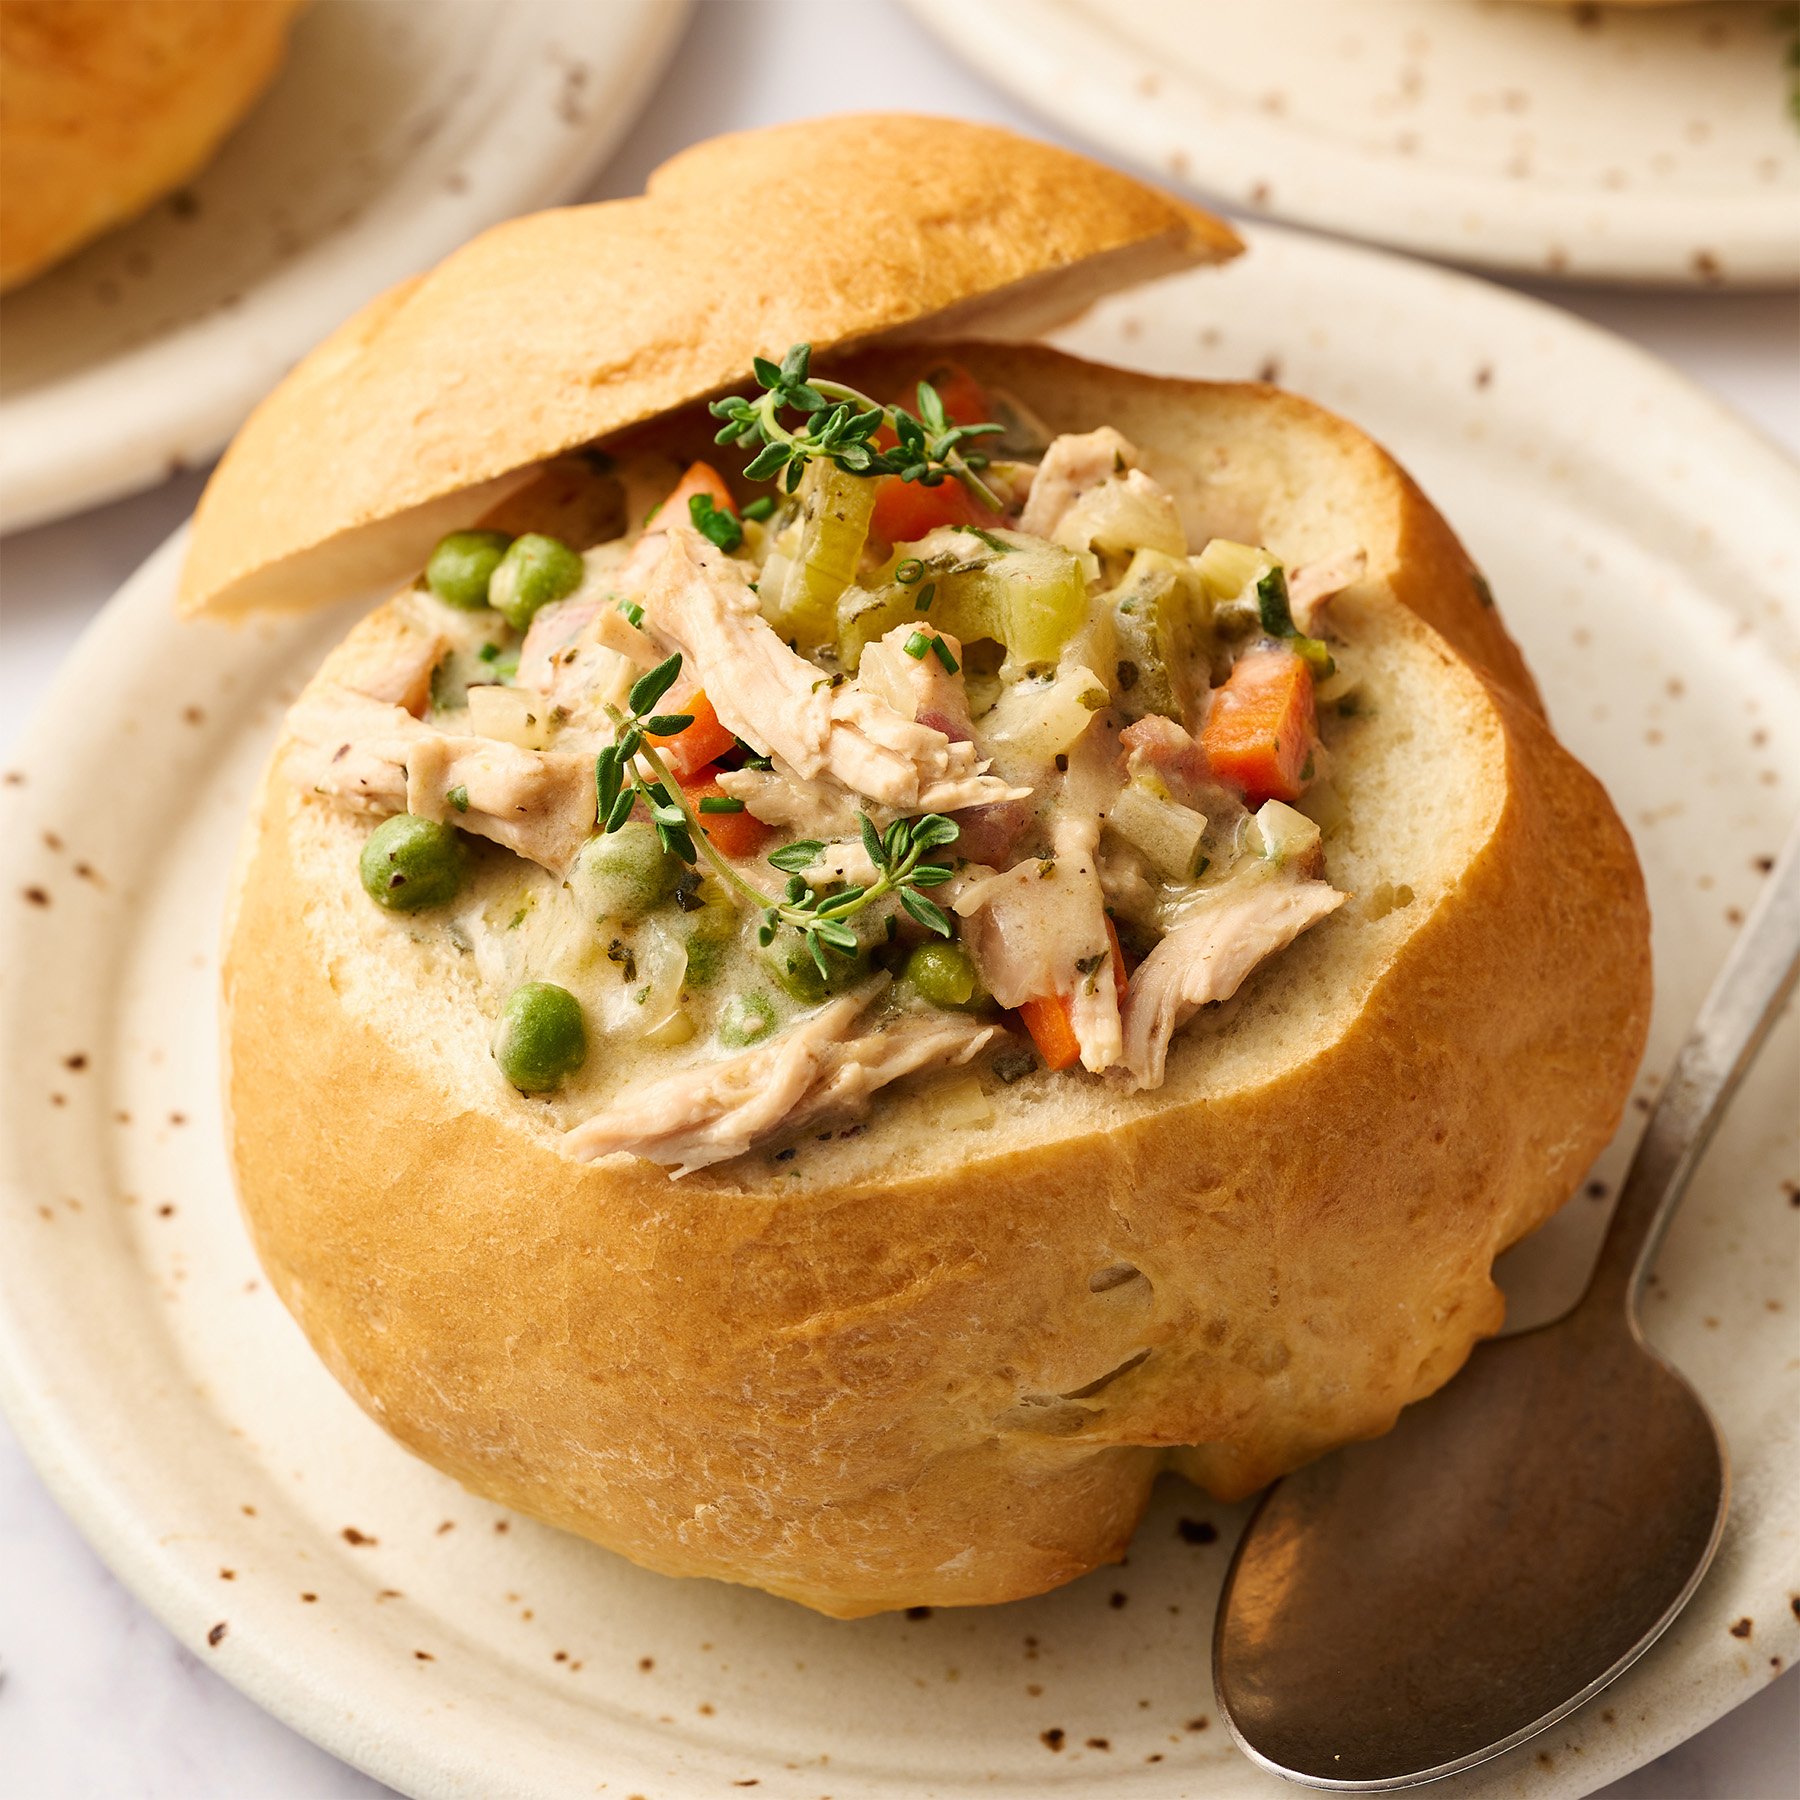
There’s nothing quite as comforting as a bowl of piping hot soup, especially when it’s inside a Homemade Bread Bowl! Seriously, these bread bowls are the best. You’re going to adore them.
Your family will think your dinner was catered by some fancy café – they don’t have to know these are actually quite simple to make!
How to Make Bread Bowls
What is a Bread Bowl?
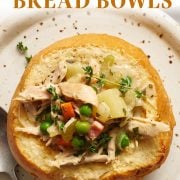
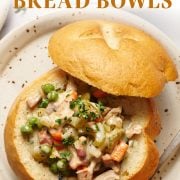
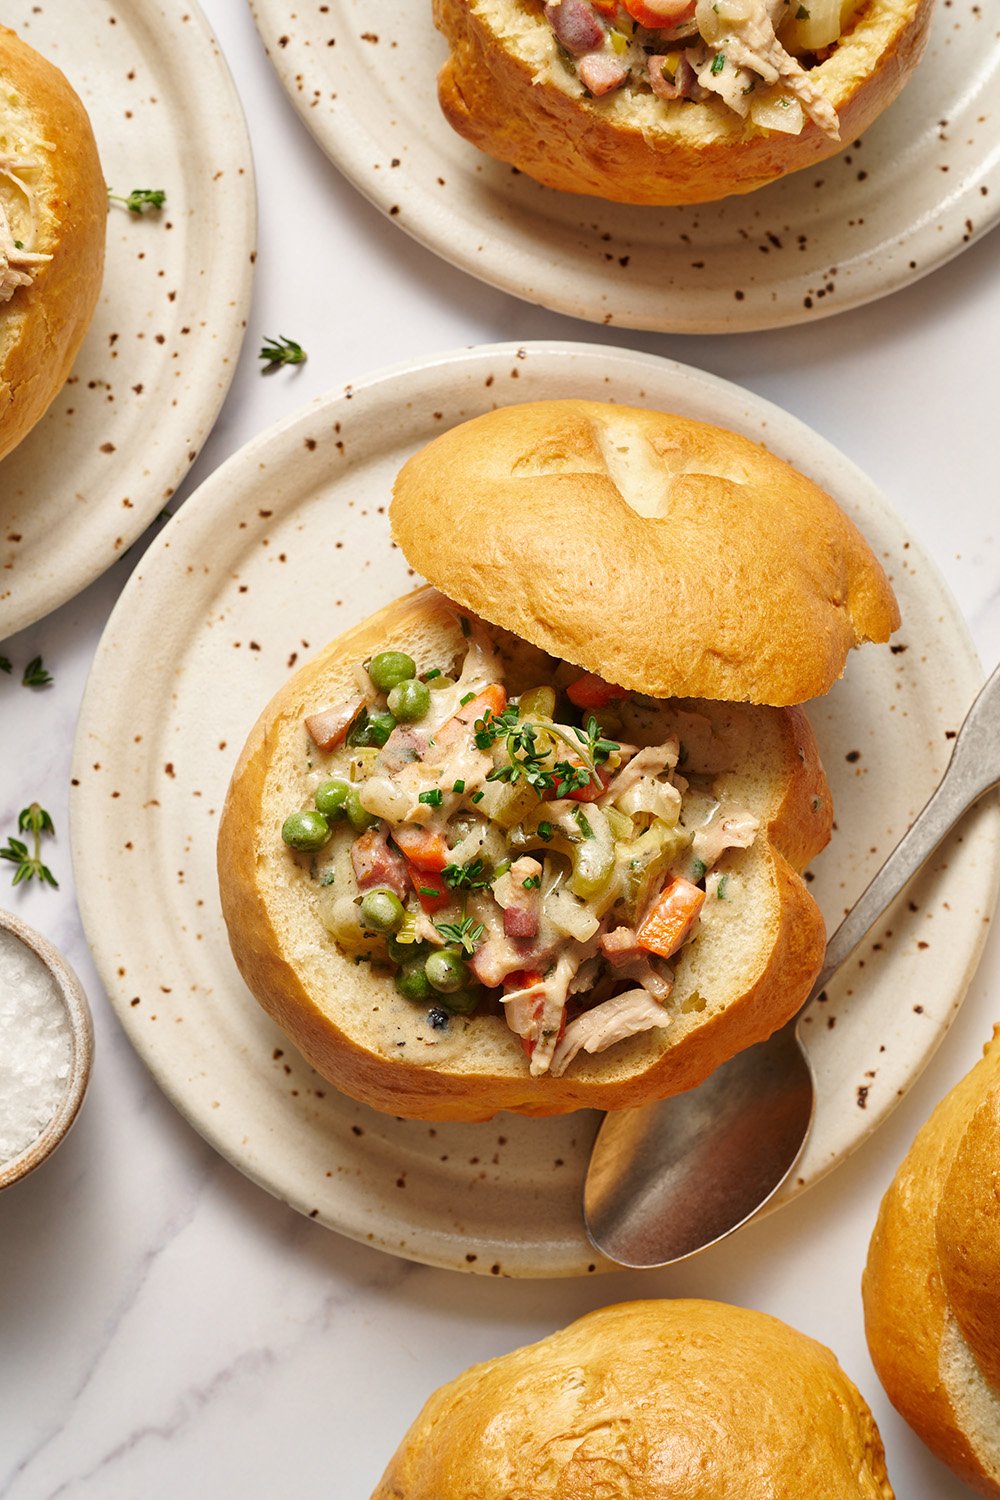
You may have seen Bread Bowls at your local Panera Bread or Dominos. They are basically a large bread roll, hollowed out and filled with soup – and then you get to eat the bowl! Simply cut out the center of your bread bowl, fill with a delicious creamy soup, and enjoy. Tear off pieces of the bread bowl as you finish your soup, and finish by enjoying the whole bowl itself.
Are Homemade Bread Bowls hard to make?
This Bread Bowl recipe is actually super easy to make. I know yeast can seem intimidating if you’re not experienced with it, but this recipe is straightforward, and I’ll walk you through every step. I think this is a terrific beginner bread recipe – and the best part is, if they’re not super pretty to look at, it doesn’t matter since you’ll be carving out the middle to fill with soup anyways. 😉
Ingredients for Bread Bowls:
- Bread flour and all-purpose flour – Measured correctly! We’re using a mix of bread flour and all-purpose flour to get the benefits of both. Bread flour contains a higher percentage of protein than all-purpose flour, so we’ll gain the structure that our bread bowls need by using this – plus it makes the bread nice and chewy. All-purpose flour will keep the interior of the bread soft, which is what we’re looking for here!
- Yeast – This homemade bread bowl recipe uses regular instant yeast. Read about the differences between Active Dry Yeast vs. Instant Yeast here.
- Warm water – Use warm water to help speed up your rise time. About 110°F is perfect. Make sure it’s not too hot, as this will kill the yeast and your dough won’t rise! Too cold, and your dough will take forever to rise.
- Olive oil – To add a little richness to the bread.
- Granulated sugar – Just a little sugar helps to “feed” the yeast, assisting in the bread rising.
- Garlic powder and fine sea salt – For flavor.
- An egg – For the egg wash to assist in browning these bread bowls, and giving them a nice, slightly crisp exterior.
- Optional: Cornmeal – Yellow cornmeal can be used as a base for your bread bowls to rise and bake on, and it will give a wonderful, rustic texture and flavor to your bread bowls. It’s a totally optional addition, and if you prefer to skip it, simply line the baking sheets with parchment paper instead.
Can I Use Only All-Purpose Flour?
Not really. We are using some all-purpose flour to help keep our bread super soft, but it won’t work as well to only use all-purpose flour. It simply doesn’t contain enough protein. Bread flour contains a higher percentage of protein, which allows us to build that structure needed for the gluten to develop and proper chewy, delicious bread to form! The combination of the two types of flour here will create the best consistency for bread bowls – soft but chewy and delicious!
How to Make Bread Bowls Overview:
- Mix the yeast, warm water, olive oil and sugar together in the bowl of a stand mixer. Allow to sit for 10 minutes, to bloom the yeast. It should look foamy and thickened.
- Mix together the flours, garlic powder and salt in a separate medium-sized bowl. Once the yeast mixture has bloomed, add the dry mixture to the yeast mixture and begin to mix on low speed.
- Turn the mixer up and knead. Once the ingredients are incorporated, turn the mixer up and allow to knead until the dough is smooth, elastic and only a little sticky.
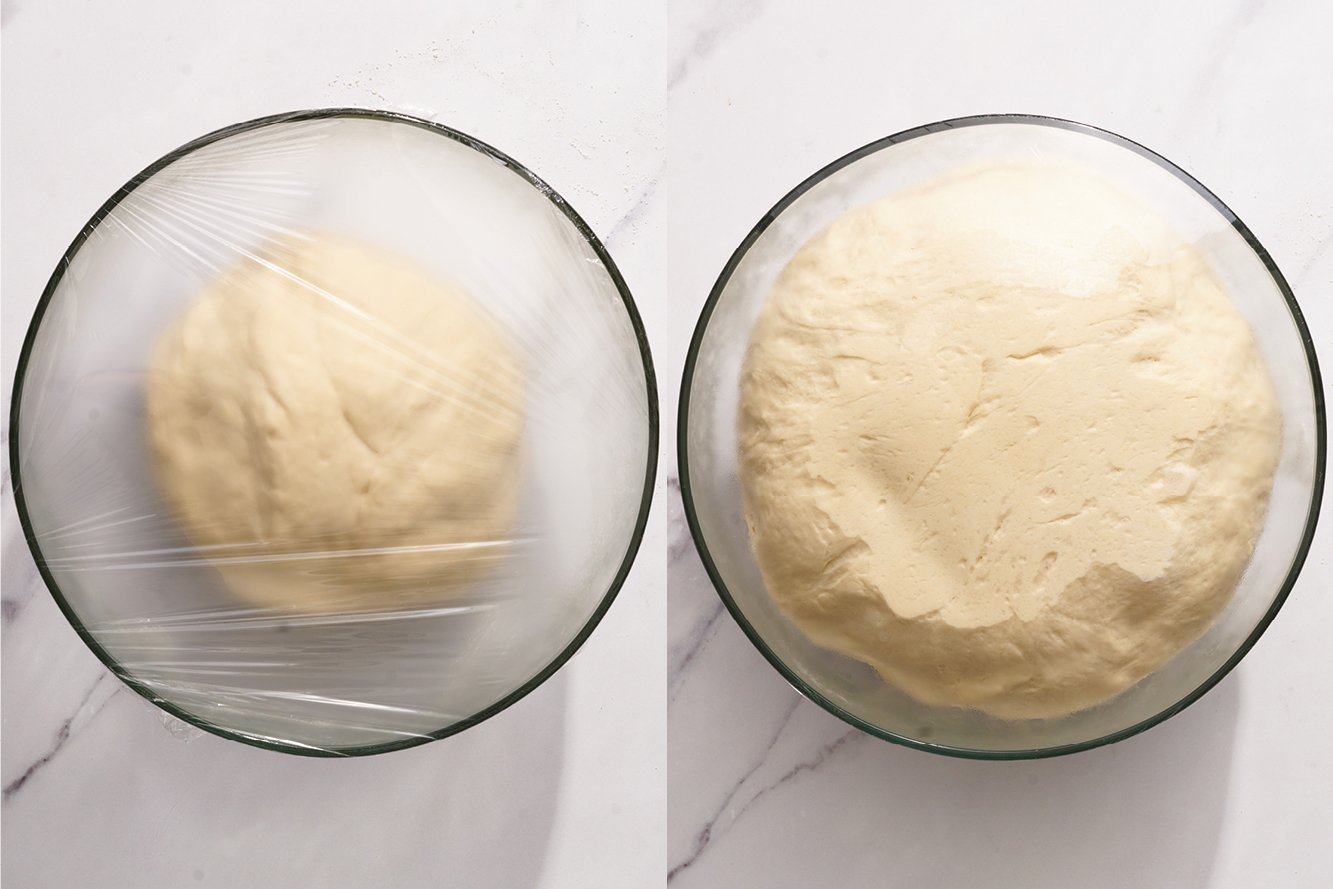
- Allow to rise. Once the dough has been kneaded, place it into a lightly oiled, large bowl. Cover with a towel or plastic wrap and allow to rise until doubled in size. The time it takes will entirely depend on your kitchen environment; the cooler your kitchen is, the longer this will take.
- Deflate the dough. Gently deflate the risen dough and place onto a lightly floured surface.
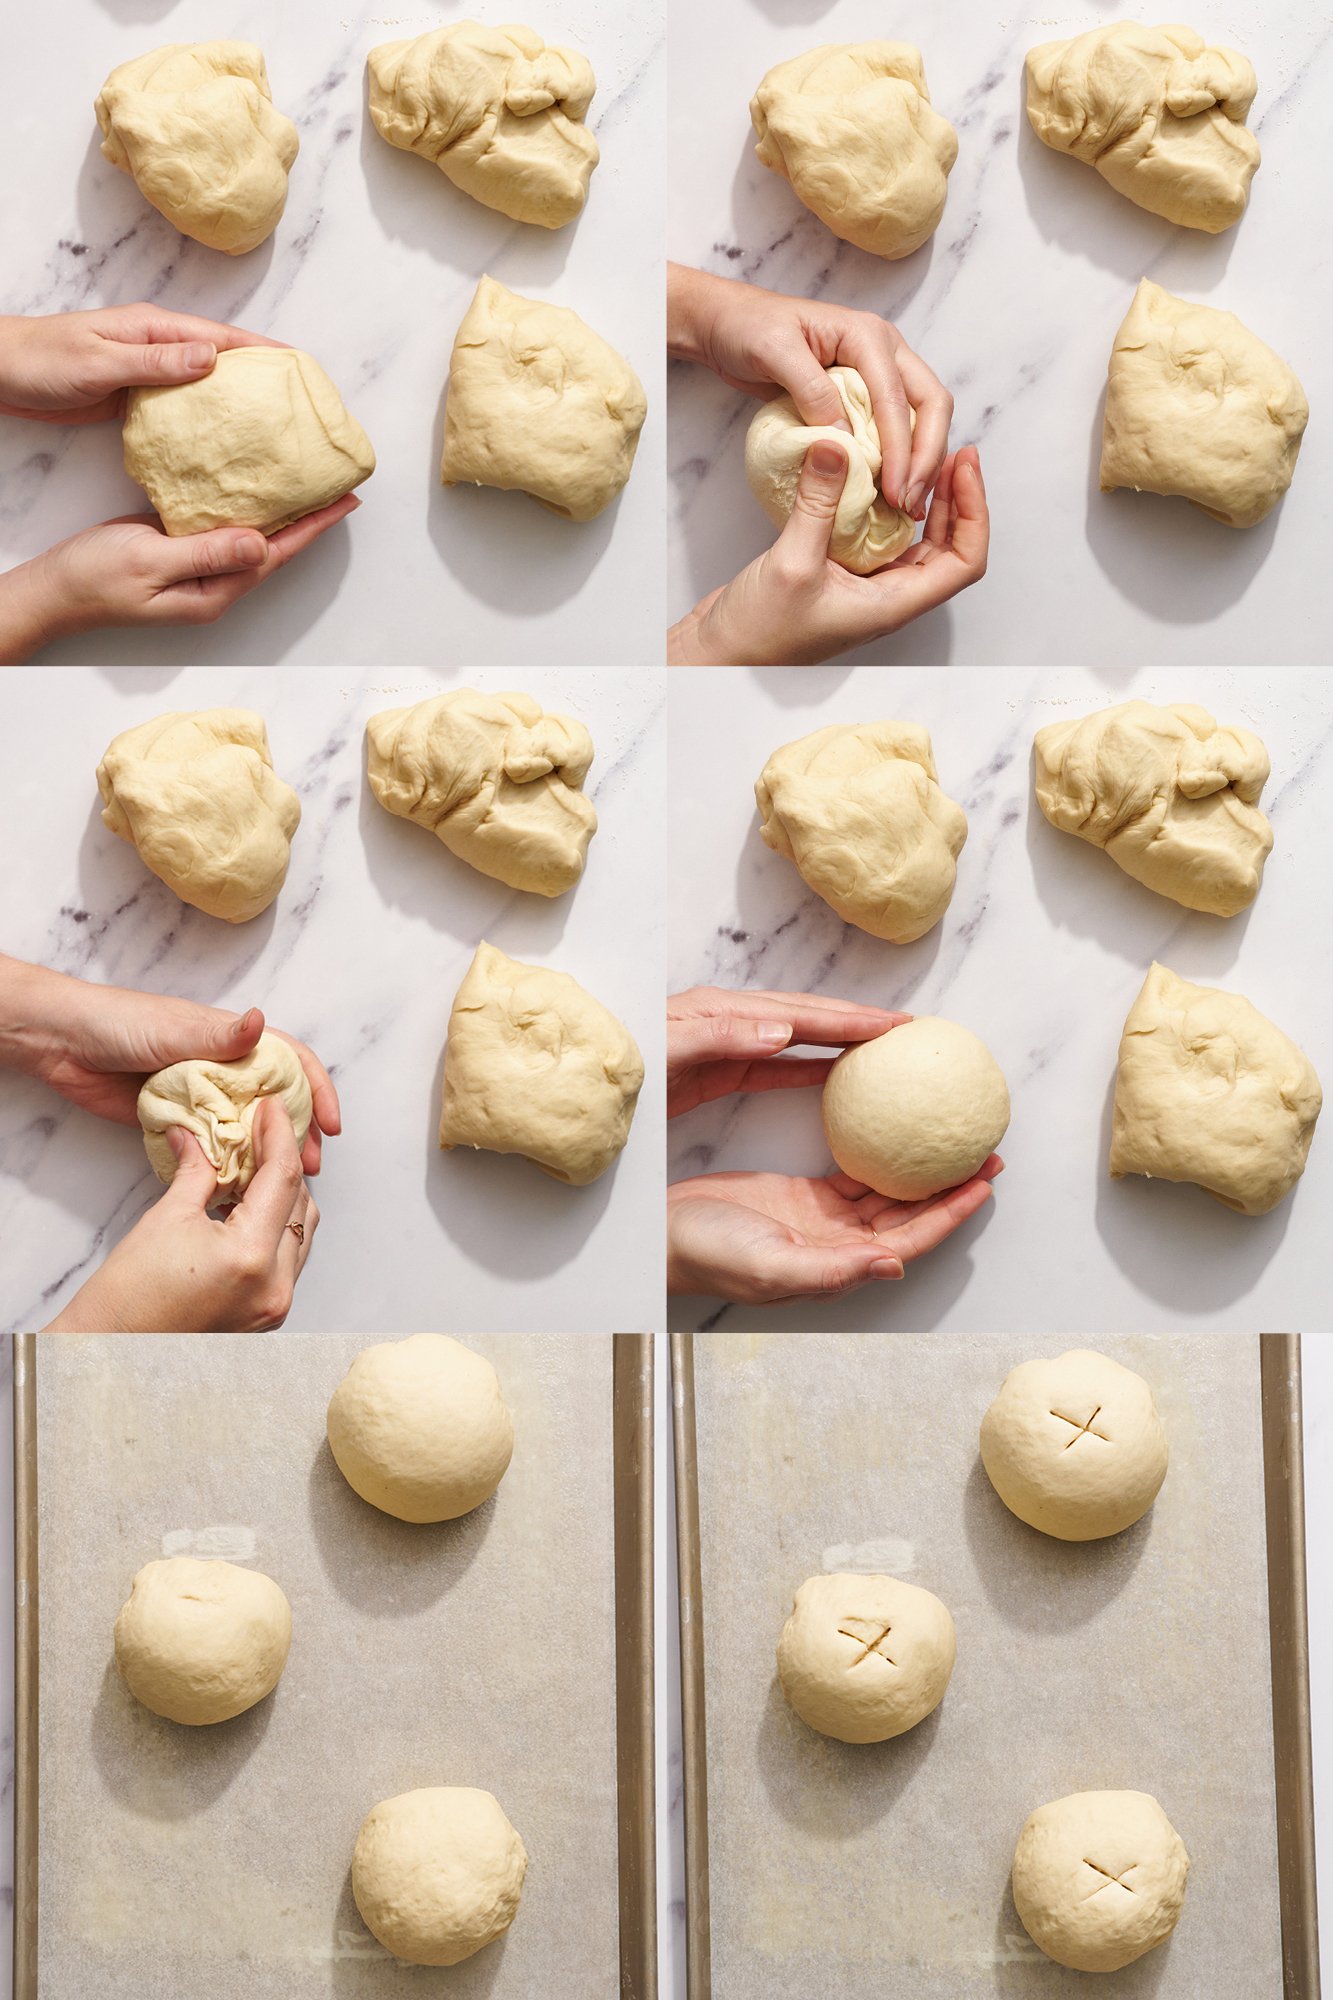
- Divide the dough into 6 even pieces. Using a floured bench scraper, divide the dough into 6 equal-in-weight pieces.
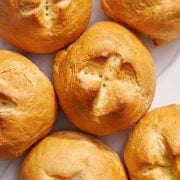
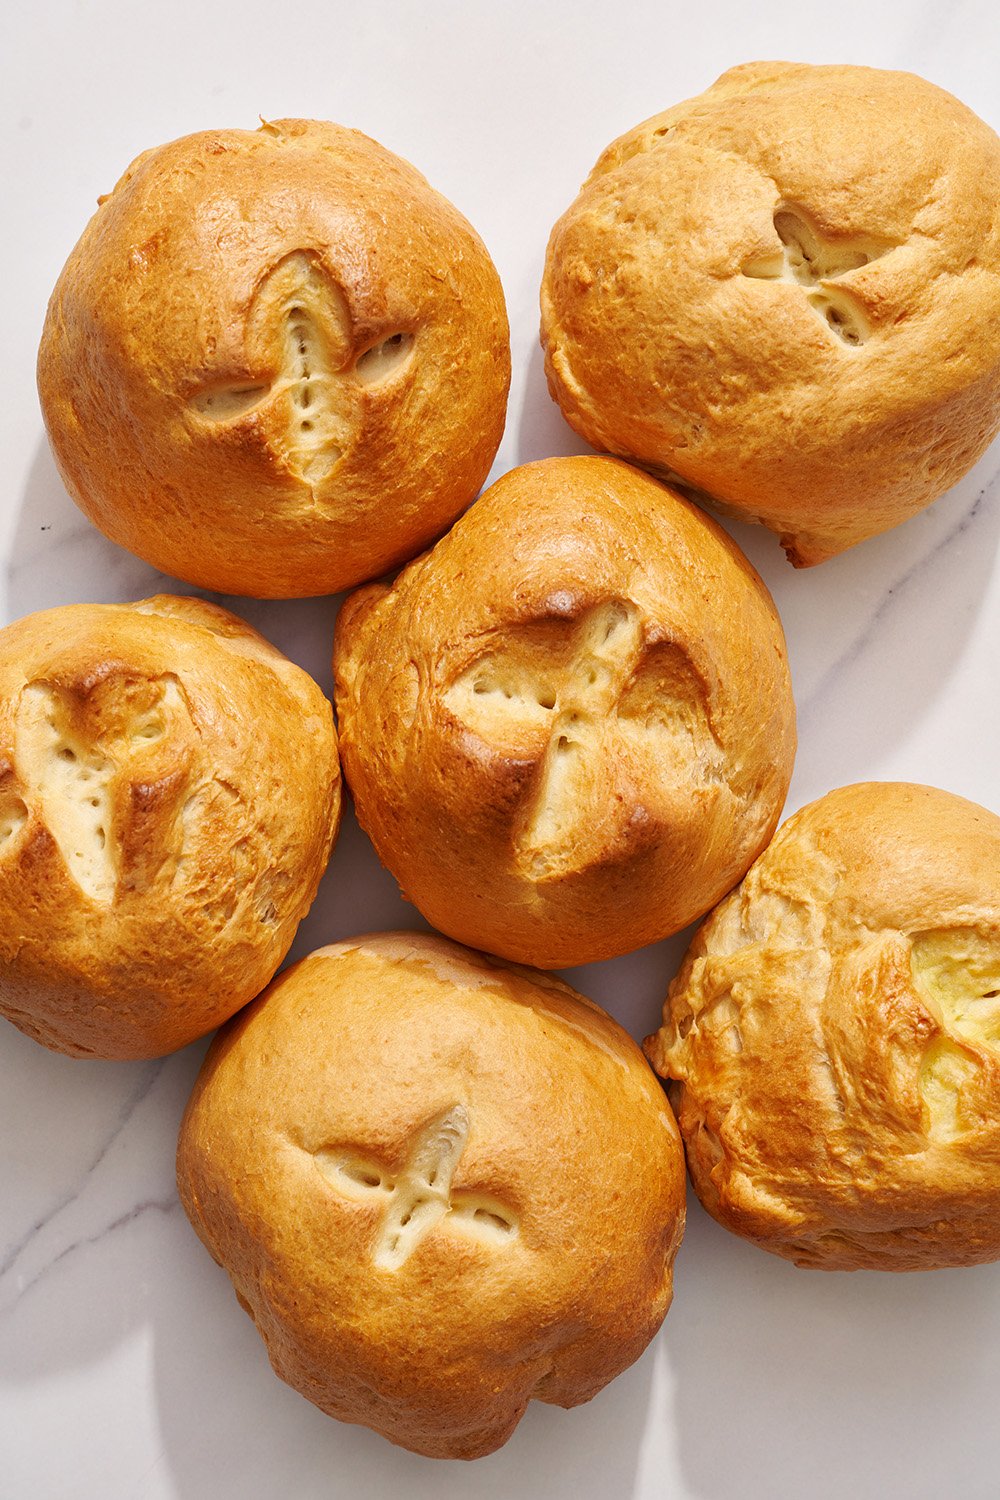
- Shape each piece into a ball (most important step!). Using your fingers, gather sections of dough towards the same central point at the bottom and pinch together so you form a very taut ball. If your dough ball is not a tight taught shape, it will not rise up nice and tall. Roll around the seams around the counter to seal. Place 3 dough balls per sheet on your prepared baking sheets. Score each dough ball.
- Allow to rise again. Cover both trays and allow to rise, about 30 minutes, or until doubled in size.
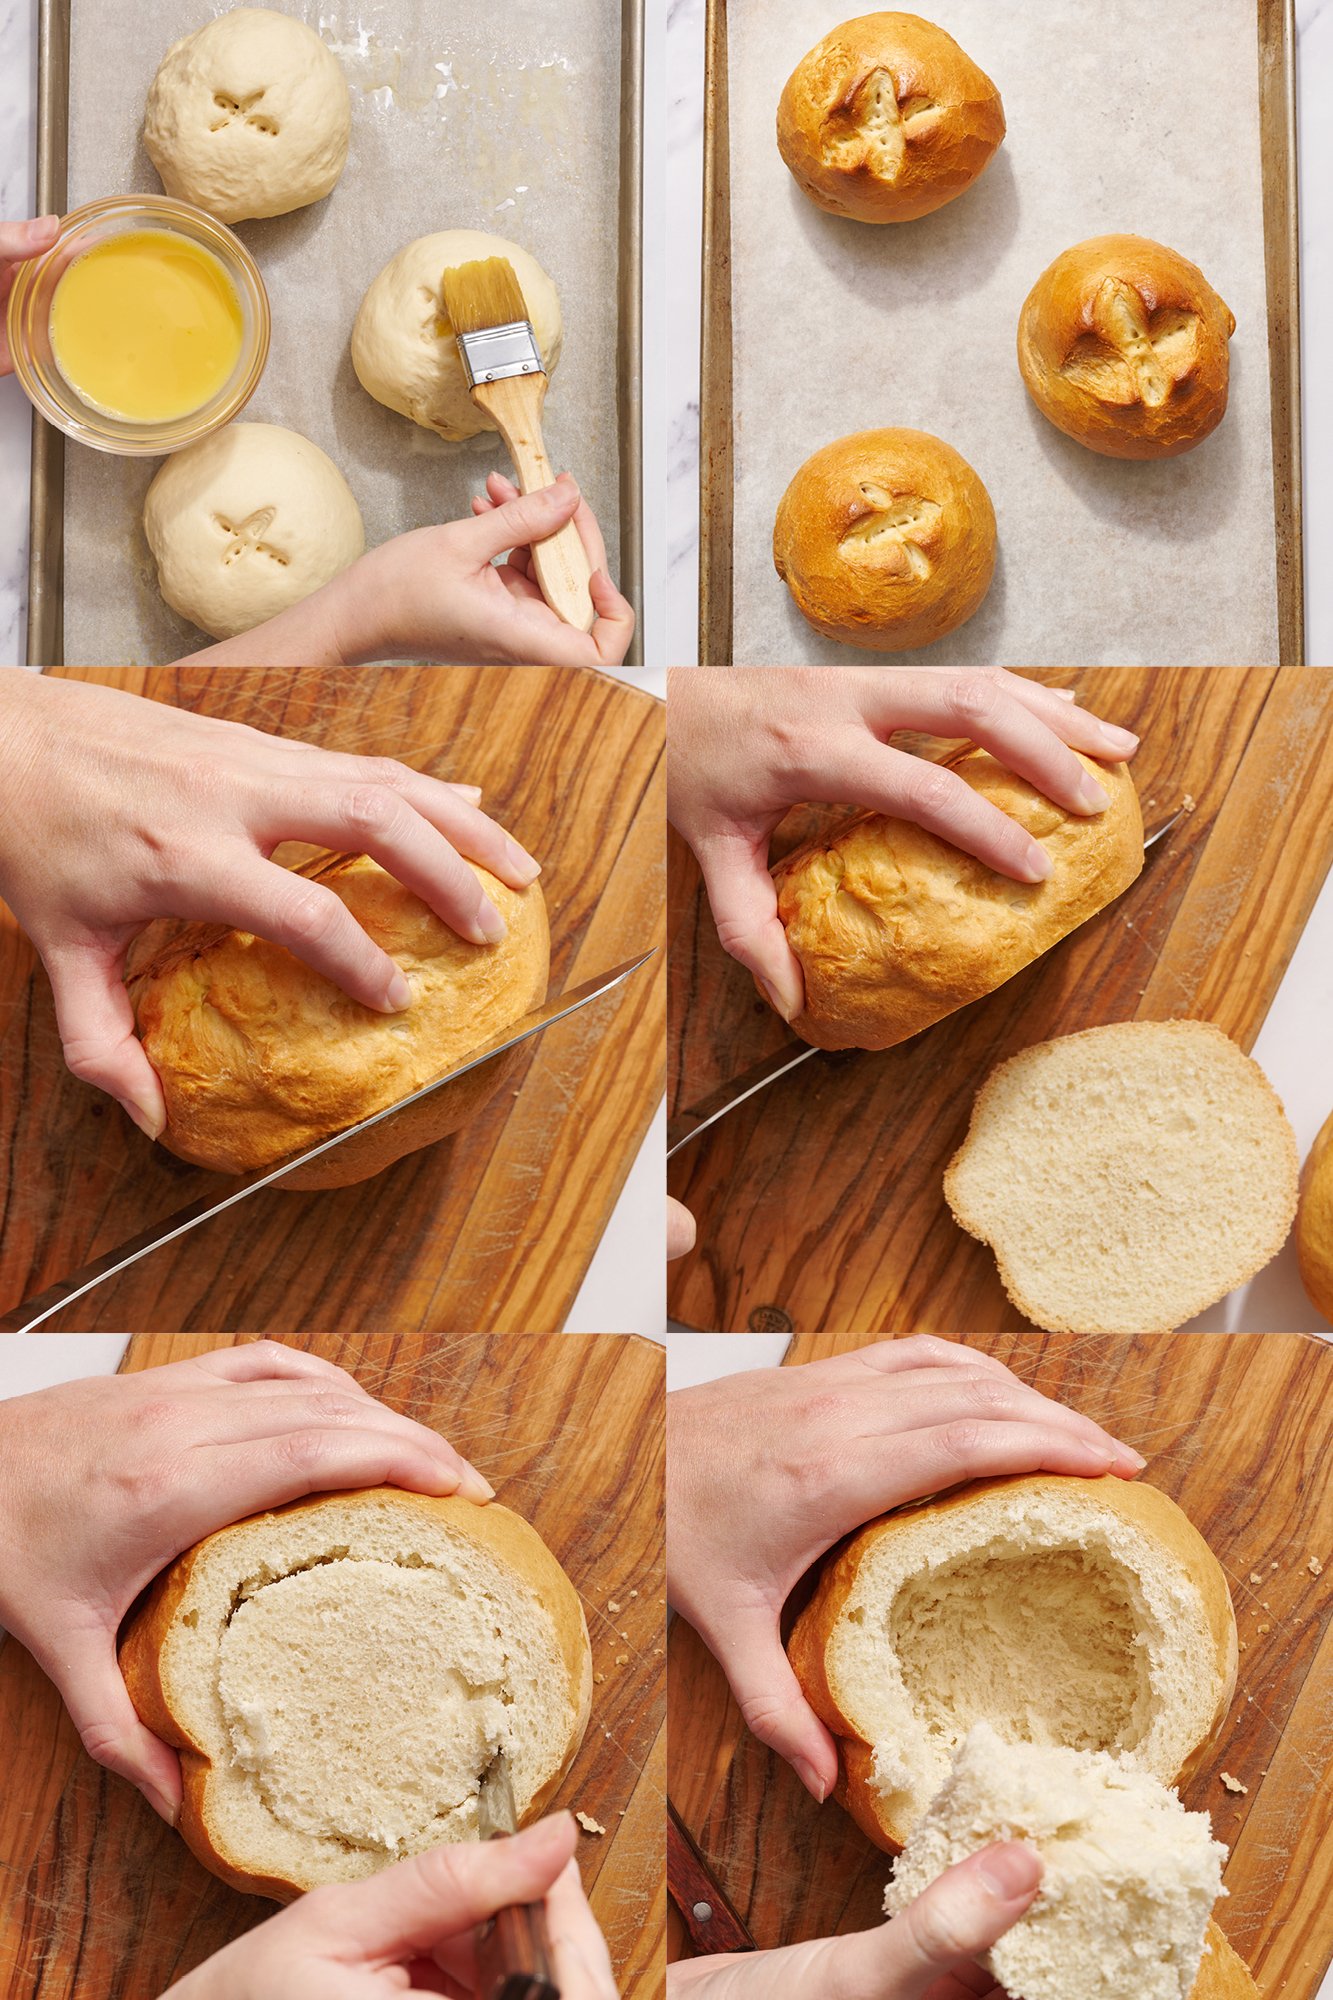
- Egg wash. Once doubled in size, lightly brush the tops of each dough ball with egg wash.
- Prepare the steam tray. Preheat your oven to 400°F. Place an empty broiler tray on the top shelf of your oven while your oven preheats.
- Bake. As you place the tray(s) in the oven, carefully add 1 cup of boiling water to the heated broiler tray and quickly close the oven door. This creates steam in your oven, and helps the bread bowls develop a nice golden brown, crisp crust. Bake one tray at a time (or both, if they will fit on one shelf in your oven!) for about 25-30 minutes, rotating each tray halfway through baking for even browning.
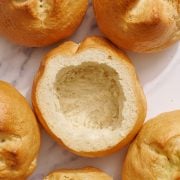
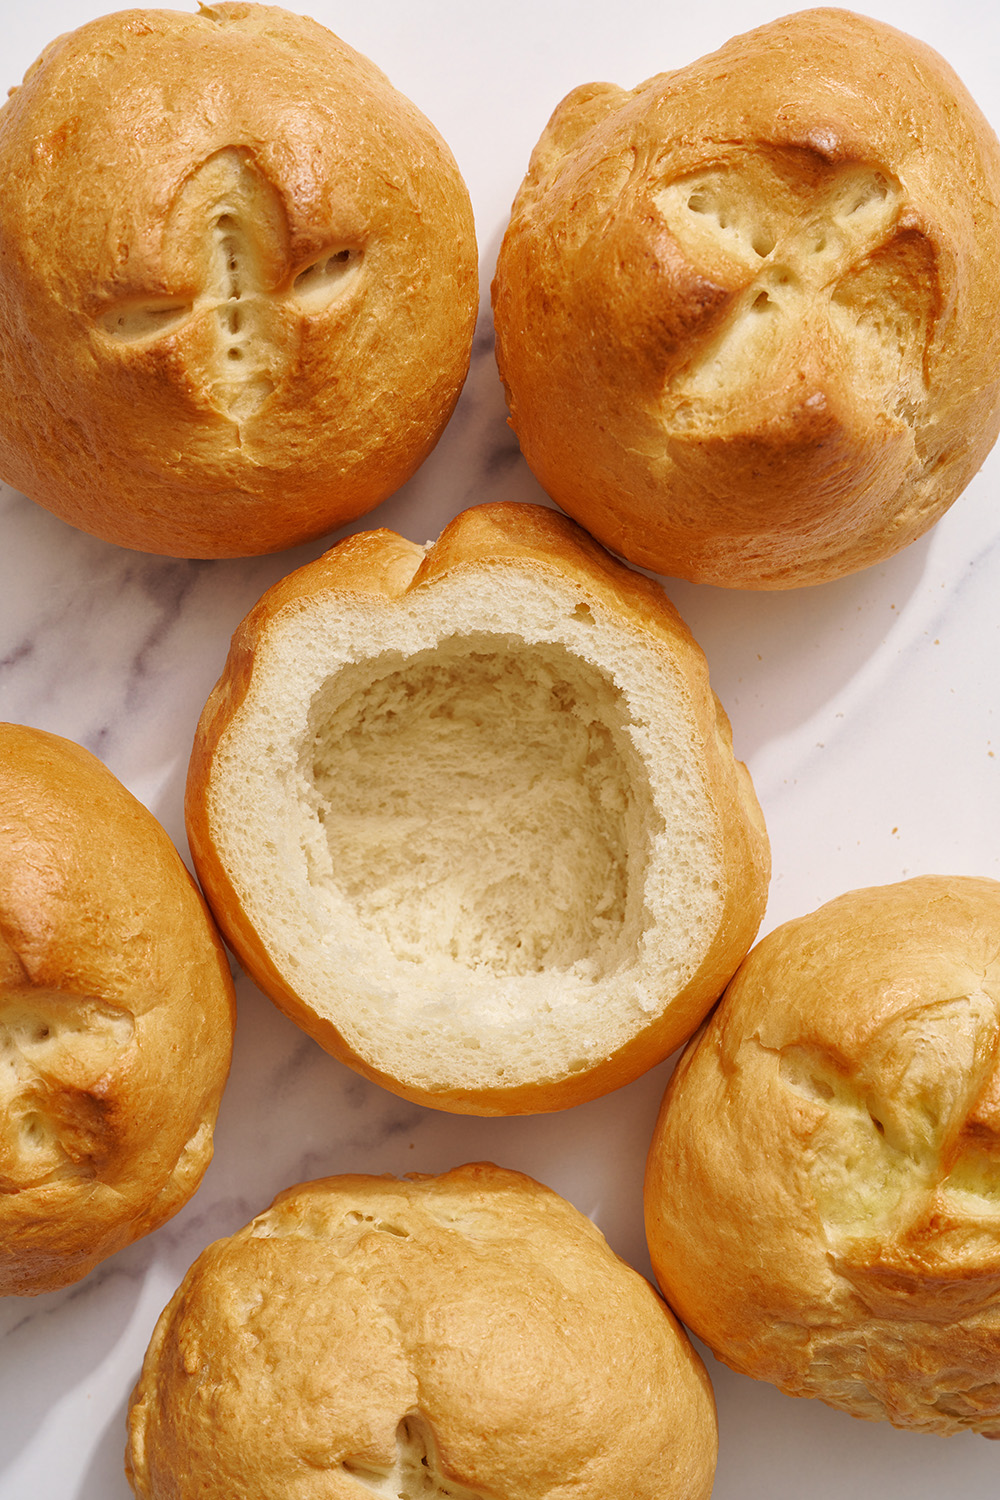
- Cool, and carefully cut out the tops and middles of your bread bowls. When the bread bowls are cool enough to handle, carefully cut a large round out of the top of each bread bowl with a knife. Scoop out the center and fill with soup.
How do I knead this dough?
If you have a larger capacity stand mixer, such as a 6qt size, that’ll be ideal for this recipe. Make sure your mixer is fitted with the dough hook. It’s quite a lot of sturdy dough so older mixers on their last legs will likely struggle to knead.
Can I Make this Recipe Without a Mixer?
Sure – if you’re up for a workout! Yes, your KitchenAid will help a lot in mixing and kneading your bread bowls, but there’s no reason you can’t knead it by hand. Fair warning, it’s going to take a bit of elbow grease and give your arms and hands a workout! Here are more instructions for how to knead dough.
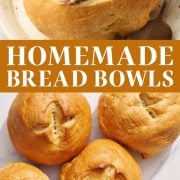
Why am I Cutting an ‘X’ Into the Top of the Bread Bowls?
This is called “scoring” the dough. This encourages the bread to evenly rise and then expand in the right spots, without “blowing out” in undesirable spots, such as on the bottom or sides. Be sure to use a sharp knife when scoring so that you can score evenly without tearing the dough.
Why am I Adding Boiling Water to a Tray in the Oven When Baking?
This is how home ovens can replicate a professional oven’s steam-creating function! By placing a boiler tray on the top shelf of your oven while it preheats, and then adding a cup of boiling water to the hot tray when just about to bake, we can simulate that steam injection professional ovens create, and make a more humid environment as our bread bakes. This is how we can achieve a crisper exterior to our bread bowls and end up with a wonderful crust. You can skip this step, but your bread will be softer and won’t develop the same sturdy crust that’s perfect for filling with soup, and therefore your bread bowl might get too soggy and/or fall apart.
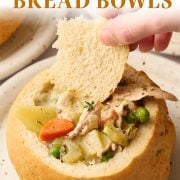
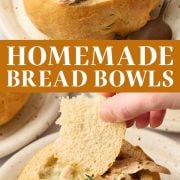
What do I do with the Piece of Bread I Cut Out?
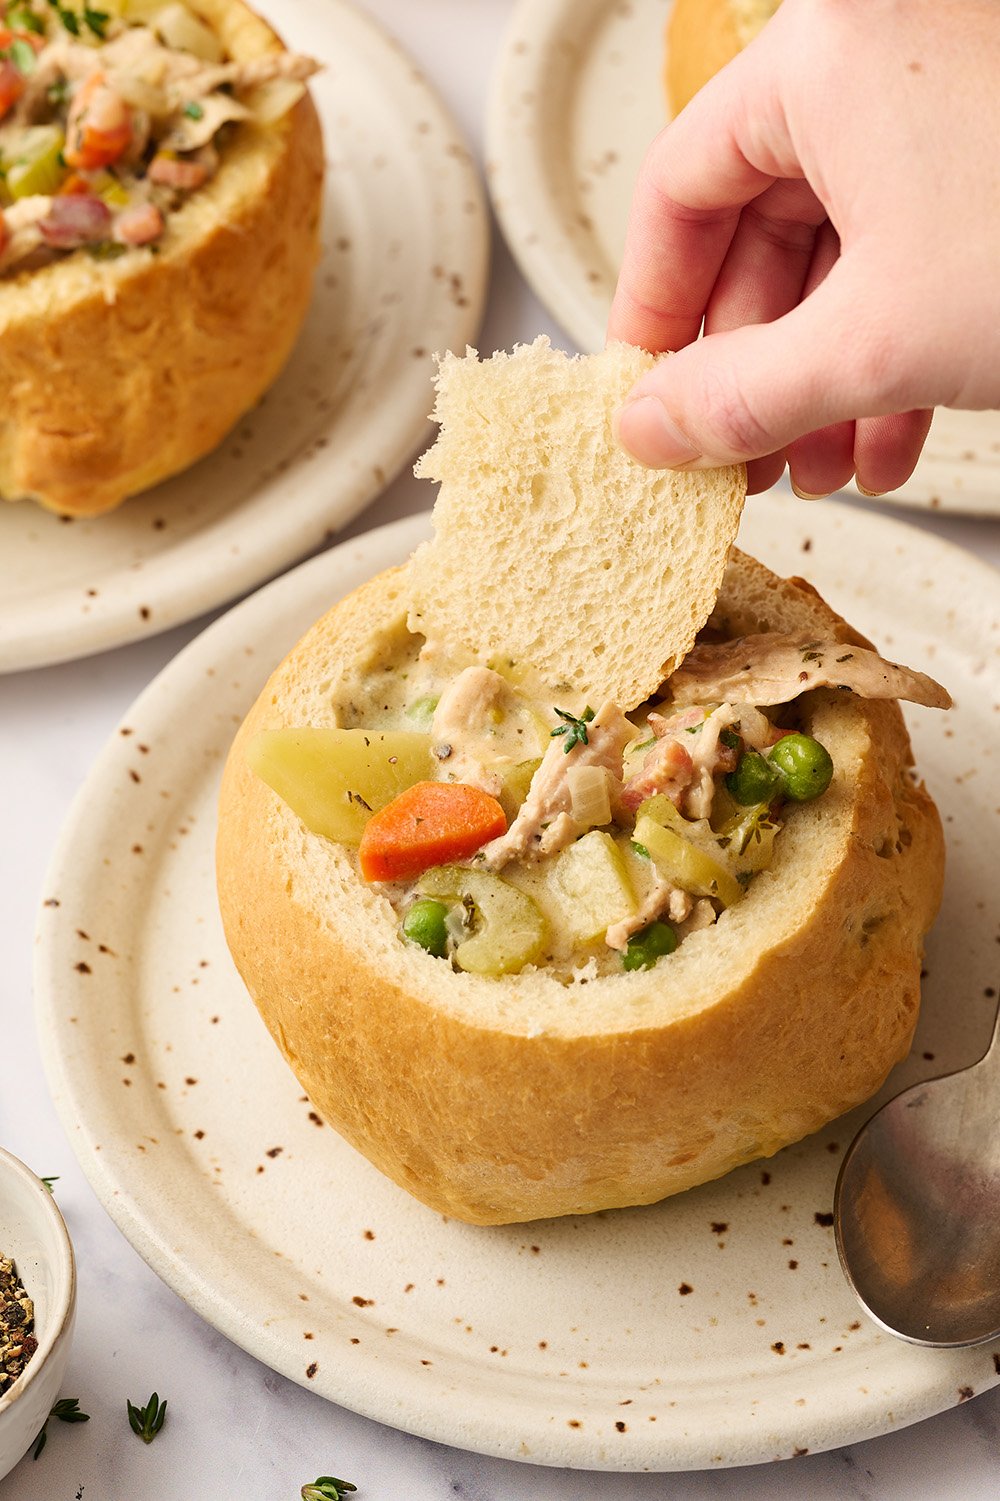
- Serve that piece of bread with the bread bowl and dunk into the soup
- Repurpose that chunk of bread into croutons for future salads
Do Bread Bowls Get Soggy?
Yes, they can. I recommend serving a creamy soup, rather than a broth-based soup, in these bread bowls to avoid too much sogginess. The longer the soup-filled bread bowls sit, the soggier they will become, so you can avoid that by serving right away.
TESSA’S TIP: Once the bread bowls are baked and the centers have been scooped out, place them back on a baking sheet and toast in the oven at 350°F for a few minutes or until slightly dried out and crunchy at the edges. This will help prevent sogginess. You can even brush the interior of the bread bowls with olive oil or butter, or even a garlic infused oil or butter, for added flavor! Another fun idea is to sprinkle the bowls with Parmesan cheese before toasting to add some savory cheesy flavor to your soup.
How to store Bread Bowls:
These bread bowls will keep for 3 days in an airtight container, stored at room temperature. Don’t refrigerate these bread bowls, as it will dry them out faster. Refresh in a 400°F oven for 5-10 minutes, or until warm, before filling with soup and serving.
Can you freeze Bread Bowls?
We haven’t tried freezing this dough, but you can definitely freeze the fully baked bread bowls. Once cooled, place the fully baked bread bowls in a ziptop bag or in an airtight container for up to 3 months. To thaw, leave at room temperature for a few hours or overnight, and reheat in a 400°F oven for 5-10 minutes, or until warm.


This was my first attempt at bread making (at 72!) and these came out perfect! I don’t have a stand mixer so I mixed and kneaded by hand and followed the recipe exactly and they came out perfect! I served Potato Cheese Bacon soup and my husband just went nuts over the bread (me too). I sliced one of the loves for bread with butter to serve with the bowl. Sorry, not watching calories tonight!!! Late at night we found ourselves opening the ziplock bag that held some of the bread that was cut out of the bowls and just sniffing!!! What a glorious smell! Thank you for this perfect recipe and all of your instructions and video. Winner, winner, homemade bread for dinner!!!
Yay!! So thrilled to hear this was such a success for you, Kathi! 🙂