Peanut Butter Cheesecake Brownie Bars - Handle the Heat
Filed Under: Cheesecake | Chocolate | Dessert

Peanut Butter Cheesecake Brownie Bars

  |  
May 28th, 2019
5 from 5 votes
5 from 5 votes

Peanut Butter Cheesecake Brownie Bars feature a fudgy brownie bottom with creamy peanut butter cheesecake and topped off with luscious peanut butter chocolate ganache. Download my FREE Perfect Cheesecake Guide here.

Prep Time: 20 minutes

Cook: 45 minutes

Tessa's Recipe Rundown...

Taste: Like Reese’s cups but SO much better.
Texture: The absolute best. The brownie is fudgy and chewy, the cheesecake is thick and rich, and the ganache on top is super smooth and creamy.
Ease: Not the cleanest recipe to bake but so worth it.
Pros: Fun twist on cheesecake, easy to transport and serve.
Cons: None!
Would I make this again? Yes!!

This post may contain affiliate links. Read our disclosure policy.

Love cookie dough more than peanut butter? Check out these Brownie Bottom Cookie Dough Cheesecake Bars! I also have an amazing Caramel Brownie Cheesecake recipe.

Can you tell I love cheesecake + brownie together?

Peanut Butter Cheesecake Brownie Bars with peanut butter chocolate ganache

This recipe was basically inspired by my own dessert daydreams. You know when you’re craving a bunch of things all at once? And can’t decide which sounds best?

I wanted brownies but I also wanted cheesecake but ALSO peanut butter. Hence these amazing cheesecake bars that satisfy all three categories.

Peanut butter cheesecake brownie squares

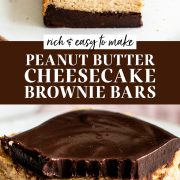
This recipe isn’t difficult but it does dirty quite a few dishes to make every layer. I highly recommend making the brownie layer from scratch as called for in the recipe.

However, you could use a box mix brownie situation, just make sure it’s a fudgy one. You may need to adjust the baking time slightly. Just keep an eye out.

Peanut Butter Cheesecake Brownie Bars with ganache on a cooling rack

What’s the recipe of your dreams right now? One that combines everything you’ve been craving lately? Spill below!!

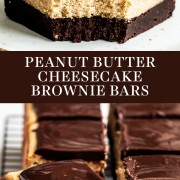
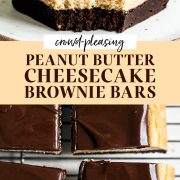
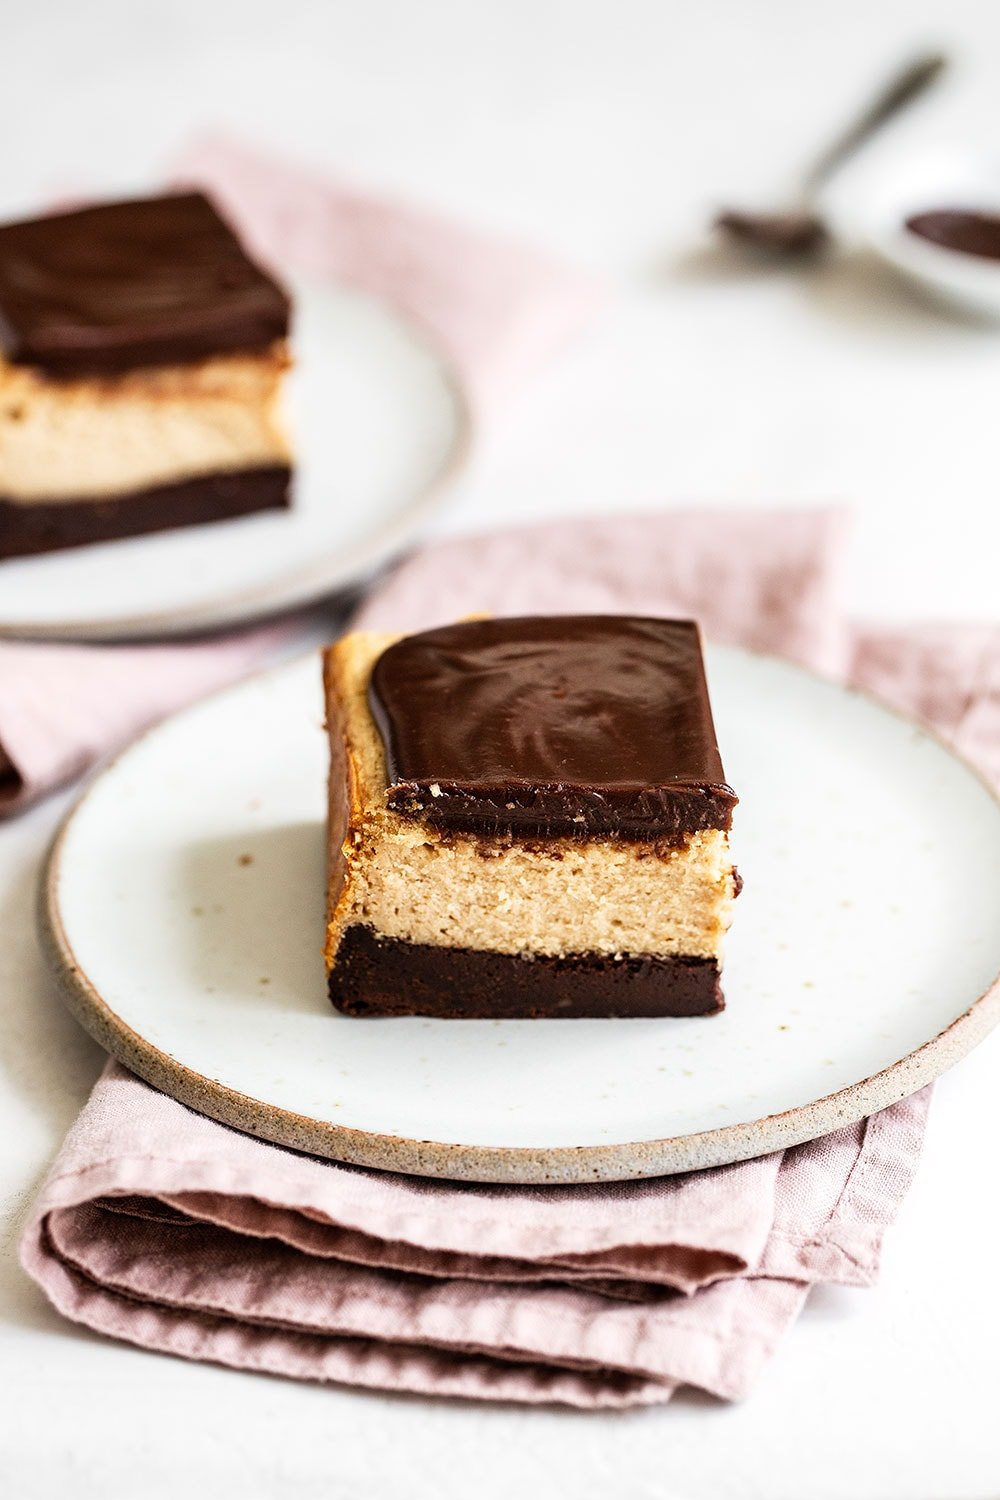
How to Make Peanut Butter Cheesecake Brownie Bars

Here are some recipe tips and tricks so you can wow your friends and family with these cheesecake bars.

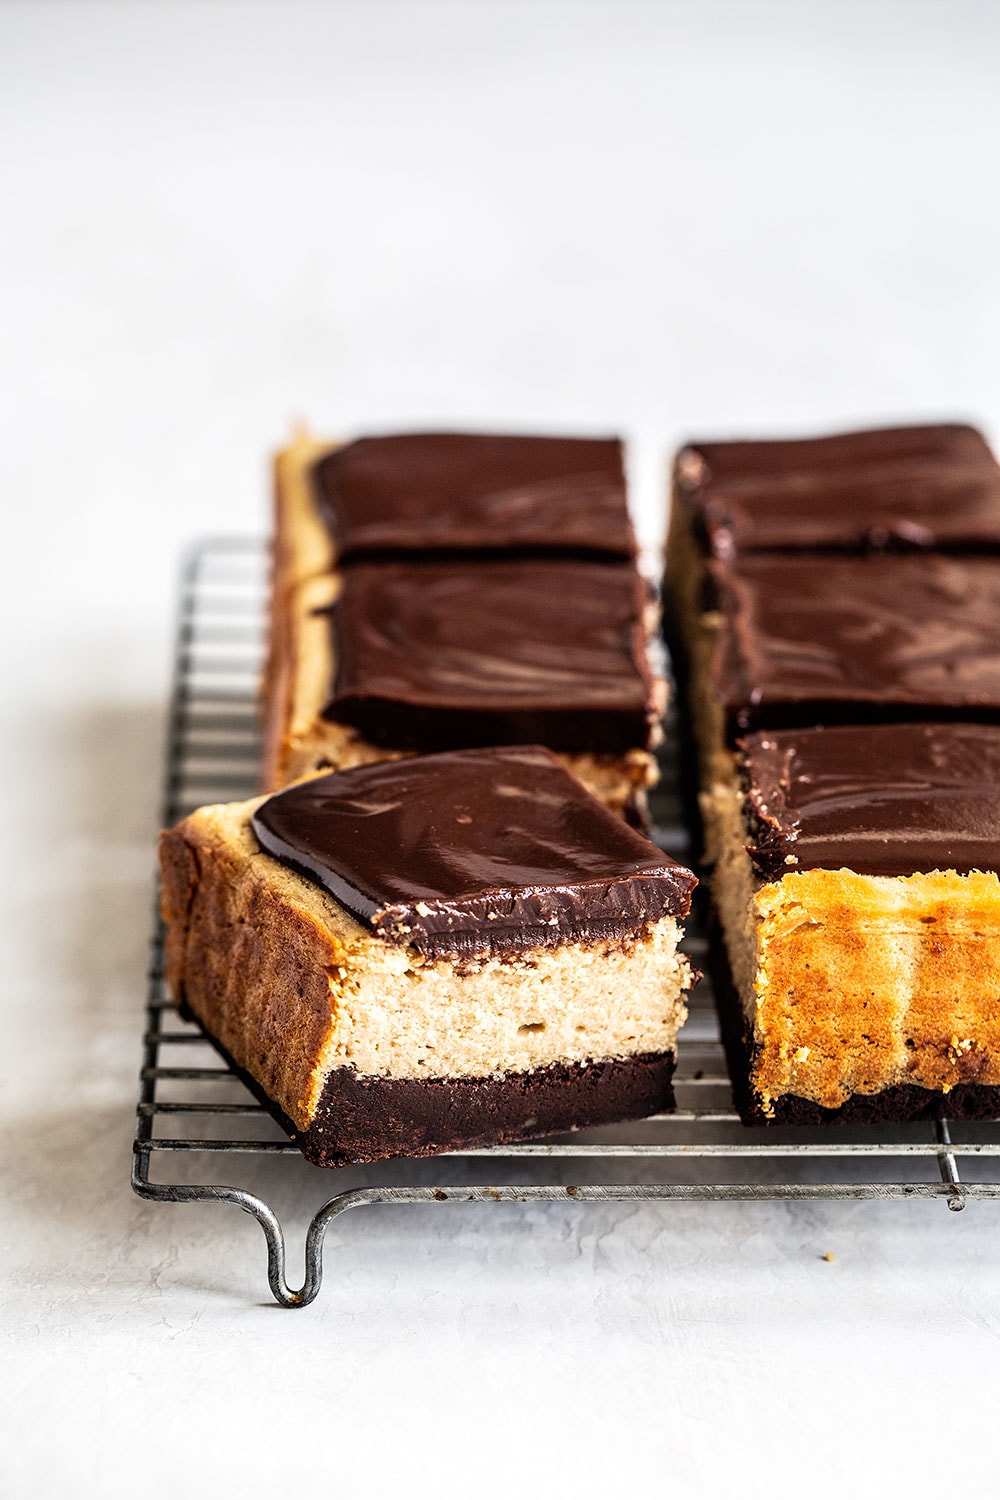
How to Make Brownie Bottom Crust

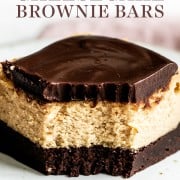
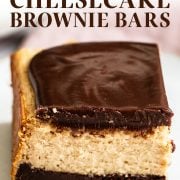
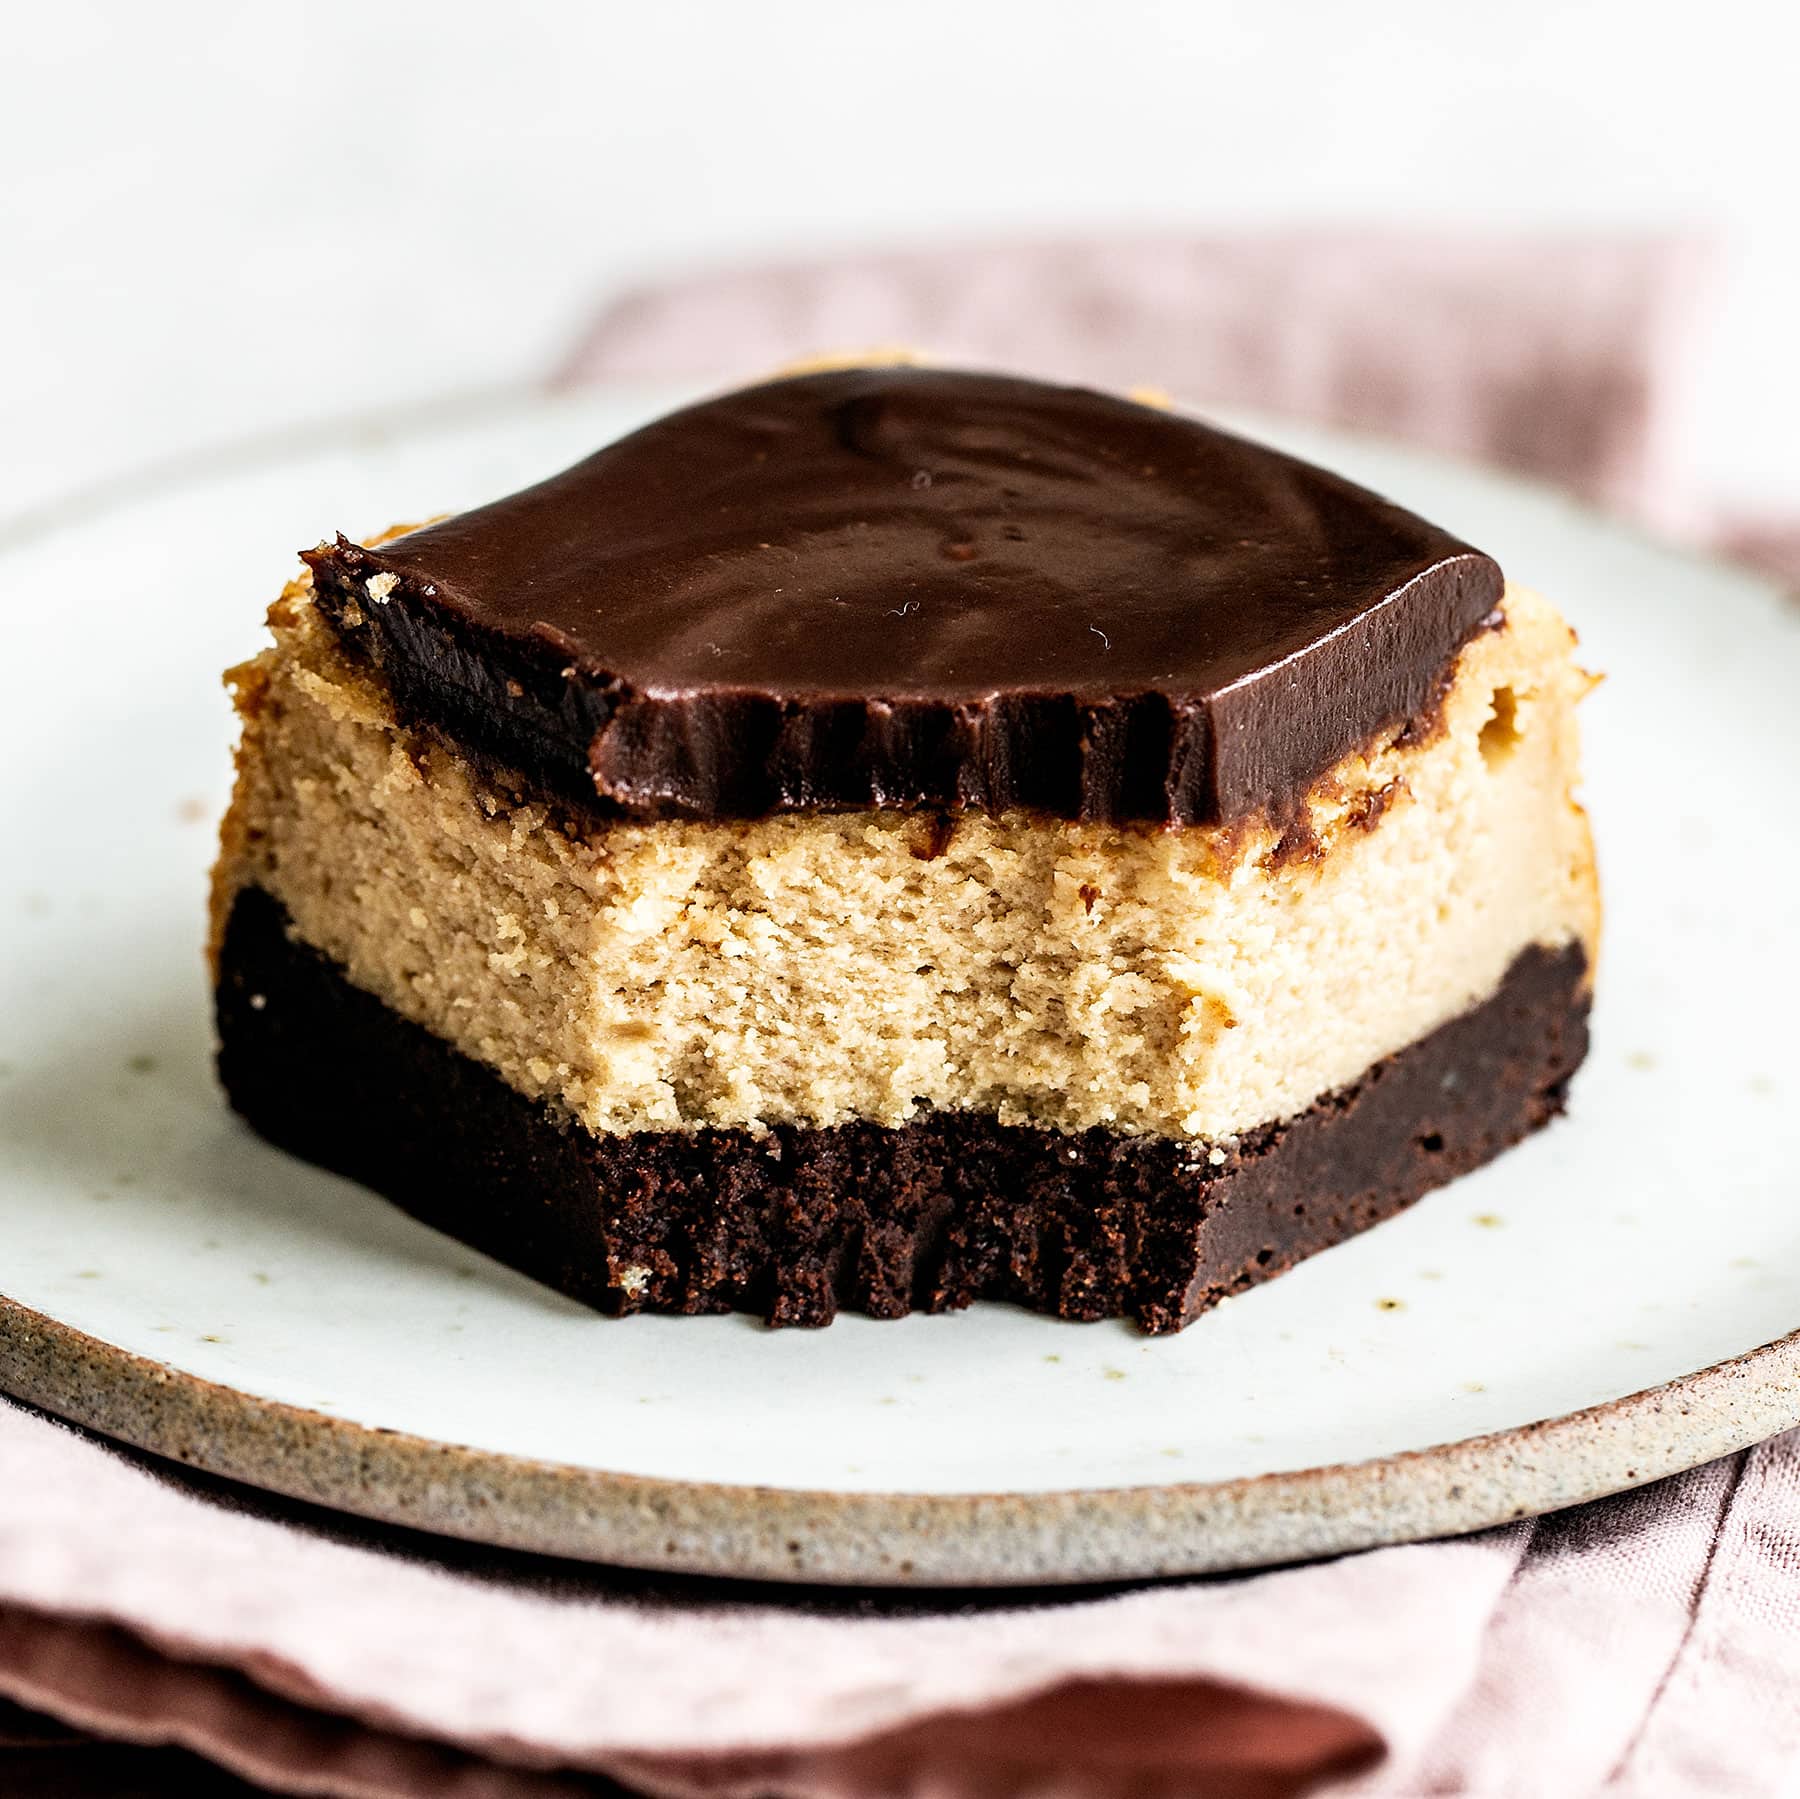
The brownie base of the recipe is a really dense and fudgy simple cocoa brownie. It holds up to the cheesecake without being too thick that it competes with it. You only need a small amount of flour for this brownie crust to get that really fudge-like texture. Heads up, this batter is very thick so don’t be worried if you have to kind of press it into the pan.

Be sure not to over-measure your flour. Spoon and level it!

What kind of peanut butter is best for baking?

Traditional commercial peanut butter, such as creamy Skippy or Jif, tends to work best for baking. “Natural” peanut butter products don’t work well because either the oil separates and causes problems, or the butter is too dry and leads to a dry crumbly final texture. I found baking with something like Skippy results in the best texture and the strongest peanut flavor.

How to Make Creamy Cheesecake

Make sure all your ingredients are completely at room temperature. Your cream cheese should be totally and utterly softened. When it comes to making cheesecake batter, you want to basically beat mixture to oblivion only before you add the eggs.

The cream cheese, peanut butter, and sugar mixture should be super duper smooth before you add the eggs. Scrape down the sides of the mixing bowl, as well as the very bottom and the attachment often to ensure no hidden chunks of unincorporated cream cheese remain.

Once the eggs are added only beat until the mixture is smooth. Be careful not to overbeat here to prevent cracking. The good news, though, is that even if these cheesecake bars crack while baking or cooking we’re topping them with a thick ganache which disguises any imperfections!

How to Bake Cheesecake Bars

Definitely line your pan with foil or parchment paper and leave an overhang. Spray with nonstick cooking spray. This will ensure nothing gets stuck and also that you can lift the whole pan out after it’s done cooking to easily cut into clean slices.

For best results – use a metal pan!

I highly advise you use a metal baking pan for this recipe. Metal conducts heat more efficiently than glass or ceramic so you don’t end up with any undercooked centers.

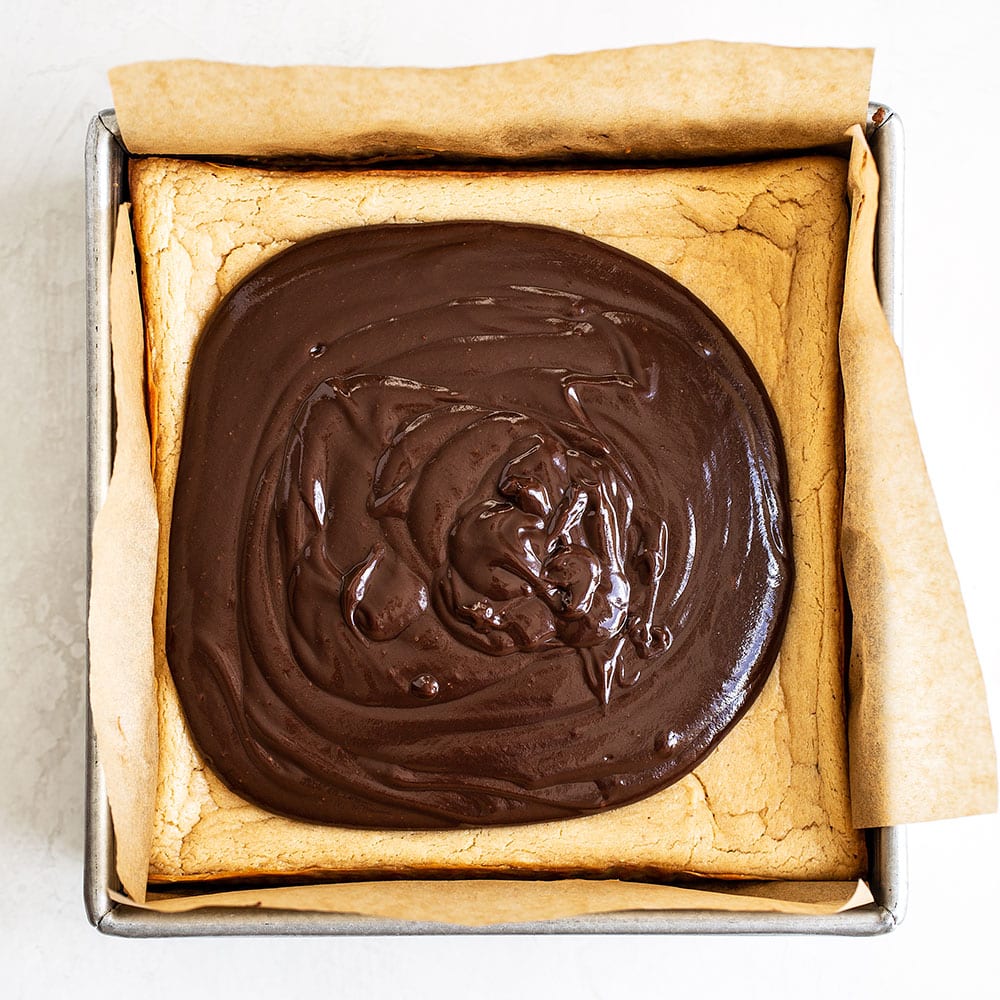
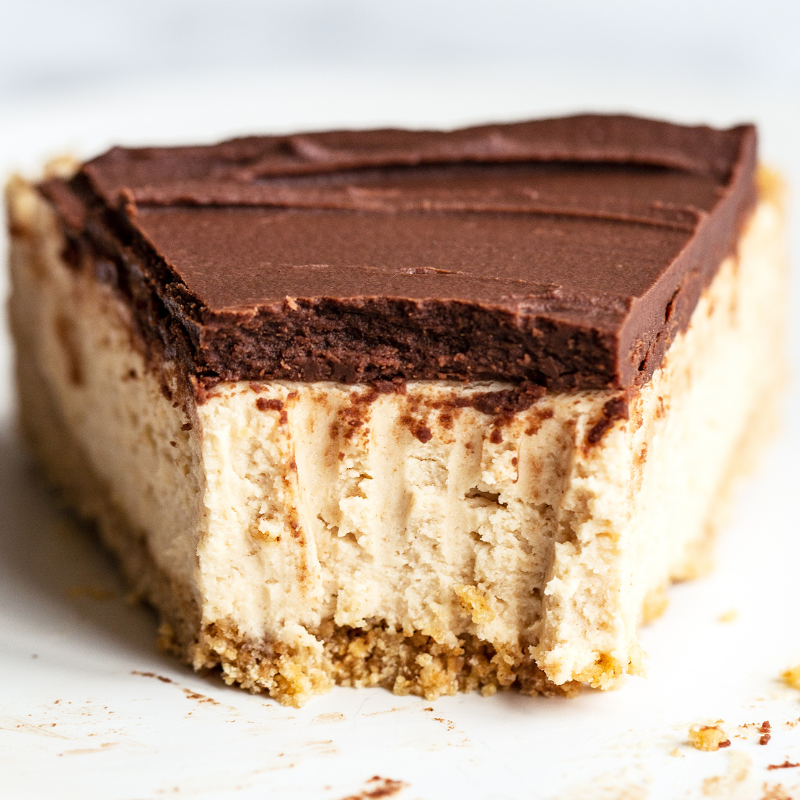
How to Make Peanut Butter Ganache

This isn’t just any ganache, it’s a creamy peanut butter ganache that doesn’t get too hard in the fridge. I use the microwave to make easy work of making ganache, but you can also use a saucepan on the stovetop to heat the cream. Again, be sure to use a creamy conventional commercial peanut butter product here.

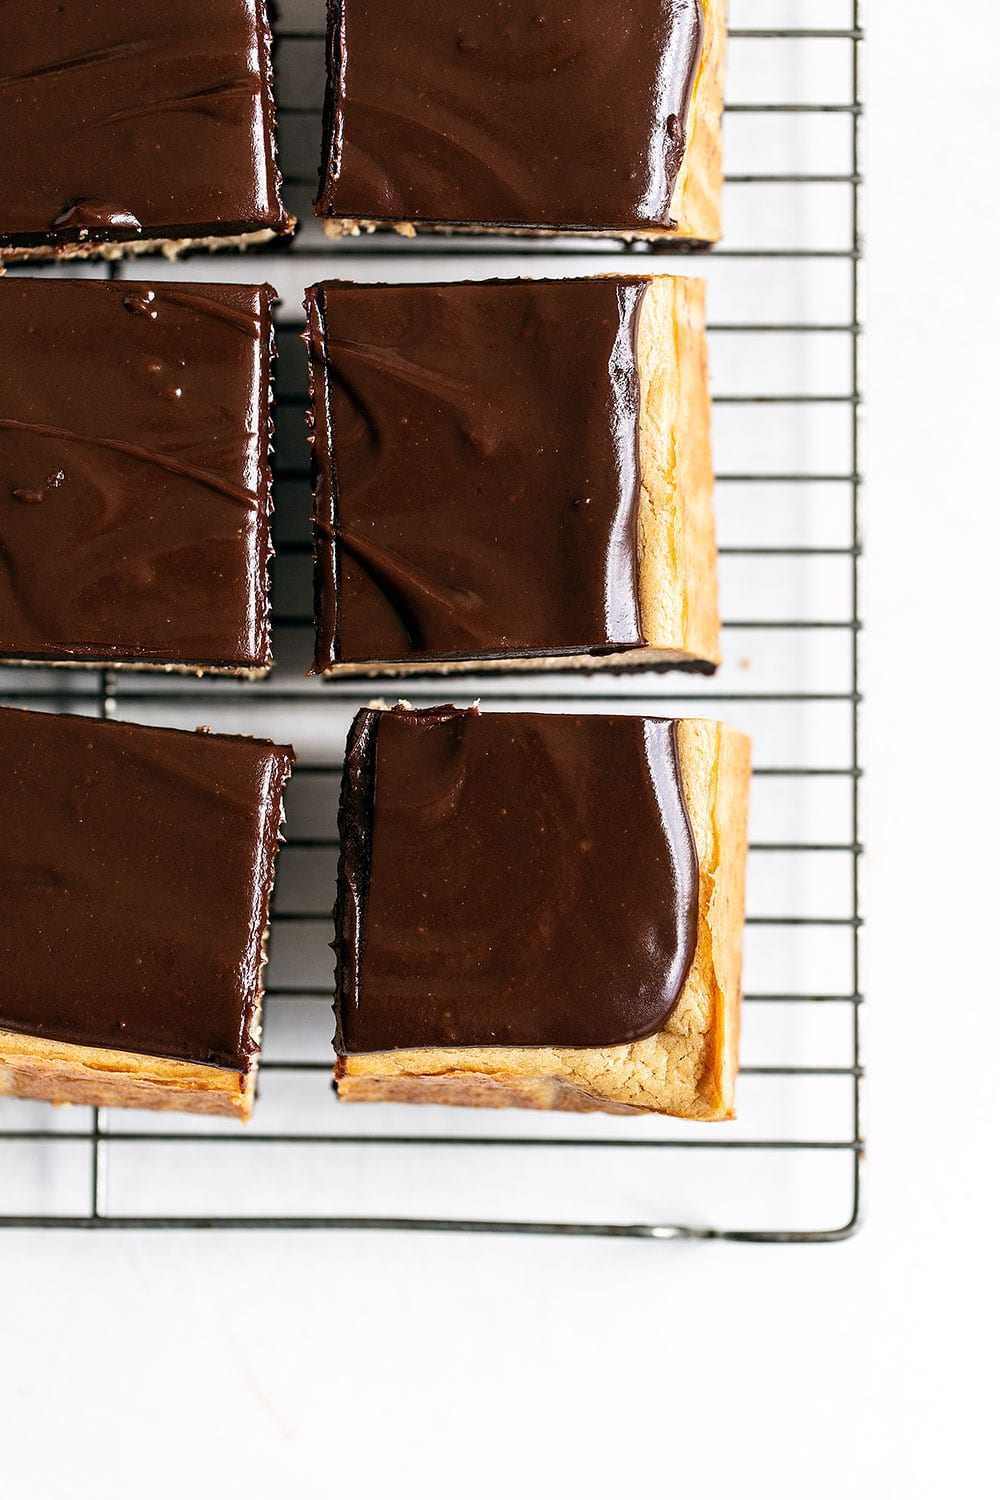
How to slice cheesecake bars

For clean picture-perfect slices, use a big sharp knife and run it under hot water and wipe it off between slices. Take out the entire pan of cheesecake bars and place on a cutting surface to make it easier.

How to Store Cheesecake Bars

The cheeesecake can be stored in an airtight container in the fridge for up to 3 days. You can also freeze the bars in an airtight container without the ganache for up to 1 month.

Peanut butter cheesecake bars with brownie crust on plates

More Cheesecake Bar Recipes

5 from 5 votes

How to make
Brownie Bottom Peanut Butter Cheesecake Bars

Prep Time: 20 minutes
Cook Time: 45 minutes
Chilling time 4 hours 15 minutes
Total Time: 5 hours 20 minutes
Peanut Butter Cheesecake Brownie Bars feature a fudgy brownie bottom with creamy peanut butter cheesecake and topped off with luscious peanut butter chocolate ganache. Download my FREE Perfect Cheesecake Guide here.

Ingredients

For the brownies:

  • 1 stick (113 grams) unsalted butter, melted
  • 1 cup (200 grams) granulated sugar
  • 1 cup (85 grams) unsweetened natural cocoa powder
  • 1/4 teaspoon fine salt
  • 1/2 teaspoon vanilla extract
  • 2 large eggs
  • 1/2 cup (62 grams) all-purpose flour

For the cheesecake filling:

  • 1 pound (454 grams) cream cheese, completely softened to room temperature
  • 2/3 cup (170 grams) conventional creamy peanut butter
  • 1/4 cup (50 grams) granulated sugar
  • 1/4 cup (50 grams) light brown sugar
  • 2 large eggs, at room temperature
  • 1 tablespoons all-purpose flour
  • 1/4 teaspoon fine salt

For the peanut butter ganache:

  • 1/2 cup + 1 tablespoon heavy cream
  • 1 cup (170 grams) semisweet chocolate chips
  • 1/4 cup (65 grams) conventional creamy peanut butter

Directions

Make the brownies:

  1. Preheat the oven to 325°Line an 8×8-inch metal baking pan with parchment paper or foil, leaving an overhang. Spray with nonstick cooking spray.
  2. In a large bowl combine the butter, sugar, cocoa powder, and salt. Stir until well combined, mixture will be thick. Let cool if the butter is still hot.
  3. Stir in the vanilla and then the eggs, one at a time, stirring very well after each addition. Stir until the batter is very well blended. Add the flour and stir again until very well blended. The mixture will be thick. Spread into prepared pan.
  4. Bake for 15 minutes, or until just starting to set but not fully cooked. Maintain 325°F oven temperature.

Make the cheesecake:

  1. While the brownies are baking, make the cheesecake batter. In a large bowl, use an electric mixer to beat the cream cheese, peanut butter, and sugar until well combined and smooth, scraping down the sides and bottom of the bowl often to incorporate everything smoothly. Beat in the eggs, flour, and salt just until incorporated.
  2. Pour the cheesecake batter over the partially baked brownie layer.
  3. Bake at 325°F for about 40 to 45 minutes, or until the cheesecake is set.
  4. Cool completely to room temperature before refrigerating for at least 4 hours to chill.

Make the peanut butter ganache:

  1. Place the cream in a glass measuring cup. Microwave for 25 seconds, or until steaming hot but not bubbling. Add in the chocolate chips and peanut butter. Let sit for 2 minutes. Stir until smooth. Let cool at room temperature until thickened but still pourable.
  2. Spread the ganache all over the chilled cheesecake layer. Refrigerate for 15 minutes, or until the ganache is fudgy.
  3. Cut into bars. For clean cuts, use a big sharp knife and run it under hot water and wipe it off between slices. Bars can be stored in an airtight container in the fridge for up to 3 days.
Course : Dessert
Cuisine : American
Keyword : cream cheese, ganache

Photos by Ashley McLaughlin.

Tessa Arias
Author: Tessa Arias

I share trusted baking recipes your friends will LOVE alongside insights into the science of sweets. I'm a professionally trained chef, cookbook author, and cookie queen. I love to write about all things sweet, carb-y, and homemade. I live in Phoenix, Arizona (hence the blog name!)

Tessa Arias

About Tessa...

I share trusted baking recipes your friends will LOVE alongside insights into the science of sweets. I'm a professionally trained chef, cookbook author, and cookie queen. I love to write about all things sweet, carb-y, and homemade. I live in Phoenix, Arizona (hence the blog name!)

Find Tessa on  

Leave a Comment & Rating

Add a Review or Question

*Please select a rating to complete your comment.

Recipe Rating


  1. #
    Martina — October 25, 2023 at 7:52 am

    I made this and everyone loved it!
    In my oven the cheesecake needed only about 37 minutes for baking.

  2. #
    Karyn Leora Glass — August 2, 2023 at 6:50 pm

    I made this just yesterday and it was very simple and came out perfectly!! I used a glass 8×8, I don’t have a metal 8×8 but it worked out just fine!! This was amazing and I did keep this recipie for future use!! Thank you!

  3. #
    Paul Carter — February 7, 2023 at 10:59 am

    Made these this weekend for a birthday. Another cheesecake bar recipe on this site said that Tessa frequently doubles cheesecake bar recipes and uses 9×13, so that’s what I did and it came out fantastic. Ultra rich obviously, but easy to follow directions that were perfectly from the jump. If you’re a reeses fanatic of peanut butter and chocolate, this recipe is perfect.

  4. #
    Shara — May 1, 2021 at 3:40 pm

    I’m an avid baker that tries lots of different recipes. This one is a hit! My mother in law specifically requested it for her birthday this year. She says it’s her favorite thing I’ve ever made!

    • #
      Tessa — May 4, 2021 at 9:02 am

      Love to hear you used this recipe to celebrate with! So glad it was a hit 🙂

  5. #
    Michelle Potts — December 21, 2020 at 1:43 am

    My first time making a from scratch cheesecake. This recipe is so easy to follow, and oh so delicious!

    • #
      Tessa — December 22, 2020 at 1:00 pm

      So glad you enjoyed these brownies!

    • #
      Tessa — December 22, 2020 at 1:00 pm

      Hooray!!

  6. #
    Michele Julain — September 10, 2019 at 12:45 pm

    Hi. I can’t wait to try these! We have a clam bake this weekend and I’m wondering if I double the recipe will it be too thick for a 9×13 pan? I have a pan a little larger maybe that would work? Thank you in advance for your help.

    • #
      Jen — June 12, 2020 at 9:11 am

      Did you ever try to double this? I am looking to make it for tomorrow but I only have the 9×13 because I lent someone my 8×8 and never got it back. Just realized now. 🙁

  7. #
    Linda — July 5, 2019 at 9:24 am

    Can the recipe be doubled without a problem? I need to bake in a 9″ x 13″ pan to enough for everybody.

    • #
      Jen — June 12, 2020 at 9:12 am

      Did you ever try to double this? I am looking to make it for tomorrow but I only have the 9×13 because I lent someone my 8×8 and never got it back. Just realized now.

Join the Handle the Heat Community

Cookie Customization Chart
Do you want a more delicious life?
Instead of digging through cookbooks and magazines and searching the internet for amazing recipes, subscribe to Handle the Heat to receive new recipe posts delivered straight to your email inbox. You’ll get all the latest recipes, videos, kitchen tips and tricks AND my *free* Cookie Customization Guide (because I am the Cookie Queen)!
As Seen On....
NPR People Time Glamour Readers Digest The Huffington Post BuzzFeed