This post may contain affiliate links. Read our disclosure policy.
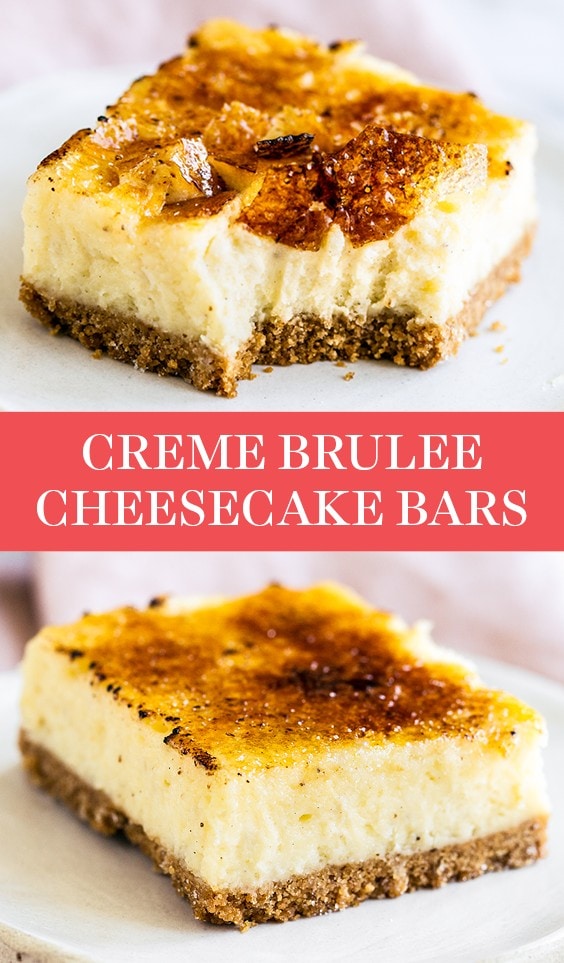
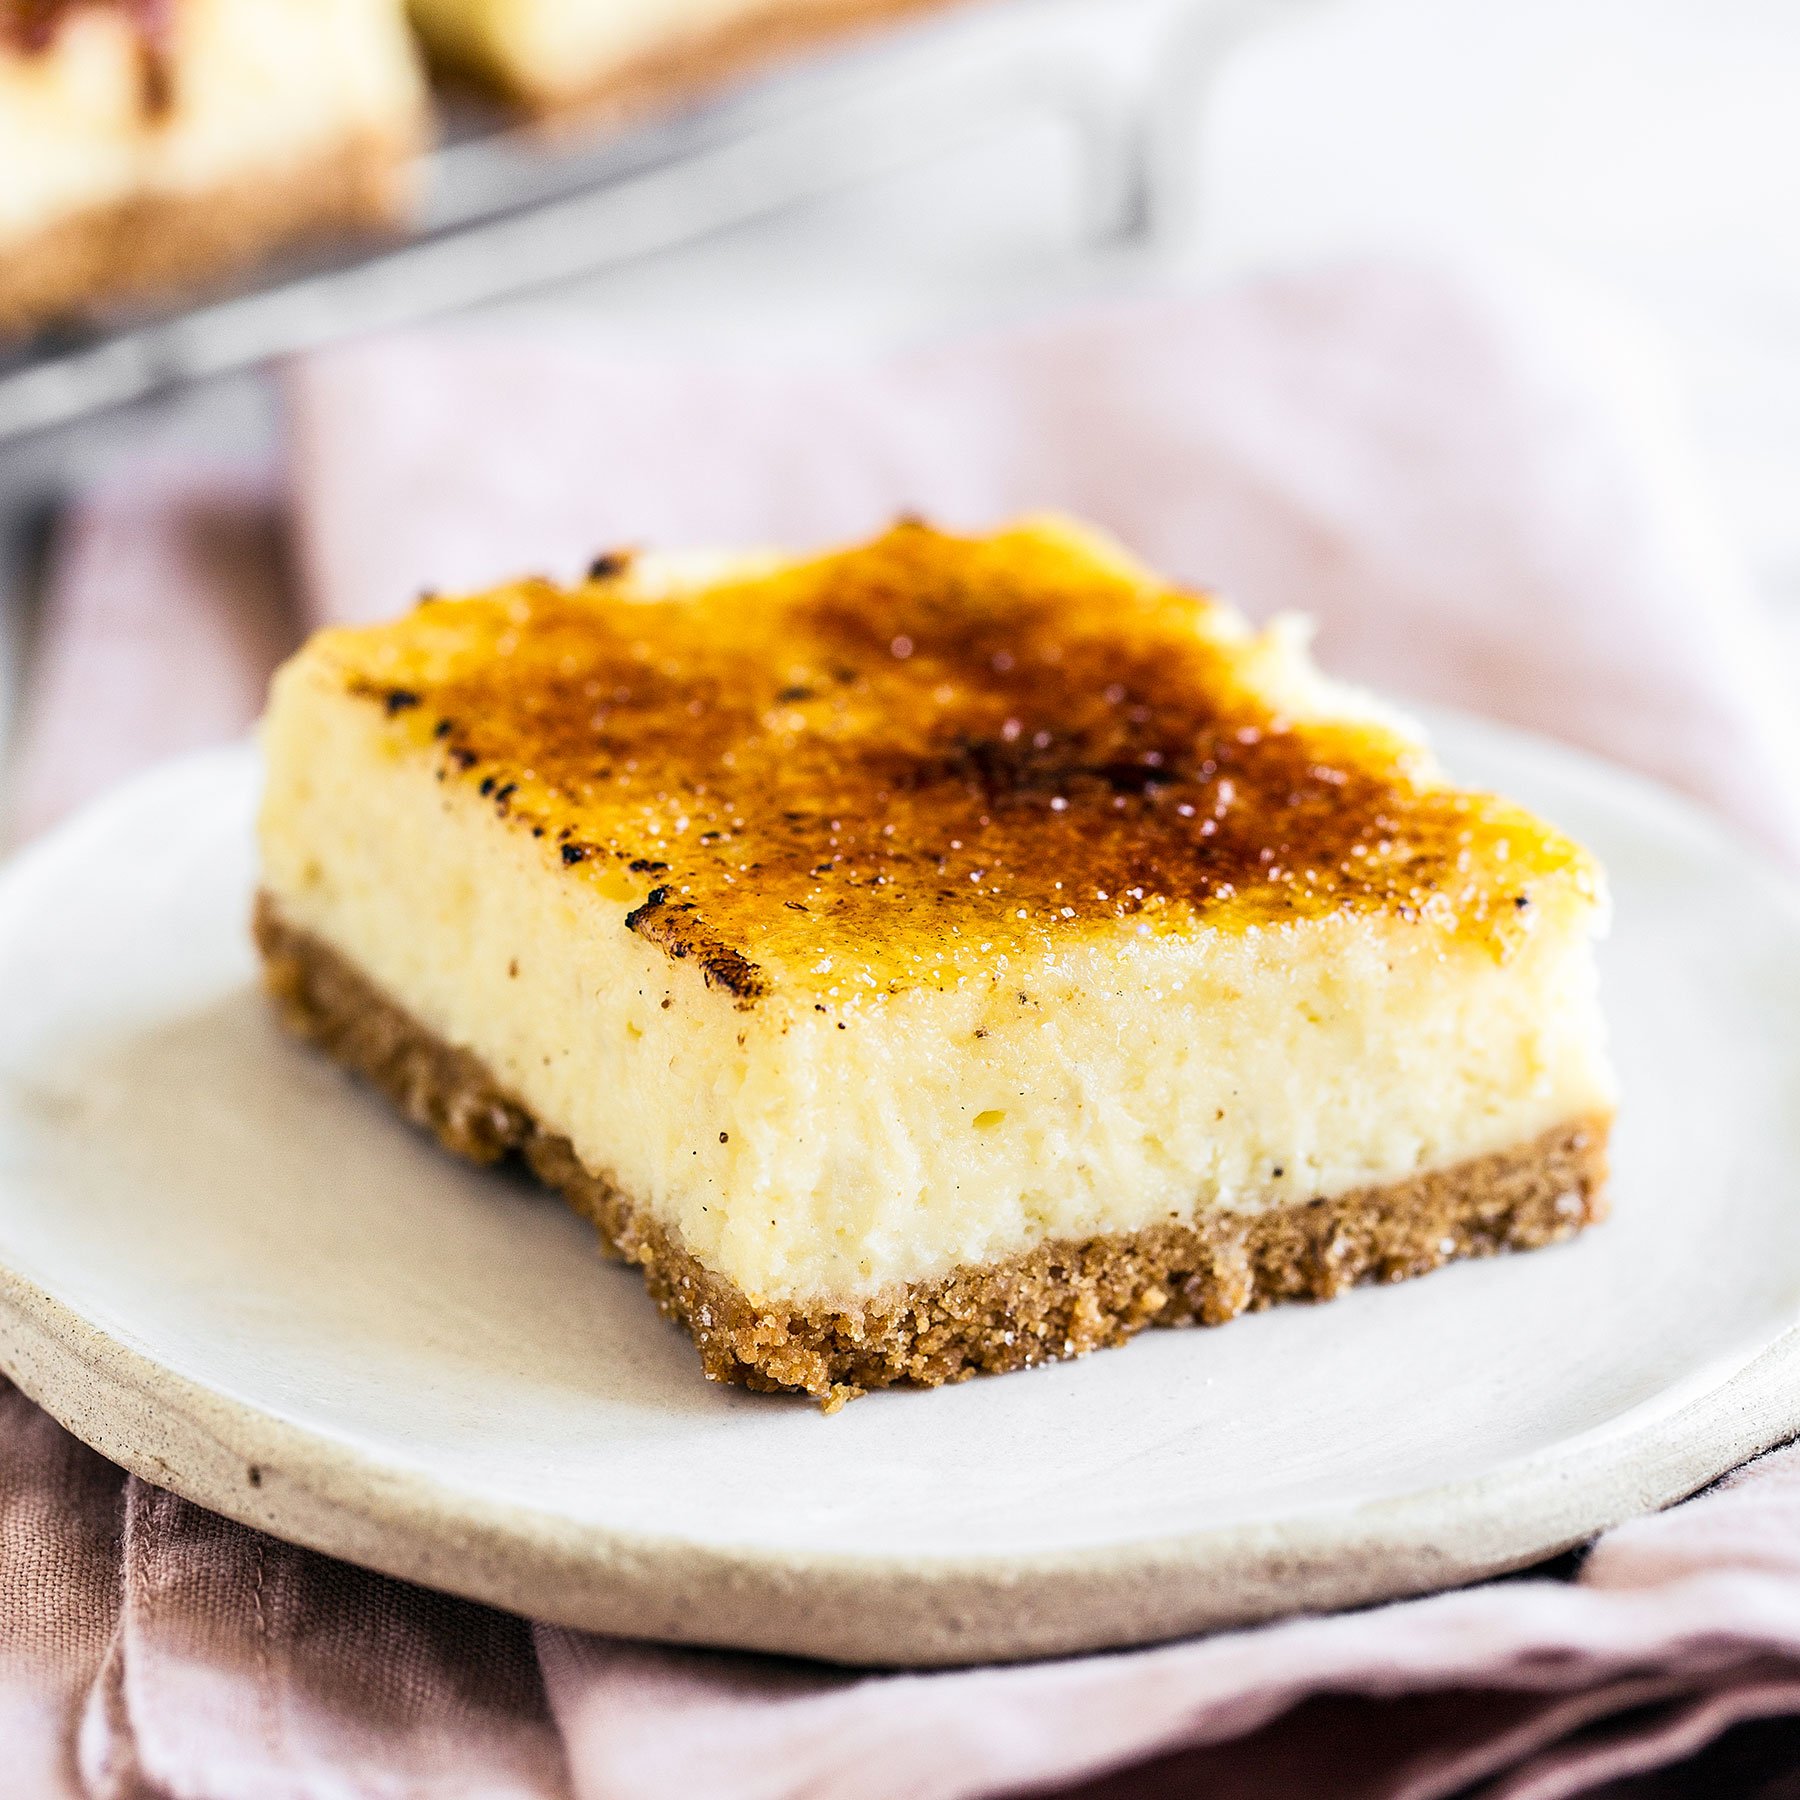
You know what’s great about these Crème Brûlée Cheesecake Bars?
They require no custard-making skills, no ramekins, no water baths, nothing too difficult at all.
These bars are even easier than a traditional cheesecake. Certainly easier than traditional Crème Brûlée!
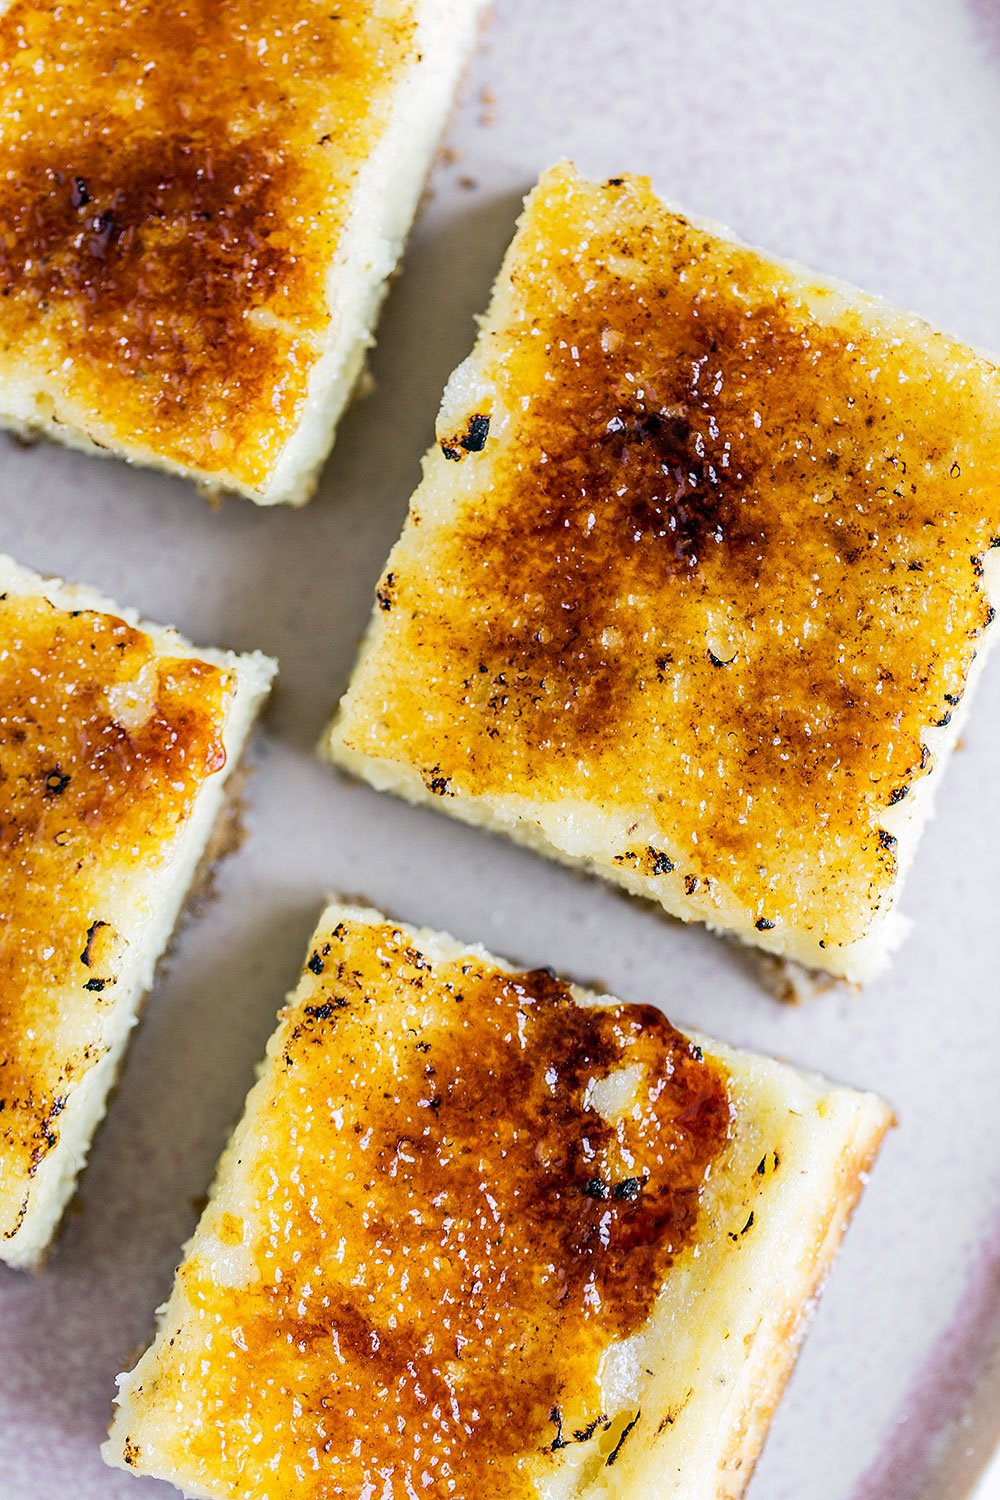
But truly the best part? You get to light them on fire with a kitchen torch! If you don’t have one, you can also use your broiler, but the kitchen torch produces much better results. Plus it’s just plain fun to use. Add one to your wish list!
It’s also pretty cool to watch the sugar turn into liquid, deepen in color, and completely harden all within minutes. Don’t get too carried away, though, or you may set off your smoke detector.
Also, be sure to torch the topping on a heat-safe work surface with nothing flammable nearby.
Who knew cheesecake could be so fun?
Crème Brûlée Cheesecake Bars Recipe Tips
How to Make Smooth & Creamy Cheesecake
- Make sure all of your ingredients are completely at room temperature.
- The cream cheese specifically needs to be totally softened.
- If it’s a cold day, then the cream cheese will need to sit on the counter for several hours or you may need to nuke it in the microwave until it’s completely soft.
- To ensure there are no lumps, be sure to scrape down your mixing bowl thoroughly after adding every ingredient. Even if you have a beater attachment that scrapes as it goes – those don’t always catch everything, especially at the very bottom of the bowl.
- If it’s a cold day, you often have lumpy cheesecake, and you’re using a metal mixing bowl, you can run the bowl under warm water and dry it thoroughly before mixing your cheesecake batter.
Crème Brûlée Key Ingredient
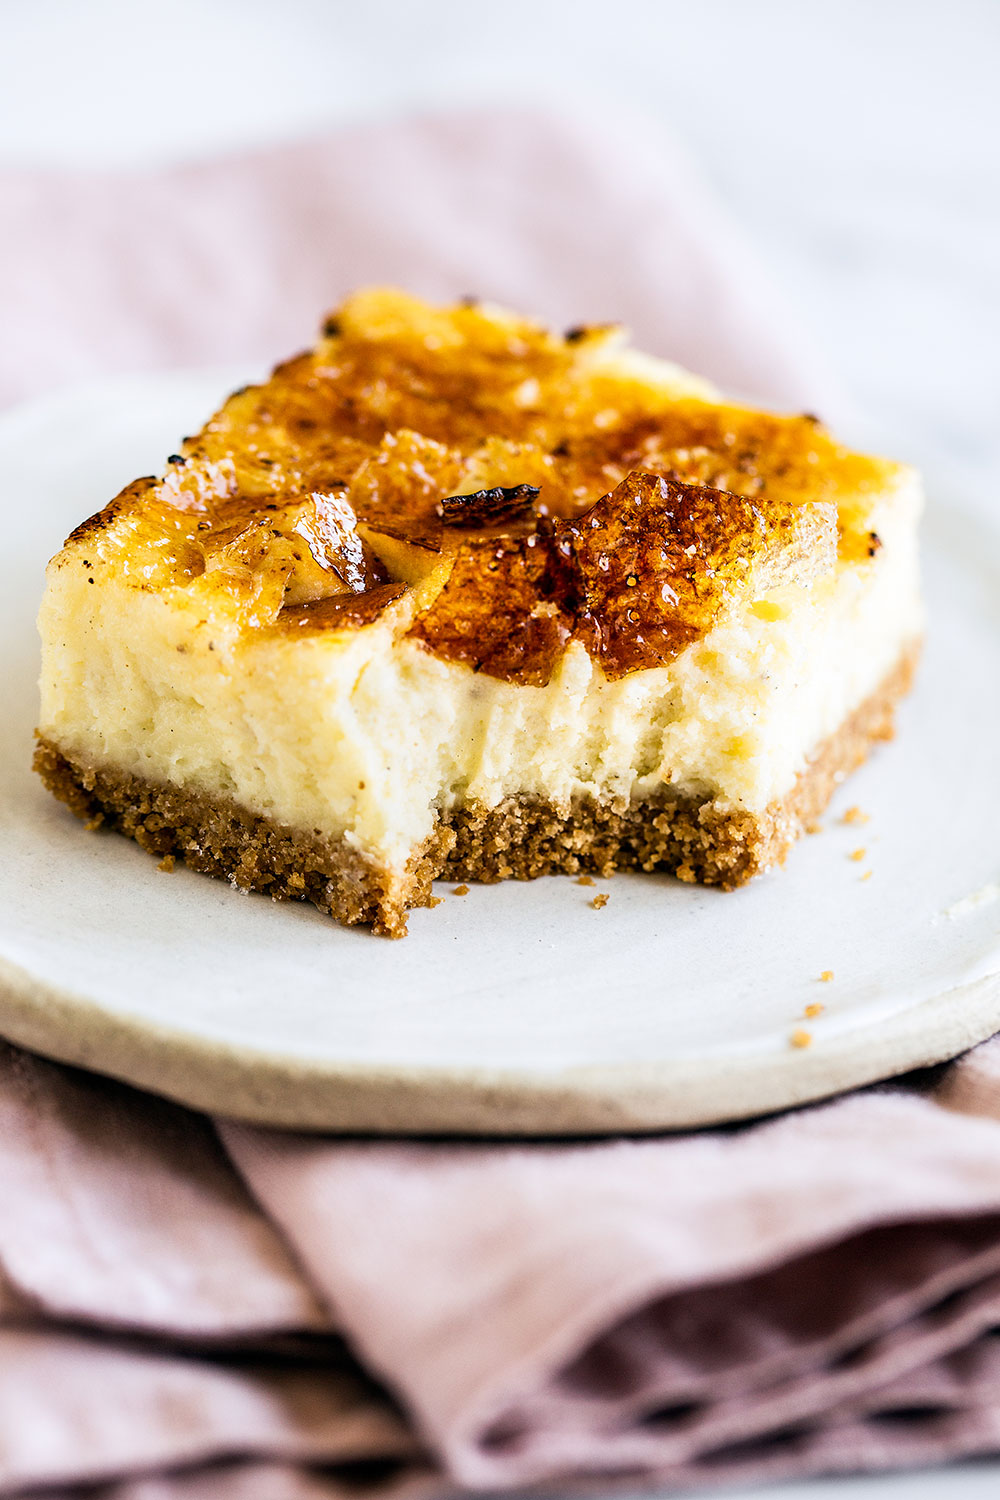
The key to making that deliciously flavorful and rich Crème Brûlée flavor is VANILLA. I love to use vanilla paste in this recipe because it gives a generous dose of vanilla without having to cut open and scrape a vanilla pod. If you’d prefer to use a pod, then use one. If you only have extract, then just use the same amount as the paste called for.
What Can I Use Instead of Graham Crackers?
You can use the same amount by weight of digestive biscuits, vanilla wafers, Biscoff cookies, or any crunchy cookie you’d like! Please note that Biscoff cookies are a little richer than graham crackers (which are drier), so add just enough butter until it holds together when pressed.
How to Make Crème Brûlée Cheesecake Ahead of Time
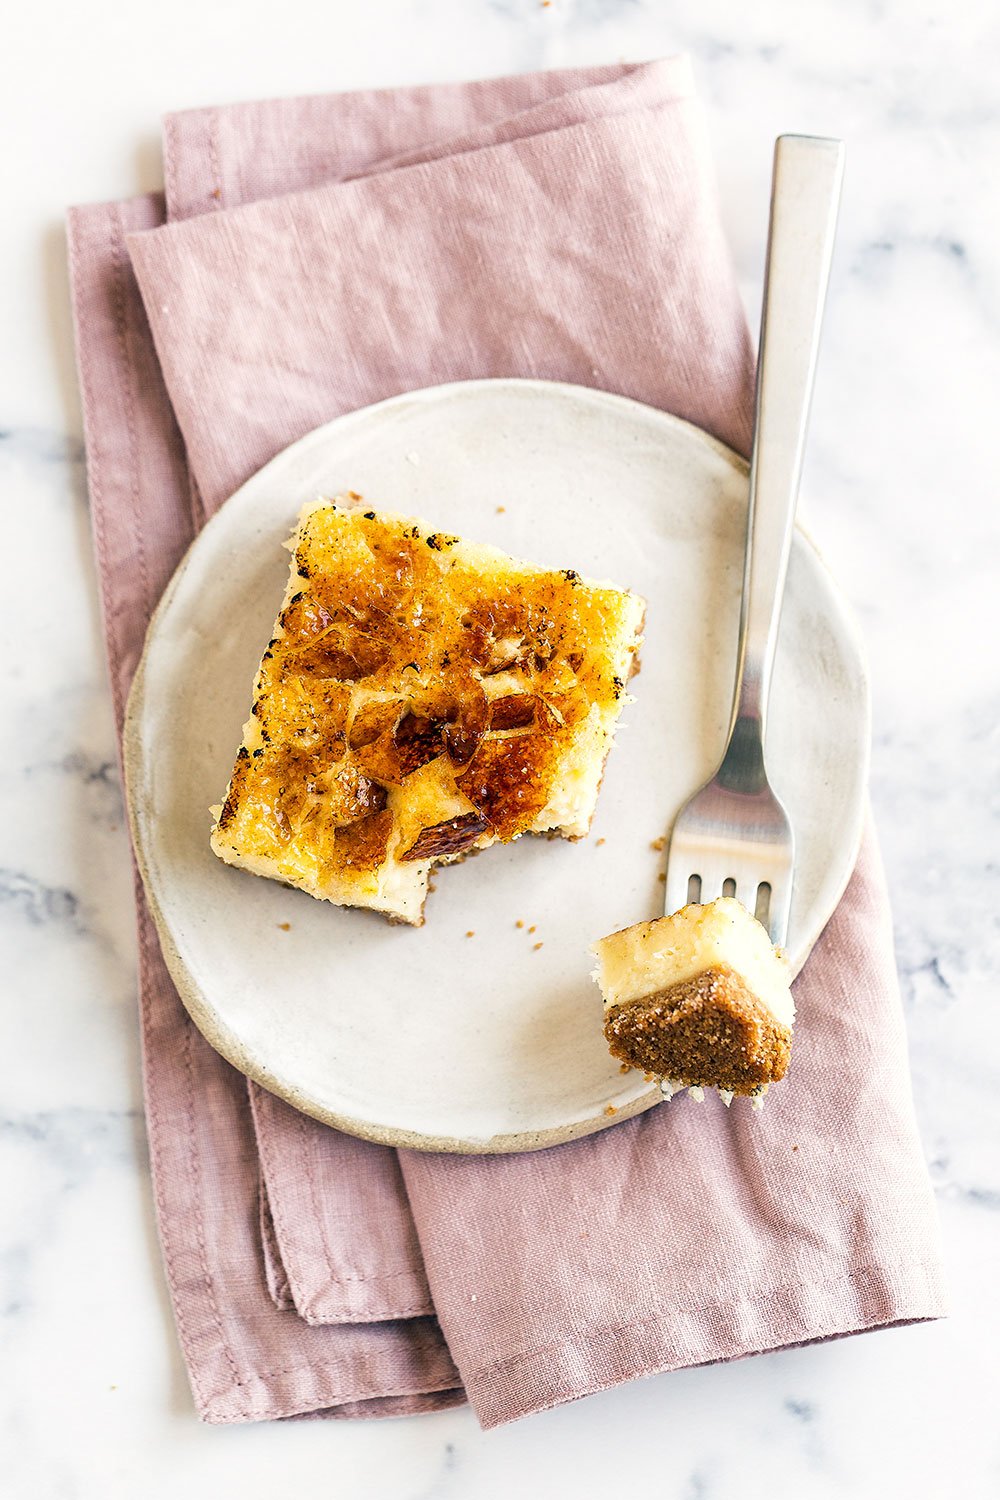
The cheesecake bars can be made ahead of time and stored in the fridge. Do not top the bars with sugar and brulee until shortly before serving. The longer the brûléed sugar sits, the more the sugar will begin to re-liquify and no longer be crisp.
How to Store Crème Brûlée Cheesecake Bars
- Store the untopped (non-brûléed) cheesecake bars in an airtight container in the fridge for up to 3 days.
- Untopped slices of cheesecake can also be frozen. Wrap each slice in plastic wrap and stored inside an airtight container or freezer bag for up to one month. Defrost overnight in the fridge before topping with sugar, torching, and serving.
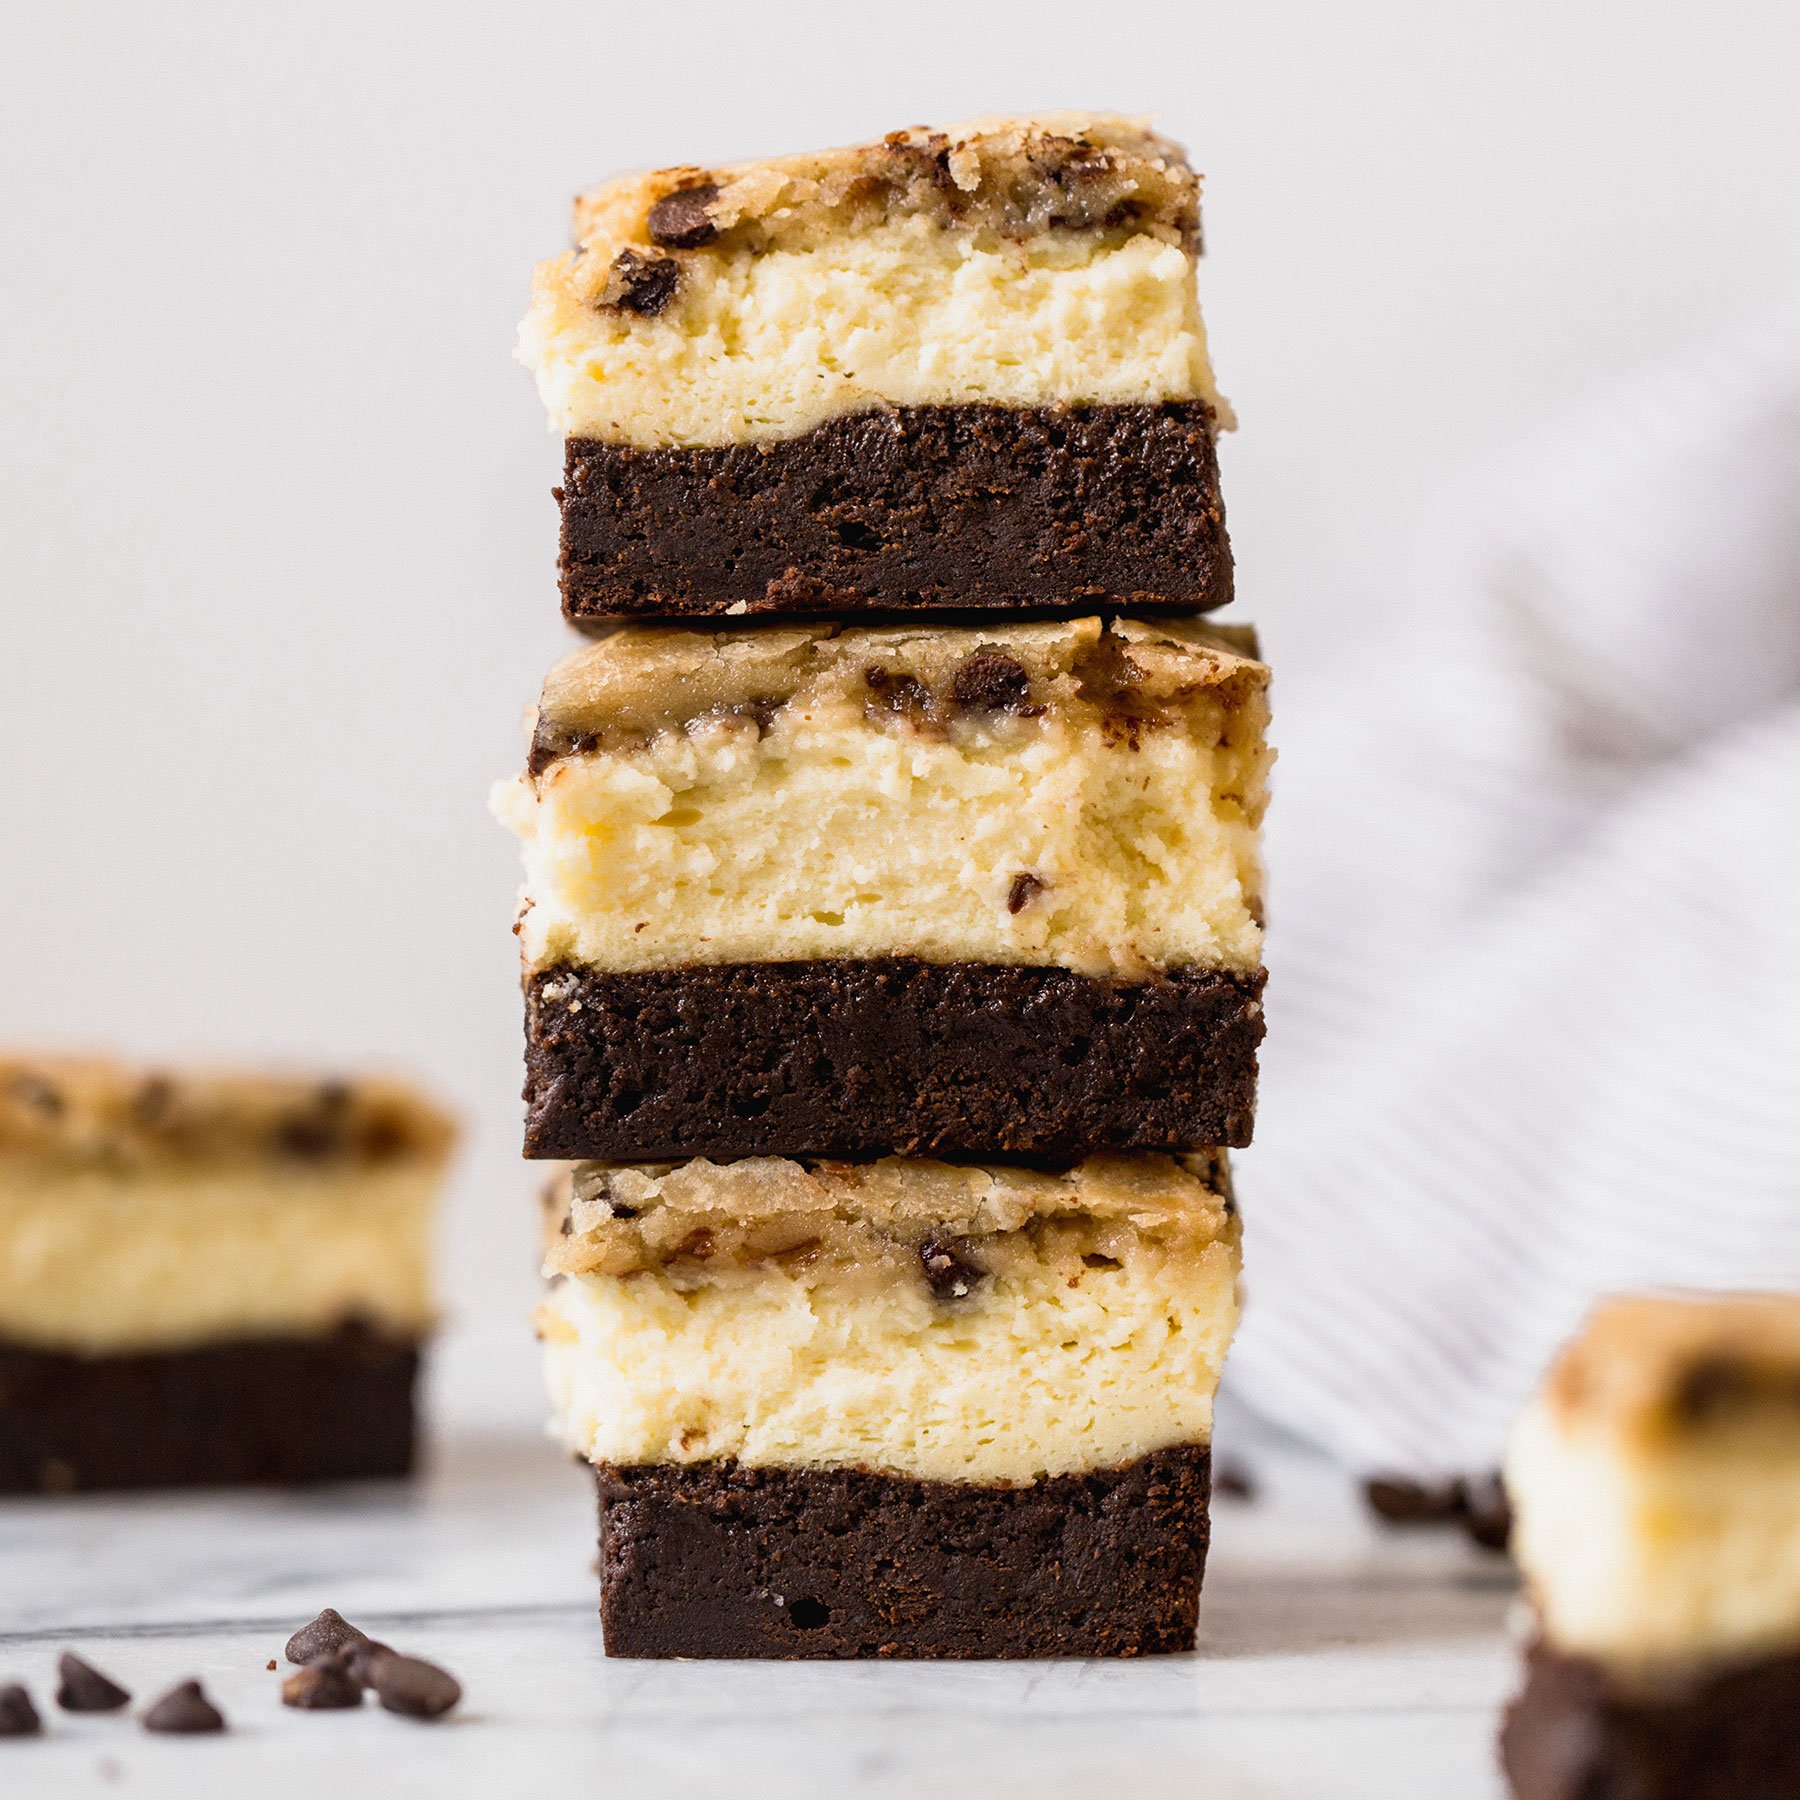
More Cheesecake Bar Recipes:
For the crust:
-
9
whole (135 grams) graham crackers
-
5
tablespoons (72 grams) unsalted butter,
melted
For the filling:
-
16
ounces (454 grams) cream cheese,
completely softened at room temperature
-
1
cup
(200 grams) granulated sugar
-
1/4
cup
heavy cream
-
2
large eggs,
at room temperature
-
1
large egg yolk,
at room temperature
-
2
teaspoons
vanilla bean paste
-
1/2
teaspoon
fine sea salt
For the brûlée topping:
-
1/4
cup
(50 grams) granulated sugar
For the crust:
-
Preheat the oven to 350°F. Line an 8-inch square metal baking dish with foil, leaving an overhang.
-
In the bowl of a food processor, pulse the graham crackers until finely ground. Add the butter and pulse until moistened. Press into the bottom of the prepared pan. Bake until lightly browned and set, about 8 to 10 minutes. Let cool and reduce the oven temperature to 300°F.
For the cheesecake:
-
In a large bowl, use an electric mixer to beat the cream cheese at medium-high speed until smooth. Add the sugar and continue beating until smooth, scraping down the sides of the bowl.
-
Add the cream then the eggs, egg yolk, vanilla paste, and salt one at a time and beat until well combined and smooth, being careful not to overmix. Scrape down the sides of the bowl as needed.
-
Pour the mixture into the prepared pan. Bake at 300°F until the cheesecake is set but still slightly jiggly in the center, about 35 minutes. Do not overbake.
-
Place the cheesecake on a cooling rack to cool completely in the pan. Cover and chill until firm, at least 4 hours.
-
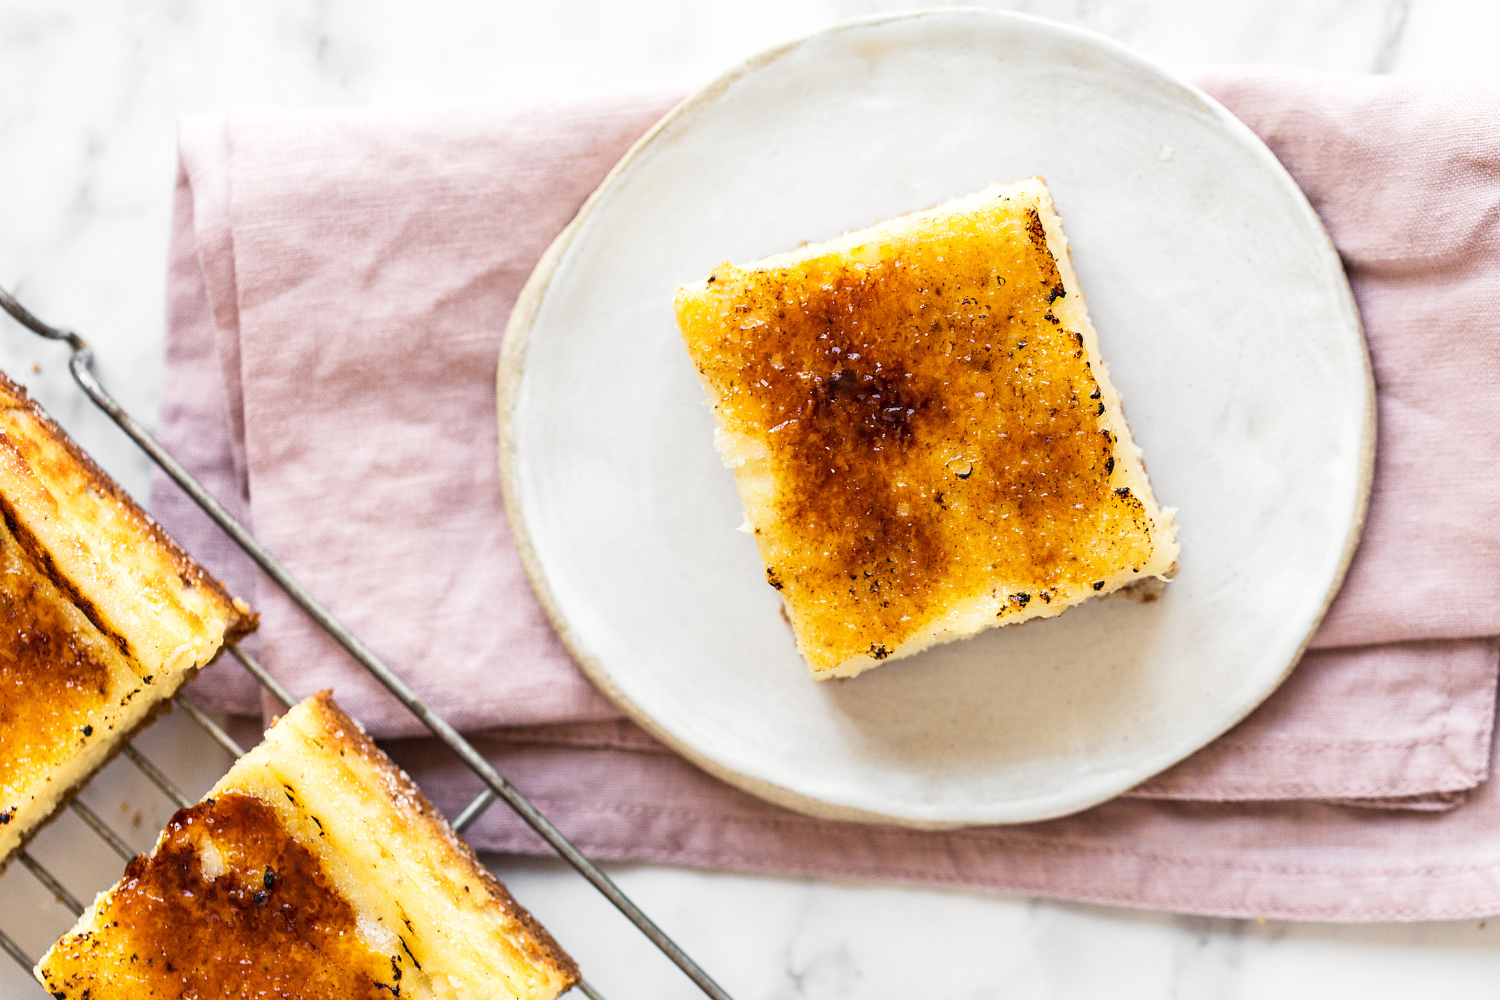
Using the foil overhang, transfer the cheesecake to a heat-safe work surface and cut into squares.
-
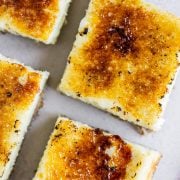
Sprinkle the tops of each square with sugar and torch the tops with a kitchen torch until it turns a deep amber color. Alternatively, use a broiler to brown the sugar (just don’t walk away – it goes from bruleed to black fast!). Refrigerate until ready to serve.
If you don't have vanilla bean paste, use 2 teaspoons vanilla extract.
Store the untopped (non-brûléed) cheesecake bars in an airtight container in the fridge for up to 3 days. The sugar topping should be added and torched soon before serving, so it stays crunchy.
Photos by Ashley McLaughlin.


These are amazing and so decadent. Everyone loved them.
These turned out perfect! Vanilla bean paste really elevated the flavor (and I love the look of the seeds!). Super clear instructions and easy recipe to follow.
So happy to hear that, Nicole! 🙂
if I want to add a fruit compote to it, will it be affected? What would I have to change?
Hi there! We haven’t tried that, so I can’t say for sure! Let us know how it goes if you give that a try!
Absolutely DELICIOUS!!!! So light, caramel-y, buttery yumminess.
Is the sugar on top and torching it what classifies it crème brûlée
That’s correct, Pat – along with a lot of delicious vanilla flavor! More info on that in the pink tip box, above the recipe! Let us know if you give this recipe a try 🙂