This post may contain affiliate links. Read our disclosure policy.
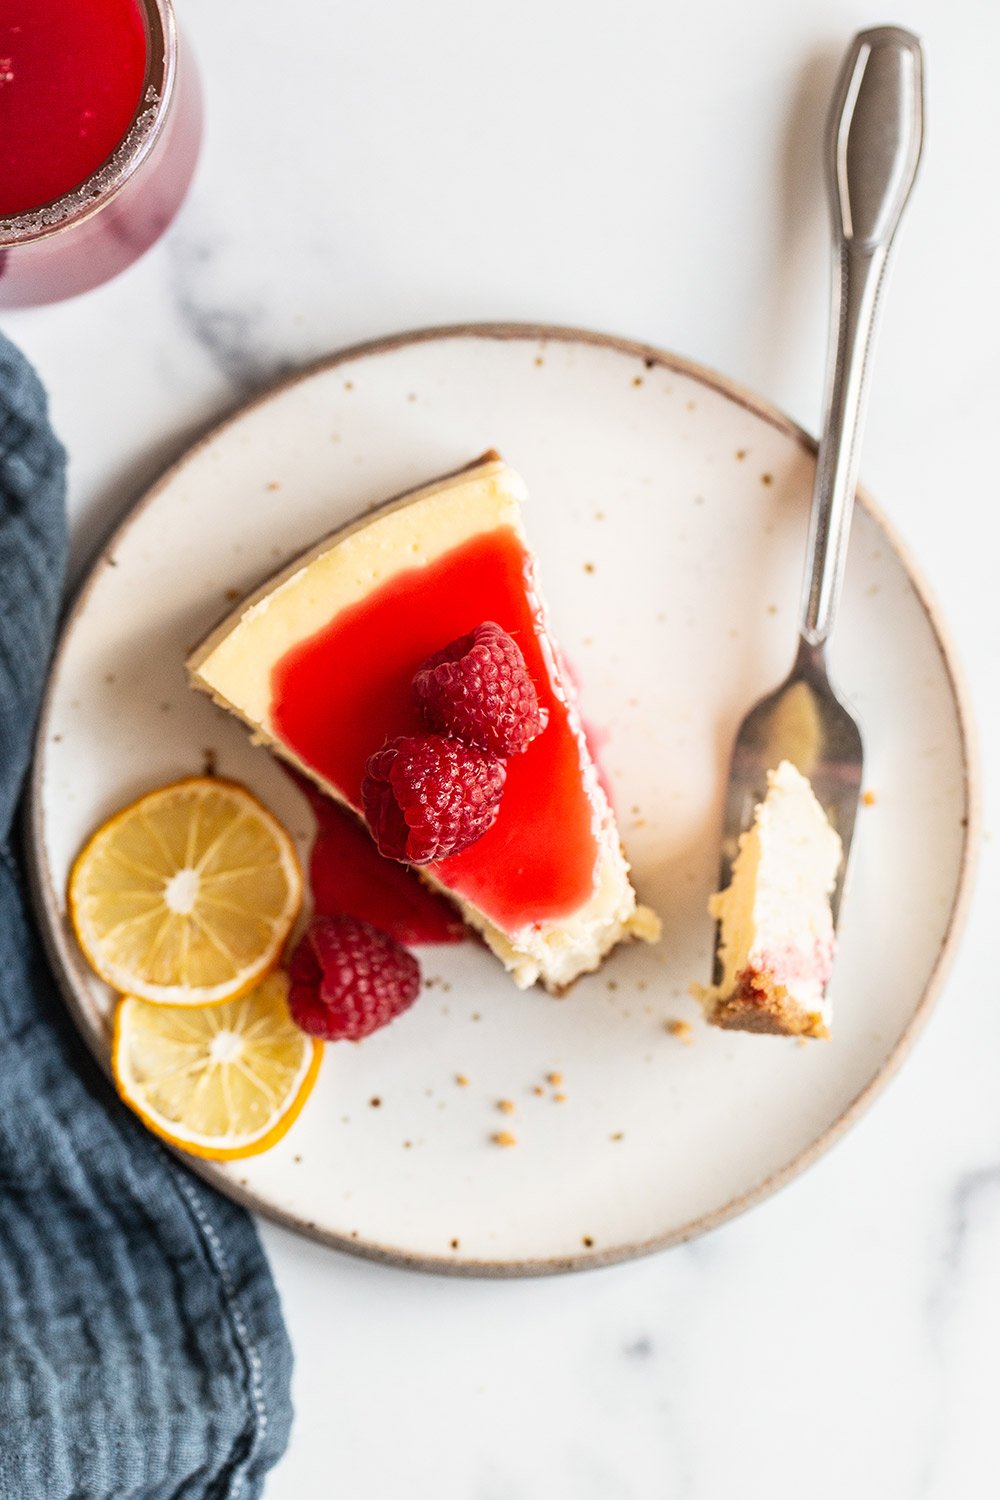
I am so excited to share the best cheesecake recipe EVER with you! Some of my all-time most popular blog posts in 10+ years of blogging involve cheesecake recipes.
I can see why. Cheesecake is that perfect combination of sweet and tangy flavors and smooth yet rich textures. Cheesecakes themselves can come in all shapes and sizes, and an endless combination of flavors.
And while it’s fun to get creative with cheesecake recipes, I think the most basic and classic cheesecake recipe is often the most intimidating. It’s that simplicity that leaves little room for error!
For that very reason, I’ve spent the last weeks meticulously testing this cheesecake recipe, and putting together the best tips to make sure you can recreate this cheesecake recipe, in all its perfection, right in your own kitchen!
How to Make the BEST Cheesecake Recipe
What is the Best Cream Cheese for Cheesecake?
- Be sure to buy the right kind: full-fat cream cheese bricks for baking (not for spreading on bagels) must be used in this recipe.
- I recommend using a high-quality brand whenever possible. Some generic brands are watery and rubbery.
- The MOST IMPORTANT thing is to ensure your cream cheese is completely and totally softened to room temperature. If it’s too cold, you’ll end up with a lumpy cheesecake batter.
What if I Don’t Have Graham Crackers?
I’ve included both the volume measurement of the graham crackers along with the weight measurement, so you can swap in any other crushed cracker, cookie, or biscuit. Some other cheesecake crust ideas:
- Vanilla wafers
- Digestive biscuits
- Speculoos / Biscoff cookies
- Amaretti cookies
Why is There Lemon in This Cheesecake?
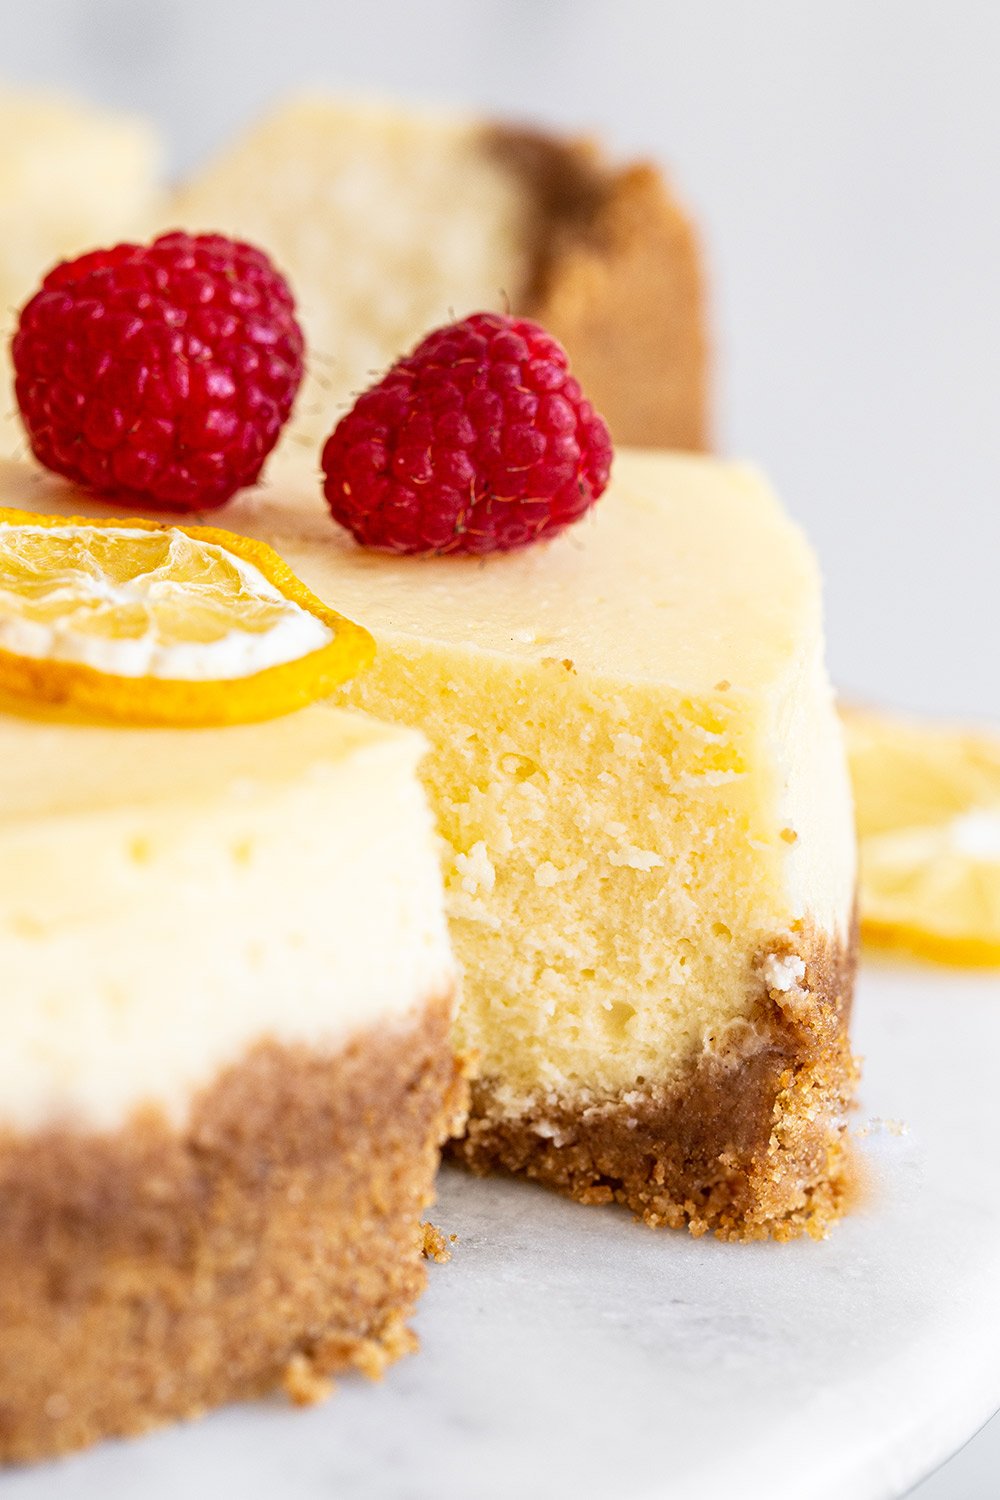
There’s just enough lemon zest and juice to brighten this very rich cheesecake and enhance the tangy flavor. Don’t worry, it doesn’t taste like lemon cheesecake.
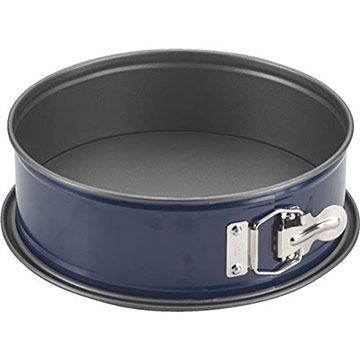
What’s the Best Pan to Bake Cheesecake in?
- This recipe requires a 10-cup, 9-inch diameter springform pan like this one.
- Not all springform pans are made equally. You want one that’s heavy-duty and sturdy. Avoid dishwashers. Hand washing will extend the life of a springform pan.
- Just because your pan is 9-inches in diameter doesn’t necessarily mean it has a 10-cup batter volume capacity. Every brand may vary slightly. Luckily for this recipe, the batter can stand as close to a 1/4-inch from the top of the pan since it won’t rise much in the oven thanks to the water bath.
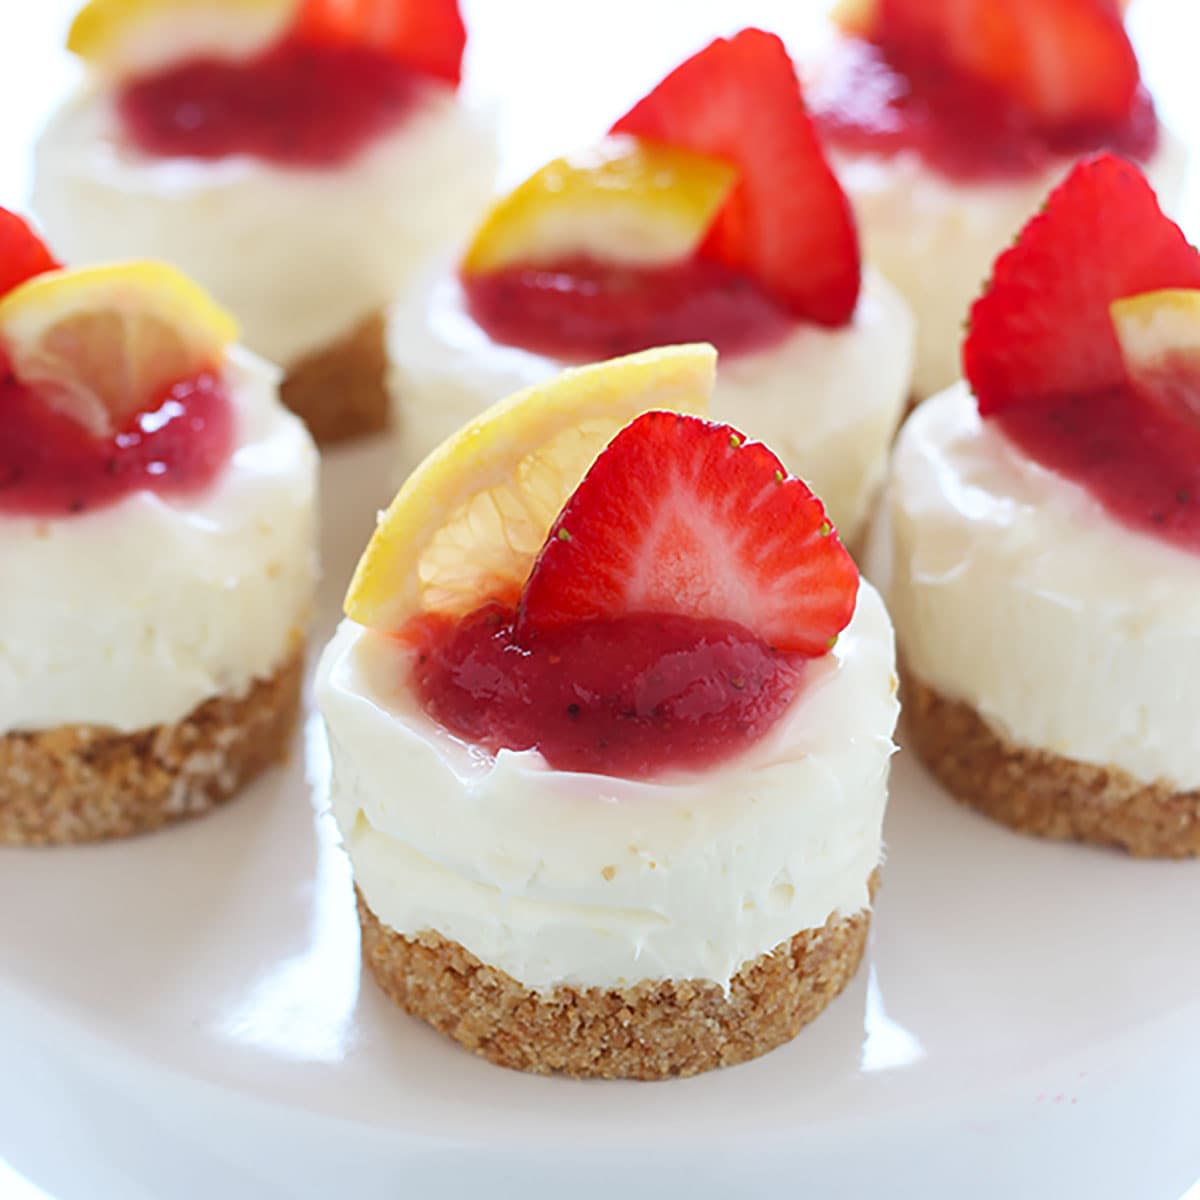
Can This Recipe be Made Into Mini Cheesecakes?
- To turn this recipe into mini cheesecakes, bake in 2 standard-sized muffin tins lined with paper or foil liners.
- Divide crust mixture evenly among cavities and bake at 325°F for 5 minutes. Set aside to cool.
- Fill with cheesecake batter and bake for 17 to 20 minutes. No water bath needed.
- Allow to cool completely, then chill in the refrigerator overnight.
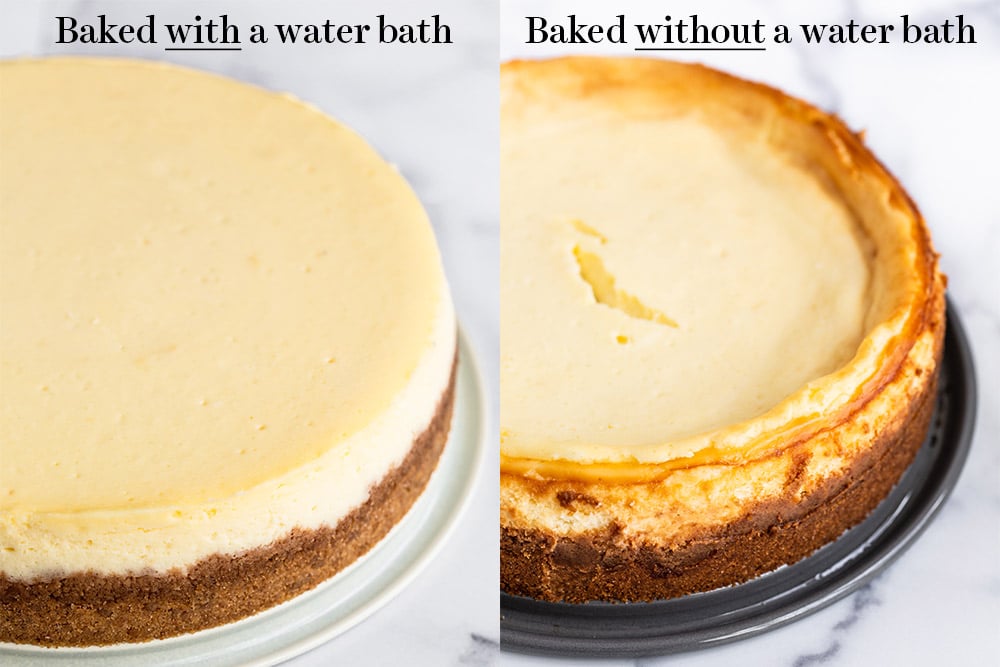
How to Prevent Cheesecake Cracks
When you follow this recipe as written, there won’t be a single crack in sight! That’s no easy feat if you’ve baked your share of cheesecakes. The trick, of course, is gentle even baking, and no abrupt temperature changes. We accomplish this by doing three things:
- Bake the cheesecake in a water bath
- Turn off the oven and allow the cheesecake to cool completely in the oven
- Run a flexible knife around the edge of the cheesecake pan after as it cools so it can release to prevent cracks.
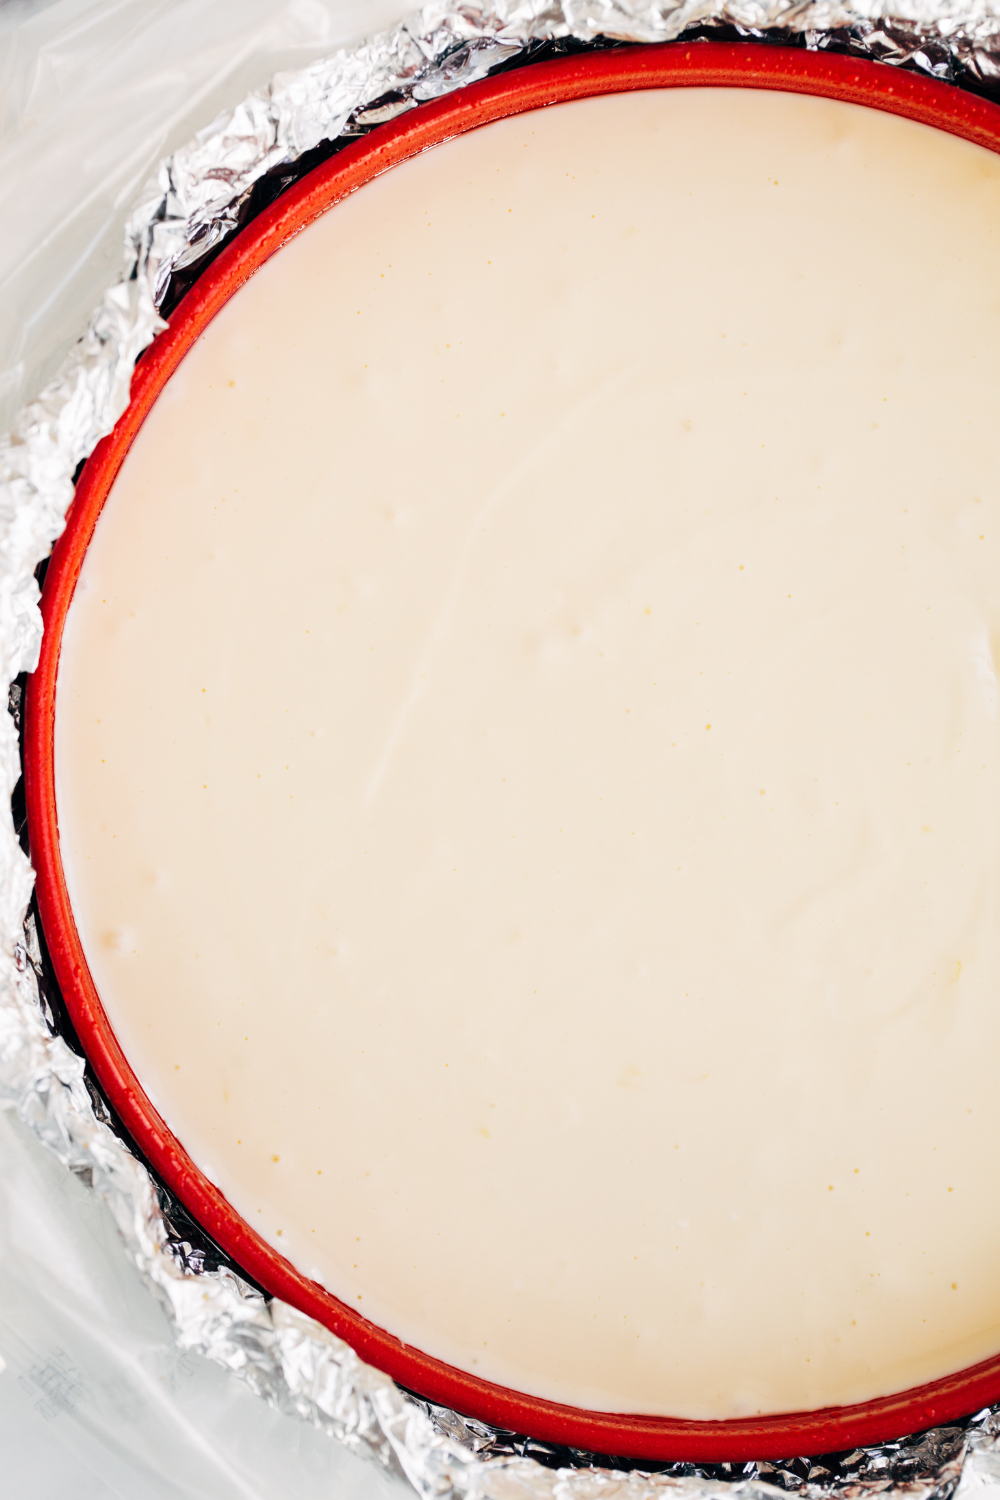
How to Prepare a Water Bath for Cheesecakes
Check out this article here on how to prepare a perfect water bath for cheesecake. The two keys? Heavy-duty aluminum foil and heat-safe oven bags!
How to Tell if Cheesecake is Done Baking
- Let me say this as clearly as possible: don’t overbake your cheesecake!!
- The residual heat of the oven will continue to cook the cheesecake even after the heat has been turned off.
- That means you want your cheesecake to look dry at the edges but slightly wobbly or jiggly like Jello in the center when the baking time has ended.
- The internal temperature should be 150°F.
How to Chill & Serve Cheesecake
The cheesecake will ONLY finish setting up after it has cooled completely, then been chilled in the fridge for at least 5 hours but preferably overnight. Only then should you remove the cheesecake from the springform pan and slice it.
How Long Does Cheesecake Last?
It’ll last for 3 days in the fridge. Any longer and the crust will become mushy.
Can You Freeze Cheesecake?
Yes! Cheesecake freezes very well. Here’s how to best freeze a cheesecake:
- You can place a whole cheesecake or individual slices on a baking sheet inside the freezer until firm.
- Wrap the cheesecake or each individual slice in plastic wrap and place in a freezer bag.
- Freeze for up to 2 months.
- To serve, defrost a whole cheesecake in the fridge overnight.
- You can also defrost individual slices in the fridge overnight, or at room temperature for 30 minutes.
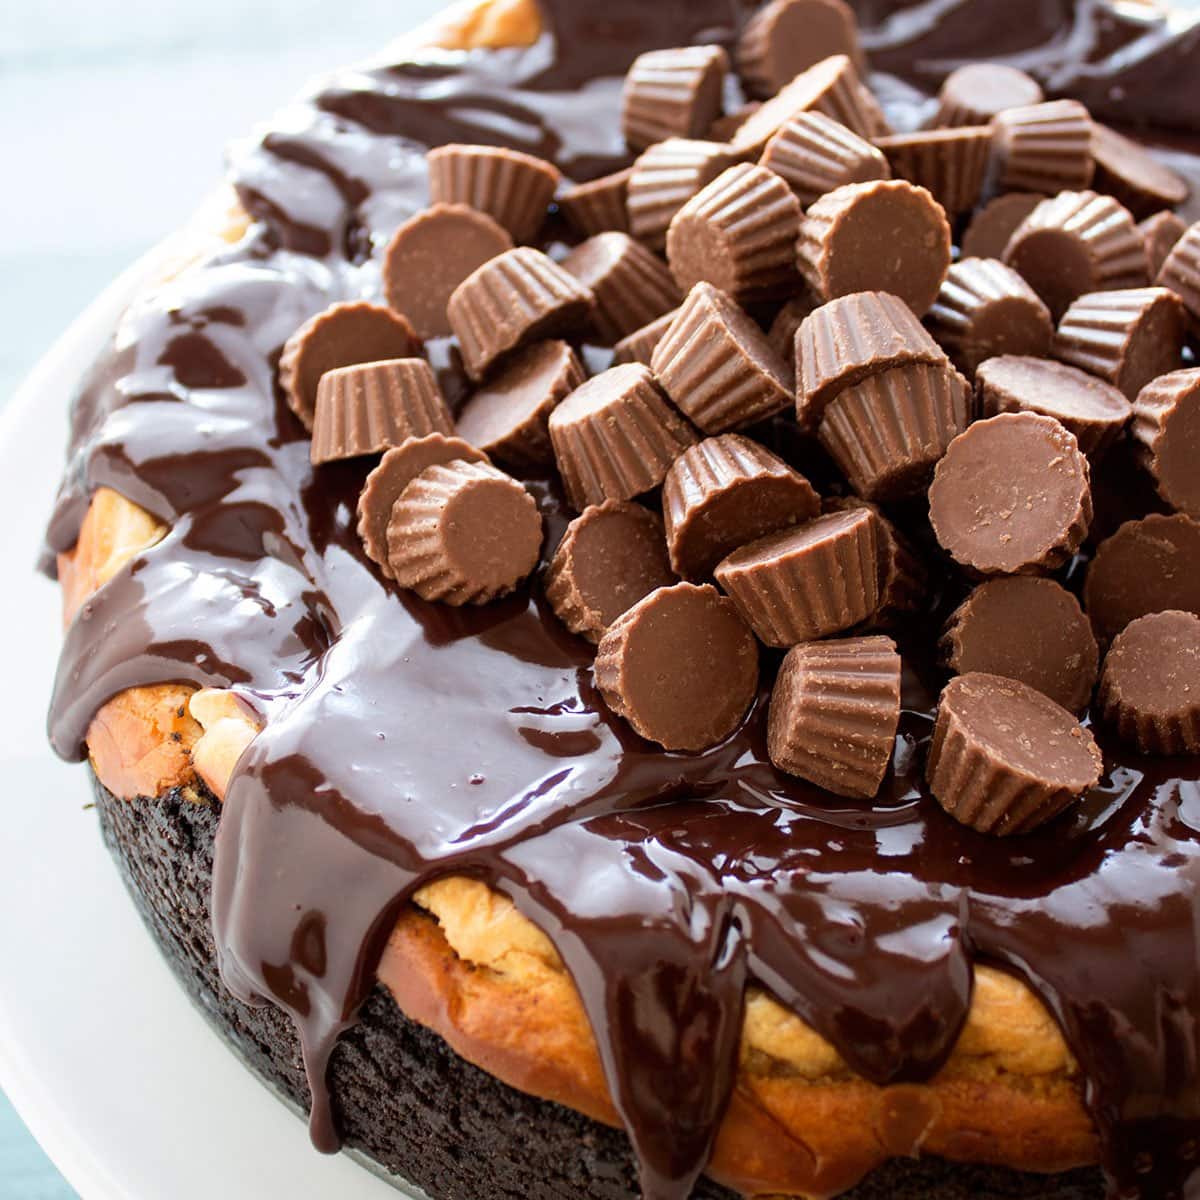
Cheesecake Topping Ideas:
More Easy Cheesecake Recipes:
For the crust:
-
1 3/4
cups
(230 grams) graham crackers crumbs
(about 15 whole graham crackers)
-
2
tablespoons
granulated sugar
-
6
tablespoons
(85 grams) unsalted butter,
melted
For the filling:
-
32
ounces
(907 grams) cream cheese,
completely softened to room temperature
-
1 1/4
cups
(250 grams) granulated sugar
-
2/3
cup
(173 grams) sour cream or plain full fat yogurt,
at room temperature
-
1
lemon,
zested
-
1
teaspoon
fresh lemon juice
-
4
large eggs,
at room temperature
For the topping:
-
12
ounces
(340 grams) fresh raspberries
-
2
tablespoons
granulated sugar
-
1
teaspoon
lemon juice
For baking the cheesecake:
-
Boiling water,
for the water bath
-
Preheat the oven to 325°F.
-
Prepare a 9-inch springform pan for a water bath. Place a large square of heavy-duty aluminum foil underneath the pan. Gently fold the edges up and around the pan. Repeat twice so there are three sheets of foil, to ensure a waterproof seal. Gently fold the top of the foil around the edge of the pan. Spray with nonstick cooking spray.
Make the crust:
-
In a medium bowl, combine the graham cracker crumbs, sugar, and butter until the mixture is moistened. Press firmly into the bottom and halfway up the sides of the prepared pan. Place gently on oven rack and bake for 10 minutes. Place gently on a wire rack to cool. Maintain oven temperature.
Make the filling:
-
In a large bowl, use an electric mixer to beat the cream cheese on medium speed until completely smooth and free of lumps, scraping down the sides and bottom of the bowl as needed. Add the sugar and beat until combined. Add in the sour cream, lemon zest, and juice and beat until combined, continuing to scrape down the bowl. Add the eggs, one at a time, and beat until just combined. Be careful not to overmix.
-
Pour the batter into the foiled-wrapped springform pan. Tap the pan against the counter a few times to release any air bubbles in the batter. The cheesecake won’t rise much while baking in the water bath, so it’s okay if the batter fills up most of the springform pan.
-
Place the springform pan in a larger roasting pan or deep sauté pan. Place on oven rack then carefully pour boiling water into the roasting pan until the water is about halfway up the sides of the cheesecake pan. Bake at 325°F for about 1 hour and 15 minutes or until the top looks slightly dry, especially at the edges. If the middle is slightly wobbly like jello, that’s fine. The internal temperature should read 150°F with an instant-read thermometer inserted into the center. Err on the side of underbaking rather than overbaking.
-
Turn off the oven heat and open the oven door open just by 1-inch. I use a wooden spoon to keep it open. Let the cheesecake cool inside the oven for 30 minutes to 1 hour. This will prevent cracks from forming.
-
Remove the cheesecake from the oven and from the water bath, unwrap the foil, and transfer it to a cooling rack. Run a thin-bladed flexible knife around the edge of the cheesecake, to make sure it's not sticking to the sides (which can cause cracks as it cools). Let the cheesecake cool completely to room temperature on the rack.
-
Once completely cooled, refrigerate in the springform pan until completely chilled, at least 5 hours or up to 3 days. Store the cheesecake uncovered to avoid creating condensation, which will create a mushy texture.
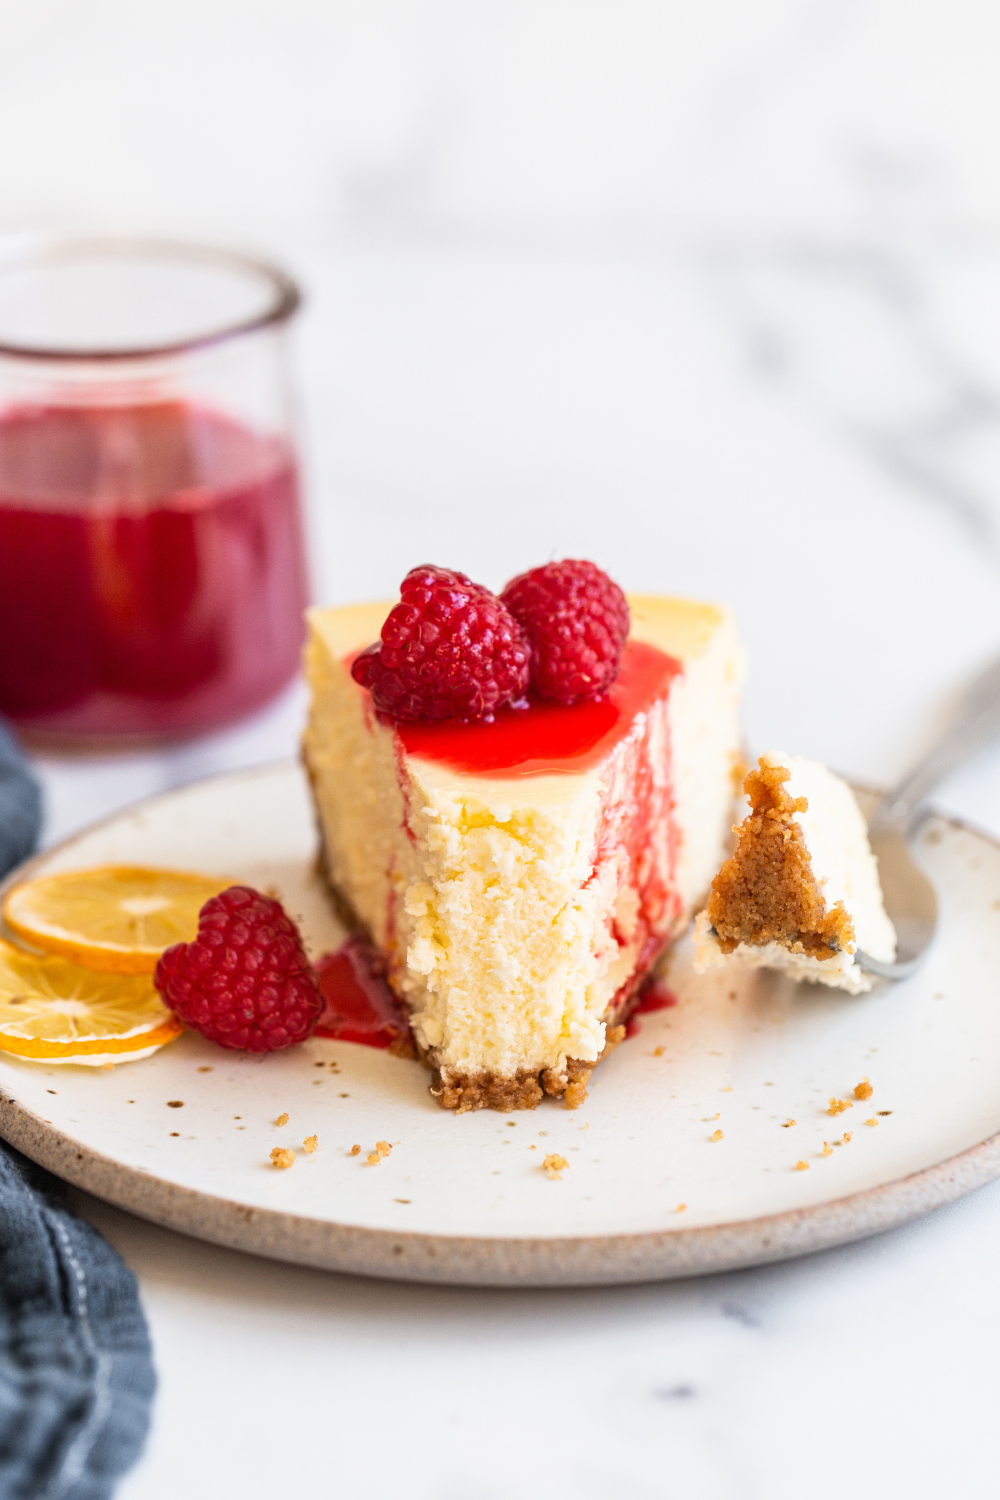
Make the topping:
-
In a small saucepan over medium heat, combine the topping ingredients. Heat, stirring and breaking up the raspberries often, until the raspberries release their juices and begin to form a syrupy sauce, about 5 to 10 minutes. Remove from heat. Using a spatula, press the sauce through a fine mesh strainer into a small bowl to remove the seeds. Let cool completely. Cover with plastic wrap and refrigerate for 1 hour before using. The sauce will be on the thin side.
-
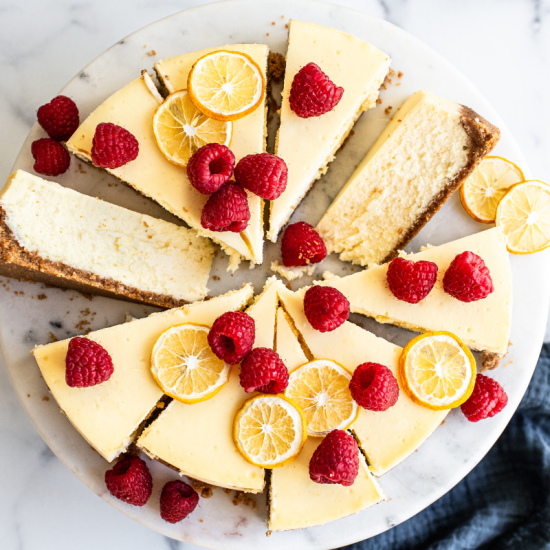
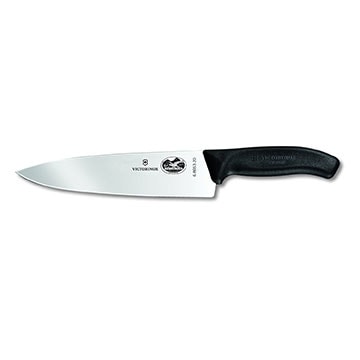
Release the cheesecake from the pan onto a cake stand or serving plate and top with any desired toppings. Slice using a big sharp knife, running under running hot water and wiping it off in between cuts, for clean slices. Serve.
- This recipe is best made as written without substitutions.
- Be sure your cream cheese, sour cream, and eggs are at room temperature COMPLETELY.
- Don’t skip the water bath either!
- Place springform pan in an oven-safe roasting bag, if desired, for additional water bath leakage prevention.
This recipe was originally published in 2016 and updated in 2023 with recipe improvements, more recipe tips, and new photos. Photos by Ashley McLaughlin.
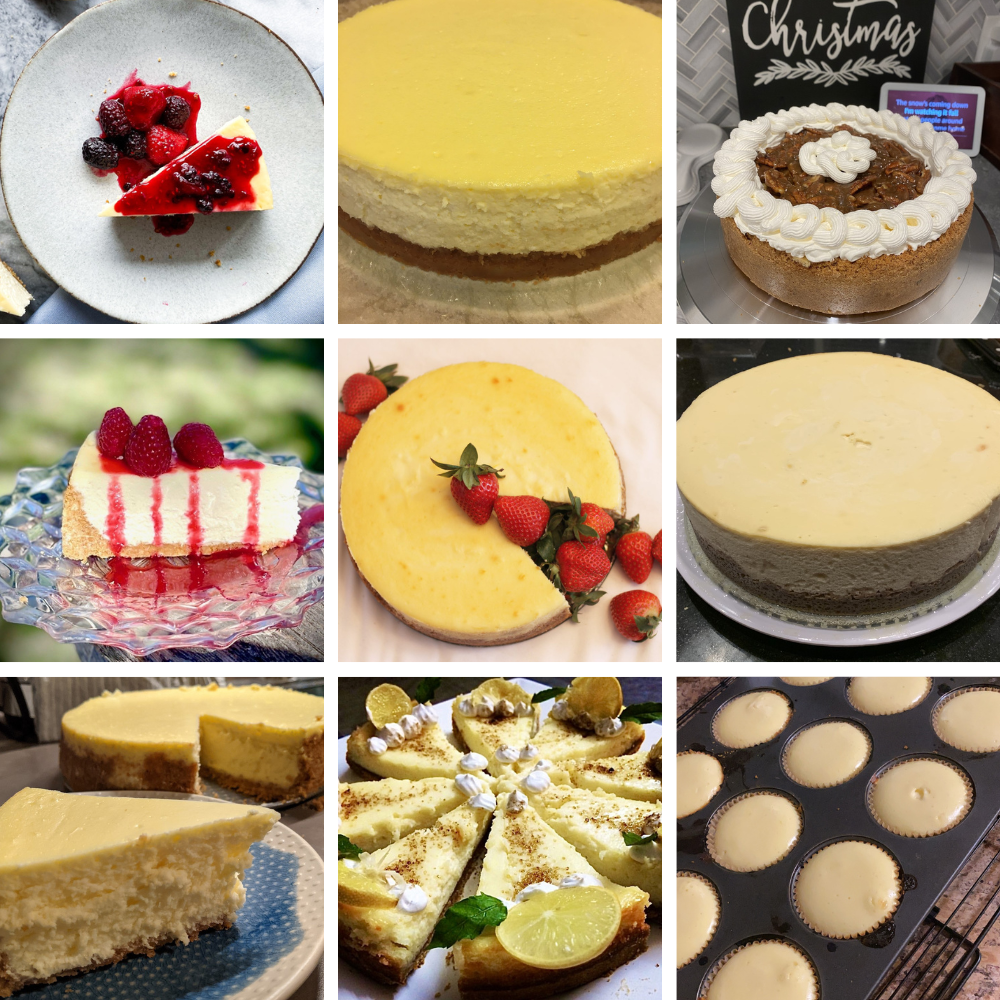
January Baking Challenge
This recipe was the January 2021 pick for our monthly baking challenge! Every month you can join the challenge by baking the recipe and snapping a photo for a chance to win prizes! Learn more about my monthly baking challenges here. Check out everyone’s cheesecakes:


Thanks for this classic cheesecake recipe. you really make me your fan.
How do you prevent the top of the cheesecake from browning?
Hi Lindsey! If you follow Tessa’s instructions here and use a water bath, your cheesecake should not brown on top, thanks to the super slow baking it will experience in the water bath. If you find that this is happening, it could be that your oven’s heat is coming from the top and it’s getting overbrowned because it’s too close. Try moving your oven rack down a little (typically the middle position is perfect) to give it a little more space and encourage the heat to circulate around the cheesecake, rather than concentrate it right on top. I hope that helps! Happy baking 🙂
I love this recipe! Cooling down right now. more to follow 🙂
thank you!!
I’ve made this cheesecake so many times and it always turns out so perfect!! My favorite is to do a double layer for the graham cracker crust… SO good!
I was just wondering, if I were to make mini like cupcake size cheesecakes, would a batch make enough for 12 mini cheesecakes?
Thank you!!
Hi Ashley! So glad you enjoy Tessa’s cheesecake recipe! There are instructions for mini cheesecakes baked in muffin/cupcake pans in the pink tip box, above the recipe 🙂 Let us know if you experiment with mini cheesecake pans, as we haven’t specifically tried this recipe in that style pan! Happy baking 🙂
This was delicious! The recipe is also pretty versatile. At my husband’s request, I subbed oreos for the graham cracker crust, added crumbled oreos to the filling, and made the topping with strawberries. It turned out great.
Made this last night. It is a creamy cheesecake. I subbed strawberries instead of raspberries in your sauce recipe just because it’s what I had in the fridge and it paired perfectly with it.
Thank you
I made this cheesecake recently, and I’m STILL thinking about it. It was that good! Whomever reads this and may still be feeling intimidated by making it, do not fret! Just take it slow, and do every single process. Have fun, enjoy the steps and it’ll turn out wonderful!
very good recipe. Have baked 3 times, followed directions wirh water bath..Cake didn;t crack.
Hi
Can you share link of heat safe oven bag that you use? How is it look like? Itsnot available in my country. I saw a bag for cook turkey in oven in amazon but people said itsnot use for baking.
I have tried heavy duty foil but it still leaked.
Thanks
Hi Goldie! Here is an example of oven-safe bags you can use to protect your cheesecake from the water bath as it bakes! I hope that helps. Happy baking 🙂
I made the cheesecake with water bath, and oven with convection. During the bake, many bubbles appeared on the top of the batter, and became brown. I stopped baking after 1 hour. Do you have any hint why the top turned to brown? Sugar? Overbaking? Thank you for your help.
Hi Sandra! Did you reduce the oven temperature when baking with your oven’s convection setting? Convection ovens typically need to be reduced by about 25°F when baking. The temp was possibly a little high, which is why your cheesecake browned. Alternatively, the oven rack may have been positioned too high in the oven, and too close to the heating element, causing the browning. Moving your oven rack to the center of your oven should help, if this was the cause. I hope this helps, Sandra! 🙂
First time making a cheesecake & it was a success! It was so delicious & tasted BETTER than Cheesecake Factory cheesecake. I ended up buying a silicone baking pan for $10 on Amazon to place my cake pan in for the water bath & it worked perfect. I suggest using the silicone baking pan over wasting foil paper & a baking bag, since they can easily rip & possibly destroy this delicious cheesecake! I can’t wait to make this cheesecake again!
So wonderful to hear that you loved this cheesecake so much, Dina – and such a great tip!!! 🙂