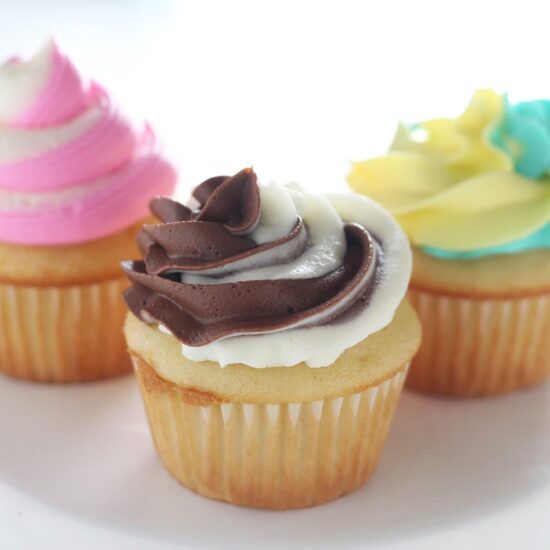
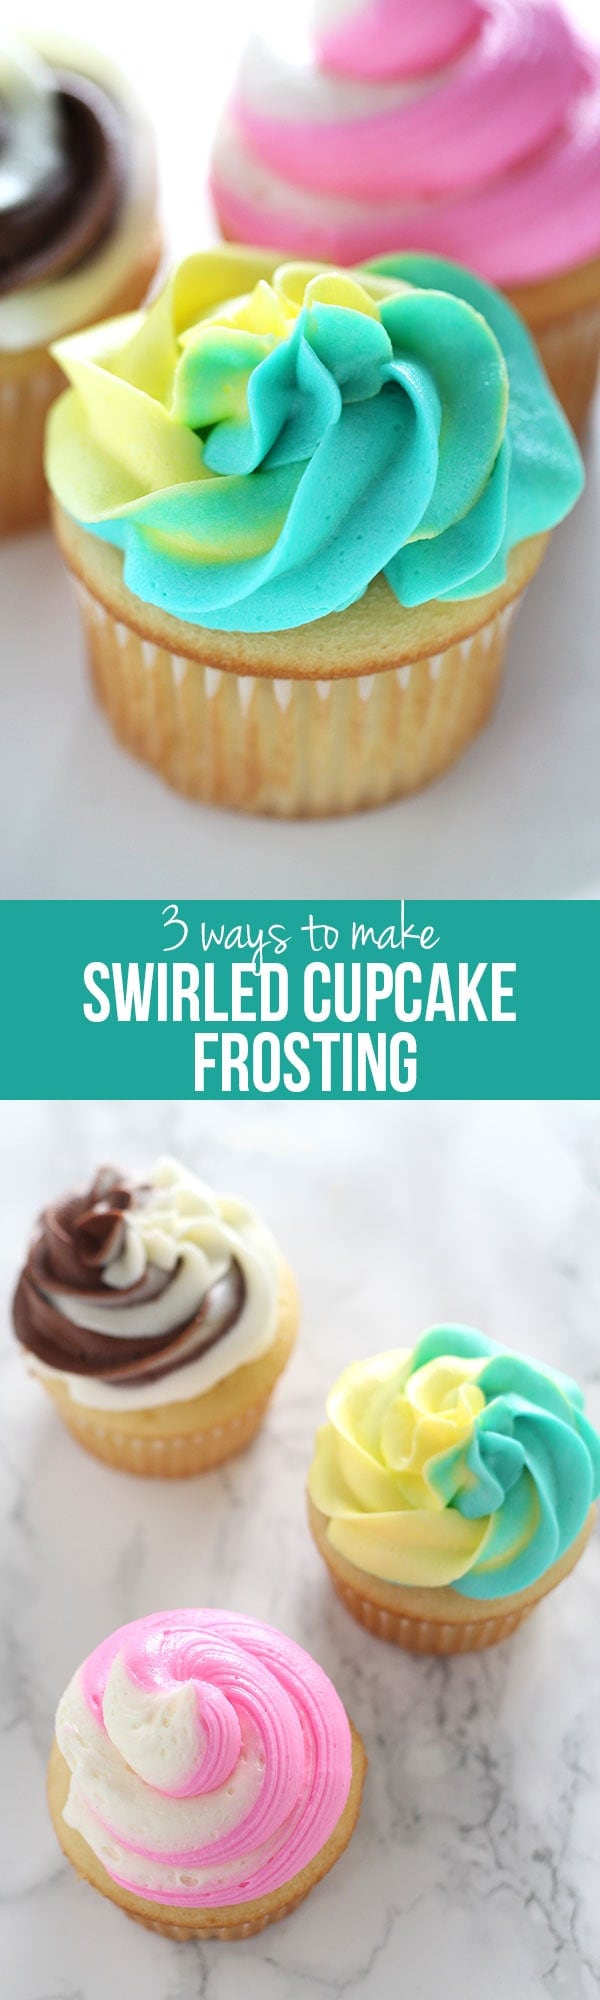
Learn my 3 ways to make swirled cupcake frosting with 2 or more colors. The second method doesn't even require a piping bag OR decorative piping tip. Keep scrolling for my full step-by-step video, product recommendations, and more!
There are so many cake and cupcake decorating techniques that seem really complicated, but are actually totally achievable. This is one of those surprisingly easy techniques to master and makes for super adorable and fun cupcakes.
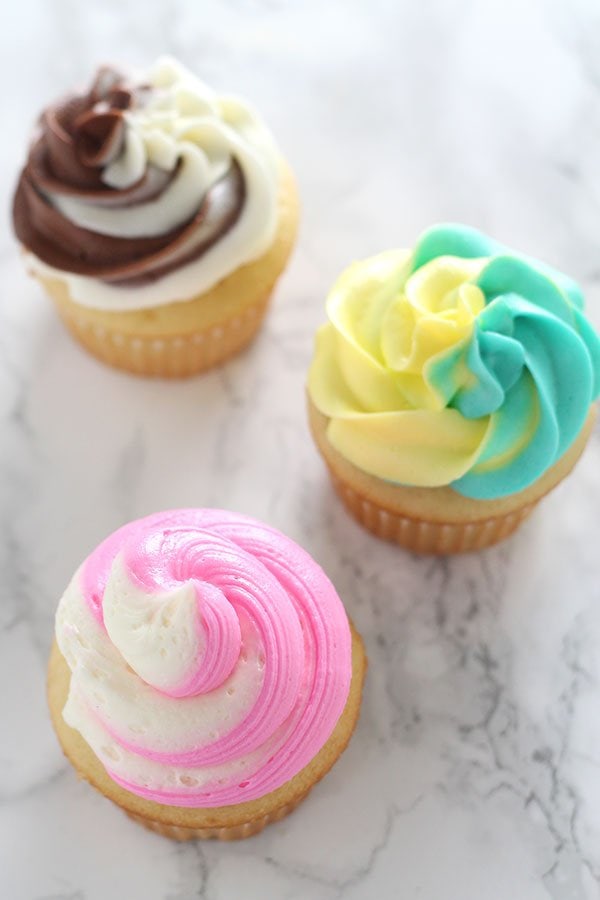
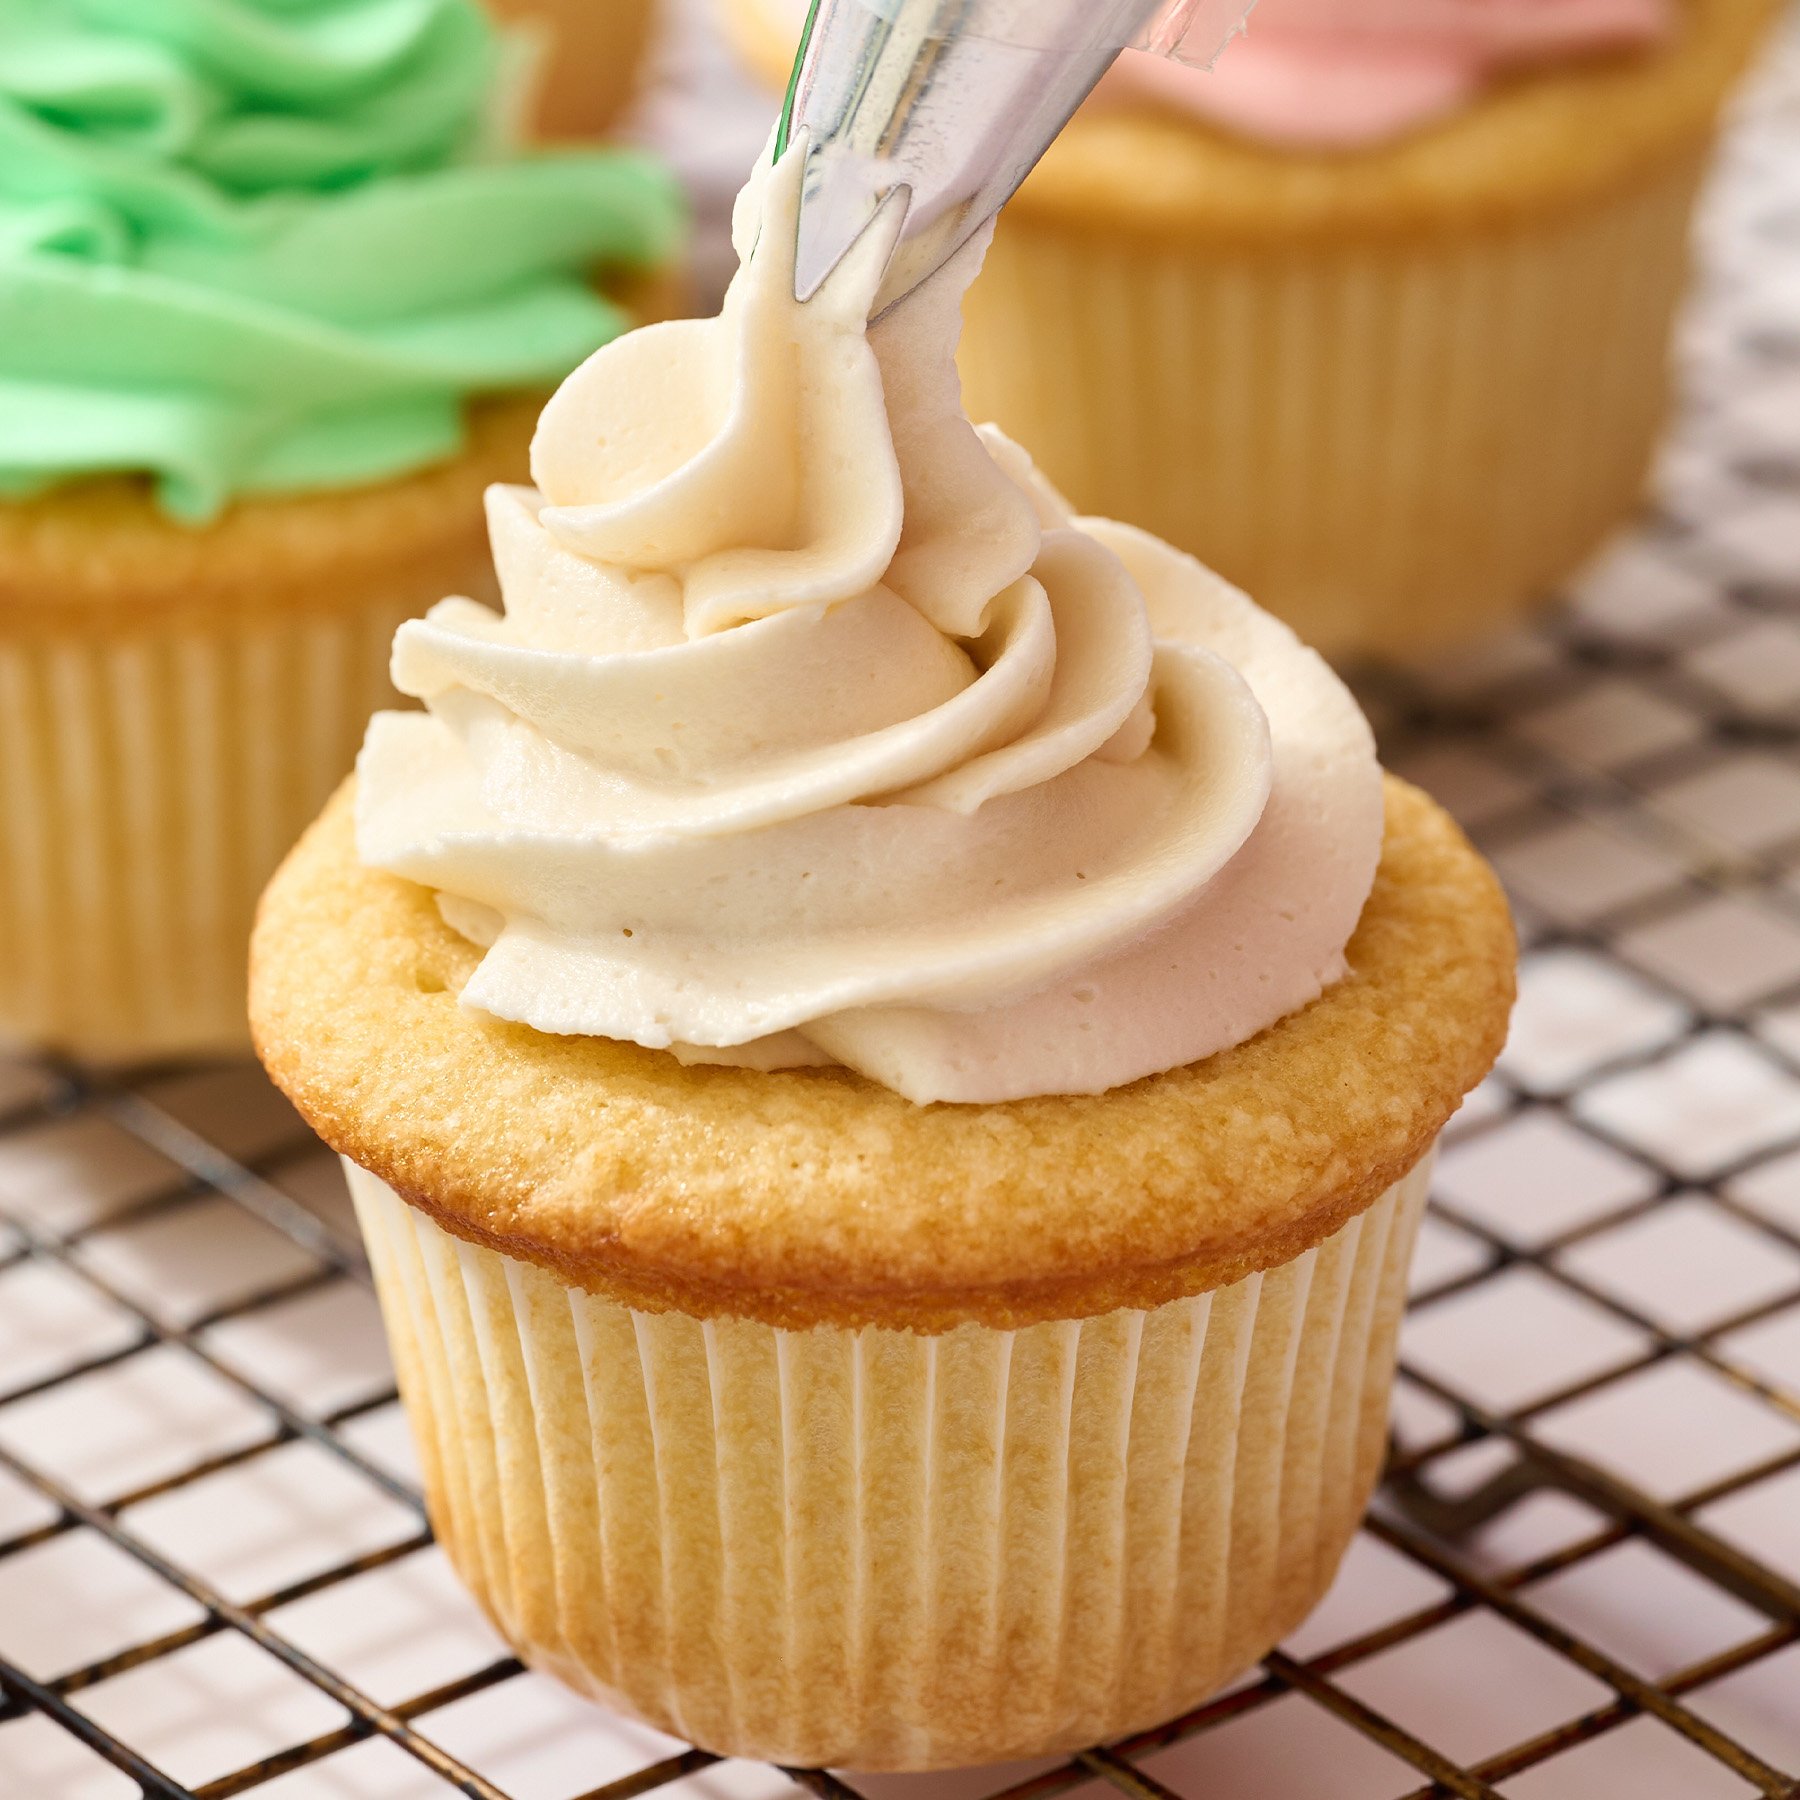
Watch the step-by-step video below on how to achieve beautiful two-toned cupcake frosting. You could of course use three colors instead of just two for an even bolder effect! Below the video I’ve included photo breakdowns of each method so you can see how it looks up close.
Then I’ve broken down the ingredients, tools, and directions at the bottom of the post in a printable recipe format so you can take it into the kitchen with you. The exact tools I use are also linked below. Enjoy!
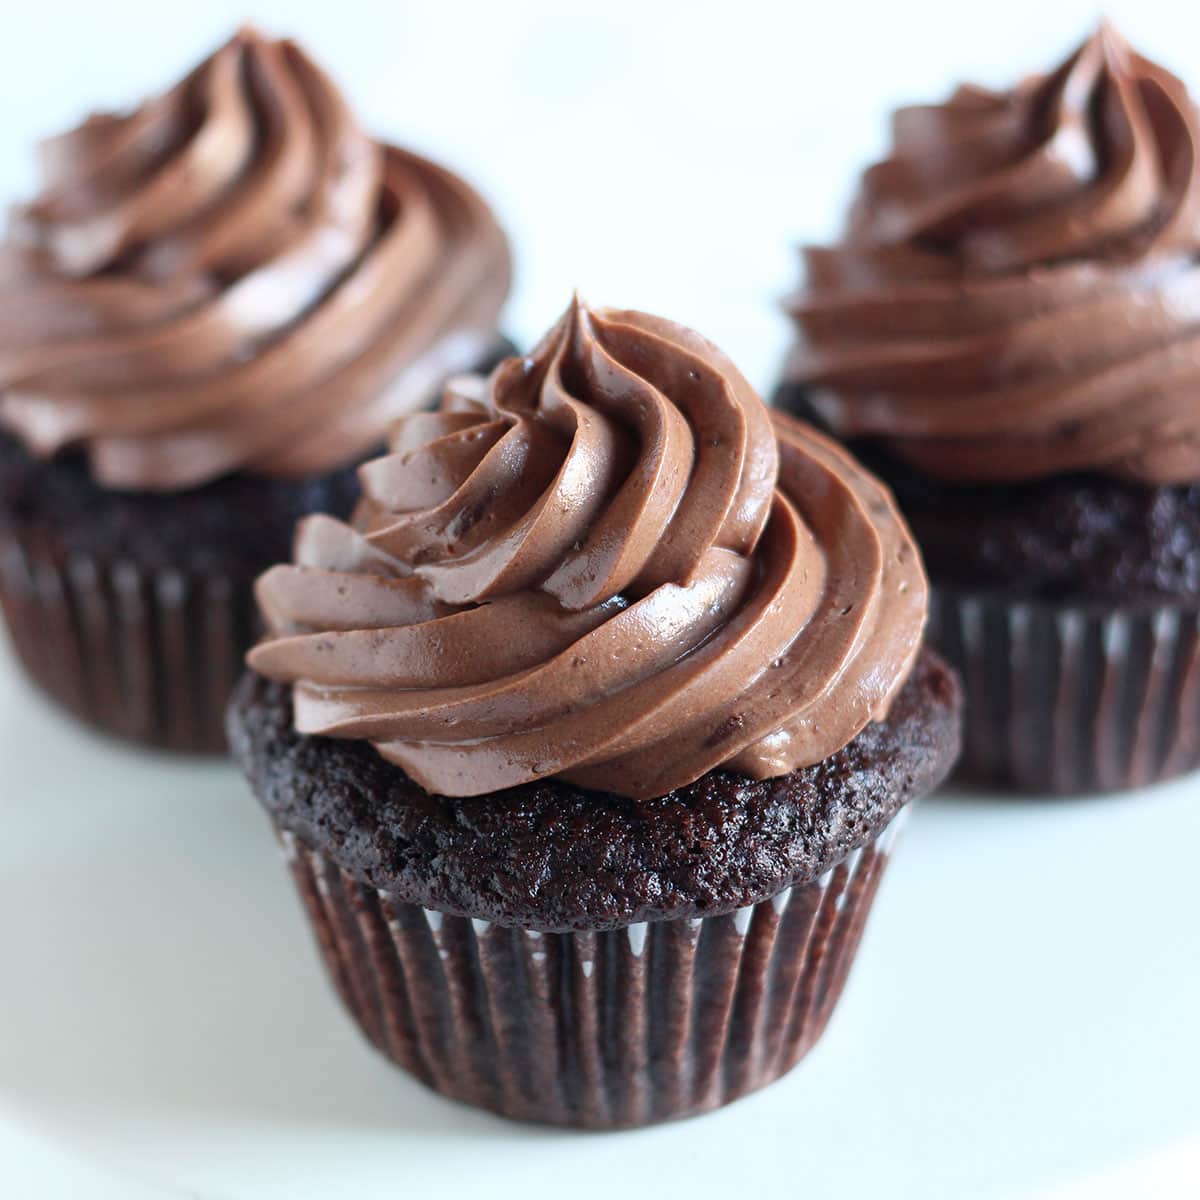
By the way, you don’t have to use food coloring here if you don’t want to. Get contrasting colors by using different buttercream flavors, such as chocolate or strawberry. Get my Best Buttercream Recipe here (that video has been viewed over a million times!!).
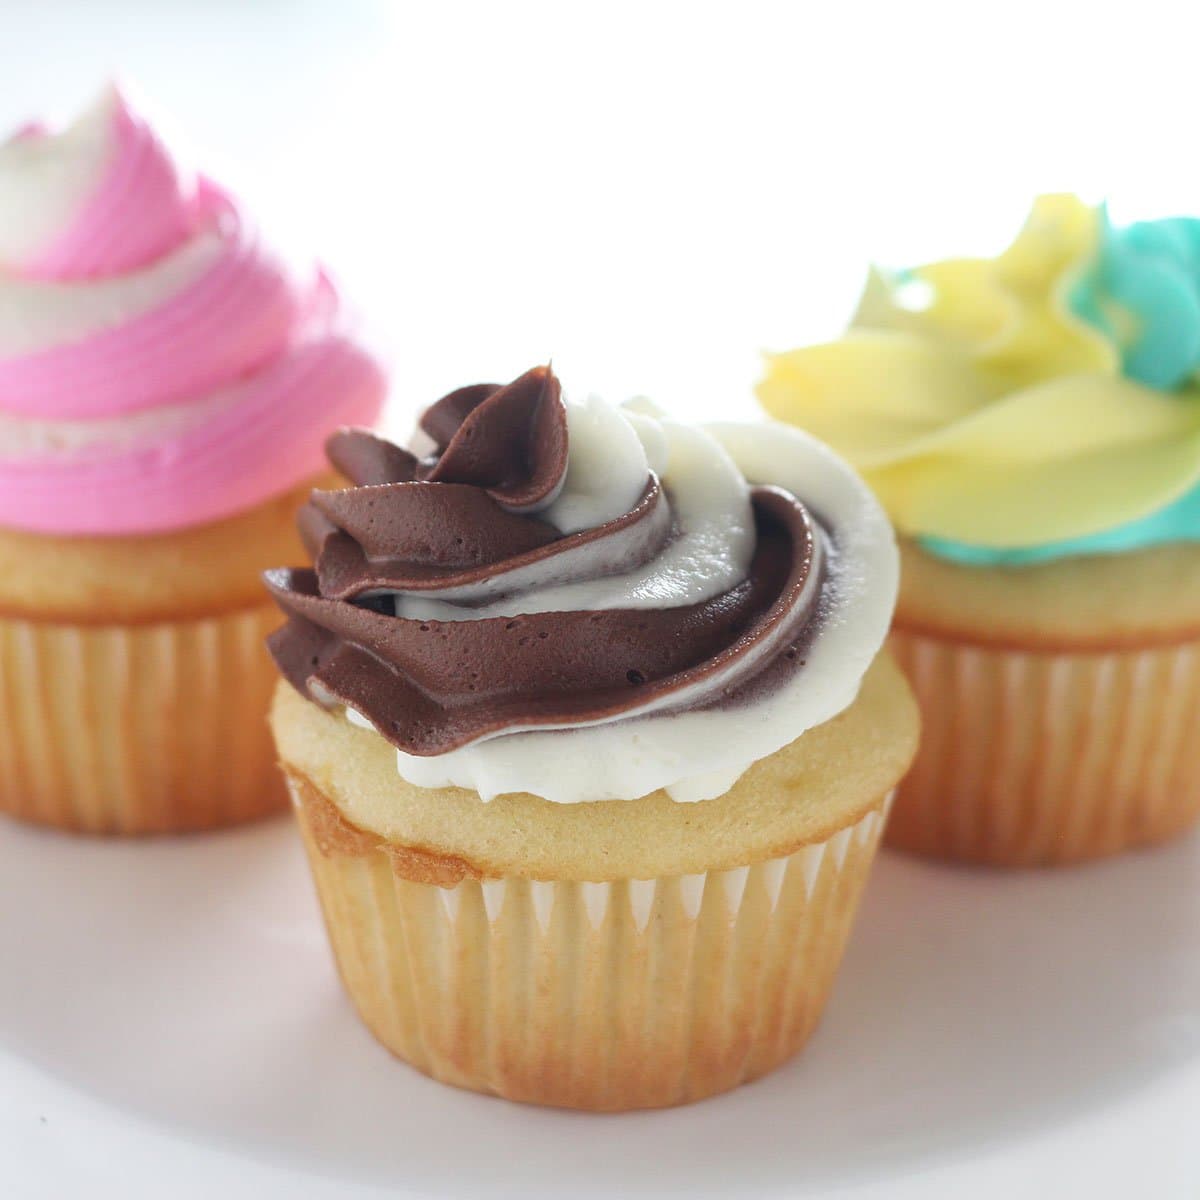
Method 1: Double Bag
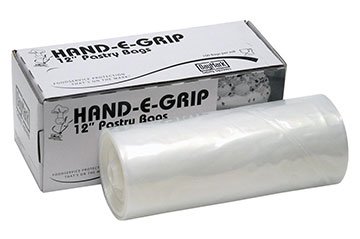
The standard method for getting two toned swirled cupcake frosting, we simply place two smaller piping bags into a larger one. I used two 12-inch disposable piping bags inside an 18-inch disposable piping bag, but you could use whatever you have that’s most similar in size.
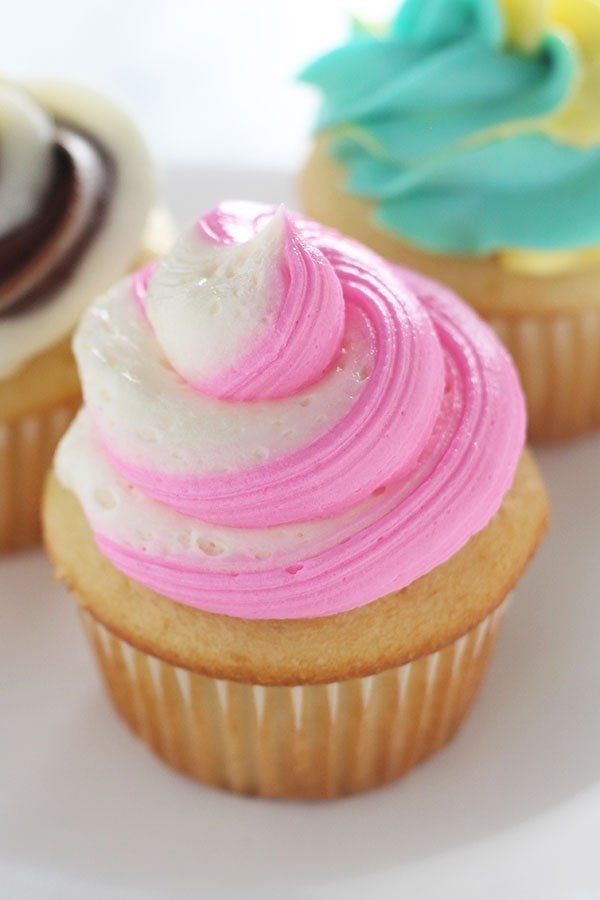
Method 2: Plastic Wrap
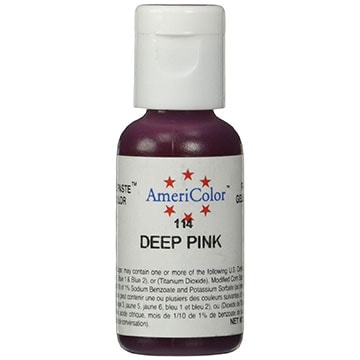
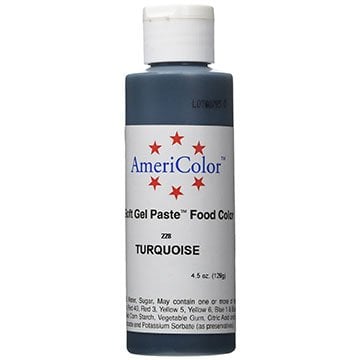
This is the perfect method for those of you who don’t have piping bags or decorative piping tips in your kitchen. All you need are things you probably already have: plastic wrap and a freezer bag! It seriously couldn’t be easier. I used Americolor gel food coloring in Deep Pink.
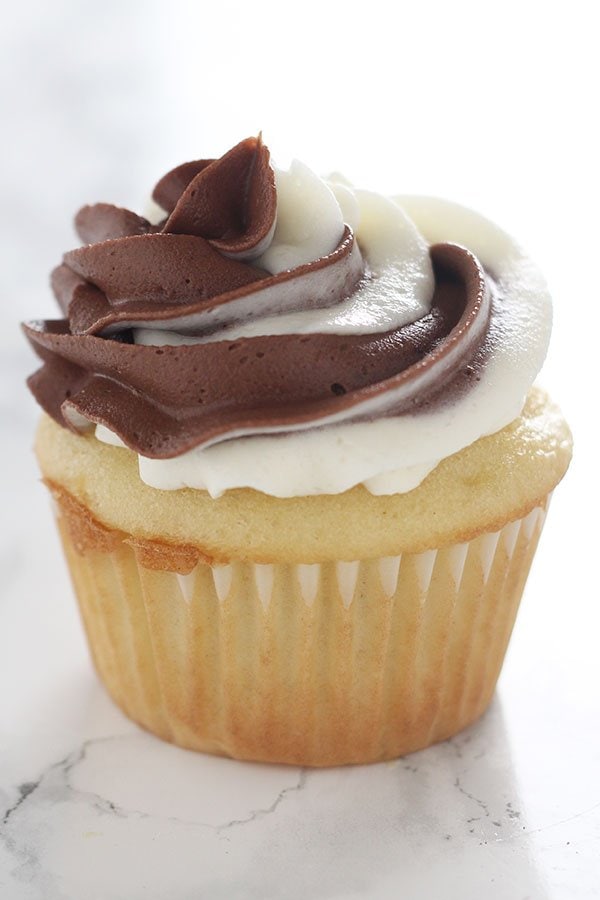
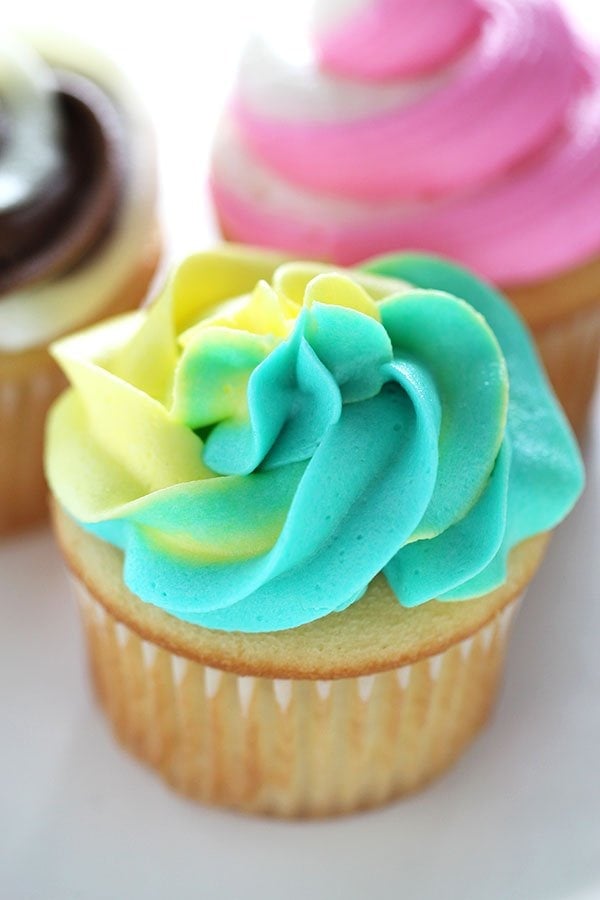
Method 3: Spatuala / Spoon Striping:
I love this method of carefully placing various colors into sections of your piping bag with a spatula or a spoon. The colors blur together slightly and create a really pretty ombre or watercolor effect. Plus you only need one piping bag!
Be sure to let me know what cupcake or cake decorating techniques you’d like to see next time!!
5 from 2 votes
How to make
3 Ways to Make Swirled Cupcake Frosting
Prep Time:15 minutesminutes
Total Time:15 minutesminutes
Learn my 3 ways to make swirled cupcake frosting with 2 or more colors. The second method doesn't even require a piping bag OR decorative piping tip. Keep scrolling for my full step-by-step video, product recommendations, and more!
Fill two small disposable piping bags with different colored or flavored frosting. Use scissors to snip holes in the bottoms of both bags. Insert both bags into a large (16”) disposable piping bag fitted with a decorative tip, making sure the two bags are aligned by squeezing and twisting the large bag. Squeeze out a test pip to ensure the colors are coming out evenly.
Plastic wrap technique
Lay a large piece of plastic wrap on a flat surface. Spoon one color or flavor of your buttercream frosting in a log down the center. Repeat with the second color or flavor, spooning it parallel alongside the first color.
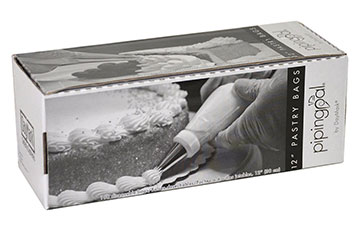
Fold the plastic wrap over to shape it into a two-toned log. Twist the excess plastic to seal the buttercream inside. Drop the plastic wrap log into a large pastry bag fitted with a decorative piping tip, using the excess plastic wrap to pull the log through the opening of the bag. Refrigerate for 10 minutes before frosting your cupcakes. Squeeze out a test pip to ensure the colors are coming out evenly.
Spatula Striping
In a large piping bag fitted with a decorative tip, use a spoon to scoop one color of frosting into one section of the bag, using your finger on the outside of the bag to help scrape it off. Repeat with your remaining color(s). Ensure you’re aligning the frosting so it starts at the same place in the bag. Squeeze the bag to slightly blur the colors together for a rainbow type effect. Twist the bag and frost your cupcakes. Squeeze out a test pip to ensure the colors are coming out evenly.
I share trusted baking recipes your friends will LOVE alongside insights into the science of sweets. I'm a professionally trained chef, cookbook author, and cookie queen. I love to write about all things sweet, carb-y, and homemade. I live in Phoenix, Arizona (hence the blog name!)
I share trusted baking recipes your friends will LOVE alongside insights into the science of sweets. I'm a professionally trained chef, cookbook author, and cookie queen. I love to write about all things sweet, carb-y, and homemade. I live in Phoenix, Arizona (hence the blog name!)
Hello! I loved this video!! I am confused about the written instructions on the plastic wrap method though. It says to drop the log into a large pastry bag fitted with a piping tip but there was no piping tip used in the video. Am I missing something? I am wanting to try the first and second methods both!
Just had to stop right in the middle of your video…you are so smart! I know nothing about baking,but I will definitely be learning from you! Thank-You soooo Much!! del
I love your tutorials. Thank you so much for sharing your knowledge with us! I have made several of your creations and shared them at work and they have been so well received. And your tutorials make me look like a pro and give my creations the WOW! factor.
Thanks for videos , it makes it hole easier for us and looks wonderfull. My husband have birthday next weekend and I am going to use your recipies. Wish me luck.
Tess I love all of your videos. They are terrific! You make everything so easy. I look forward to all your videos and recipes! Do you have books available ?
I’m very sick in bed so I decided to learn various decorating techniques of frosting & making roses. I am delighted to say, yours are the most perfect and descriptive of all videos I have watched this morning…and trust me! I had watched a great many! Kudos to you! I am living on Social Security Disability permanently. Your methods accommodate my smaller income. Thank you so very much for speaking so clearly and for giving so much good and helpful information. G-d bless you. If I could ever afford to subscribe and get one of your books I will indeed, do exactly that!
As a trained chef and cookbook author, I share trusted baking recipes your friends & family will love alongside insights into the science of sweets. I help take the luck out of baking so you *always* have delicious results! Learn more here.
Over 200 pages with 50+ cookie recipes that'll make
you a COOKIE PRO. Discover how to turn your biggest cookie flops into WINS by mastering the
sweet science of baking. Even learn how to customize your own recipes! Beautiful, hardcopy,
full color, photos of every recipe so you know EXACTLY how your cookies should look. Order
now to have the book delivered to your doorstep!
Do you want a more delicious life?
Instead of digging through cookbooks and magazines and searching the internet for amazing
recipes, subscribe to Handle the Heat to receive new recipe posts delivered straight to your
email inbox. You’ll get all the latest recipes, videos, kitchen tips and tricks AND my
*free* Cookie Customization Guide (because I am the Cookie Queen)!


hello i am still at school and we did a cupcake competition i thought about this idea and your was by far the best!!
thank you very much!!
Hello! I loved this video!! I am confused about the written instructions on the plastic wrap method though. It says to drop the log into a large pastry bag fitted with a piping tip but there was no piping tip used in the video. Am I missing something? I am wanting to try the first and second methods both!
Just had to stop right in the middle of your video…you are so smart! I know nothing about baking,but I will definitely be learning from you! Thank-You soooo Much!! del
I love your tutorials. Thank you so much for sharing your knowledge with us! I have made several of your creations and shared them at work and they have been so well received. And your tutorials make me look like a pro and give my creations the WOW! factor.
Thanks for videos , it makes it hole easier for us and looks wonderfull. My husband have birthday next weekend and I am going to use your recipies. Wish me luck.
Tess I love all of your videos. They are terrific! You make everything so easy. I look forward to all your videos and recipes! Do you have books available ?
I really like your 2 color frosting ideas, I am wondering if I could use the same technique for 3 colors?
Yep!
I didn’t know about using two different bags. That is awesome!
Awesome, Peggy! You learn something new every day 😉
Thanks for the tips – very useful. Plus they look delicious.
Glad you think so, Belinda! 🙂
This was an excellent video on two toned. Cupcake declarations. Thank you.
Thank you, Charlotte!
I’m very sick in bed so I decided to learn various decorating techniques of frosting & making roses. I am delighted to say, yours are the most perfect and descriptive of all videos I have watched this morning…and trust me! I had watched a great many! Kudos to you! I am living on Social Security Disability permanently. Your methods accommodate my smaller income. Thank you so very much for speaking so clearly and for giving so much good and helpful information. G-d bless you. If I could ever afford to subscribe and get one of your books I will indeed, do exactly that!
Thanks so much for your sweet comment, Rita! I really appreciate that 🙂