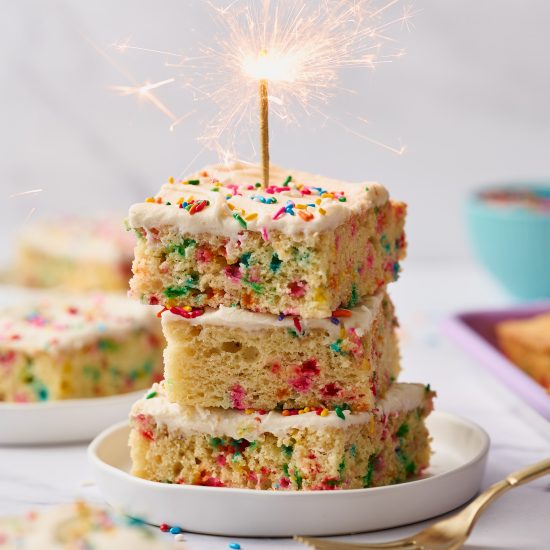
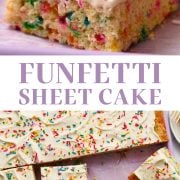
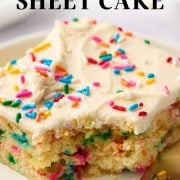
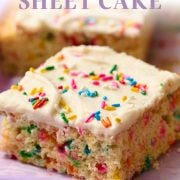
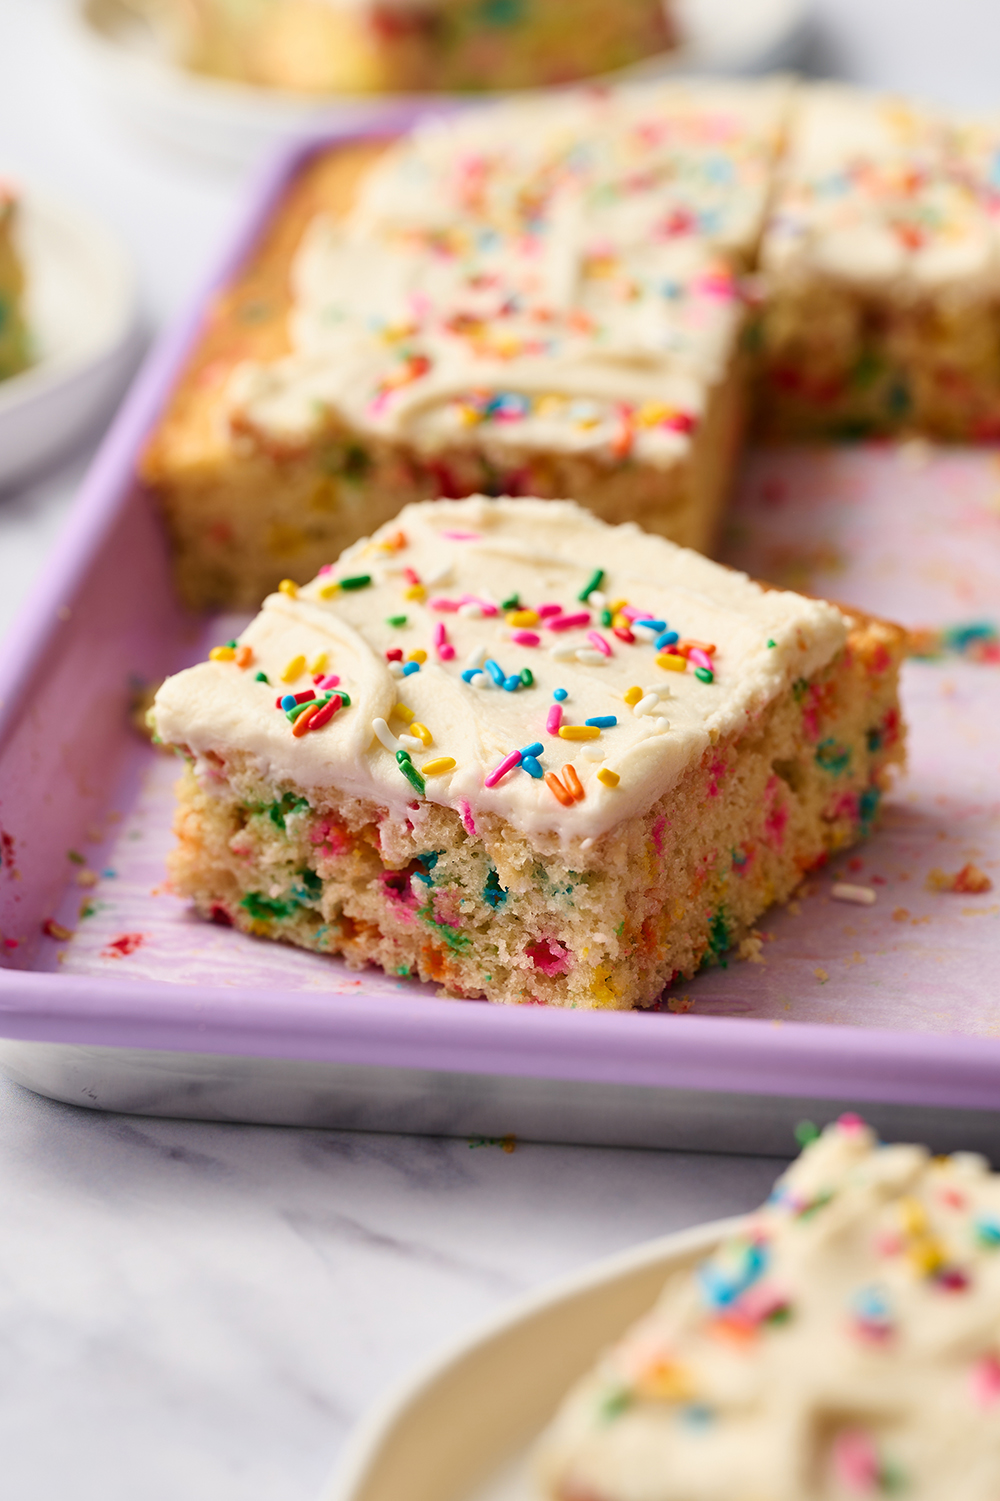
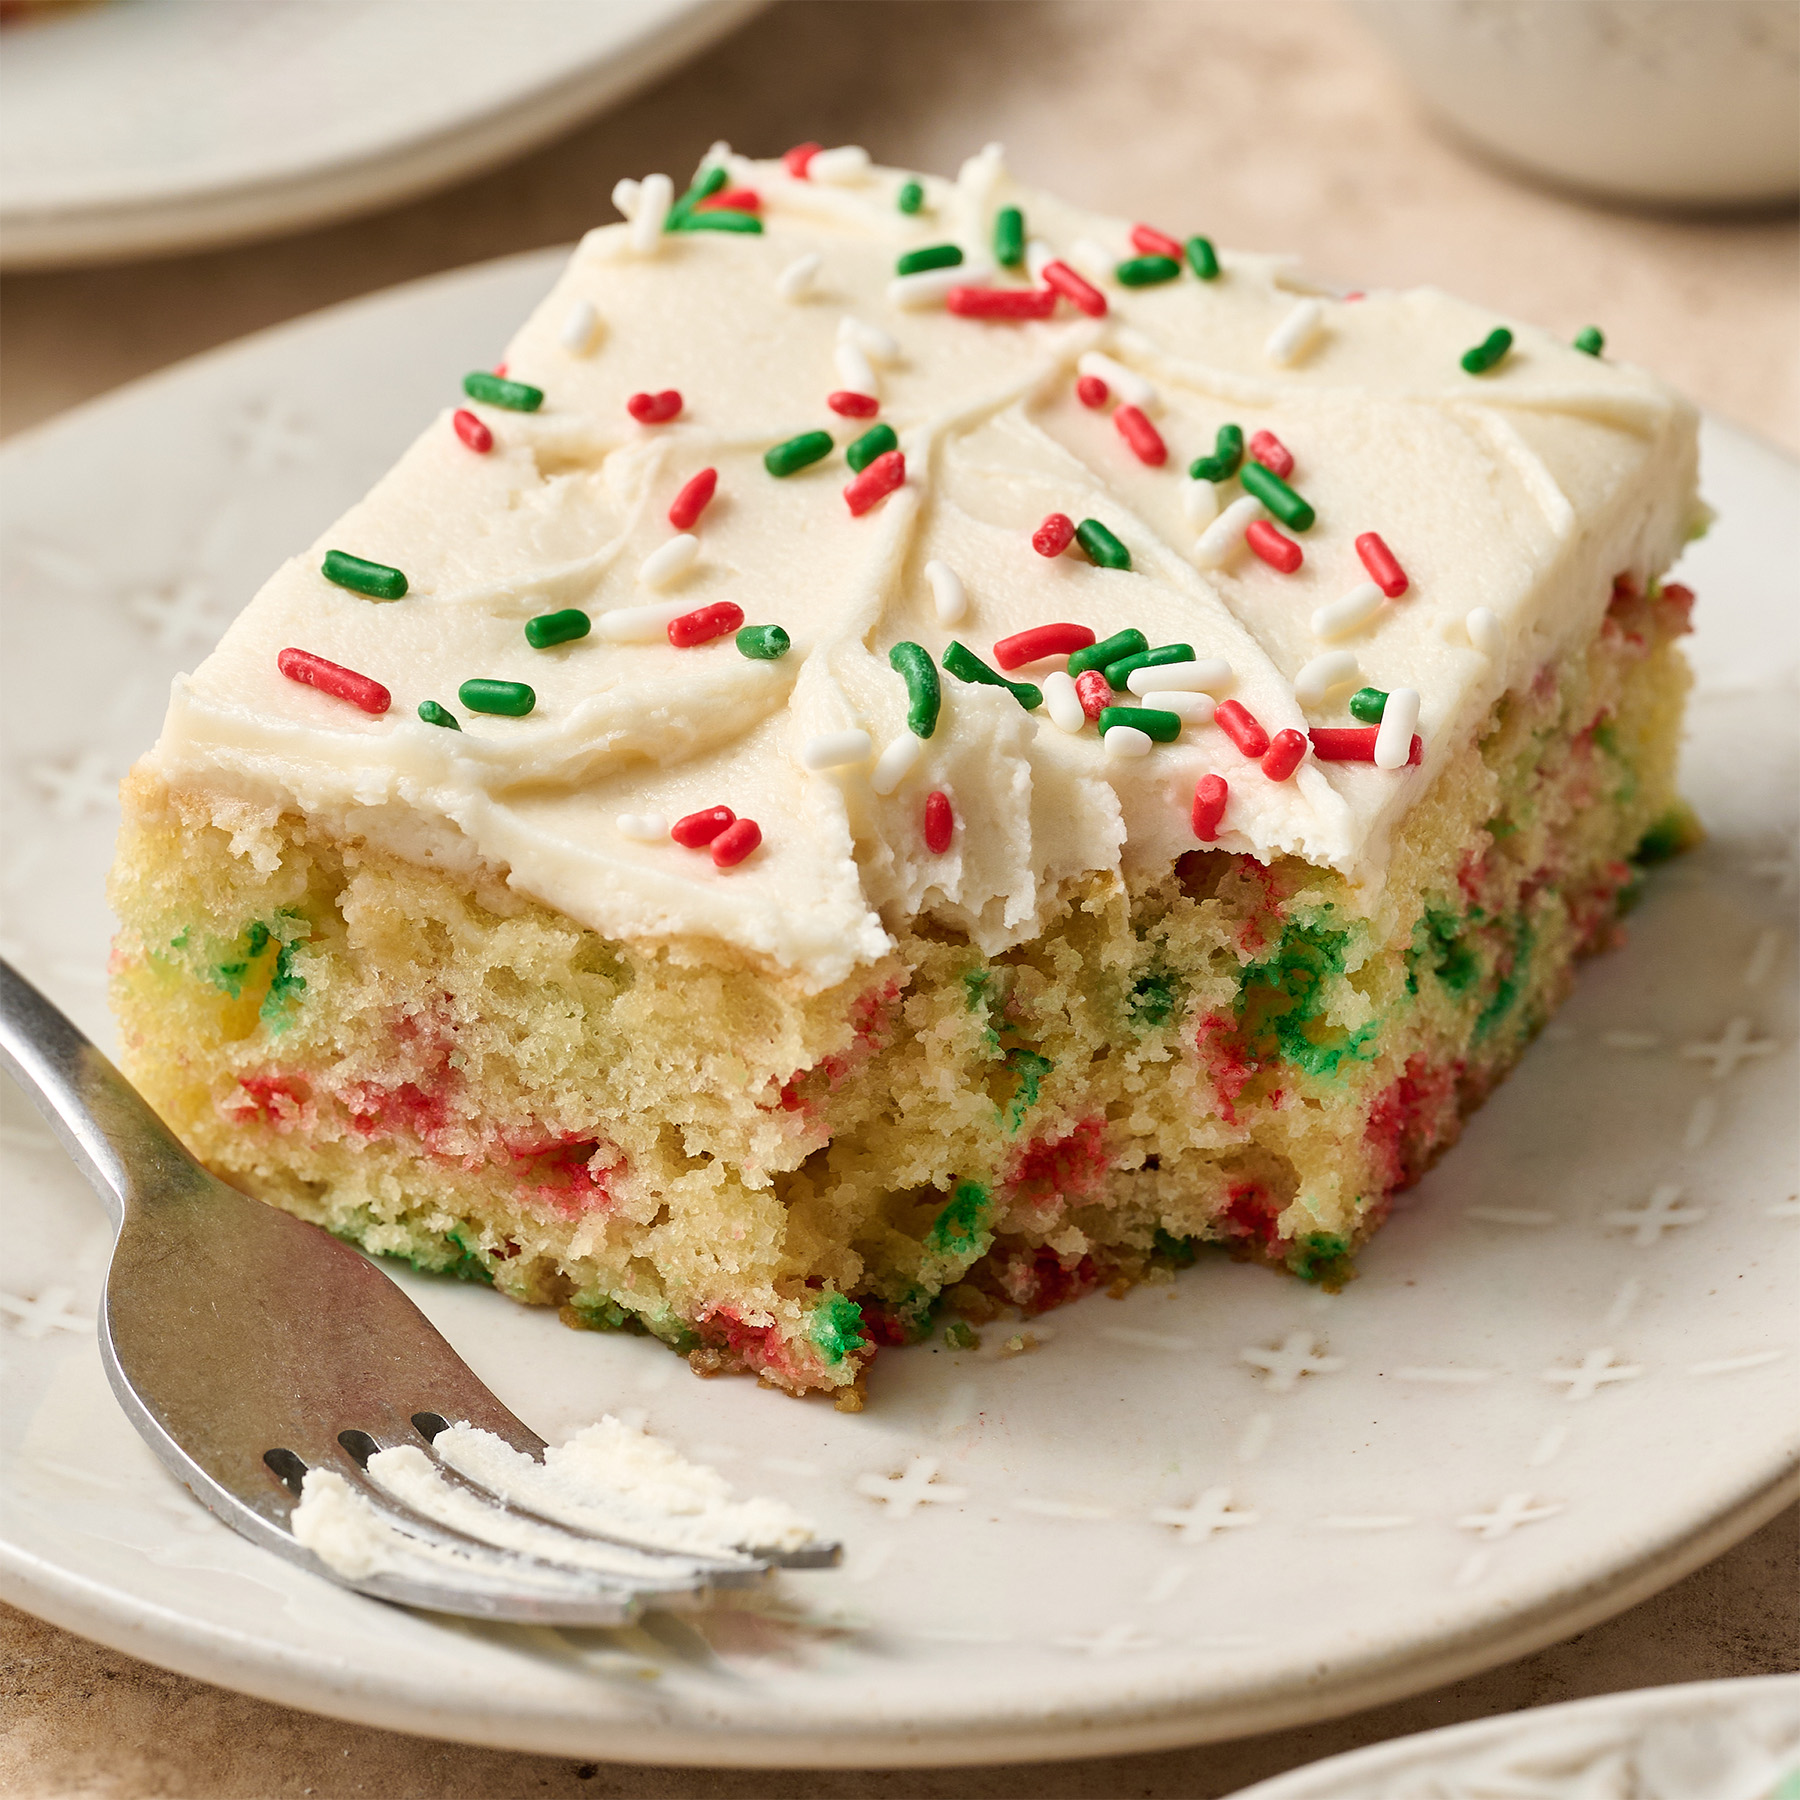
Cakes don’t get more fun than this Funfetti Sheet Cake. It’s right there in the title – fun!
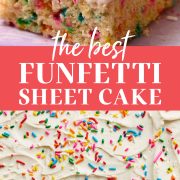
This cake is absolutely delicious and full of nostalgic flavors. It’s also ridiculously easy to make. No assembling or decorating skills required, unlike a layer cake.
It tastes similar to boxed cake mixes you see in the baking aisle… but without being sickly sweet or bland.
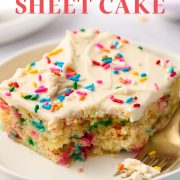
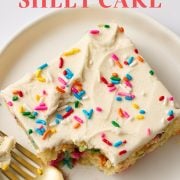
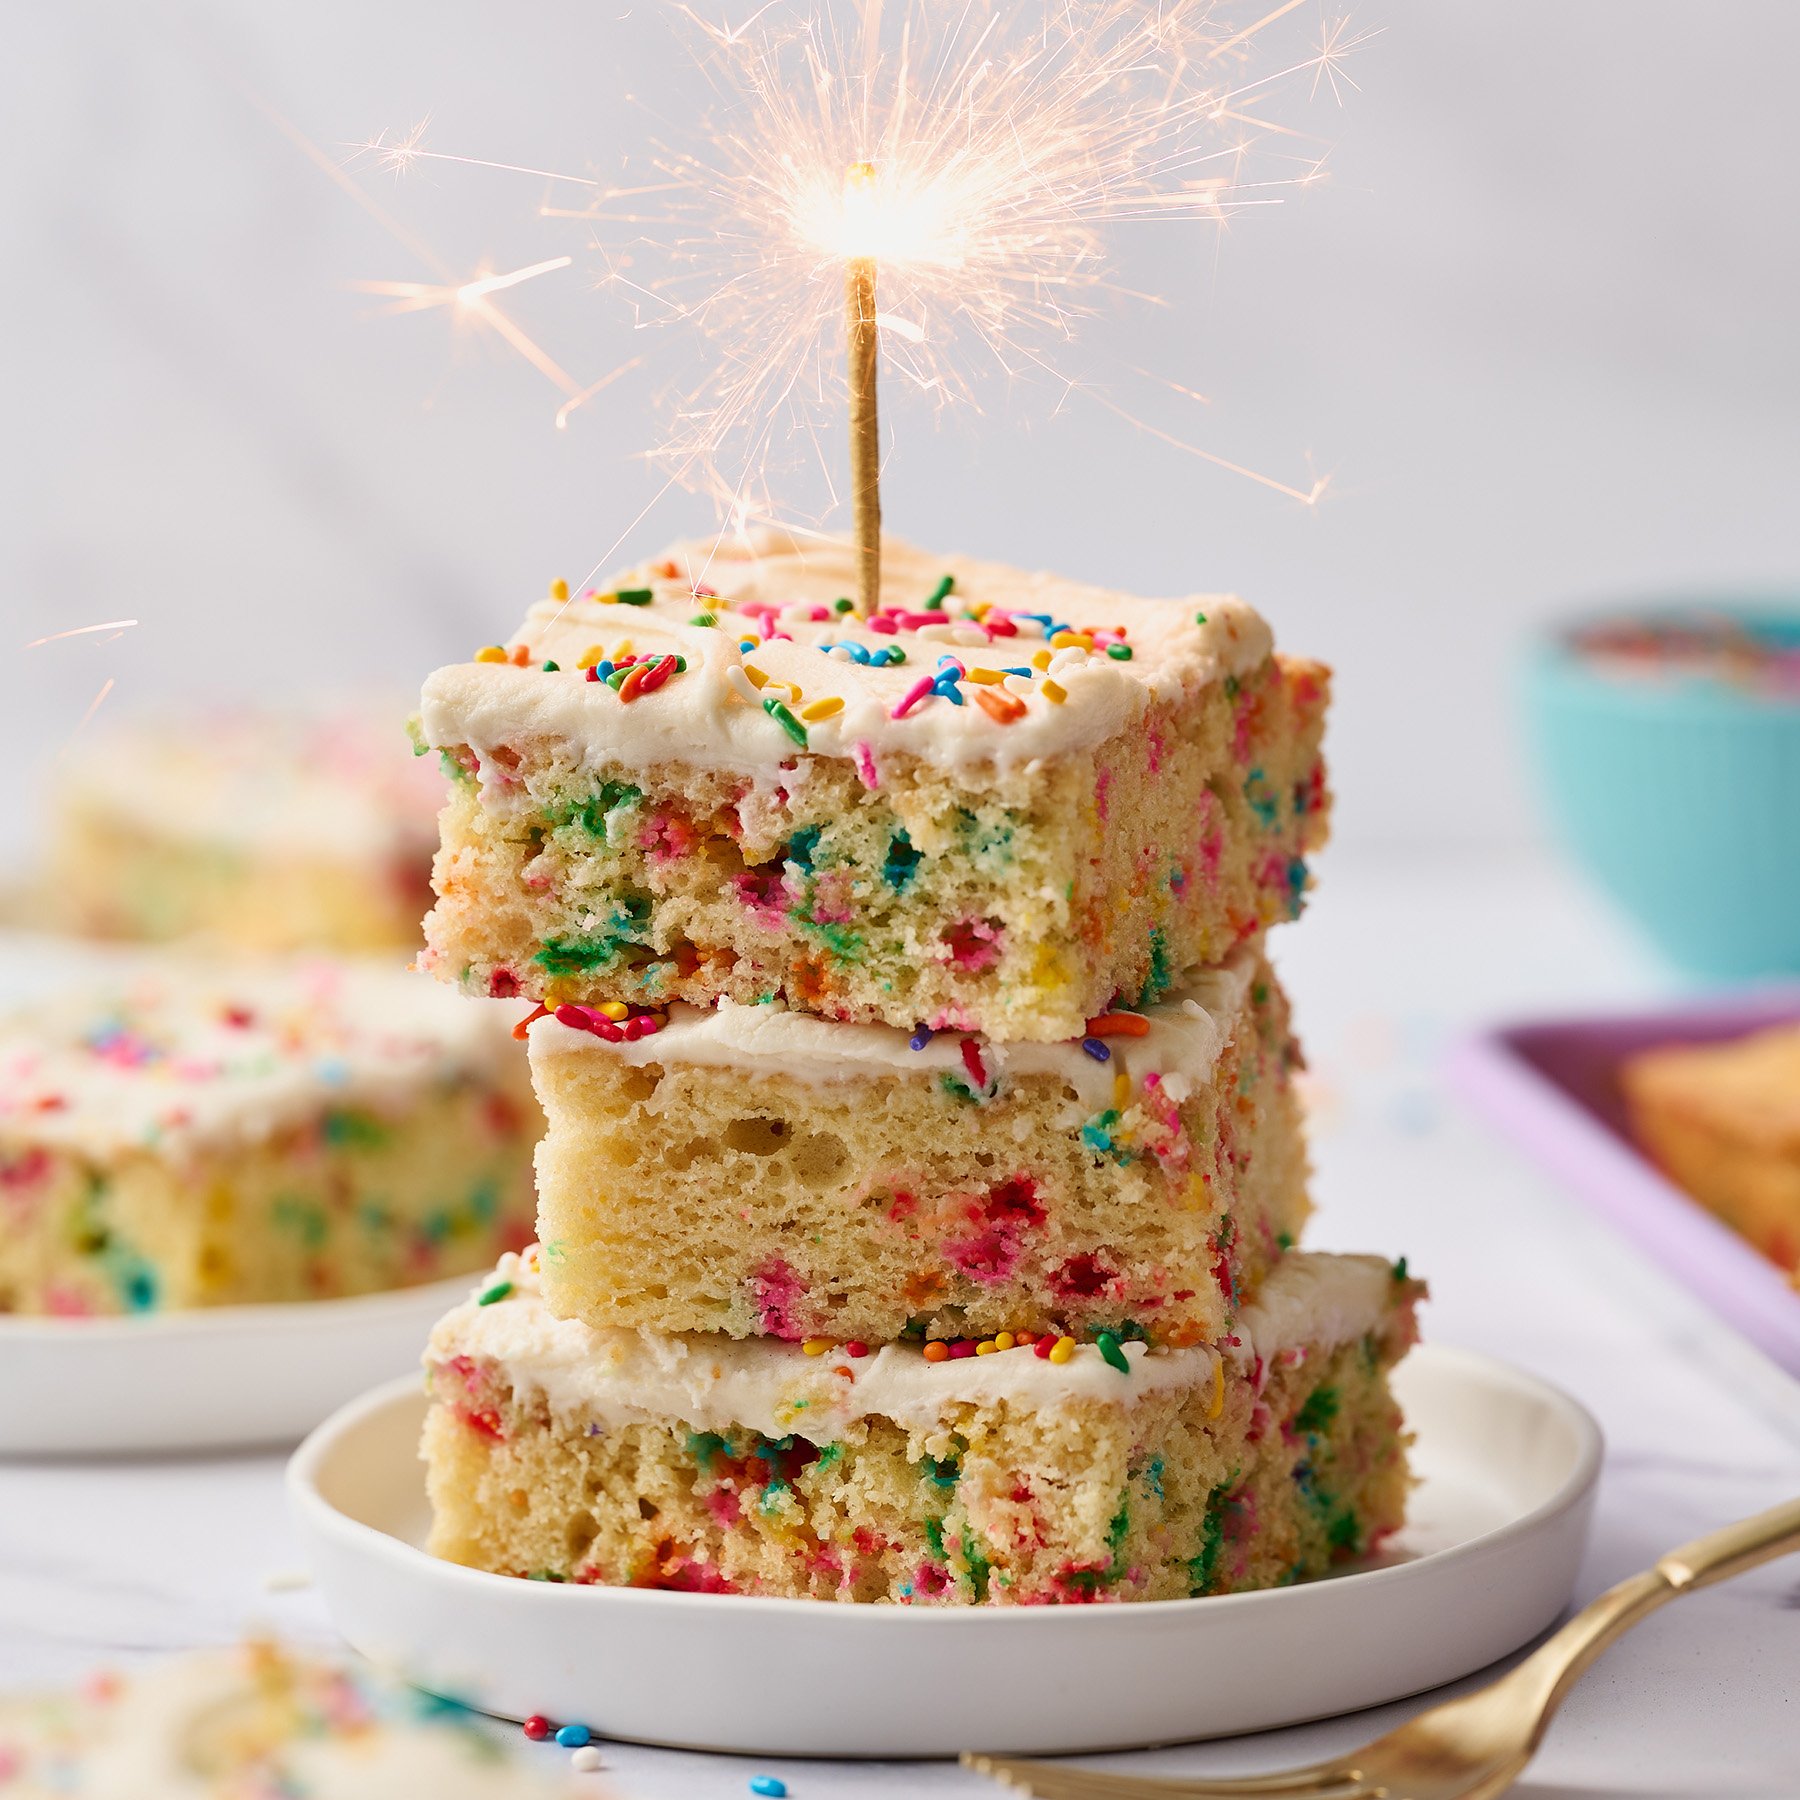
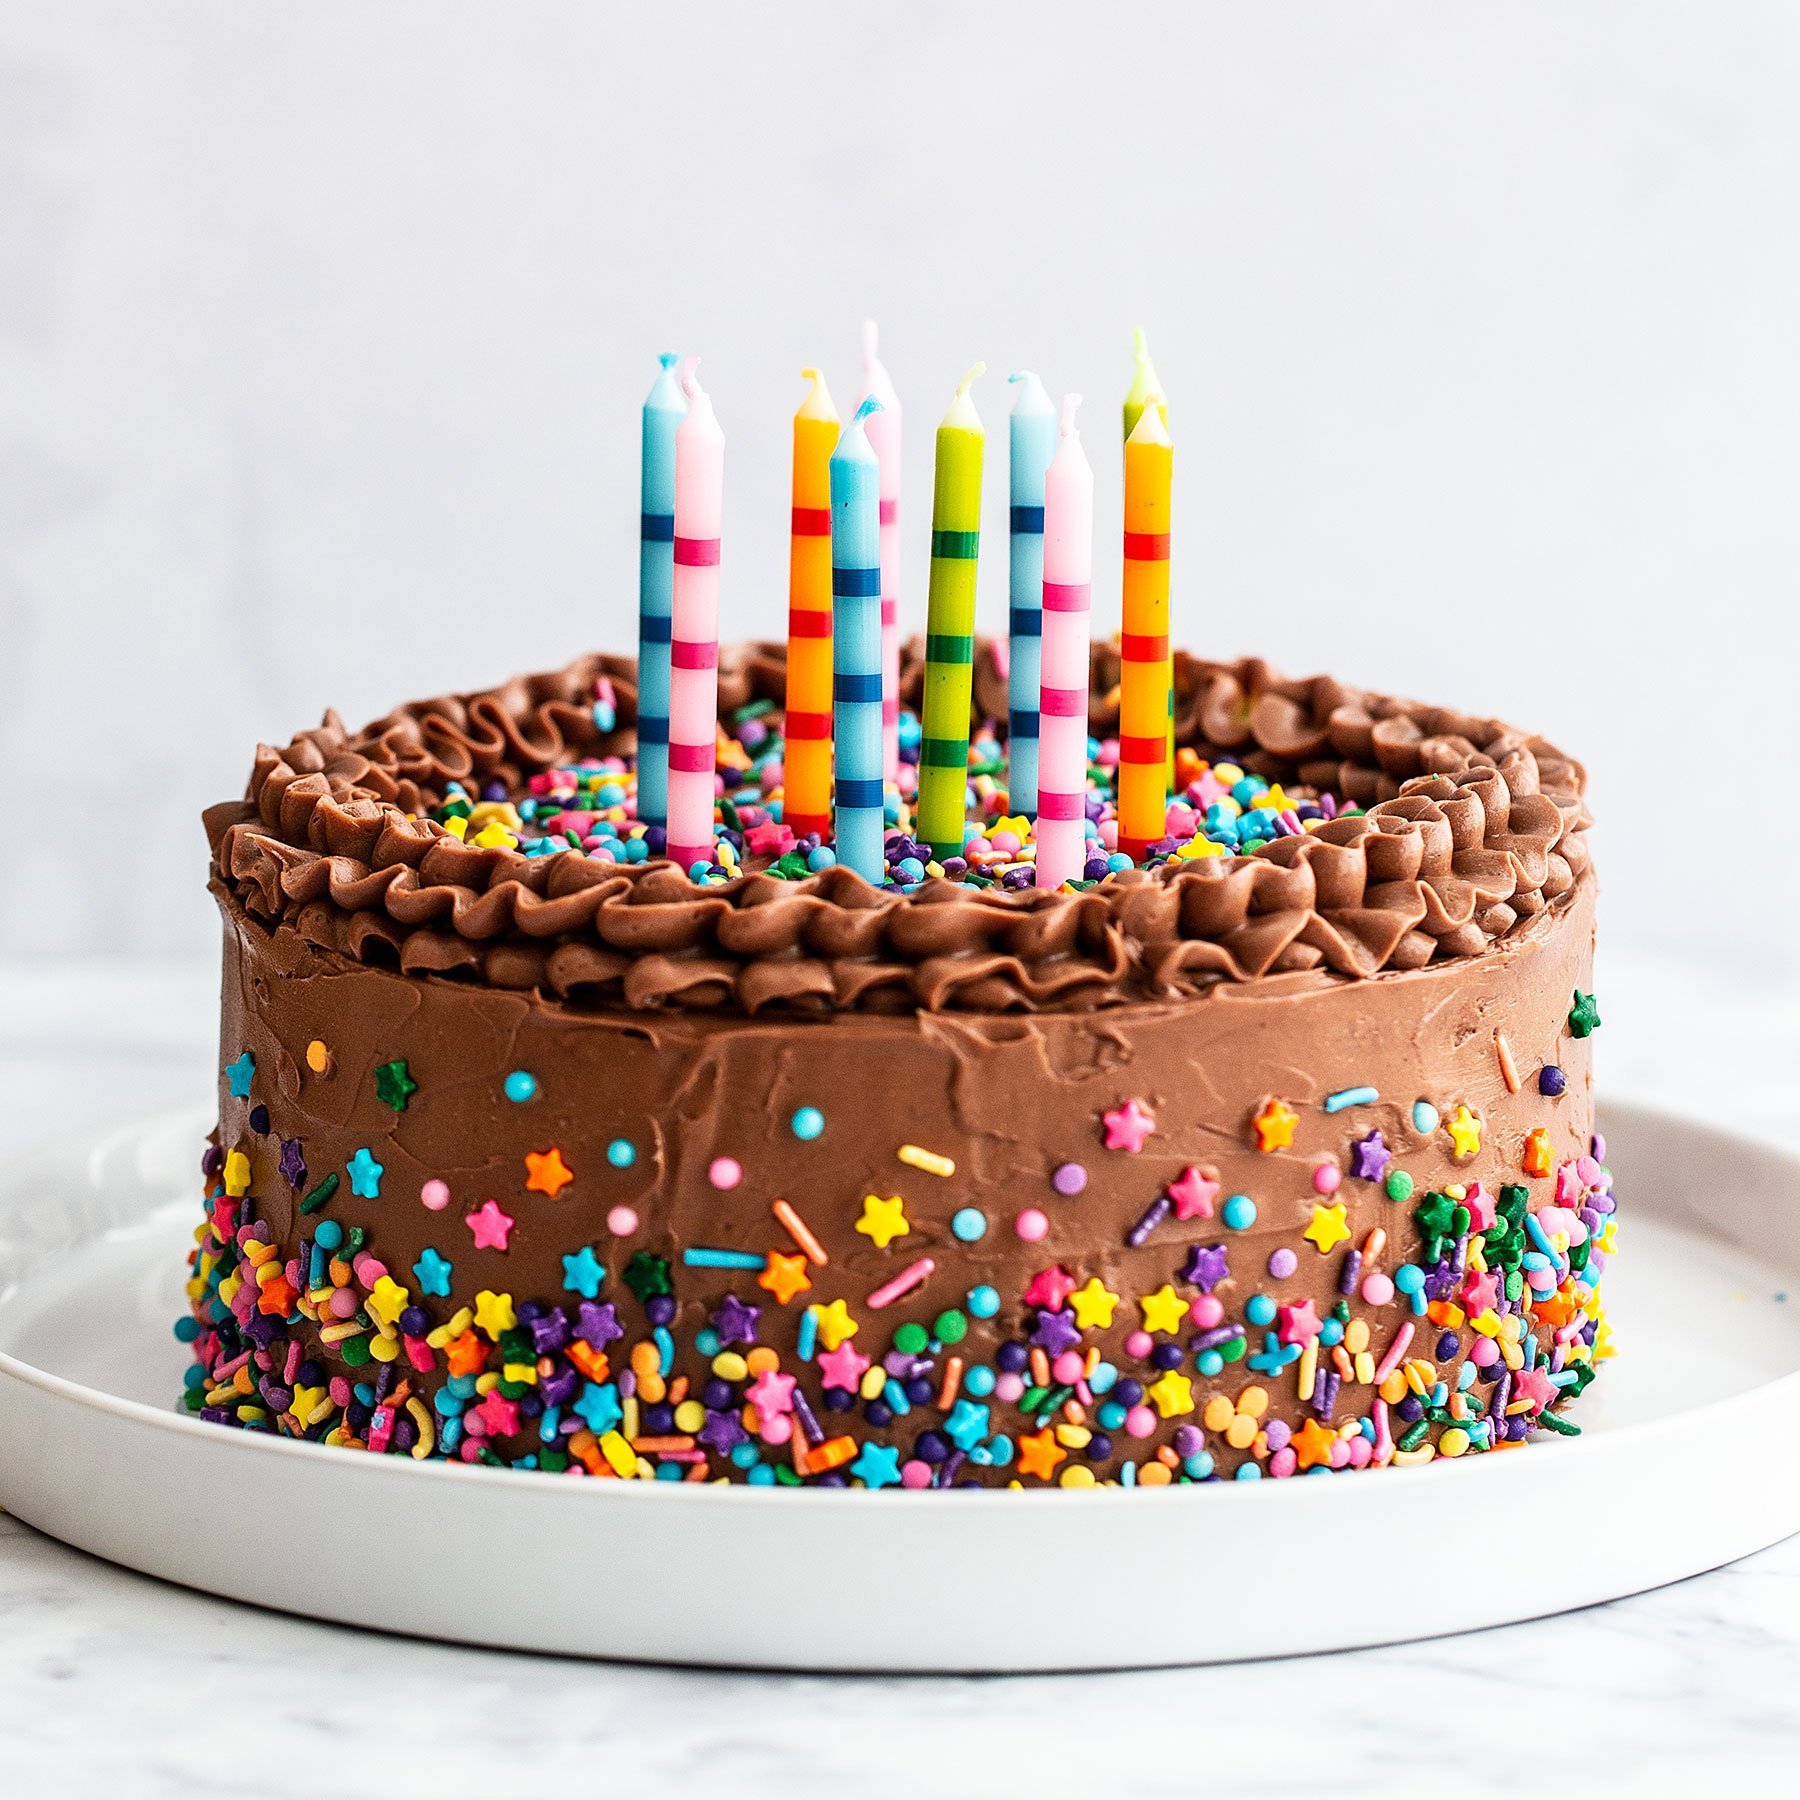
This Funfetti Sheet Cake is easy to transport, slice, and serve, so it’s the perfect dessert to bring to any party. It’s the ideal birthday cake to serve a crowd.
How to Make Funfetti Sheet Cake
What is a Funfetti Cake?
Also sometimes called a Confetti Cake, Funfetti is a soft vanilla cake with sprinkles mixed into the batter. It’s the cake most Americans would associate with childhood birthday parties – but this one is homemade, so you know it’ll be 100x better than a boxed cake mix in every way possible.
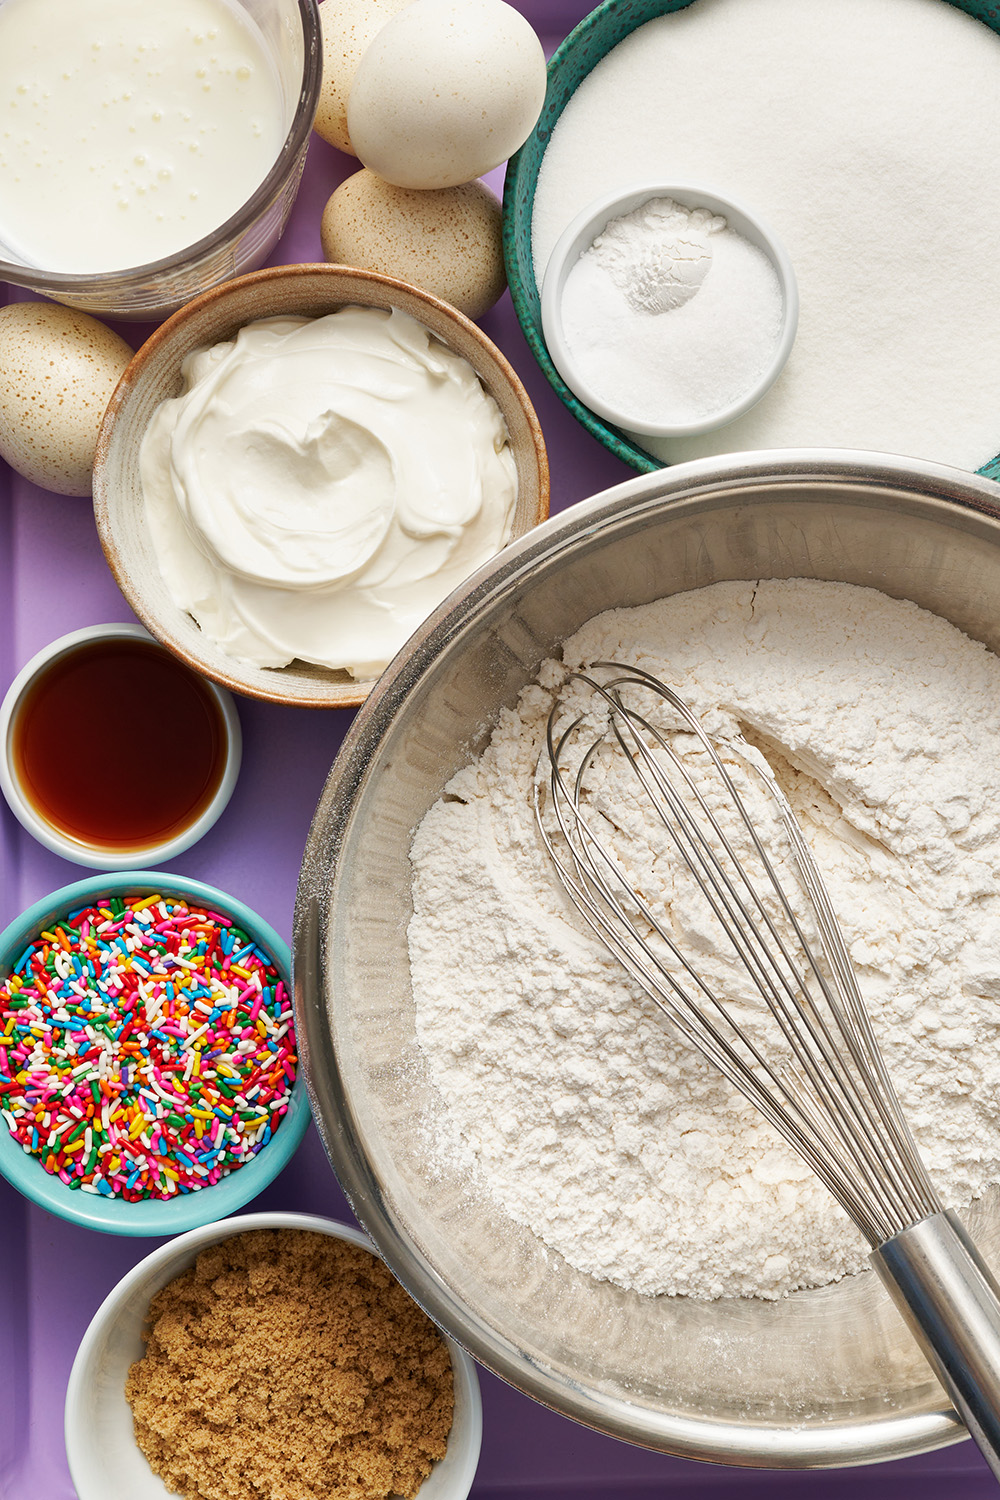
Ingredients for Funfetti Sheet Cake:
- Butter – I always use unsalted butter in baking so I can control the salt levels. This recipe calls for melted butter to save time! Using melted butter in cake recipes isn’t commonly used as it doesn’t always provide the same fluffiness, which is why we also use cake flour and buttermilk in this recipe. You’ll notice there’s a second mixing time of the ingredients – this is due to a lack of traditional creaming of the butter and sugar in this recipe, and helps to achieve additional air into the batter, resulting in a light and fluffy texture.
- All-purpose flour and cake flour – Measured correctly! Too much flour will result in a heavy, dry cake, so be very careful when measuring. More on the flours used below.
- Baking soda and baking powder – Check out my Baking Soda vs. Baking Powder article to learn how they function in baking recipes and how to test for freshness.
- Salt – I prefer to use fine sea salt because I prefer the flavor, but table salt will work just fine, too. Learn more about the differences between types of salt here.
- Sour cream – adds a lovely richness and balance of flavor to the cake, as well as helps to create a tender crumb. Use full-fat sour cream at room temperature. Full-fat plain Greek yogurt also works if you don’t have sour cream.
- Buttermilk – To create a rich, tender, light cake. Read more about buttermilk below.
- Sugars – Both light brown sugar and granulated sugar. Read more about why you shouldn’t just reduce sugar in baking.
- Eggs – At room temperature so they blend into the batter evenly. Use large eggs, about 56 grams in shell. Eggs that are too large or too small will impact the outcome.
- Vanilla extract – For flavor. Without it, this cake would be bland.
- Almond extract – Optional, but highly recommended! This is what brings the nostalgic flavor to a funfetti cake.
- Festive jimmies sprinkles – The star of the show for a funfetti cake! More on sprinkles below.
Ingredients for Cream Cheese Buttercream Frosting:
- Butter – Again, unsalted butter is recommended for baking.
- Cream cheese – Use full-fat bricks of cream cheese, not the cream cheese that comes in a tub for bagels and not reduced-fat cream cheese.
- Vanilla – For flavor.
- Fine sea salt – To balance out the sweetness.
- Powdered sugar – Don’t skip sifting!
- Festive sprinkles – More sprinkles, to decorate, for a super cute cake.
How to Make Funfetti Sheet Cake:
- Prepare the pan. Line a 12×17-inch half sheet pan with parchment paper and generously spray with nonstick cooking spray, making sure to spray the edges of the pan. Set aside.
- Melt and cool the butter. In 30-second increments, microwave the butter until melted. Cool until just warm.
- Mix the dry ingredients. In a large bowl, whisk together both flours, baking soda, baking powder and salt. Set aside.
- Mix the sour cream and buttermilk together. Set aside.
- Cream the butter and sugars. In the bowl of a stand mixer fitted with the paddle attachment, add the melted butter and both sugars. Cream together on medium speed for 2 minutes, until light and creamy.
- Add eggs, then extracts. Add eggs one at a time. Add the vanilla and almond extract (if using) and mix until combined. Be sure to scrape down the sides and bottom of the bowl frequently.
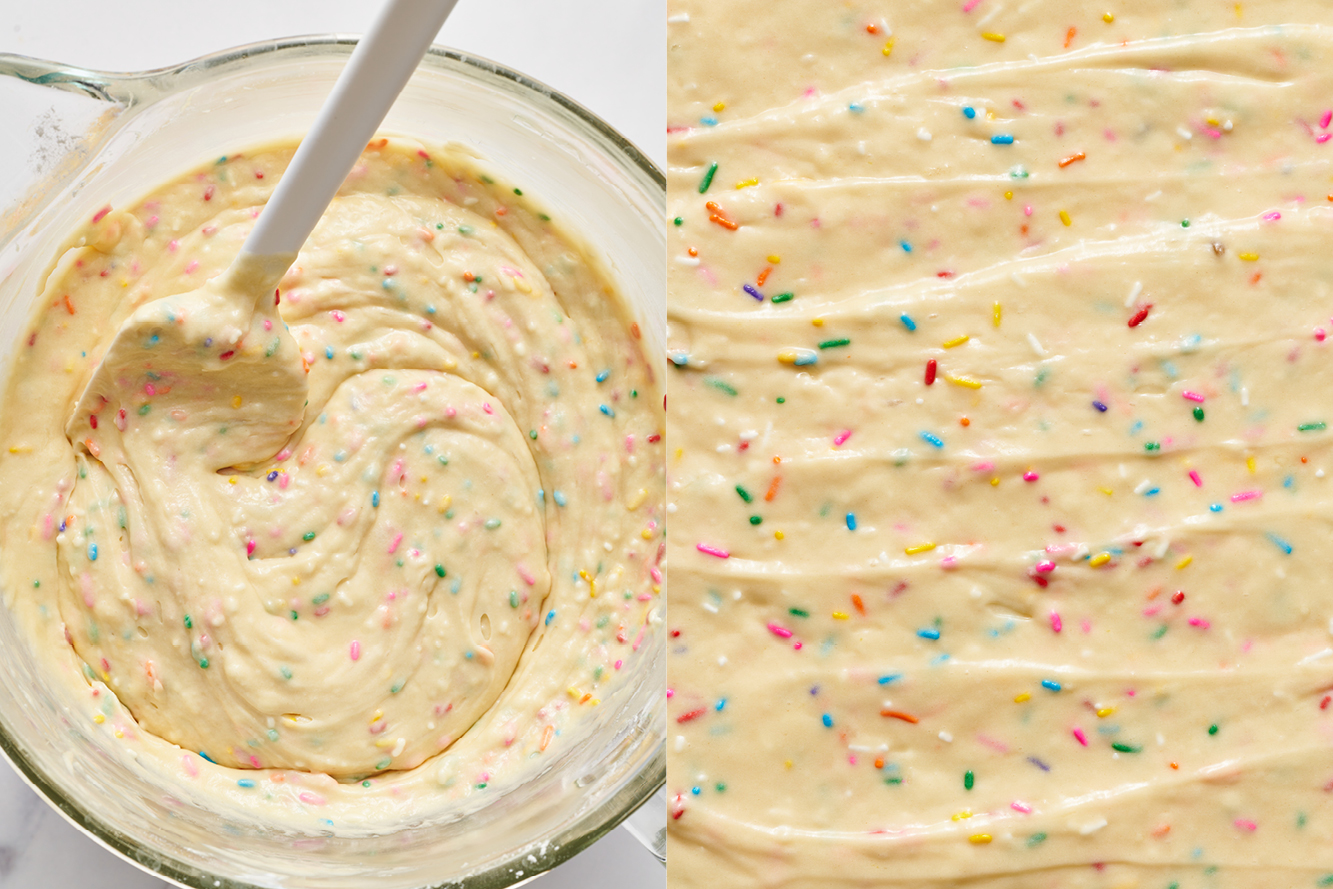
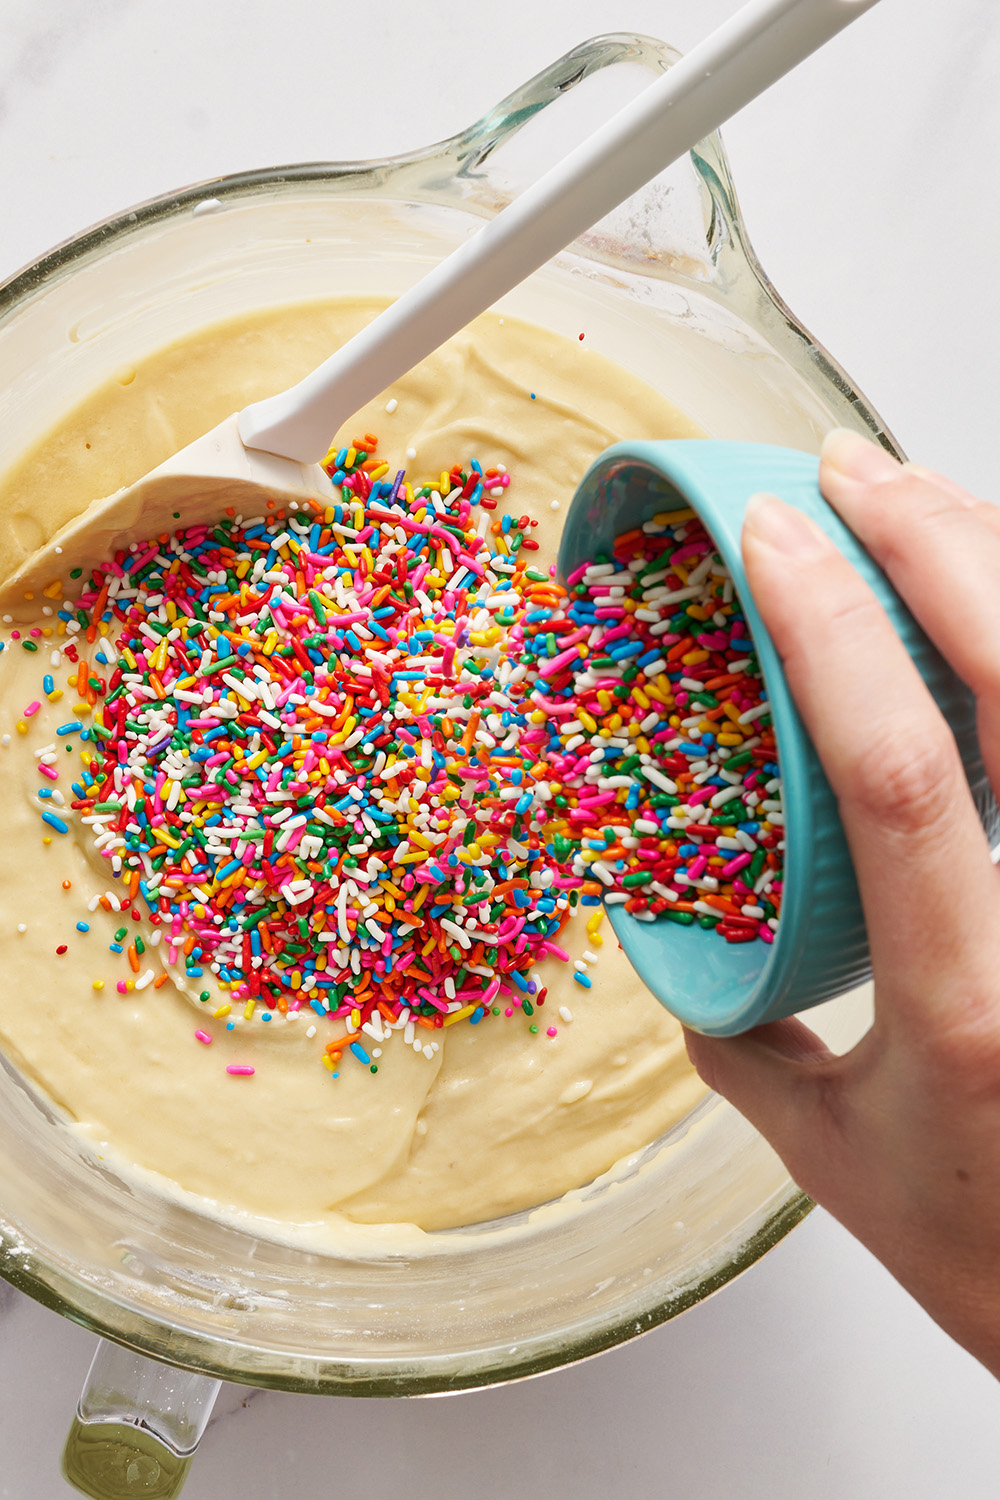
- Add the wet and dry ingredients. Alternating between wet and dry ingredients, add the sour cream/buttermilk mixture and the flour mixture to the mixer, mixing until just combined. Finally, add the sprinkles, folding in gently with a rubber spatula.
- Pour cake batter into the prepared pan. Bake at 350°F for 20 to 22 minutes, or until the top is lightly golden brown and a toothpick inserted in the center comes out clean. Allow to cool completely in the pan on a cooling rack before frosting.
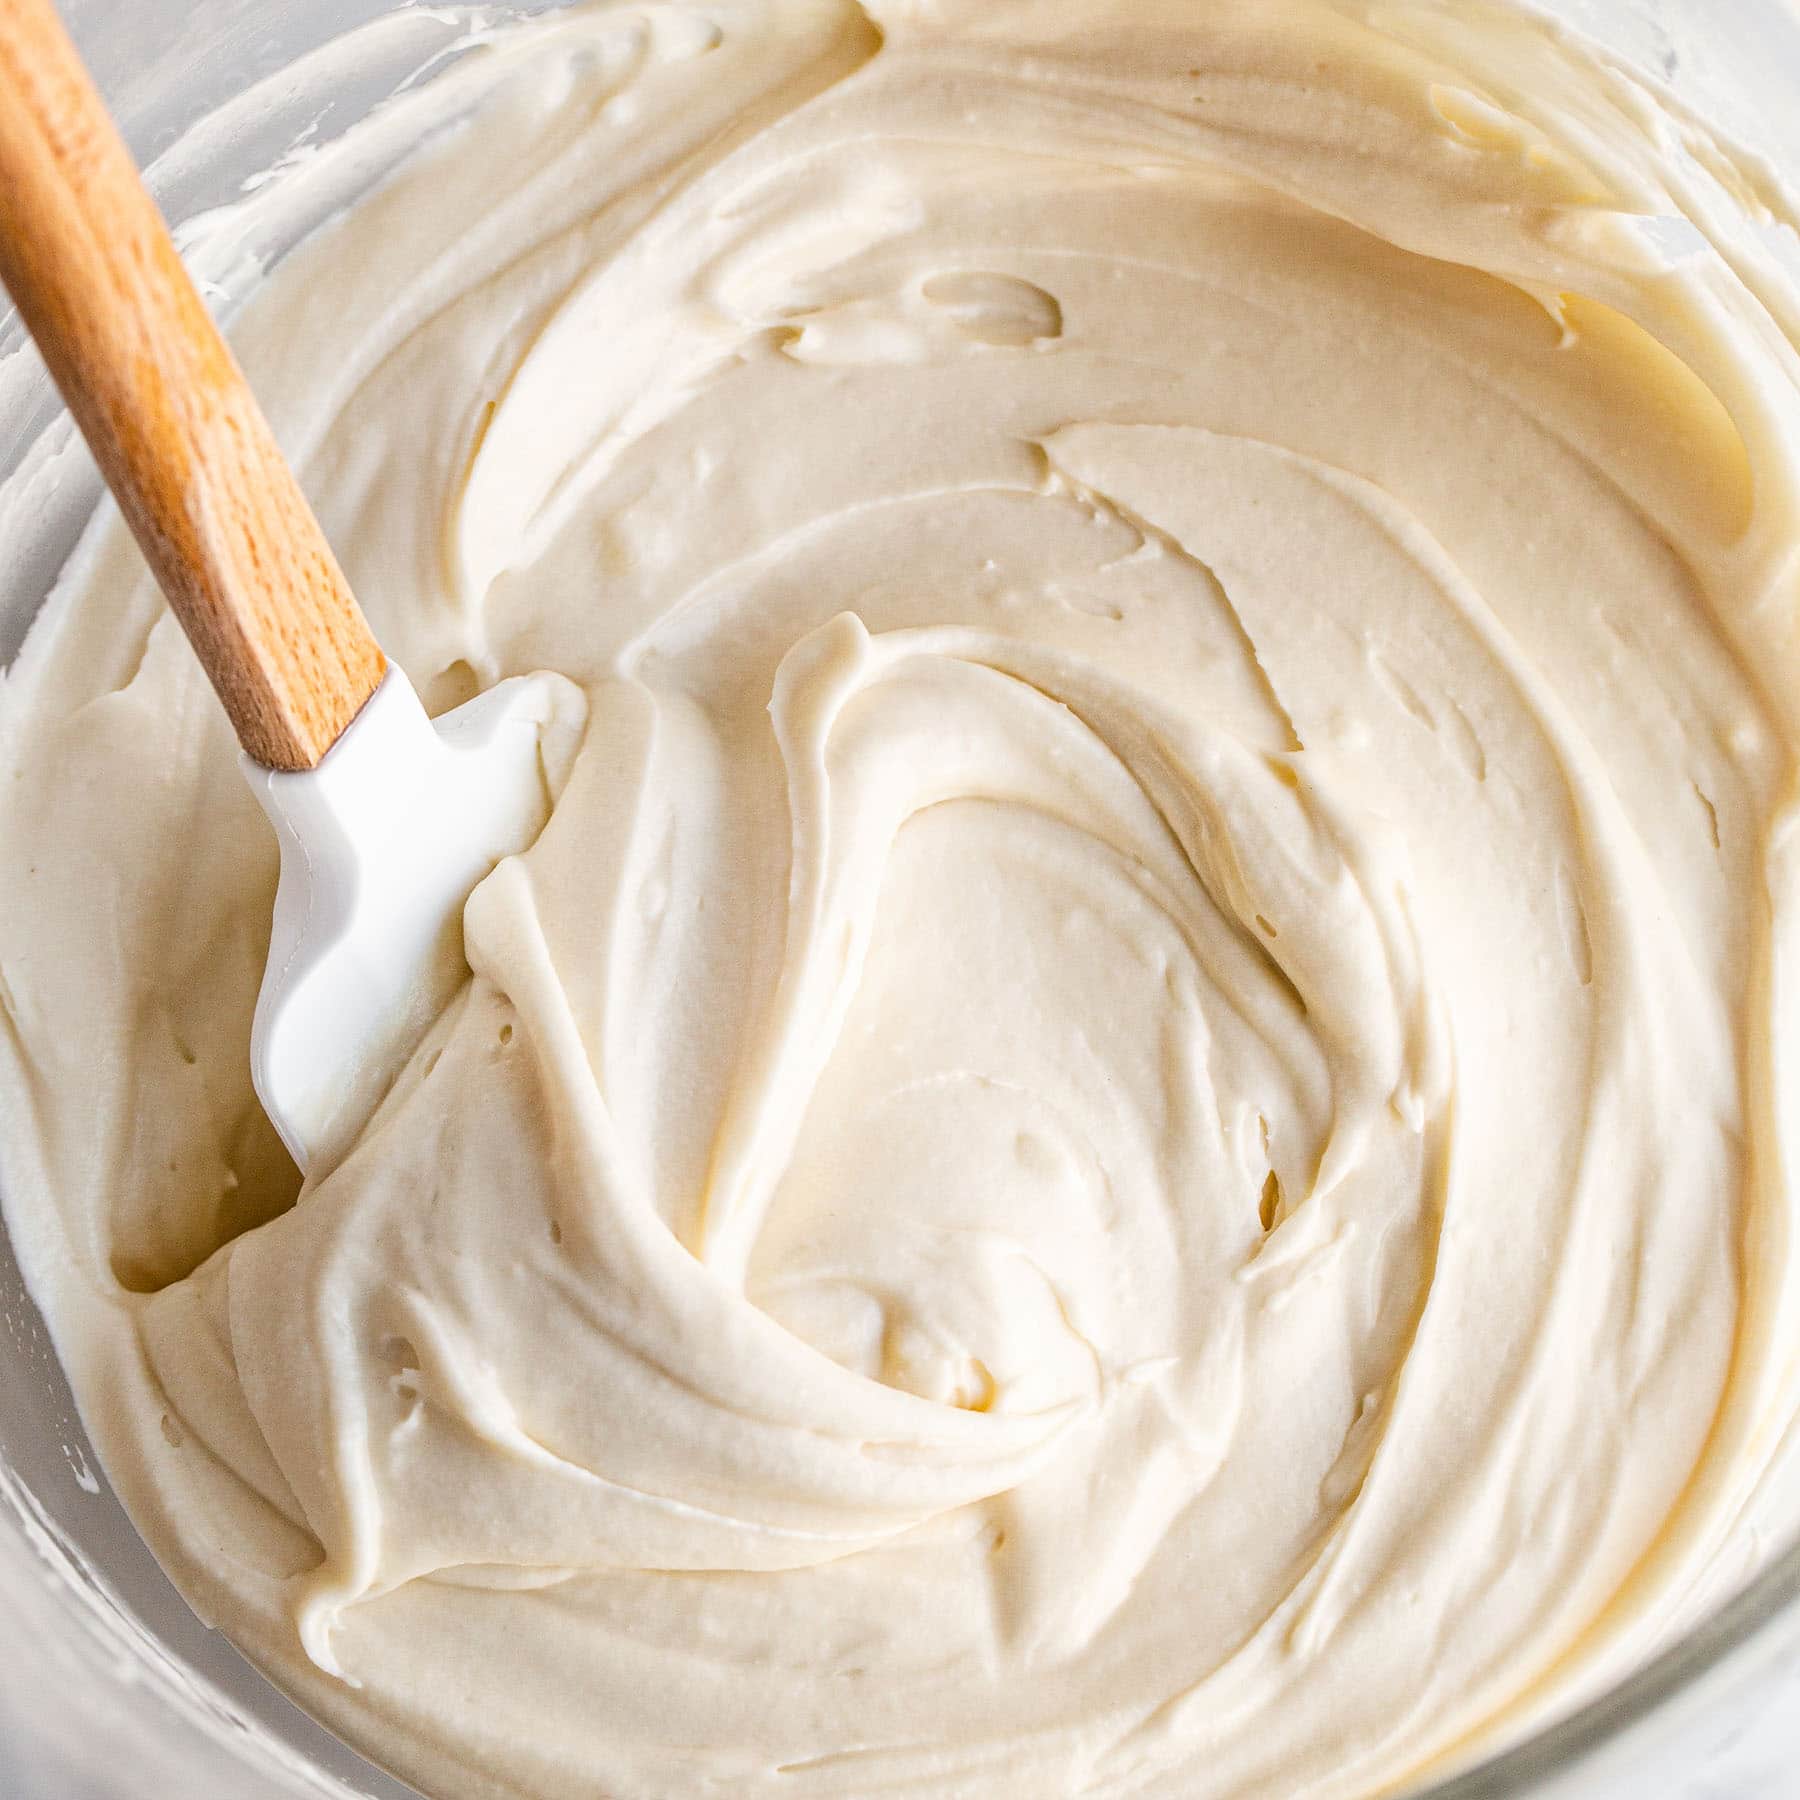
- Make the frosting. Mix the butter and cream cheese together on medium-high speed until light, creamy and smooth. Add vanilla and salt and mix until combined. Add in the sifted powdered sugar one cup at a time, mixing until combined. It will be light and fluffy.
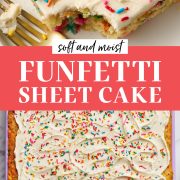
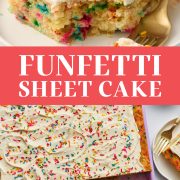
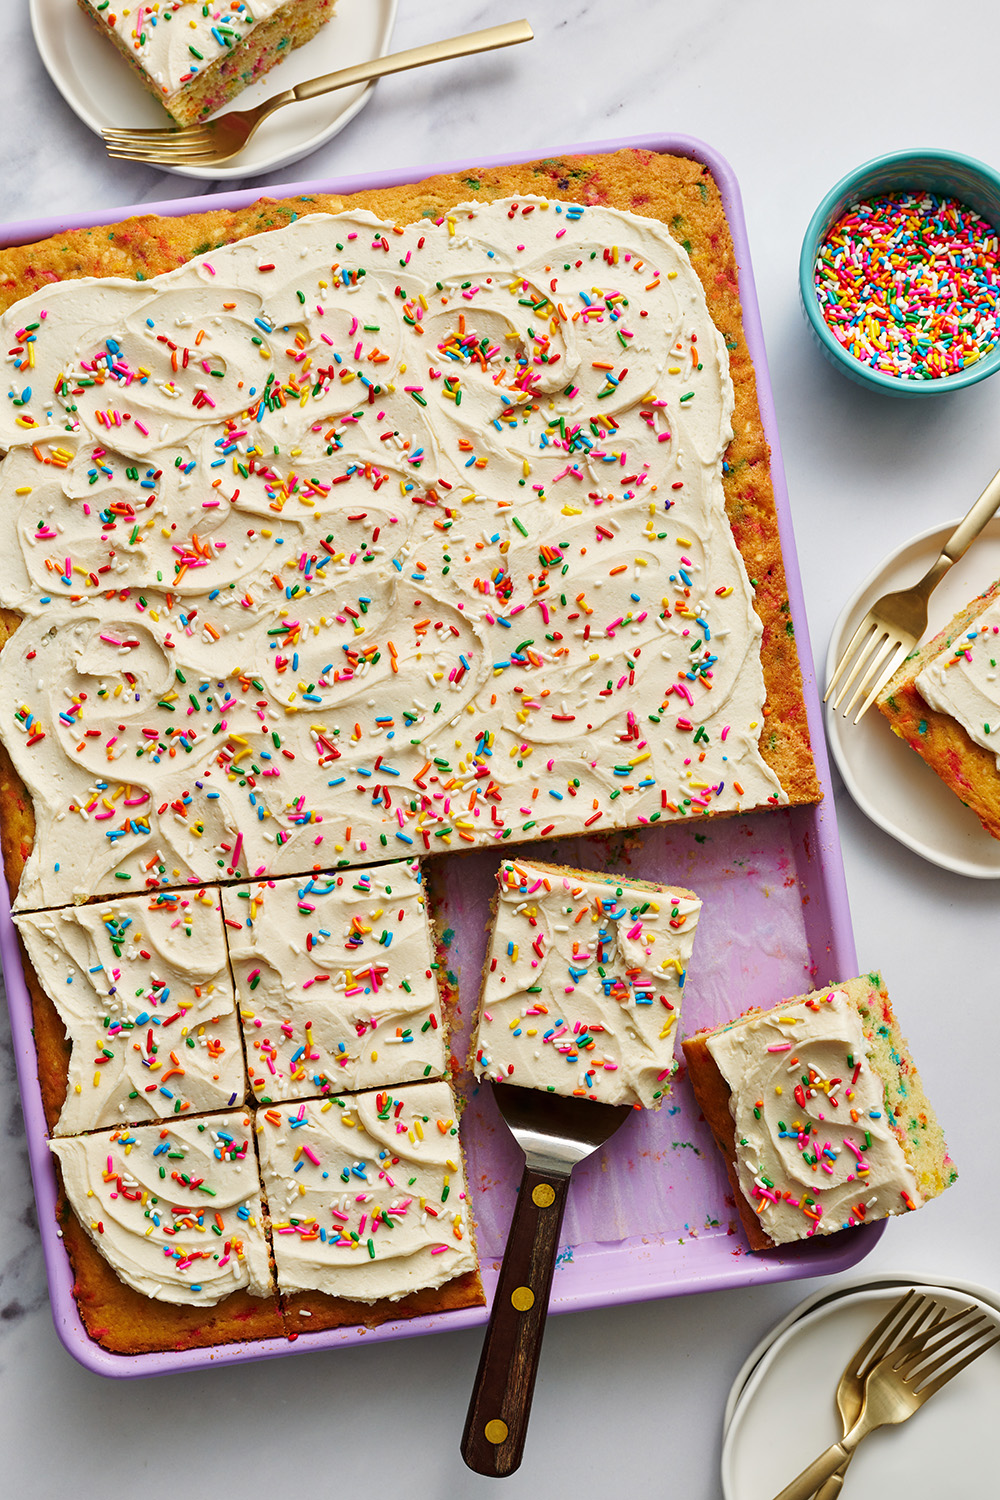
- Frost the cake. Spread frosting evenly over the cooled cake with an offset spatula, then top with rainbow sprinkles. Enjoy!
What Kind of Pan Should I Use?
This recipe was written for a 12×17-inch half sheet metal pan. This is the pan I recommend (it even comes with a lid for super easy transportation). However, if you want something absolutely adorable, this is the pan used in these photographs. Options for pans of different sizes are listed below.
Can I Bake This in a 9×13 Cake Pan?
Yes, with a few adjustments.
- If baking in a 9×13-inch metal pan, after 25 minutes of baking at 350°F, you will need to tent the cake with foil to prevent over-browning on the top and sides. If your oven has hot spots, rotate your pan at this point as well.
- Bake for an additional 10 minutes, or until the cake is slightly pulling away from the edges, the top is lightly golden brown, and a toothpick inserted in the center comes out clean.
If the center of your cake still appears a little greasy and doesn’t spring back up when pressed, that’s normal! The residual heat from the pan will continue to bake your cake after removing it from the oven. If you wait until the center of your cake springs back when pressed, your cake will be overbaked and dry.
Can I Use a Glass Pan for This Cake?
If you’re baking the 9×13-inch variation I described above, I still recommend using a metal pan such as this one. Glass is not a great conductor of heat, so the edges of the cake will become overcooked and dry before the center can cook through. Aluminum baking pans conduct heat faster and more evenly, and will give your cake a nice even bake, without drying it out.
If you absolutely must use a glass 9×13-inch pan for this funfetti sheet cake, here’s what to do:
- Drop the temperature to 325°F and tent with foil after 35 minutes.
- Bake an additional 15-20 minutes, or until the cake is slightly pulling away from the edges, the top is lightly golden brown, and a toothpick inserted in the center comes out clean.
Can I Halve This Recipe?
Yes! Bake in a quarter sheet metal pan for 18-20 minutes, or until the top is lightly golden brown and a toothpick inserted in the center comes out clean.
Can I Make Cupcakes Using This Recipe?
Yes! The recipe as written below makes 34-36 funfetti cupcakes. Bake at 350°F for 14 to 16 minutes, or until the tops are very lightly golden brown and a toothpick inserted in the center comes out clean. Place the pan on a cooling rack and let the cupcakes come to room temperature before frosting. I recommend doubling the frosting recipe below.
Watch how they’re made in this video!
What if I Don’t Have Buttermilk?
Buttermilk works best in this recipe to provide a rich and tender funfetti sheet cake. You can learn more about buttermilk in my Buttermilk 101 article here. I would not recommend using a buttermilk substitute, for best results. If you must, use whole milk instead – but your cake’s taste and texture will be different.
Cake Flour + All-Purpose Flour
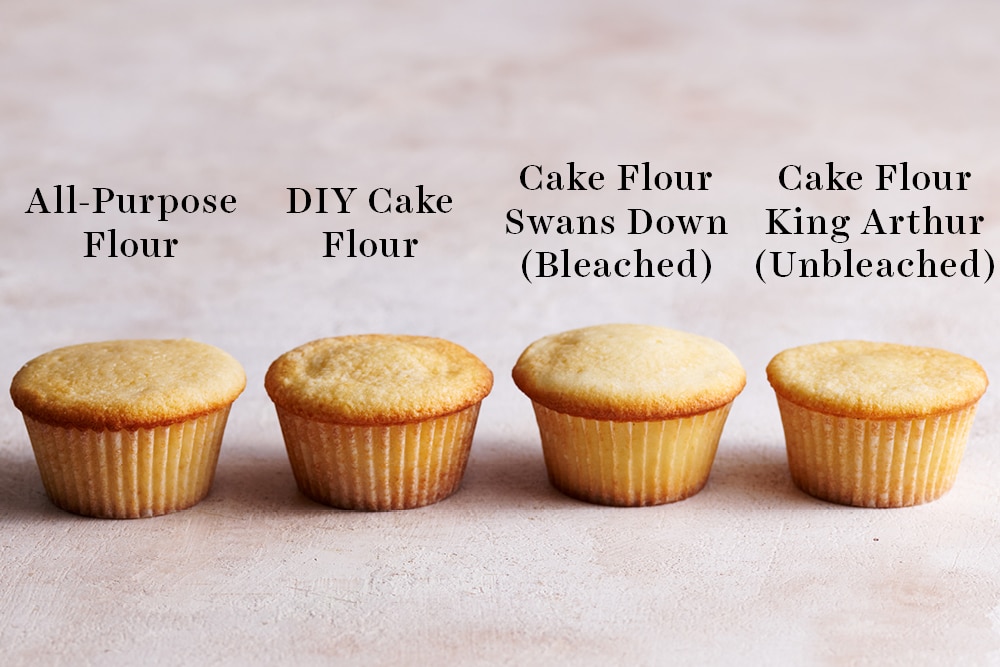
To give this funfetti sheet cake a nice, soft texture, but still ensure it has some structure, I went with a mix of cake flour and all-purpose flour. I really recommend sticking with this combination to achieve the best texture. If you don’t have access to cake flour or wish to avoid purchasing it, you can probably use all-purpose flour only – but please note that we haven’t tested this to know how well this will work, and the cake will be heavier as a result.
I never recommend using DIY cake flour substitutions, as they simply don’t work as well. Check out my Cake Flour 101 article here to learn why, and see more of my side-by-side experiments like the picture below:
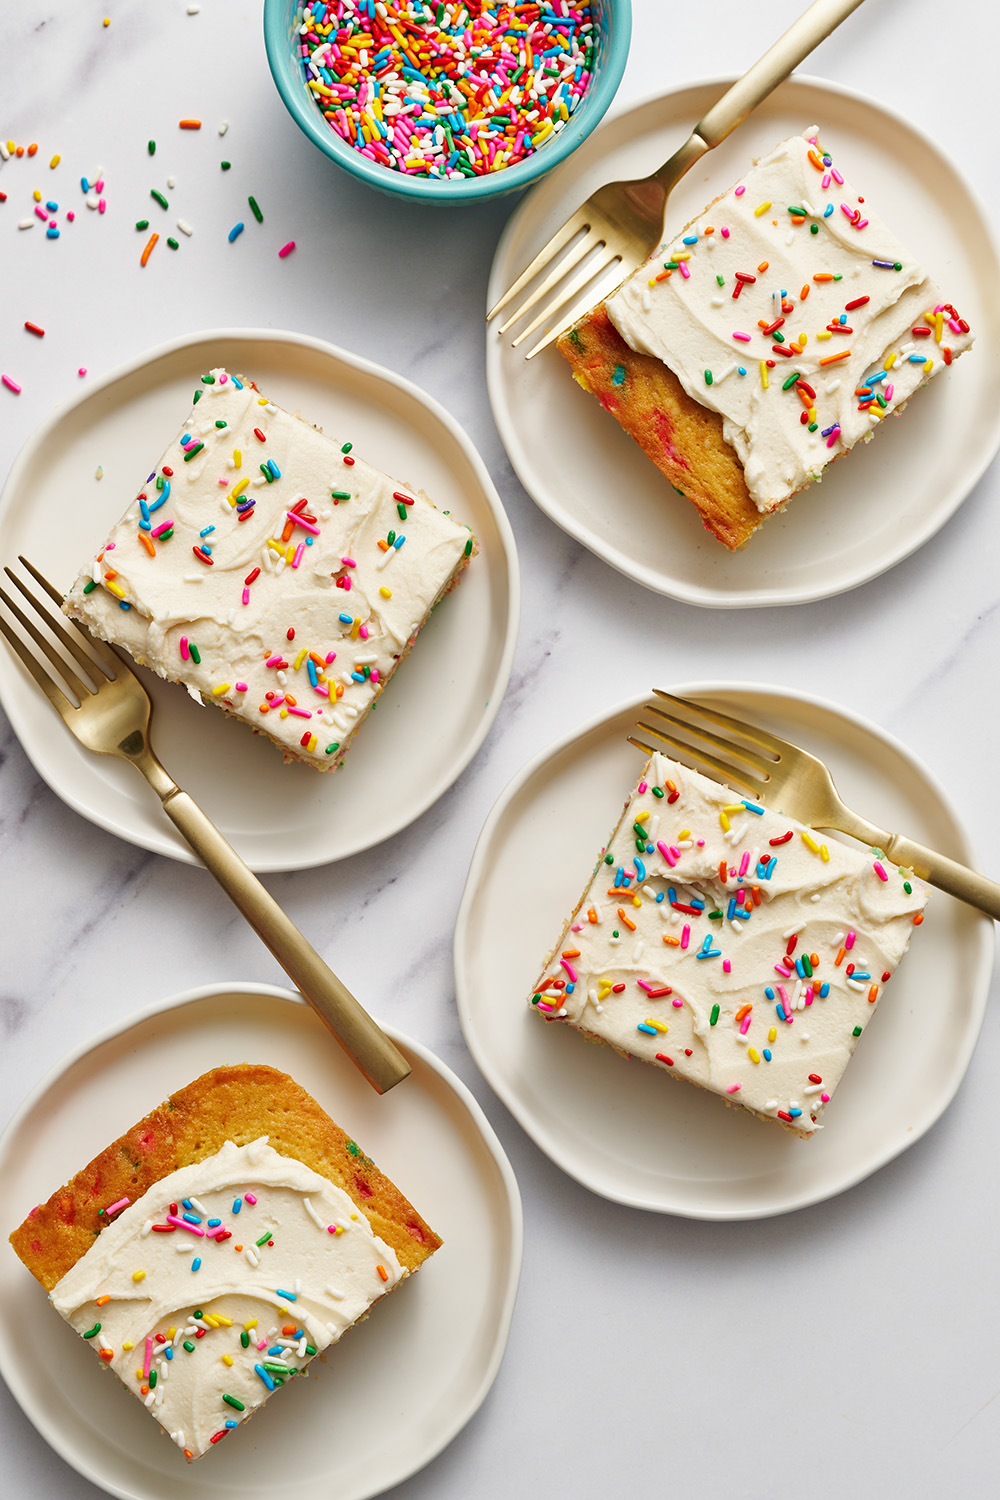
The Best Sprinkles
I used rainbow jimmies for this funfetti sheet cake.
I don’t recommend using nonpareils (the tiny round sprinkles) in the batter as they remain hard and crunchy in cake and often bleed into the batter, leaving you with streaks of color, sometimes even muddy colored batter. It’s for these reasons I recommend using jimmies, which are made with a food-grade colorful and waxy coating that prevents them from melting quickly, reducing bleeding. If you love the texture of nonpareils, they’ll work perfectly as decoration.
Tip: Smell and taste your sprinkles if they’ve been in your cupboard for a while before adding them to the batter to ensure they’re not expired! Expired sprinkles will have a slight smell to them and leave a wax that sticks to the roof of your mouth. They will, unfortunately, affect the flavor of your cake.
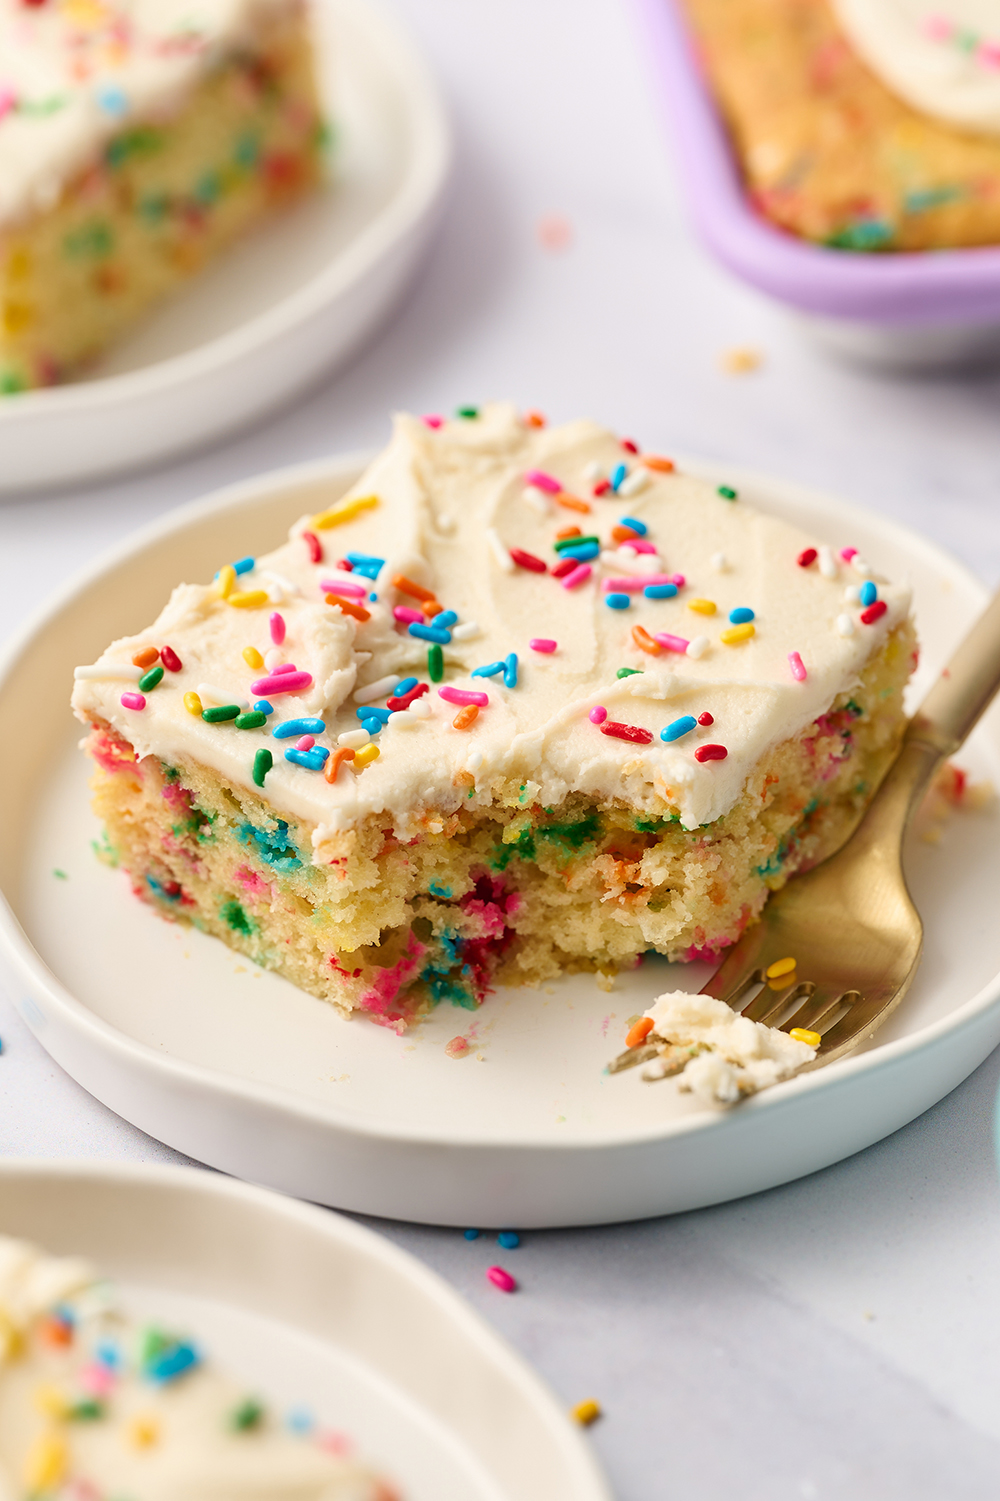
Cream Cheese Frosting
I adore cream cheese frosting to balance the sweetness of the funfetti sheet cake. However, you can also use a batch of my regular Vanilla Buttercream frosting if you prefer.
How to Store Funfetti Cake:
Store the cake tightly wrapped in plastic wrap or placed in an airtight container in the fridge for up to 3 days.
If you’ve already sliced the cake into individual portions, the exposed cake will dry out much faster than if it’s stored unsliced. Place each slice in to-go containers (like these) or an airtight container with a piece of wax paper or parchment under each slice to come up the sides.
Can I Make This Funfetti Sheet Cake Ahead of Time?
Yes! After the funfetti cake has completely cooled, cover the unfrosted top with parchment to prevent the top from getting sticky. Wrap the entire pan with plastic wrap before storing overnight at room temperature.
While best enjoyed on the day the cake is frosted, this cake can also be baked and frosted up to 2 days ahead of time – just be sure to store the cake inside an airtight container or wrapped well in plastic wrap to avoid it drying out.
Can You Freeze Funfetti Sheet Cake?
We haven’t tried that, but I don’t see why not! Wrap slices of funfetti cake well in plastic wrap and store inside a ziptop bag or an airtight container for up to a month. I recommend freezing without the frosting, and frosting once the cake is thawed. Thaw the funfetti sheet cake overnight in the fridge before decorating for best results.


I’m right in the middle of doubling the frosting for cupcakes. I’m 5 cups of PS in and it’s already SUPER thick. Should I keep going with the additional 3 cups?? HALP!
Hi Maryla! Did you double all of the other ingredients? It sounds like something may be off (or perhaps the temperature of your butter or cream cheese is too cold?). This is a pretty soft frosting recipe – I sometimes have had to add a little extra powdered sugar in order to thicken it up so it can pipe onto cupcakes and hold its shape. That being said, definitely follow the sensory indicators in a situation like this. After doubling the other ingredients and following the instructions, add the powdered sugar one cup at a time, until light and fluffy (and to your desired thickness). You can add additional heavy cream/milk to thin it out if needed. Please let me know what you ended up doing, fingers crossed you were able to solve the issue and the frosting tasted amazing!
I can’t believe I haven’t used cake flour before because whatever it did to these cupcakes made them so fluffy and delicious. Thank you!
hello! LOVE alllll of your never fail to be delicious recipes! I was wanting to make funfetti cake pops …(and since I refuse to use anyone else’s recipes anymore ha) do you happen to know if the cake to frosting ratio would make for the right dough consistency or would i just have to play around? and also just as a personal opinion, do you think the cream cheese frosting would make it too sweet with the chocolate outside? thanks for everything!
Hi Elyse! I’m sorry but we don’t know how to answer this, as we haven’t tried and don’t have a ton of experience with cake pops. Hopefully one of our other readers will better be able to help. Let us know how it goes 🙂 Happy baking!
First sheet cake I’ve made, moist cake and great pairing with the icing!
Great recipie!! delicious flavor!
it bakes a bit wierd……. but overall a great cake
not for begginers tho
Moist and nice flavour with the almond extract. The middle of mine was a little underdone and I baked it a good 8min past the suggested bake time. Not sure what happened?!
This cake was quite easy to make, and is quite festive! Haven’t had a chance to taste it yet as we are using it for a party tomorrow, but the batter, and frosting tasted delicious!
Delicious! And easy! Really good moist cake and yummy frosting. Birthday cake perfection.
This cake was so delicious and easy to make! I’ve been trying to find the perfect funfetti cake and I have found it!