This post may contain affiliate links. Read our disclosure policy.
I could go on and on about how much I adore chocolate + peanut butter. But hopefully if you’re reading this post then you’re already sold on the combination.
Or you love someone who loves chocolate and peanut butter.
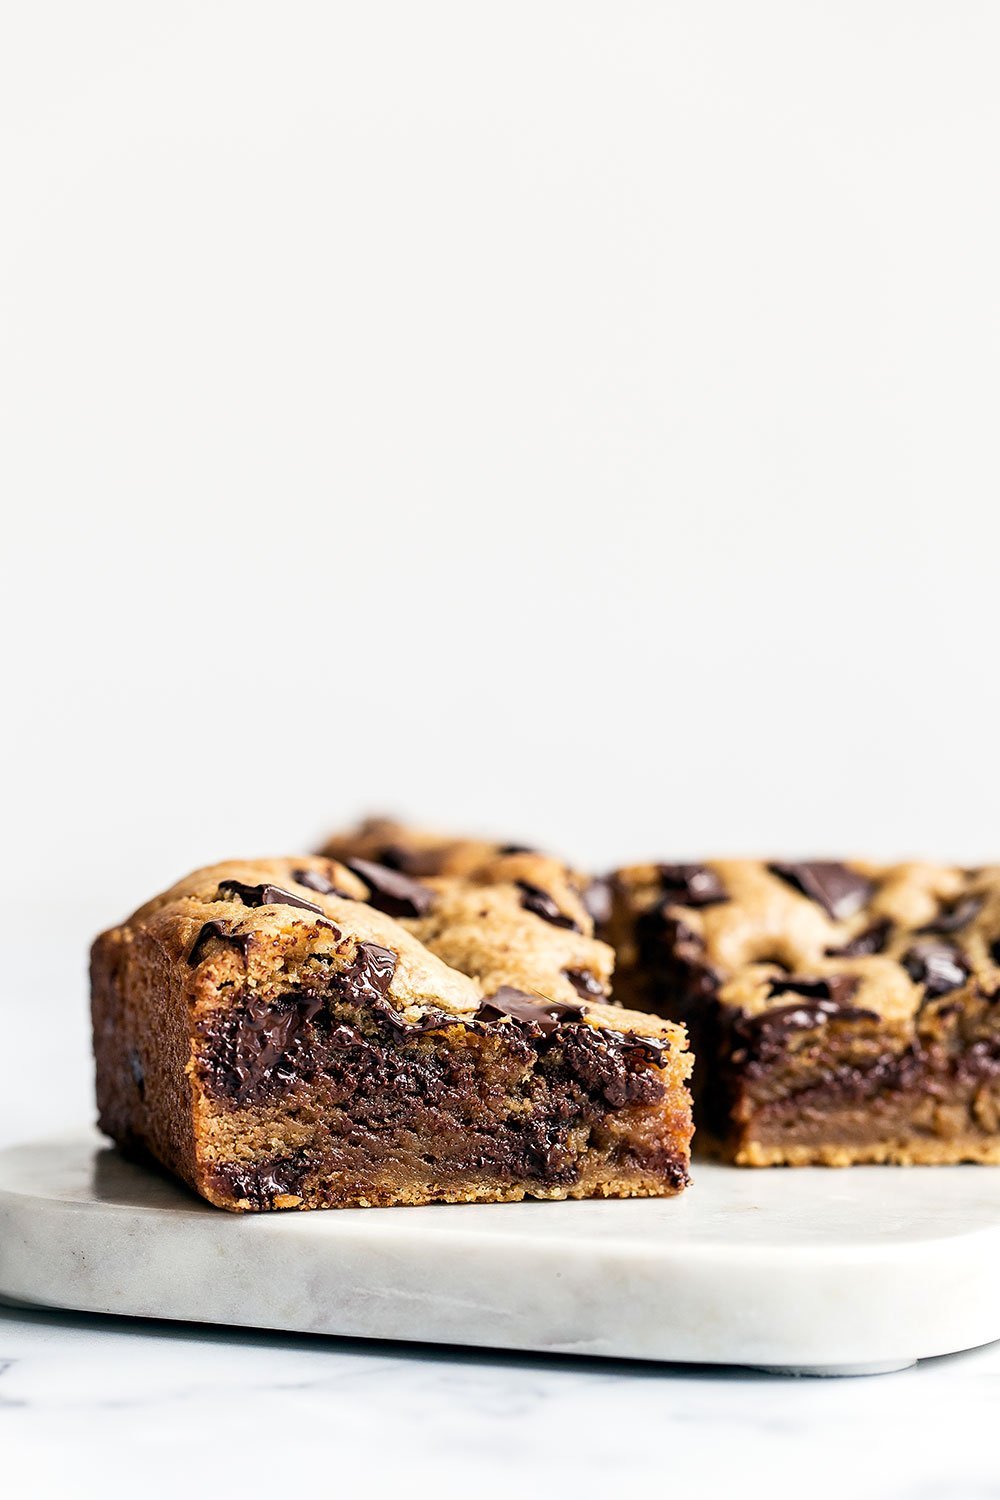
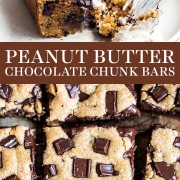
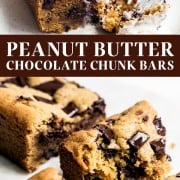
Either way I have a feeling these Peanut Butter Chocolate Chunk Bars will become a staple part of your baking repertoire.
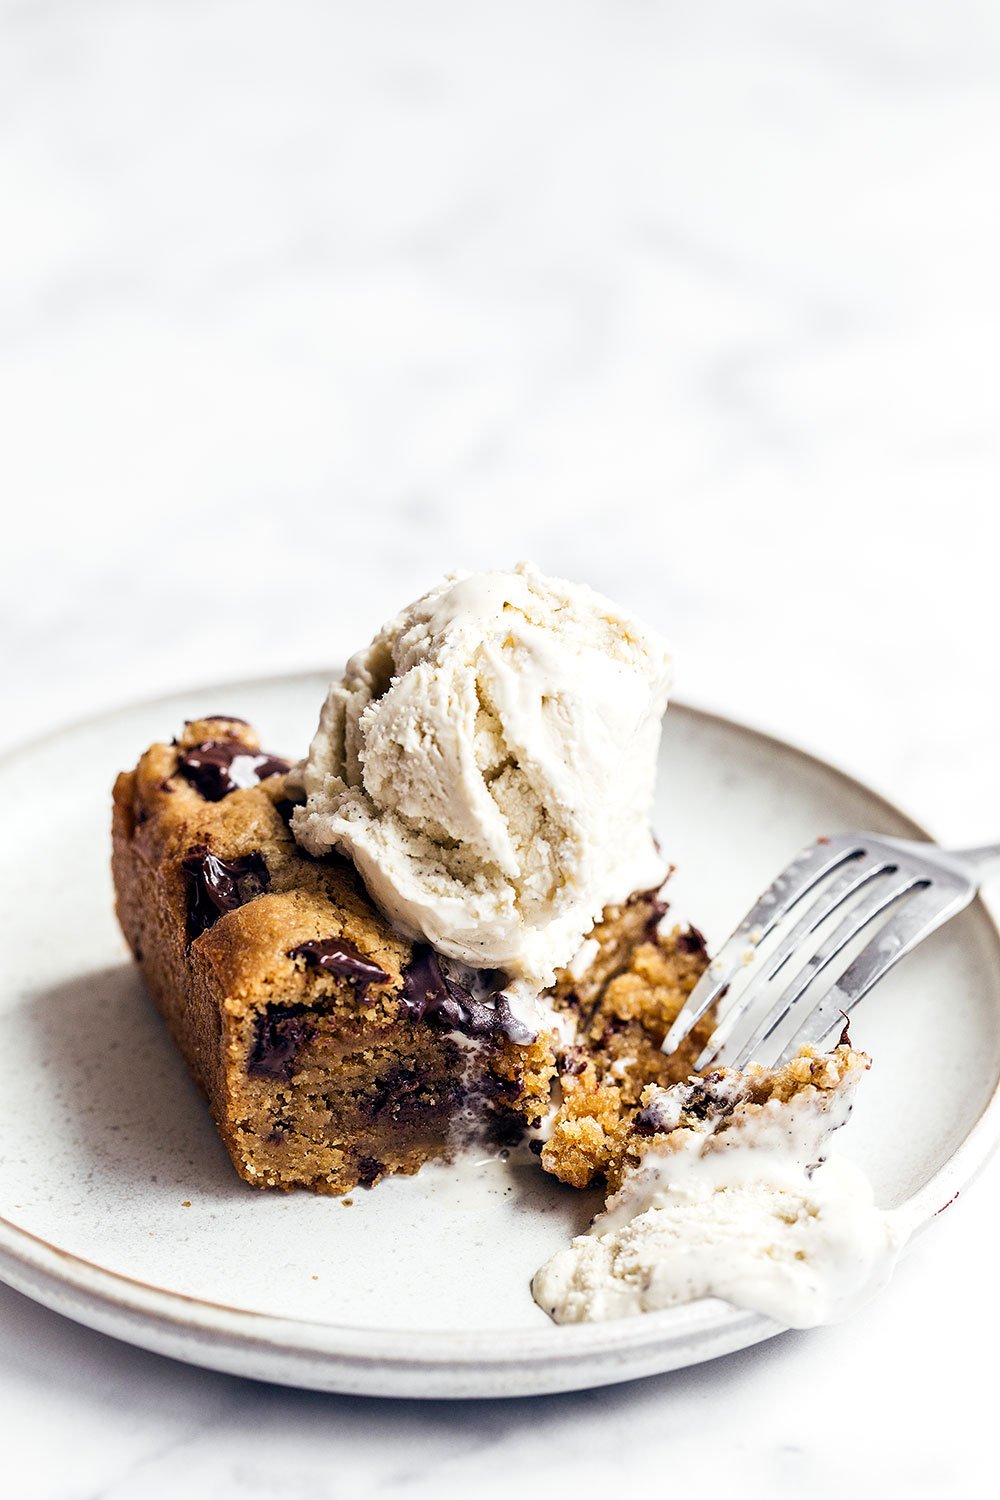
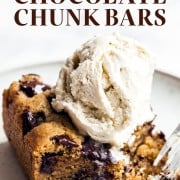
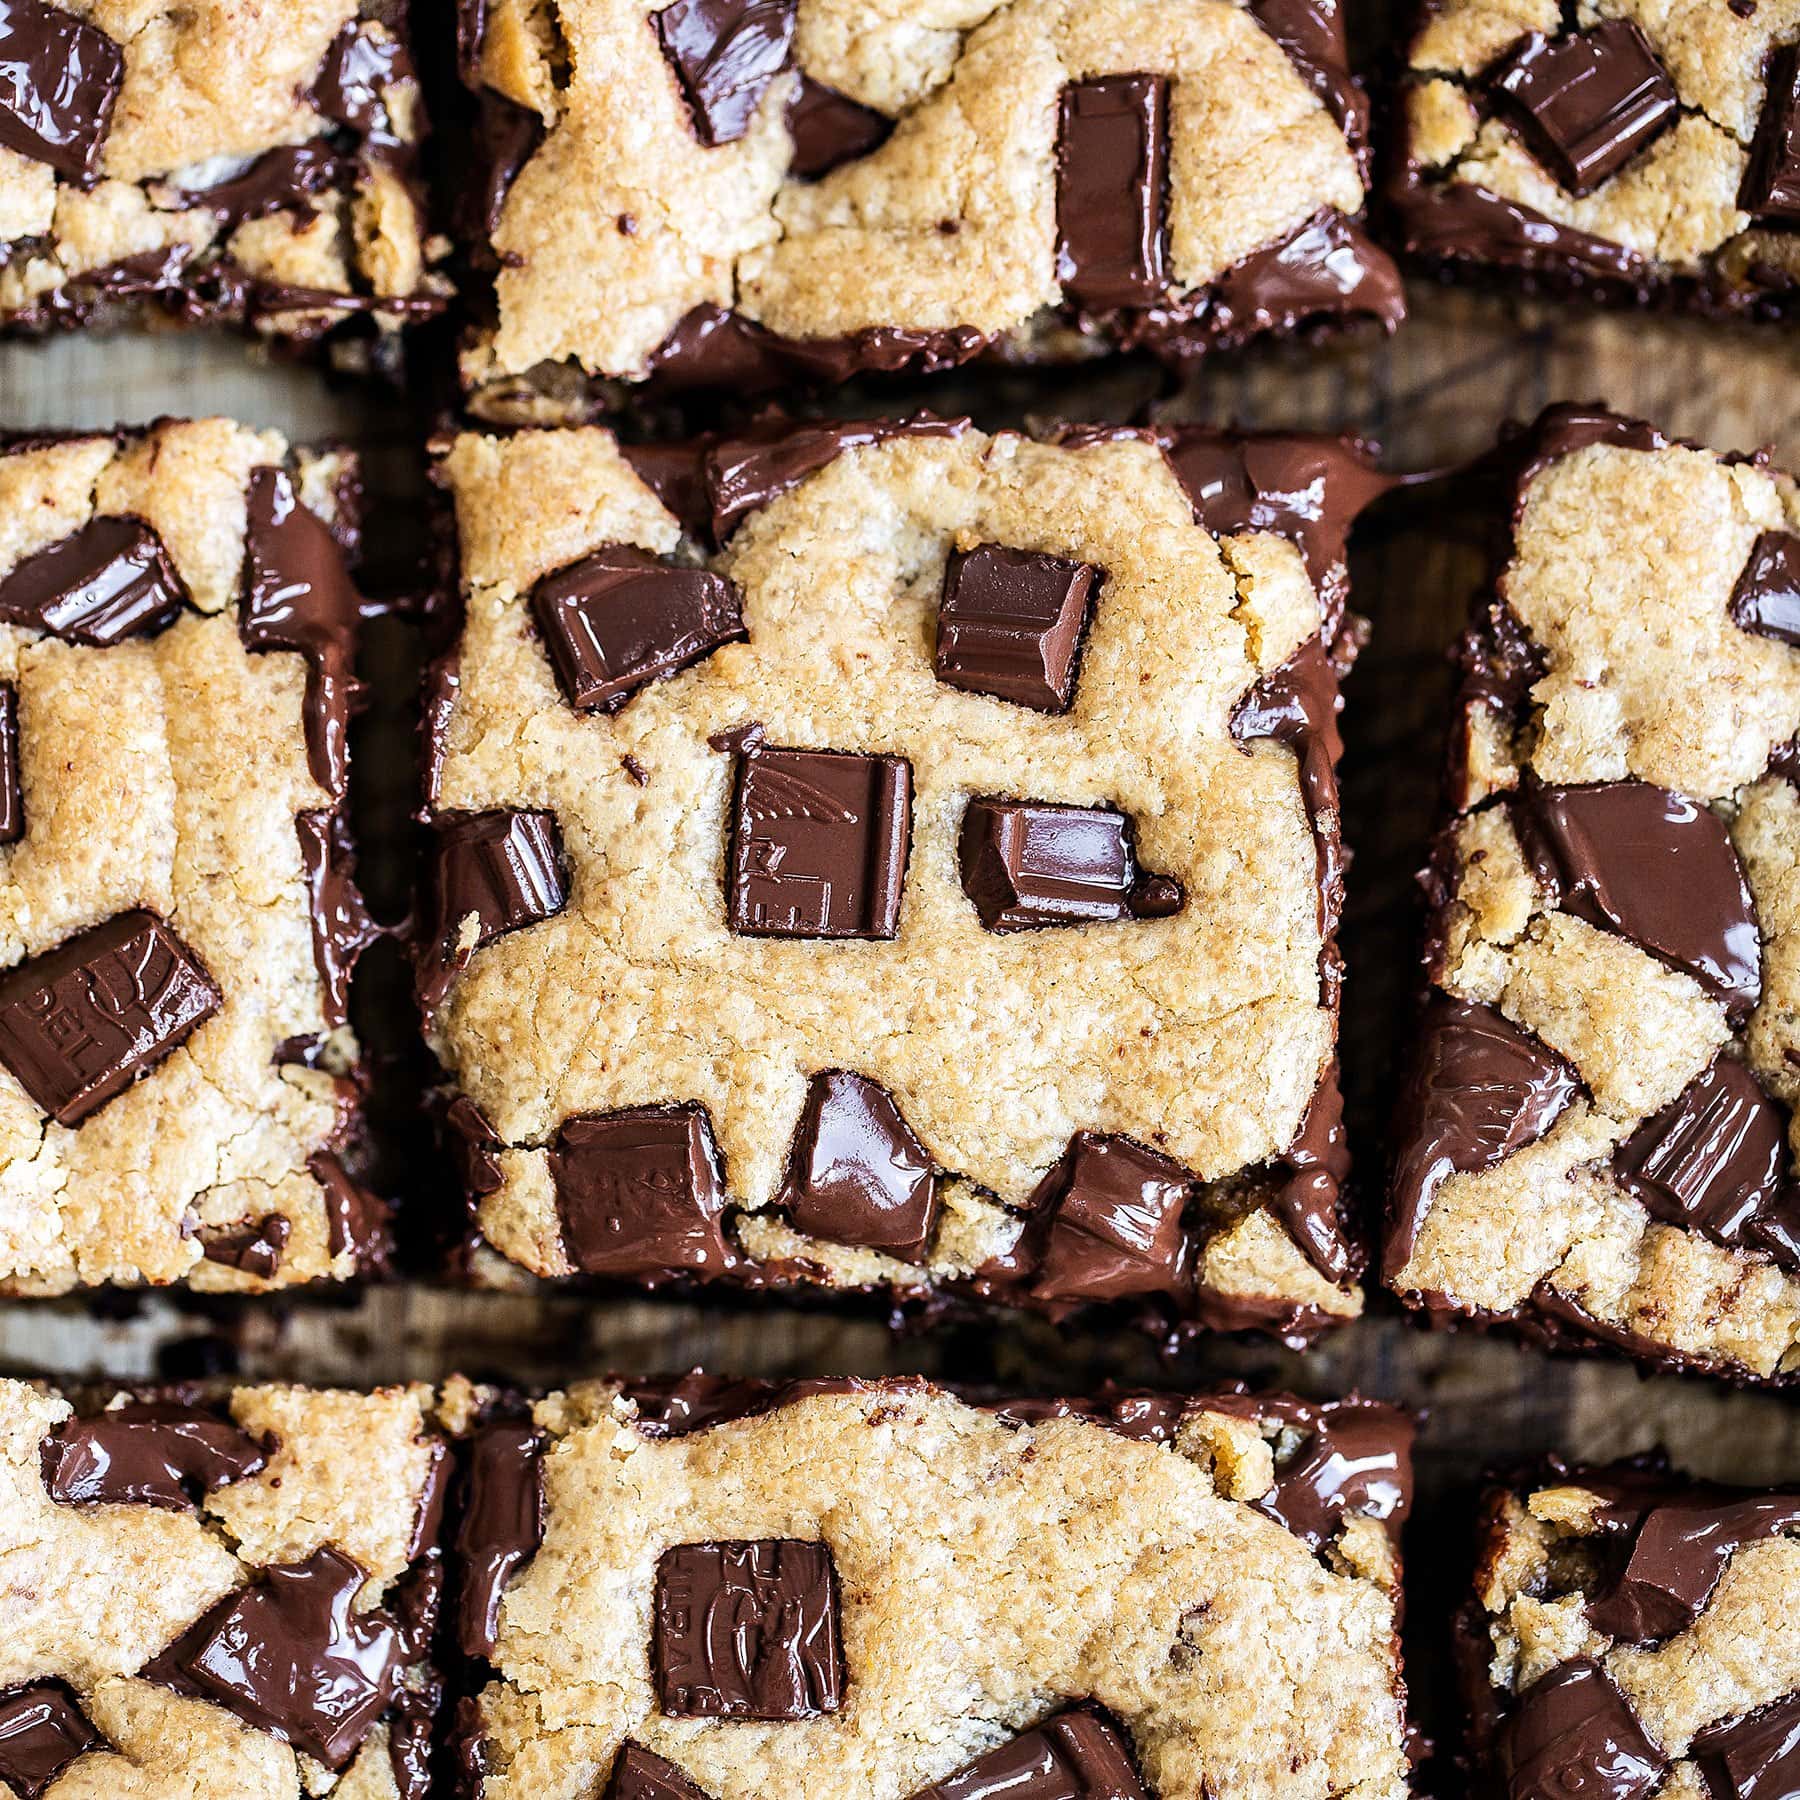
They’re super quick and simple to throw together, and you likely already have most of the ingredients on hand. I love that they’re thicker than a cookie and you can serve a slice with a scoop of ice cream on top. YUM.
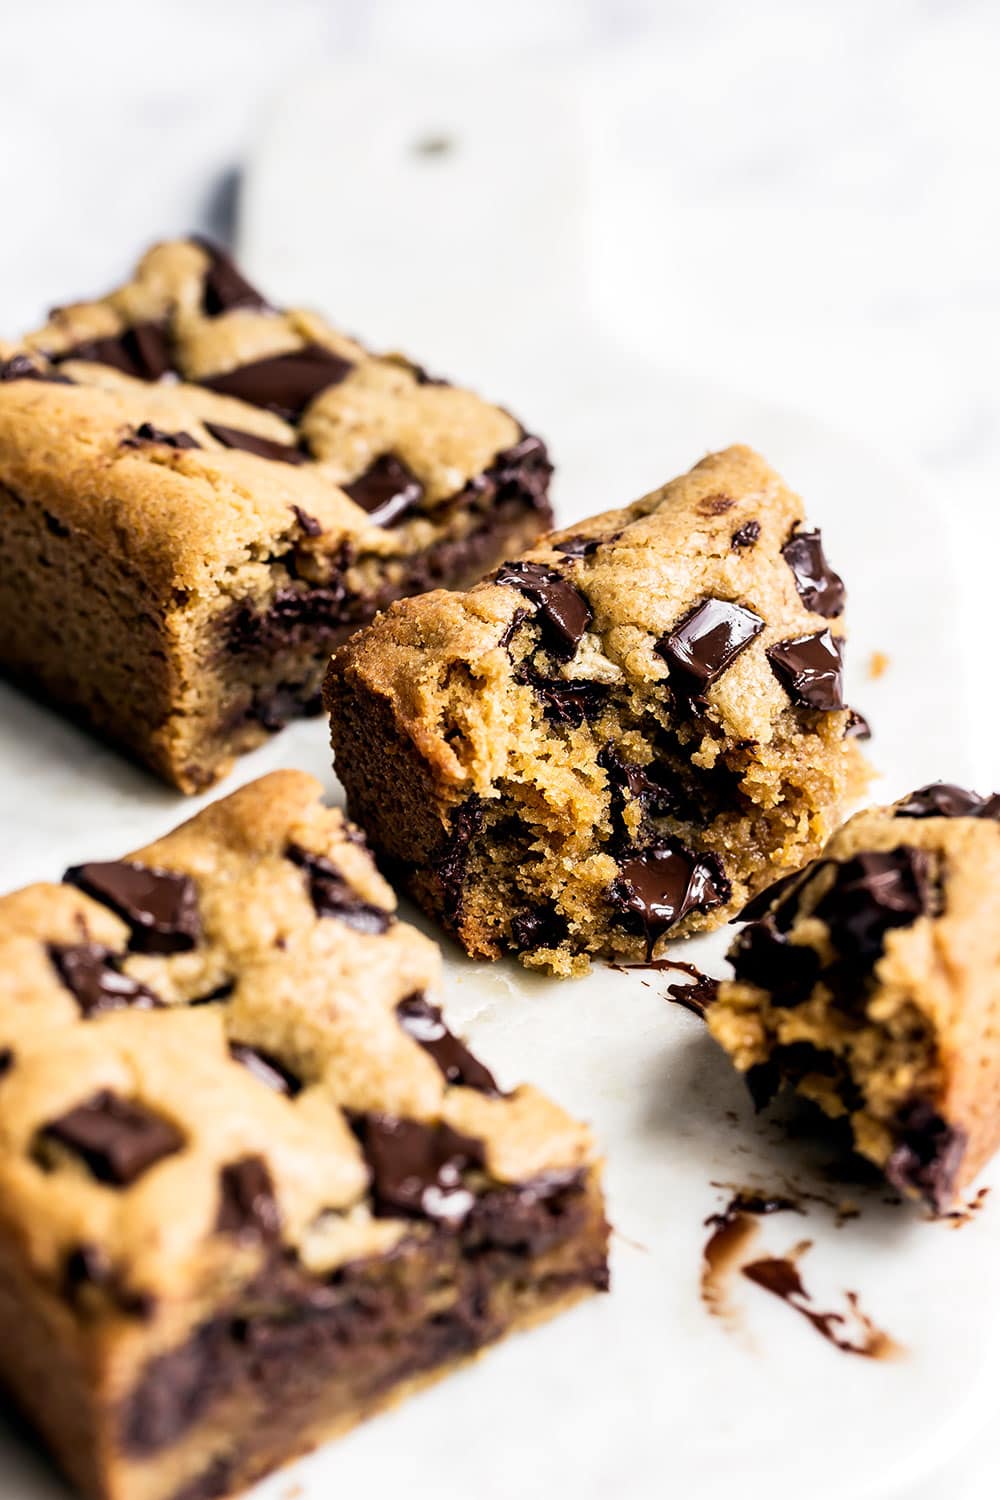
Most of the time when I’m craving something sweet I want something with a substantial texture. Whether that’s thick, fudgy, rich, dense, chewy, gooey, or crunchy, I’m all about the texture.
That’s probably why I’d take a cookie, bar, or brownie over a slice of cake almost any day. I might be the only one who feels this way, so if you agree please let me know in the comments below!
Peanut Butter Chocolate Chunk Bar Recipe Tips
The Peanut Butter
Don’t use an all natural peanut butter that separates easily in this recipe. I’ve used Skippy “natural” peanut butter, which doesn’t separate, with success.
The Chocolate
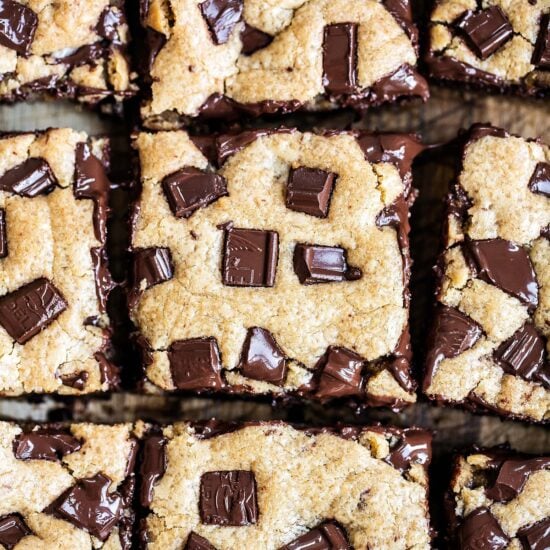
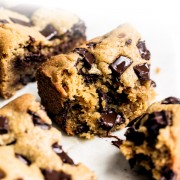
Besides the peanut butter, this is the most important ingredient! Be sure to use high quality baking chocolate, like Ghirardelli. I prefer to chop the chocolate myself so I know it’s fresh and just the right size.
I find semisweet or even milk chocolate works best in this recipe. Bittersweet is just too dark to complement the nutty slightly salty peanut butter flavor.
Brown Sugar
This is a must for this recipe! Brown sugar adds moisture, extra chewiness, and that wonderful butterscotch flavor which complements the peanut butter so well. Here’s a helpful video article I wrote about how to DIY and store brown sugar.
Baking
I tested this recipe using an 8-inch square metal baking pan. If you use a glass or ceramic pan, you’ll likely need to increase the baking time. Just a hint: metal pans tend to make for chewier crunchier corner pieces.
The bars may bake up taller at the edges and slightly sunken in the center. If this happens, don’t worry too much. It’ll taste delicious no matter what! The edges are exposed to the heat first and most intensely so they set more quickly. And because the batter is just so rich this is just a small sacrifice we must make for the most gooey ooey bars possible 😉
Cookie Customization Guide
Although these are technically cookie bars, if you enjoy learning about cookie baking, ingredients, and science then I think you’ll enjoy my free cookie customization guide.
More Cookie & Bar Recipes
Photos by Ashley McLaughlin.
August Baking Challenge
These bars were the recipe selection for the August 2018 Baking Challenge! Learn more about my monthly baking challenges here.
-
1
stick (113 grams) unsalted butter
-
1 3/4
(350 grams) cups light brown sugar
-
1/2
cup
(135 grams) smooth peanut butter
-
2
eggs plus one egg yolk
-
1
teaspoon
vanilla extract
-
2 1/4
cups
(286 grams) all purpose flour
-
1
teaspoon
baking powder
-
1/4
teaspoon
baking soda
-
1/2
teaspoon
salt
-
6
ounces
(170 grams) semi-sweet chocolate chunks
-
Preheat the oven to 350°F. Line an 8 by 8-inch metal baking pan with parchment or foil.
-
In a saucepan over medium heat, melt the butter. Add the brown sugar, stirring until smooth. Remove from the heat and stir in the peanut butter. Allow to cool.
-
In a large mixing bowl, combine the flour, baking powder, baking soda and salt.
-
Once the butter mixture is cool, add the eggs and yolk, one at a time, until well combined. Stir in the vanilla extract. Pour the mixture into the prepared dry ingredients, and stir to create a very thick dough-like batter. Fold in 3/4 the chocolate chunks, reserving the rest for sprinkling on top.
-
Transfer the batter to the prepared pan, spreading evenly to the edges. Sprinkle with the remaining chocolate chunks, lightly pressing them into the batter.
-
Bake for 30 minutes, or until the top is golden and the edges are slightly browned. Allow to cool in the pan. Use the parchment to remove the bars before cutting into squares and serving. Store in an airtight container at room temperature for up to 3 days.


Do these freeze well? I am baking for a wedding and putting cookies in the freezer until needed.
Hi Marisa! I’m sorry, but we haven’t tried freezing these bars. Let us know how it goes if you give that a try! 🙂
Usually Tessa’s recipes are spot on. But this one… after 30 minutes, the edges and top were brown but the middle was so raw. I didn’t find out till after it had cooled completely and I cut into it. Preheated the oven again to 350 and put it back in for another 12 minutes… still raw in the middle and by that time the edges and top were overcooked. I ended up trashing it because I can’t serve something like that.
I used my usual 8×8 dark metal pan. Followed the recipe except I used jif chunky instead of creamy, since it’s what I had.
I don’t know why it wouldn’t cook in the middle.
Hi Cindy! I’m sorry to hear these bars didn’t turn out as you had hoped! It’s so hard to know what went wrong without having baked alongside you, but I have a few thoughts as to what may have gone wrong.
– How do you measure your ingredients? By volume (using cups), or by weight (using a digital kitchen scale)? When measuring by volume, it’s so easy to mis-measure flour/sugar/etc and throw off the entire chemistry of a recipe. Tessa talks about how to best measure ingredients to ensure accuracy every time, in this article here!
– Your oven might be running a little hot – which can cause the top to brown before the center is done. Do you have an oven thermometer to check that? Check out Tessa’s article here about ovens, full of great tips!!
– Lastly, you mentioned you used a dark metal pan. Unfortunately, dark metal pans tend to cook the outside quickly, leaving the middles underdone, more so than lighter colored metal pans. Perhaps this rich batter just couldn’t quite bake evenly in the darker pan.
Hopefully something here helped! Feel free to reach back out to us with any further questions – we are always happy to help!! 🙂
Thanks Kiersten for the reply.
This is actually the first recipe that I’ve tried using a scale instead of by volume.
I don’t have an oven thermometer, but I’ve baked plenty of cookies, bars, cupcakes, and quick breads successfully using the temperature in the recipes.
Maybe it is the combination of the rich batter and dark pan.
Anyways, thanks again for your help!
U-N-B-E-L-I-E-V-A-B-L-E ❗This recipe is outstanding! Super rich texture, gooey and addictive, peanut butter and chunks of chocolate that melt in your mouth, an unusual and special dessert! Thank you so much dear Tessa! I plan to make all the recipes on this amazing site! Lol
So happy to hear how much you love this recipe! Thanks for the comment 🙂
I made this today for my husband and his buddies and it’s absolutely delicious!
The feedback was great and I got someone who doesn’t like peanut butter eat 2 bars of these hehe.
Will make again for sure 🙂
That’s fantastic! So happy to hear they were such a hit 🙂
Thank you
There were delicious! My only comment is that they needed to be cooked about 10 minutes longer than the recipe stated. They were pretty raw in the middle after 30 minutes:
Hi Manda! Thanks for your feedback! What kind of baking pan did you use?
veryyyyyyyyyyyyyyyyyyyyyyyyyyyyyyy goooooooooooooooooooooooooooood
Love the idea of this! Do you think this would work as one- or two-bite bars, made in a mini-muffin tin (with obvious adjustments to the cooking time)?
I haven’t tried that, but it sounds delicious! Of course, if you’d rather make it easier on yourself, you can always just cut these bars into smaller bites 🙂 Let me know how it goes if you try it the other way!
These are soo delicious! Very rich, dense, gooey on the inside and crisp on the outside. Delicious chocolate Chip Cookie with a light touch of peanut butter flavour. I’m afraid to think about how many calories these have haha
My bars were done within 25minutes so do keep an eye on them.
These are definitely an indulgent treat for sure, but so worth every calorie! 😉 I’m so glad you gave this recipe a try.
Hey Tessa! Can I make the dough one day ahead and cool in the fridge for baking the next day? Or generally what would you say how long do they keep their freshness/flavor? 🙂 Thanks!
Since the bars last up to 3 days at room temperature, you could bake them the night before to enjoy the next day! Hope that helps.
thank you.ایهام زیبا جان
Tnx for sharing, very good job
Like
Tnx for sharing, very good job
Thank you for this post دانلود جدیدترین آهنگ ها
My first try at this recipe was wildly unsuccessful. I used the weight measurements provided but 350 g of brown sugar turned out to be waaaaay more than 1 3/4 cups, so the butter/sugar/peanut butter mixture turned into a solid block. The electric mixer couldn’t handle it, and a whisk handle melted onto the pot in the process.
Pictures of the recipe step by step would have helped, for instance what does it mean by ‘until smooth’.
In the end, I tried a second time, using the volumetric measurements intsead and by following the initial steps of the peanut butter cheesecake brownie receipe (mix melted butter into peanut butter, then add the sugar and eggs).
Thank you for this post – https://دانلود-آهنگ-جدید.com/music-hamid-hiraad-ragheb-jazzab/