While all of the Arizona locations turned into a Panera Bread years ago, I still dream about some of the Paradise Bakery cookies.
Like their Black & White Chippers. I still remember the first time I spotted those cookies in the café.
Most of the time I think their cookies and brownies are too sweet, but years ago I saw something that I had never noticed before – “black and white chipper” cookies – and was immediately intrigued.
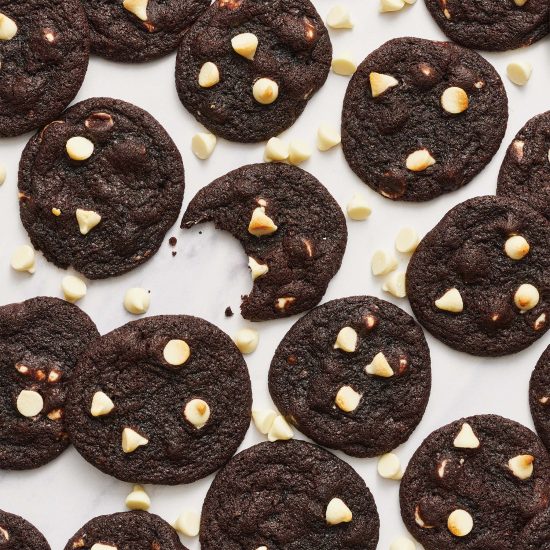
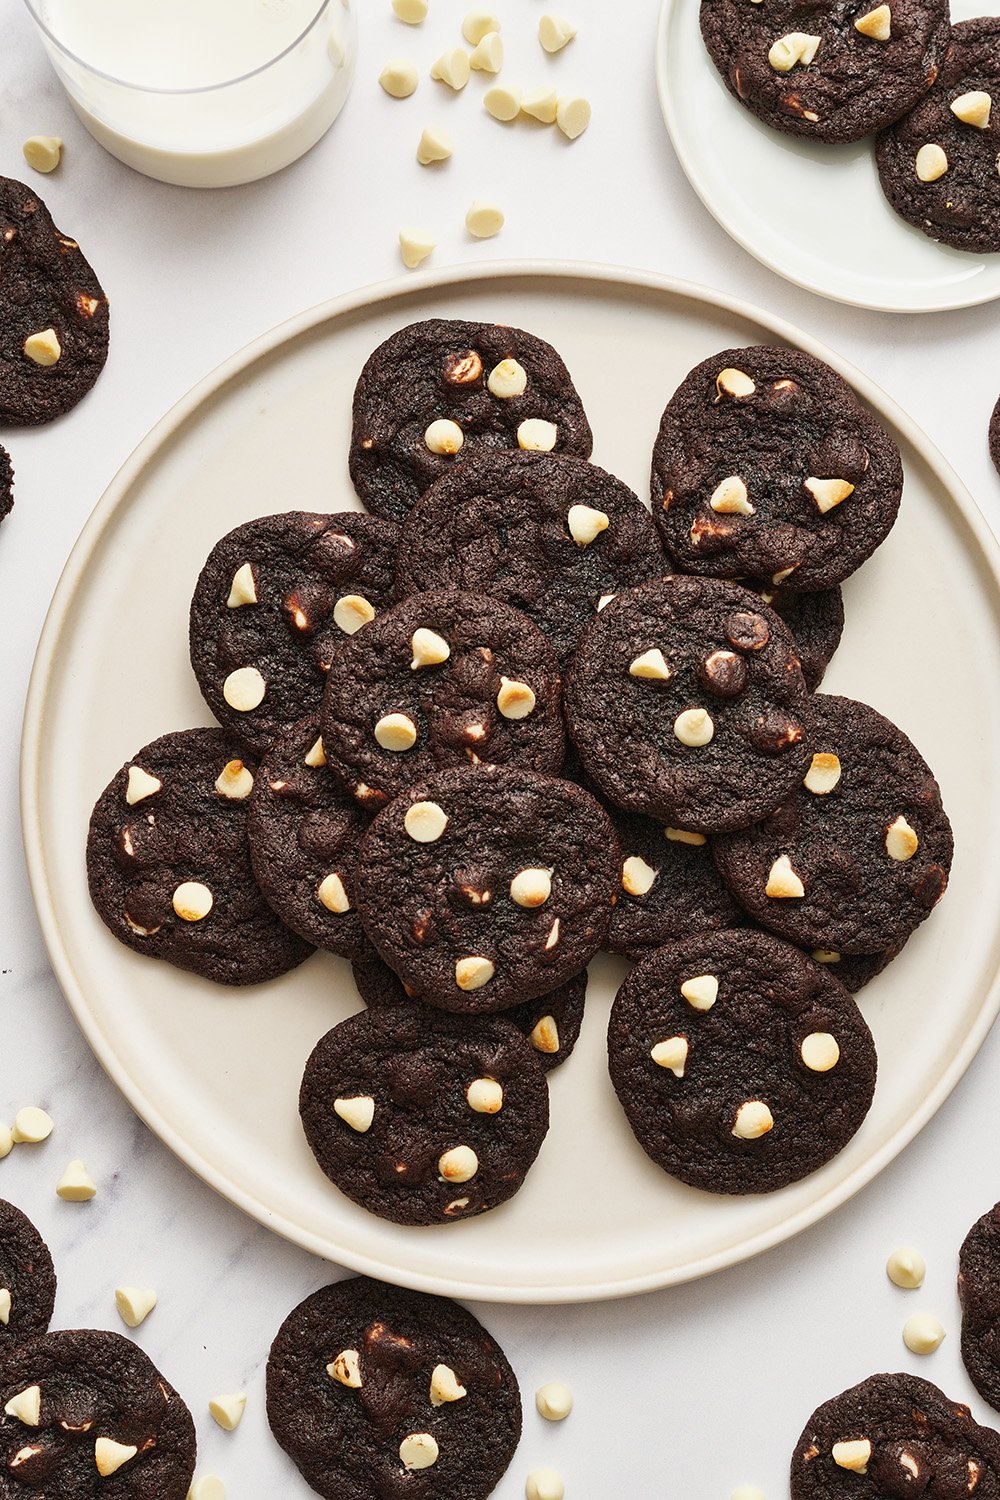
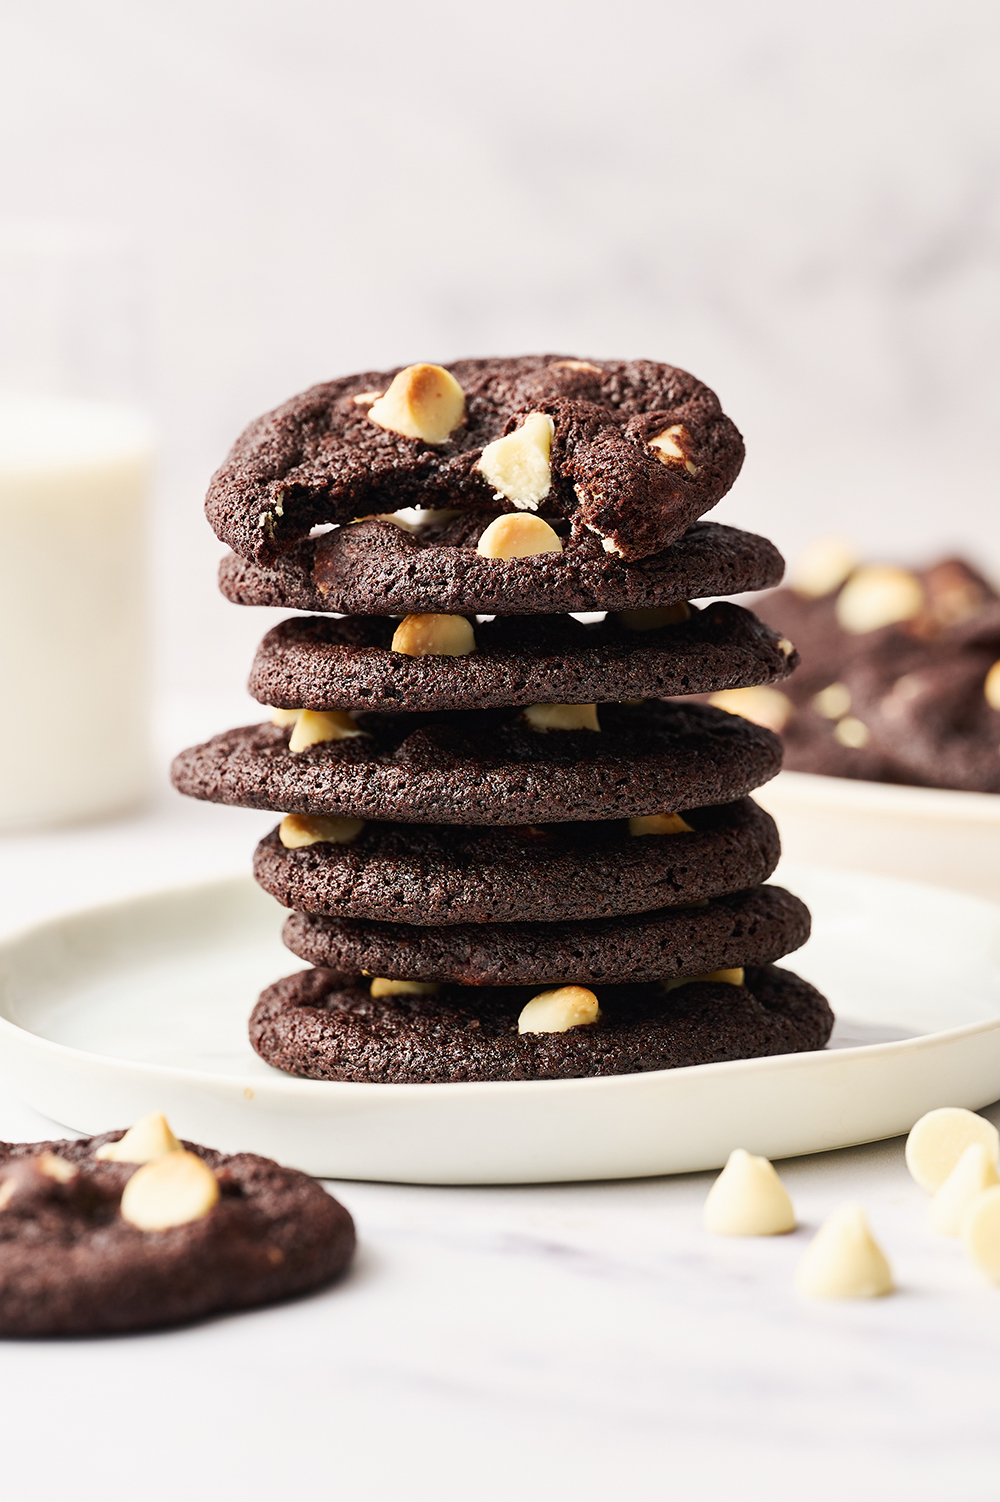
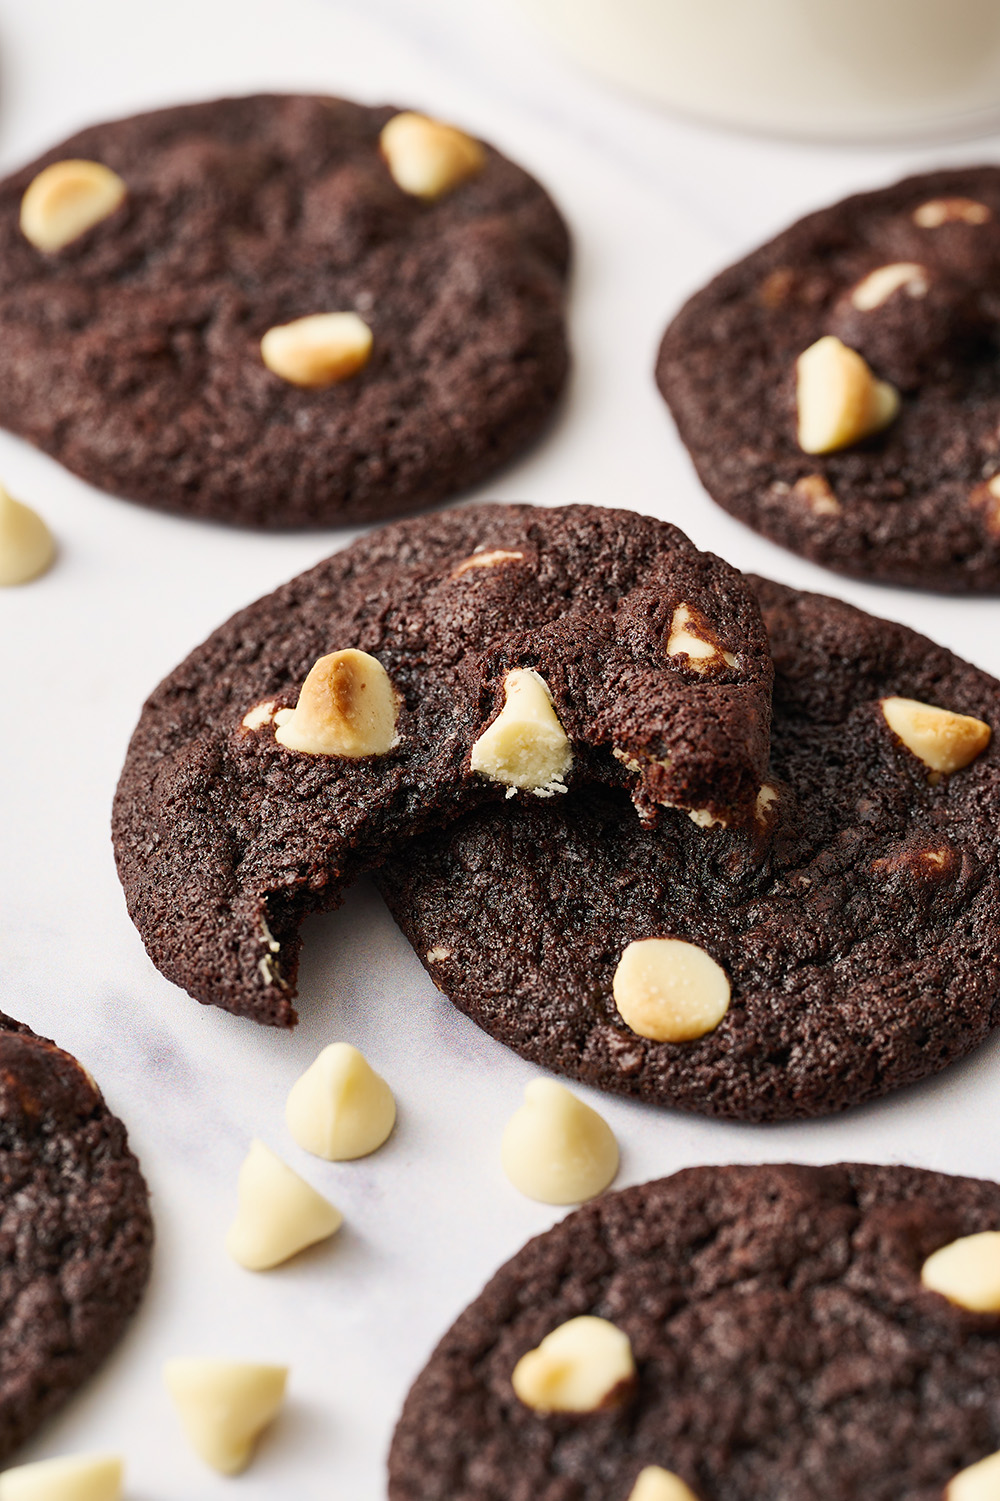
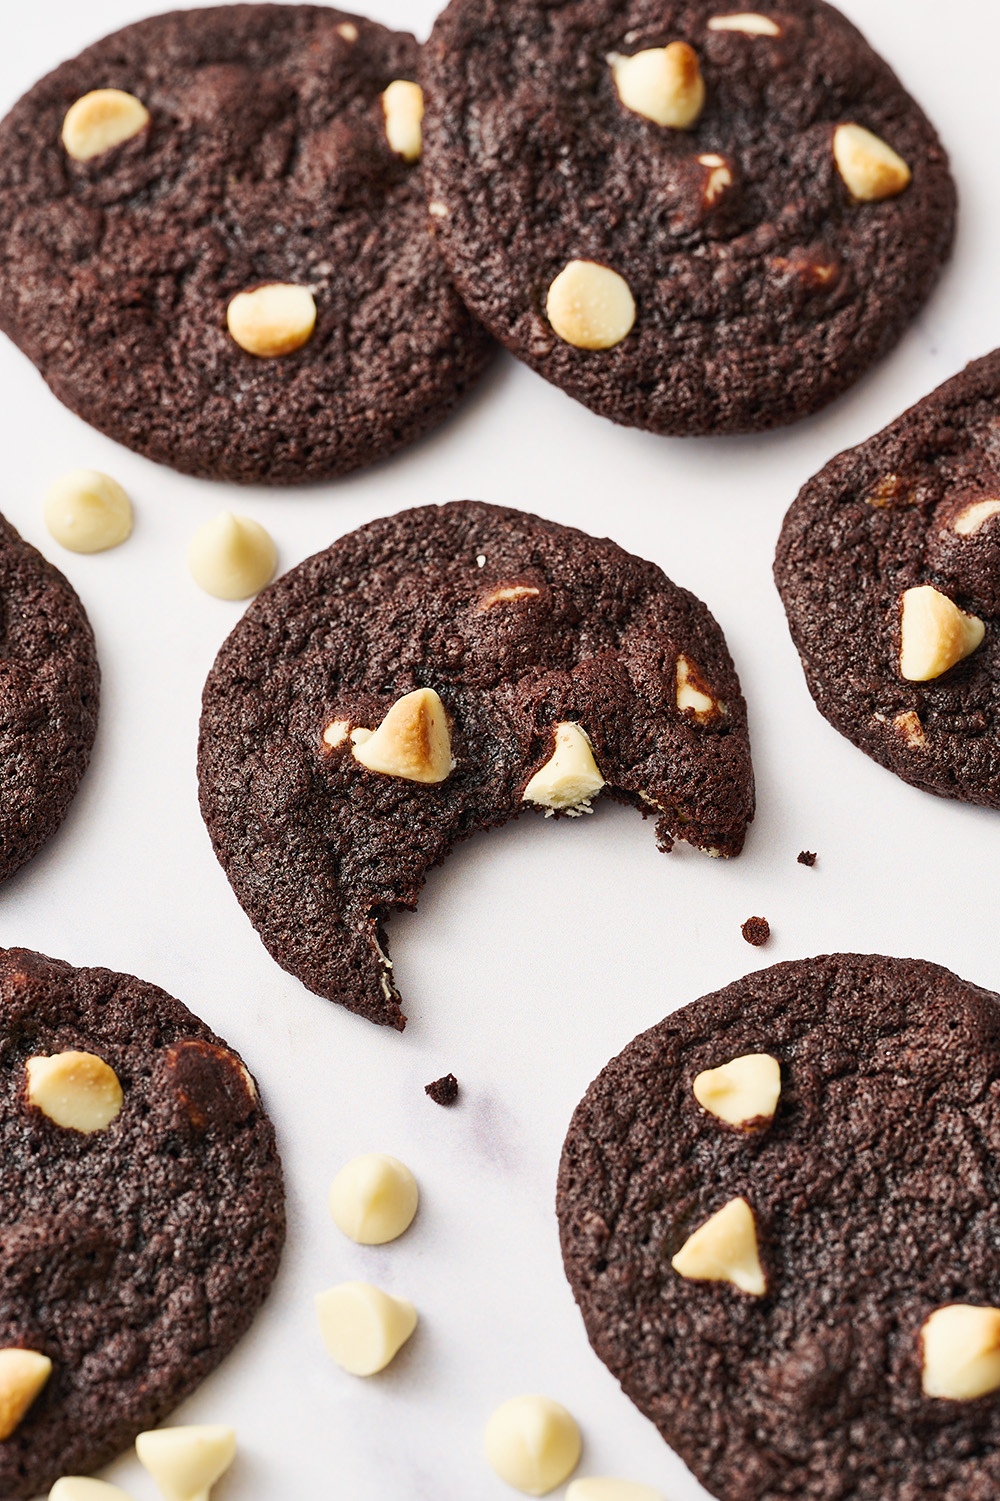
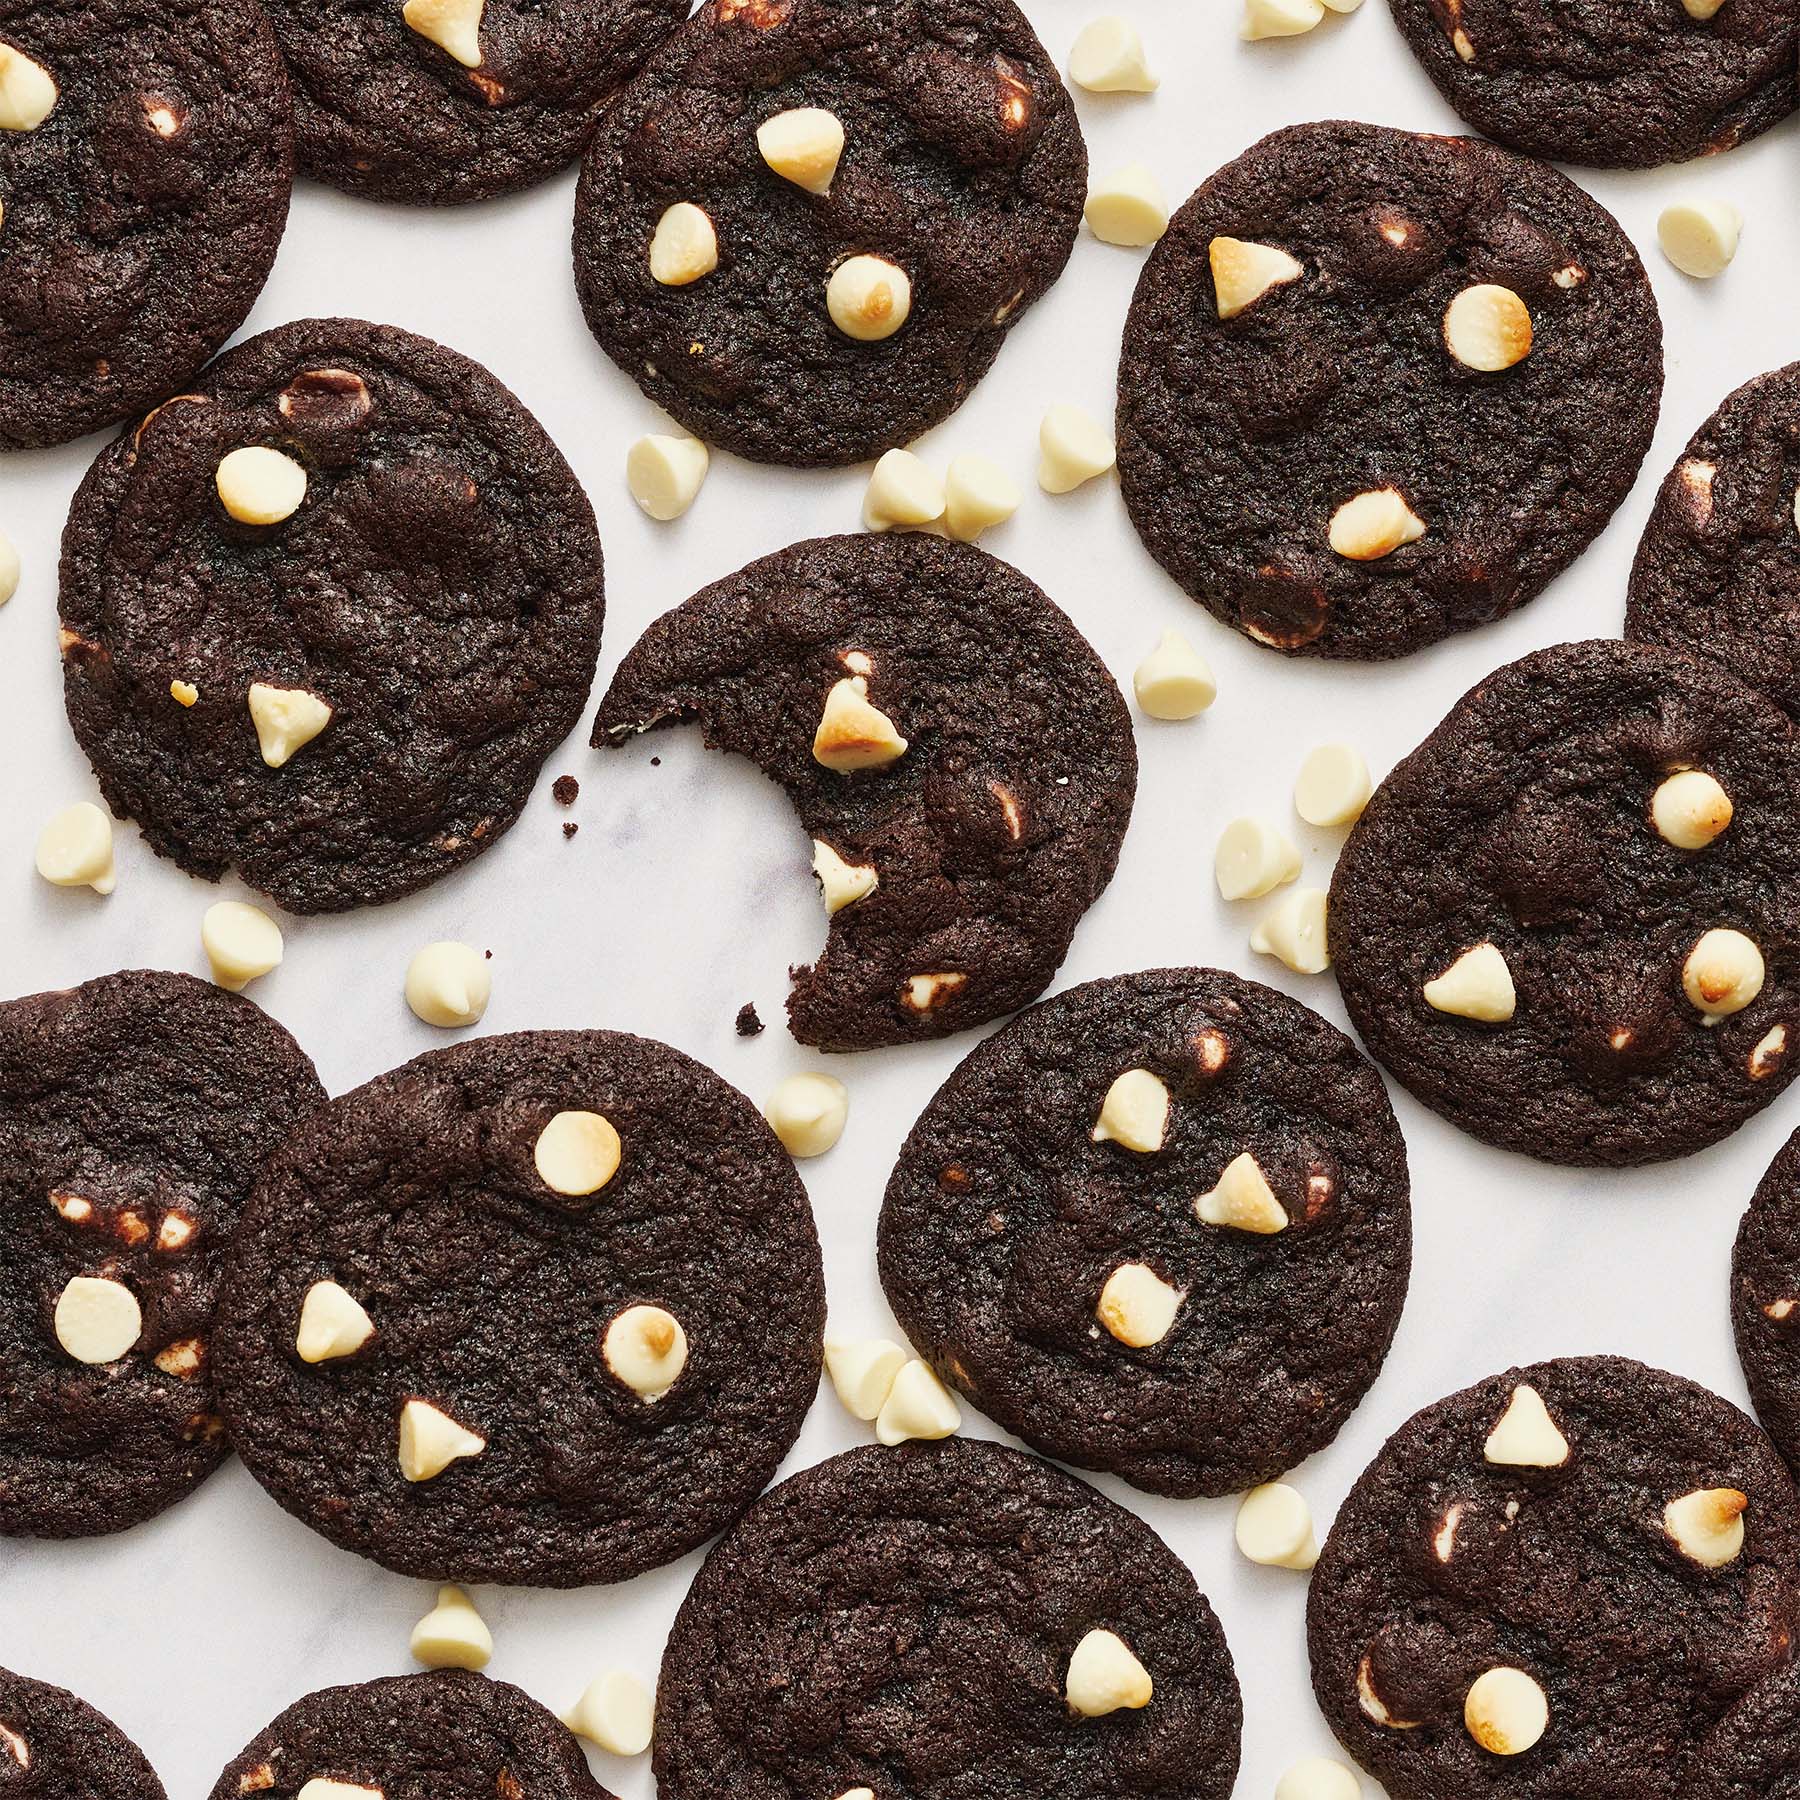
Instead of being what most consider as a black and white cookie (a large cookie iced with equal amounts black and white frosting commonly found in New York), these bite-sized treats had a cocoa cookie base with white chocolate chips studded throughout.
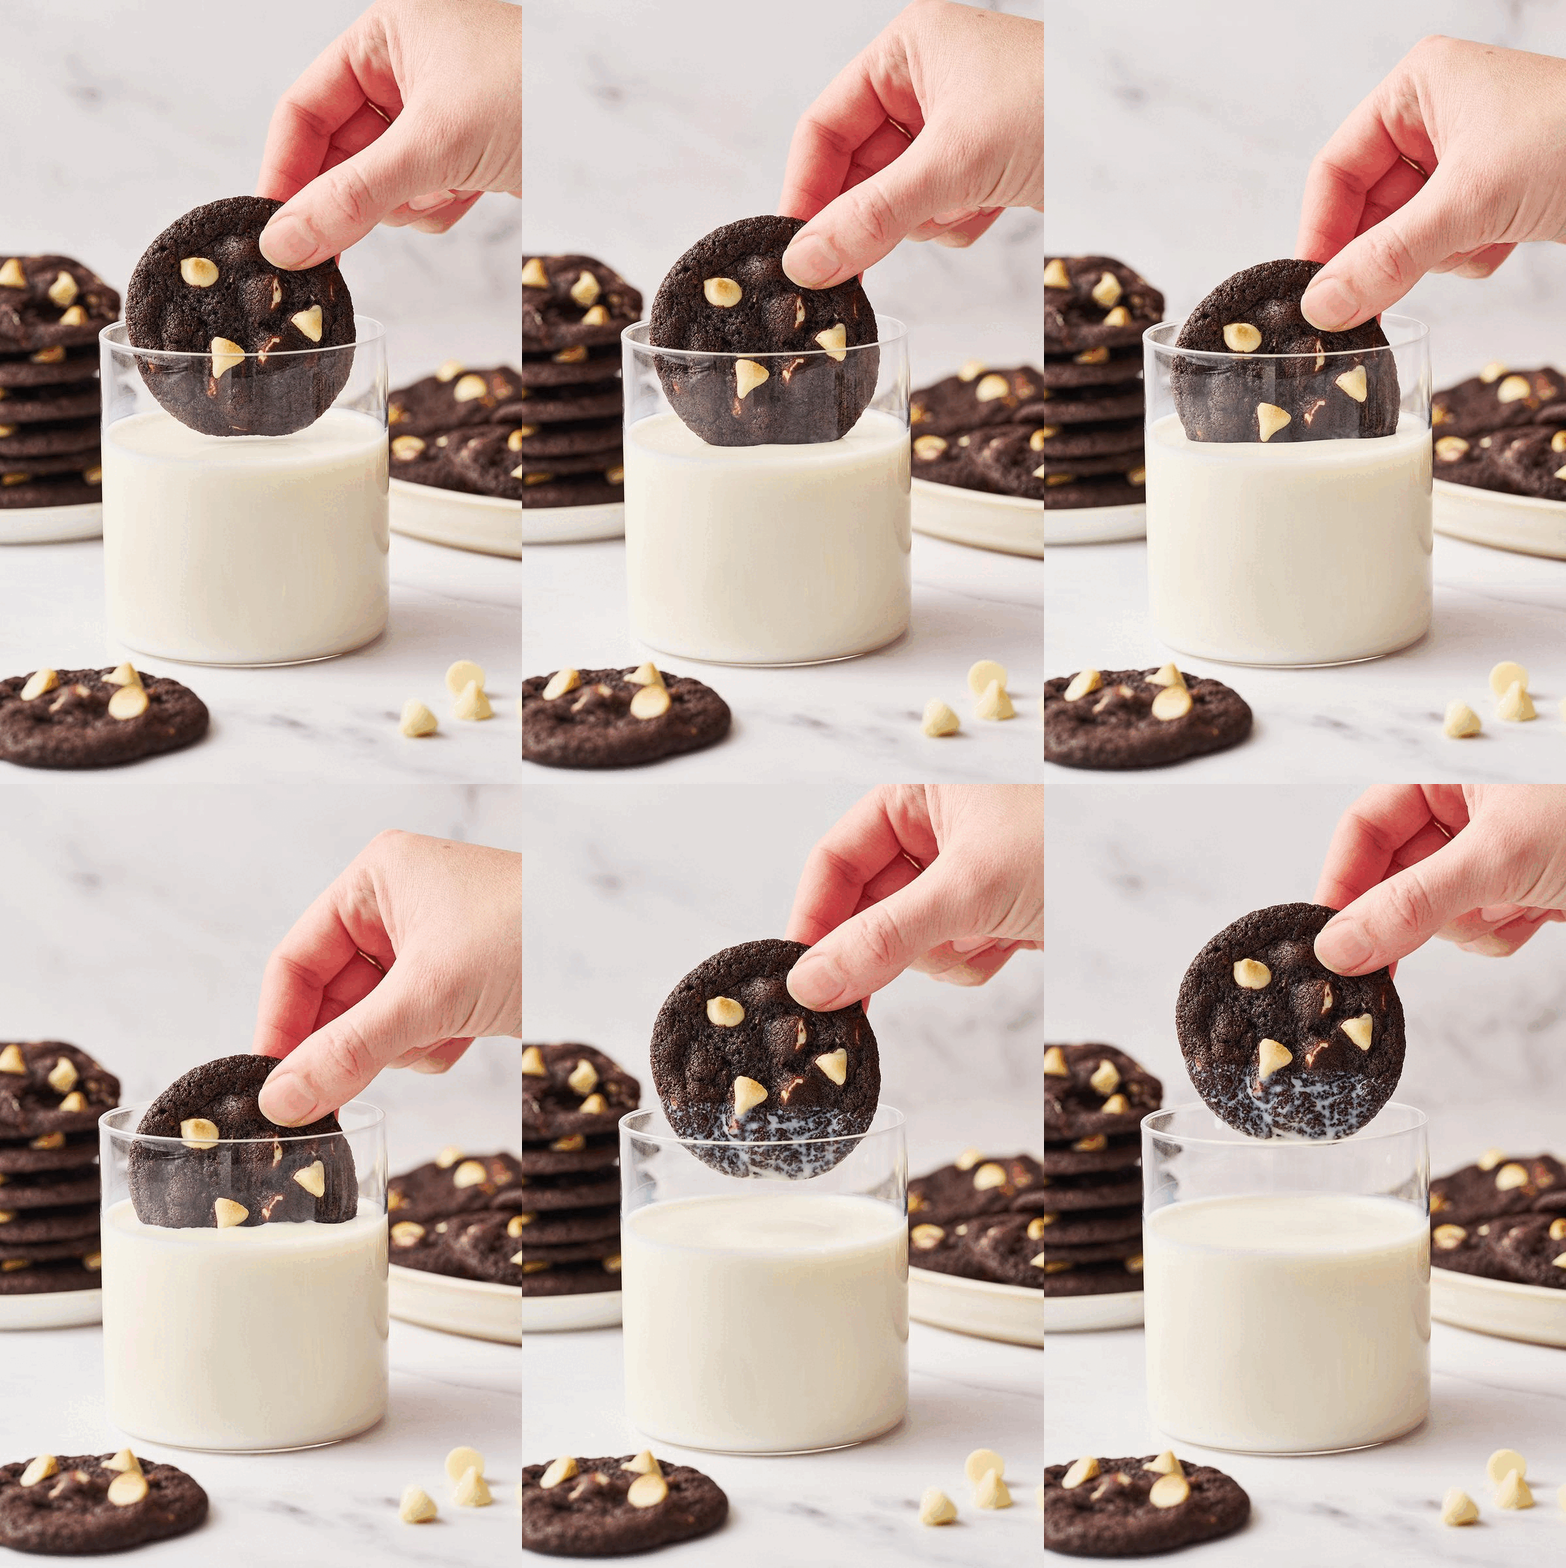
These cookies are very soft and tasty. A batch of these cookies goes perfectly with a glass of cold milk.
How to Make Black & White Chippers
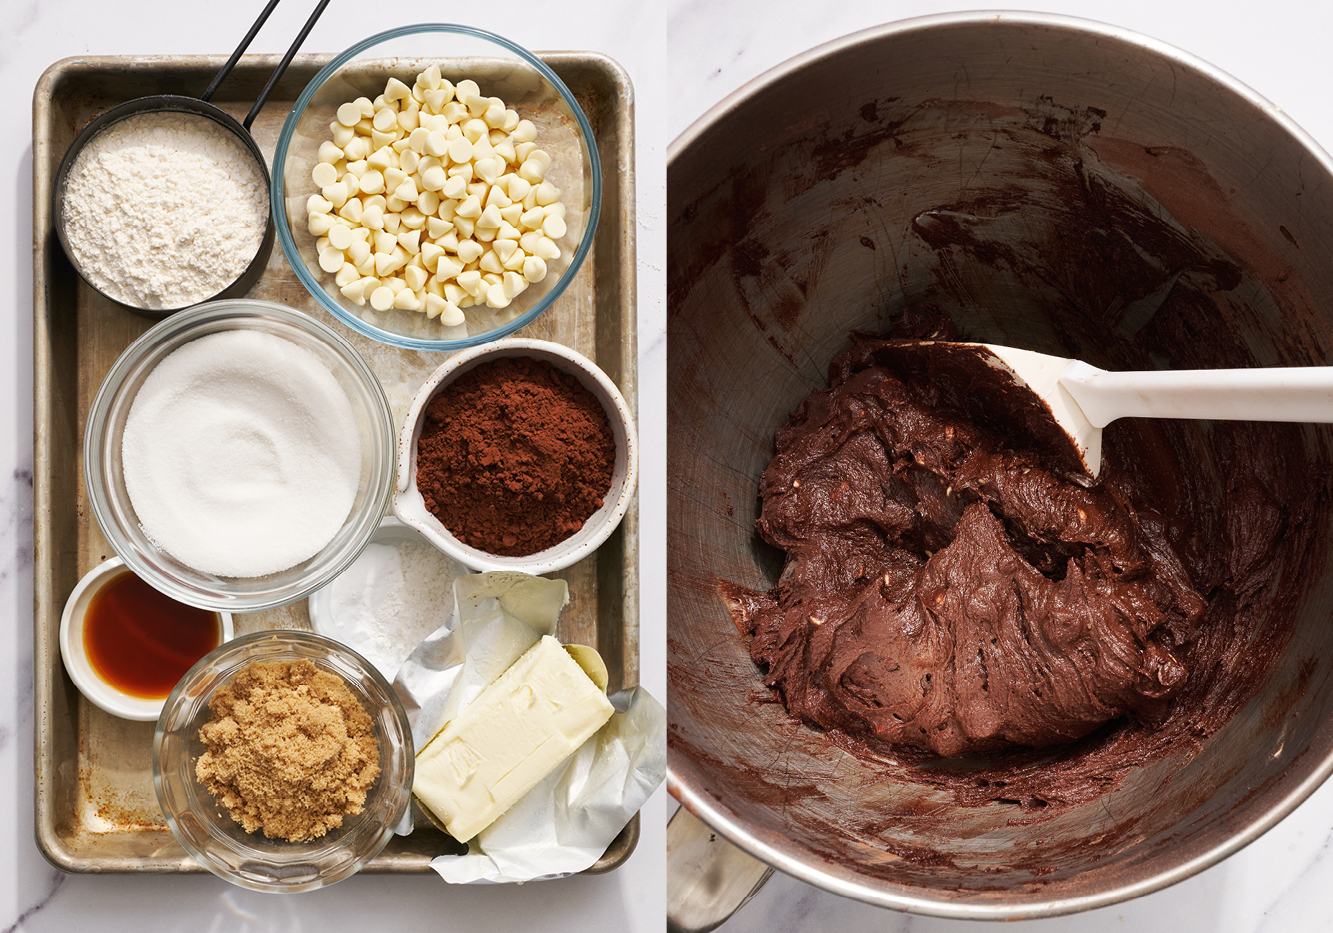
Ingredients for Black & White Chippers:
- All-purpose flour – Measured correctly! If you add too much flour, you may end up with tough cookies that don’t spread, or cookies that taste bland!
- Dutch-process or Black cocoa powder – For flavor and color. I really recommend using black cocoa powder though – it gives a great flavor (think Oreos!) and such a fun color, too!
- Baking soda & baking powder – Sometimes you need both! Check out my Baking Soda vs. Baking Powder article to learn about the science of leavening.
- Fine sea salt – Enhances the flavor and balances the sweetness.
- Granulated sugar and light brown sugar – For sweetness, moisture, and flavor.
- Butter – Always use unsalted butter in baking at a cool room temperature (around 67°F is perfect). Any warmer and your cookies may spread too much.
- 1 egg – At room temperature.
- Vanilla extract – For flavor.
- White chocolate chips – For flavor, and to make these into such unusual, fun cookies! We’ll be setting some aside for decorating so our cookies look picture-perfect! I like Ghirardelli, but you can use any brand you prefer.
What are Black and White Chippers?
A copycat of the famous Paradise Bakery black and white chippers, these are not your Seinfeld-style black and white cookie, aka half moons. These are a cousin of the humble chocolate chip cookie, but with black or Dutched cocoa in the dough itself and studded with white chocolate chips! They’re smaller cookies, thus the name “chippers”!
What type of Cocoa Powder to use for Paradise Bakery Copycat Black & White Chippers?
I recommend using Black Cocoa for the best visual effect, and for a tasty flavor (think Oreos – not super rich in chocolatey flavor, but a distinct flavor nonetheless). It can be difficult to source in stores, but it can be purchased easily online. Alternatively, you can also use Dutch-process cocoa. My favorite brands of Dutch-process cocoa powder are E. Guittard, Penzey’s, Bensdorp, or Valrhona. Regardless of cocoa type, be sure to sift it to avoid clumps of cocoa in your cookies!
How to Make Black & White Chippers:
- Cream the butter and sugars. In the bowl of a stand mixer fitted with the paddle attachment, beat the butter and sugars together on medium speed until light and fluffy, about 3 minutes.
- Add the vanilla and egg. Scrape the bowl of the creamed mixture down before adding in the vanilla extract and the room temperature egg, beating well to combine.
- Combine the dry ingredients. In a large bowl, sift together the flour, cocoa, salt, baking soda, and baking powder. Gradually add in the dry mixture to the wet ingredients and beat until a slightly sticky dough forms.
- Stir in the chocolate. Fold in the white chocolate chips with a rubber silicone spatula.
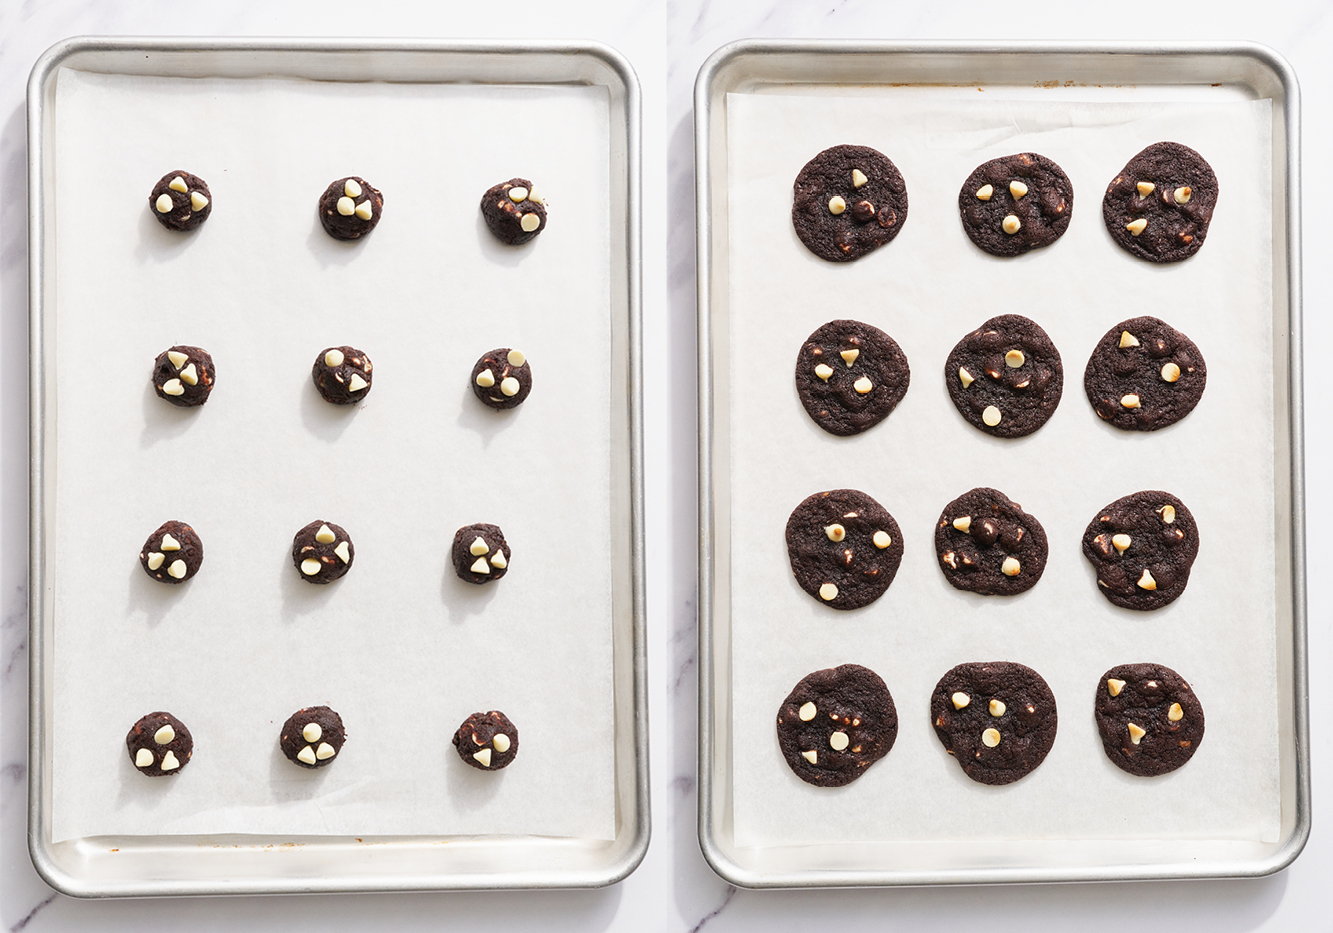
- Portion out the cookies and decorate. Using a small spring-loaded scoop, drop 1-tablespoon sized balls of dough onto the prepared cookie sheets, spacing them at least 2 inches apart. Dot the balls of cookie dough with the remaining white chocolate chips.
- Bake. At 350°F for about 8 minutes, until puffy but still soft, being careful not to overbake.
- Cool slightly on the baking tray for 5 minutes before removing to a wire rack to cool completely.
Which Cookie Scoop to Use?
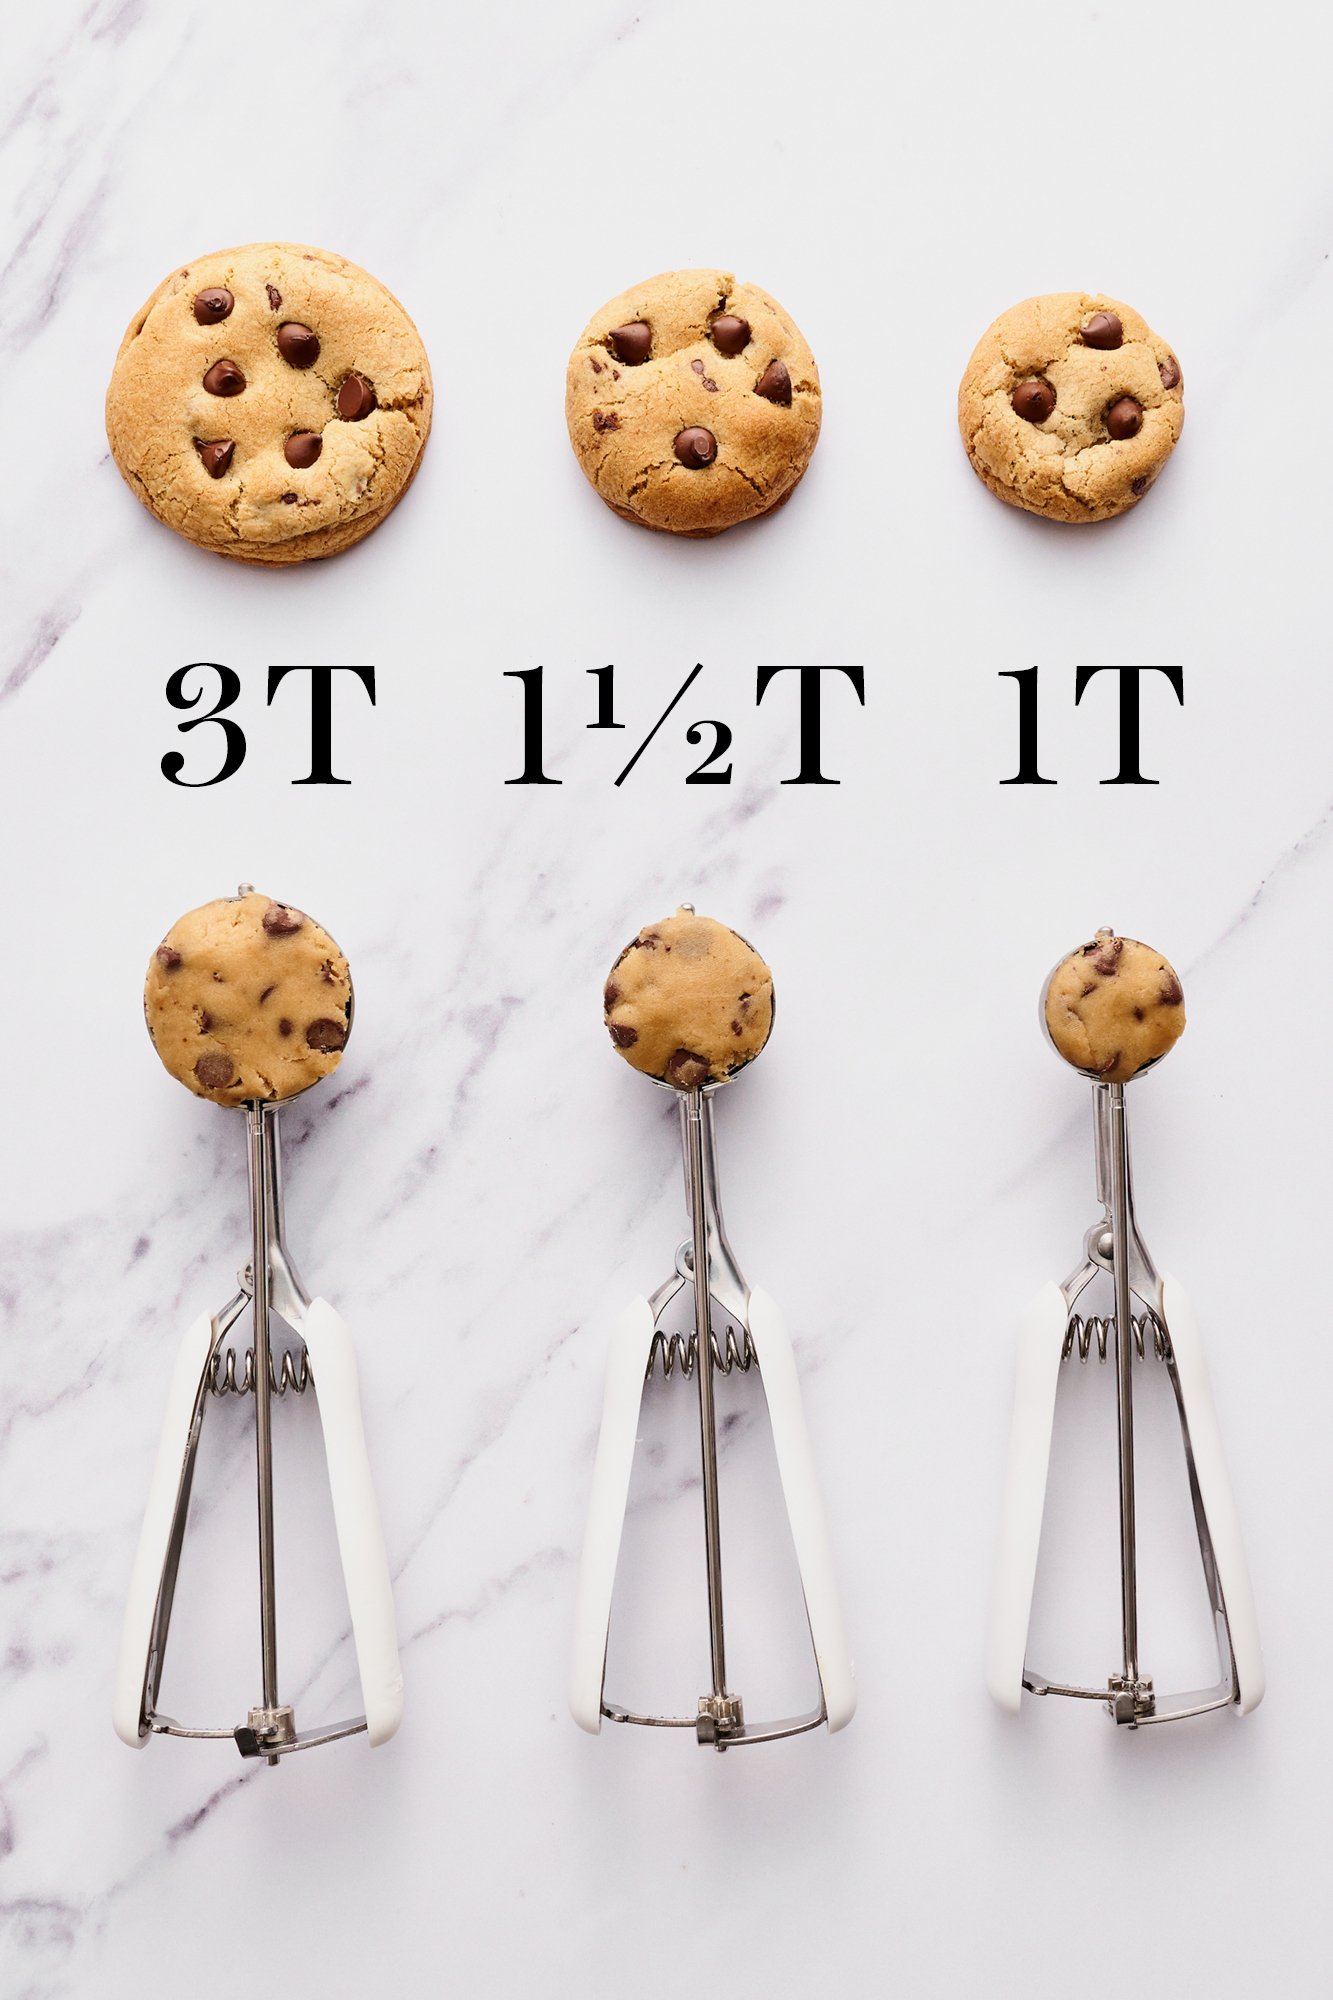
For this recipe, we really want those small, almost bite-sized chipper cookies. I recommend using a small spring-loaded scoop to get 1-tablespoon sized cookie dough balls.
A spring-loaded scoop saves you *so much time* in forming the balls of dough. When using a scoop, you ensure each ball is evenly sized so the cookies bake evenly, meaning you don’t have any small overbaked cookies or large underbaked cookies. Learn more about Cookie Scoops and how to use them here!
Do I Have to Use White Chocolate Chips? Can I Change up the Mix-Ins?:
Yes! You can absolutely switch out some or all of the white chocolate chips for dark chocolate chips, semi-sweet chocolate chips, Reese’s Pieces, nuts, toffee bits – whatever you like! Mini chips will work, too! Just be sure to keep the total weight (or volume) the same as written in the recipe. Keep in mind that these are little cookies, so larger mix-ins might need to be chopped to a smaller size.
How to Store Black & White Chipper Cookies:
These are best enjoyed when fresh, but they will keep in an airtight container at room temperature for up to 2 days. Be sure they are completely cooled before storing. See right below for my top cookie storage tips!
How to Keep Cookies Soft:
To keep your baked cookies soft, you can add a piece of bread or a tortilla on the top and bottom of the cookies to the container if you find the texture starting to harden. The moisture from the bread will migrate to your cookies, making them soft and chewy again. A tortilla is a favorite of mine because it takes up much less room than a slice of bread.
Alternatively, you can freeze the cookie dough, so you can just bake off what you need and store the rest in the freezer until you next crave fresh chocolatey cookies! Read more below!
Can you Freeze Chocolate Chipper Cookies?
I love the taste of cookies straight from the oven the best (who doesn’t!?). I always keep pre-scooped cookie dough balls of various types in a resealable bag in my freezer so I can bake cookies off and have them warm from the oven in a matter of minutes whenever I want! Here are more tips for freezing cookie dough, and baking from frozen!




















So good and easy. I’m 12 and I did this all alone. Super fast bake was great cause I had little time to make cookies before my grandma came for her birthday.
So happy to hear that, Jane! Thanks for choosing our recipe to celebrate your grandma’s birthday! 🙂
So quick and delicious!
I did end up chilling the dough for about half an hour, as I’ve been having terrible look with cookies lately. These were perfect, puffy, and gobbled up quickly by my family.
Thank you!
Why don’t we chill the dough just as in the brown butter cookie recipe?
Hi Lilli! We typically recommend chilling doughs when it’s important to develop flavor and structure of the cookie, such as brown butter cookies. Cookies made with brown butter (or melted butter) need that refrigerated period not just to help further develop that butterscotch-y flavor, but also to give the melted butter time to set back up, so your cookies don’t turn out flat! This rest time also gives the liquid in the eggs time to fully hydrate the flour, so you get a thicker cookie, too. If you wish, there’s no reason you can’t chill this Black & White Chipper dough – but it’s not as important as brown butter cookies because the butter isn’t melted. Also, these cookies are already so flavorful (thanks to all that cocoa!) that we didn’t notice any difference in flavor after a refrigerated rest – but the cookies will be a little thicker. I hope that makes sense and please let us know if you give these cookies a try! Happy baking 🙂
Oh my, I just made these with regular dark chocolate chips and your taffy recipe…. AMAZING. Just bliss! And so easy. Thank you!
the cookies came out fantastic! they were gone once they came out of the oven
They turned out super lovely!! Everyone in the my student house loved them, I’m very happy I made these. Thank you for the recipe!! 🙂
Out of this world!!! These were delicious!
I made these today and they are DIVINE! Absolutely love these!
I just made these & they turned out flat as pancakes!! Can't even scrape them off pan without crumbling into millions of crumbs. So disappointing. Had to throw them away. Followed your directions to a T. (
Yes, butter was softened)
Hi Karen,
As you can see from the photo, my cookies definitely did not flatten into pancakes. I can think of some things that may have caused your batch to flatten:
-Your butter was TOO soft and warm (if your dough seems really soft, refrigerate it for 20 to 30 minutes)
-Your butter and sugar was over-beaten and incorporated too much air into the dough
-Your baking soda is old
-You greased your baking sheets instead of using parchment paper/silicone baking mats
-Your oven temperature is off (some ovens run up to 50
Totally fine!
Hi there! I'm just wondering about freezing this dough – I'm assuming it's alright to do so? And then just defrost slowly in the fridge. Is this all okay? Thanks!
Yum! These look delicious! I've always loved the combination of white chocolate with regular chocolate!
Oh yummy! My son would love these. We're featuring cookies over at the M&T Spotlight this week and I'd love for you to submit this: http://www.makeandtakes.com/spotlight
these cookies look absolutely wonderful. Thanks so much for posting! I am your newest follower!
xo
Looks awesome- love the color contrast!