This post may contain affiliate links. Read our disclosure policy.
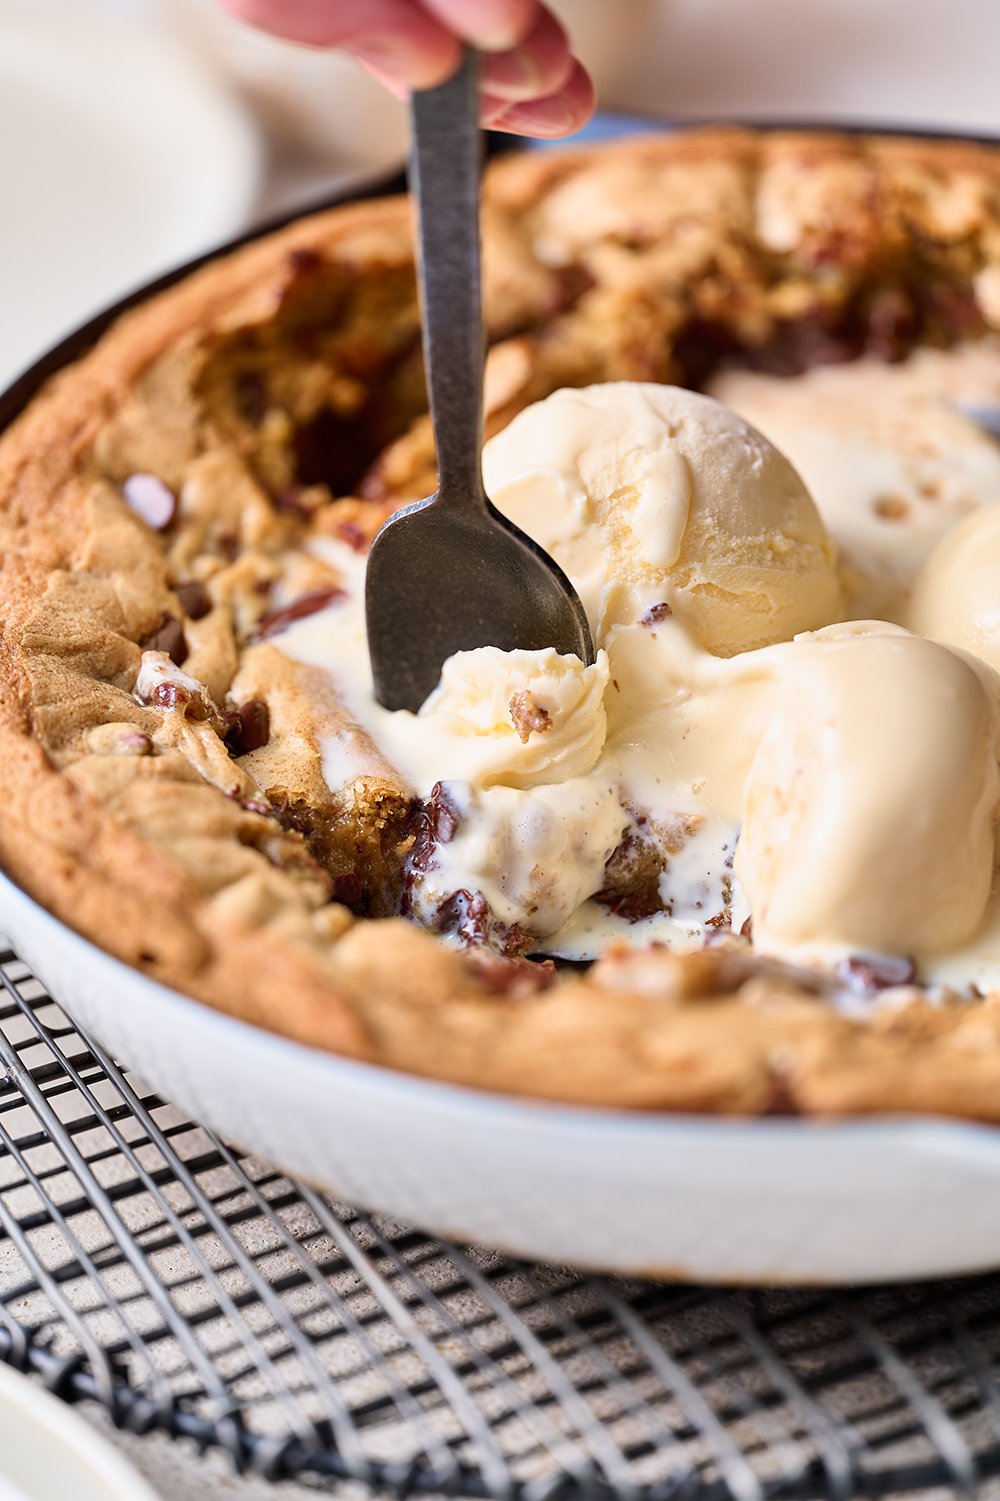
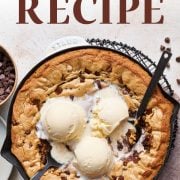
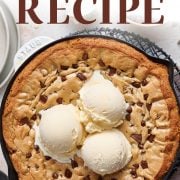
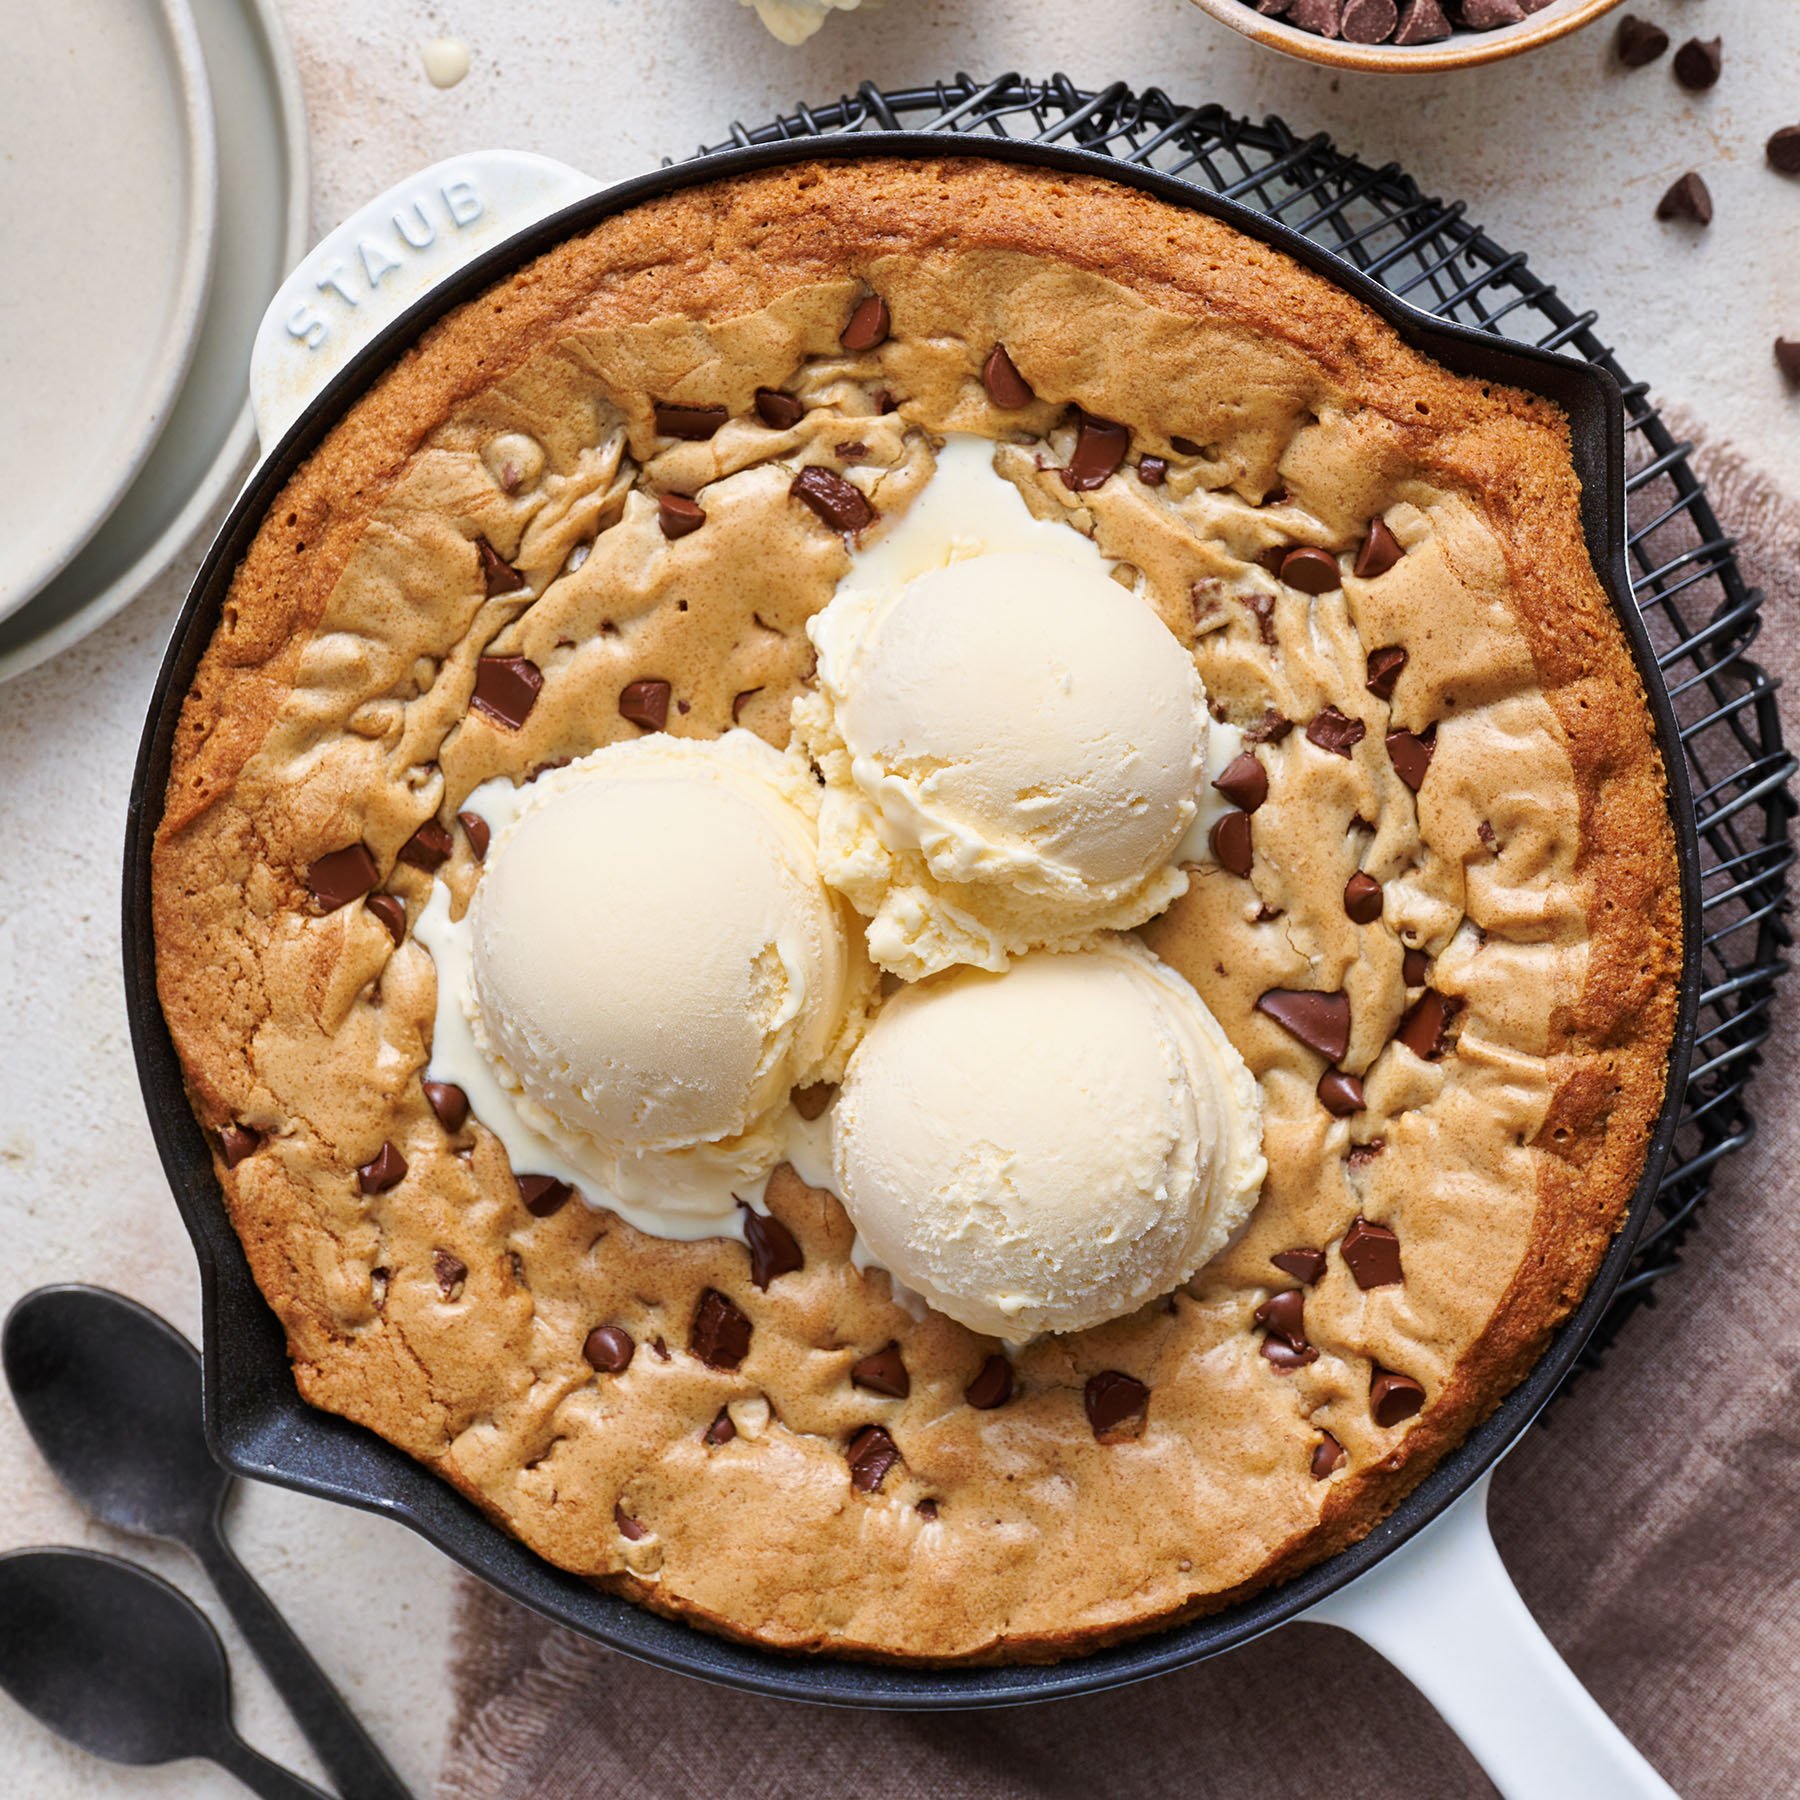
Is there anything better than a warm chocolate chip Pizookie straight from the oven, with scoops of vanilla ice cream on top?
I don’t think so.
This recipe is basically a giant chocolate chip cookie with those warm, ooey, gooey centers. But much easier to share and serve a crowd!
If you’ve ever enjoyed one of the Pizookies from BJ’s Restaurant, let me just tell you: this homemade chocolate chip skillet cookie is about a million times better. And it’ll make your entire house smell INCREDIBLE. Perfect for hosting.
Whether you call it a pizza cookie, a pizookie, or a skillet cookie, I think you’ll adore this recipe as much as I do. Plus, it uses only one pan and a large bowl, making for easy cleanup!

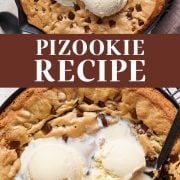
How to Make A Pizookie
What is a Pizookie?
Think of a ‘pizza’ + a cookie combined into one delicious dessert. It’s basically a slightly undercooked deep-dish chocolate chip cookie.
Ingredients in a Pizookie:
- Butter – Always use unsalted butter so you control the amount of salt used in the recipe.
- Sugars – This recipe calls for both granulated sugar and light brown sugar. I find using a combination of both sugars provides the perfect butterscotch flavor.
- Eggs – 2 large eggs and 1 large egg yolk provide the perfect chewy texture.
- Vanilla extract – 2 teaspoons vanilla extract adds the perfect amount of vanilla flavor to the cookie dough.
- All-purpose flour – Measured correctly, so you don’t end up with a dense, dry skillet cookie.
- Baking soda – Helps develop a golden brown crust to contrast that gooey center.
- Fine sea salt – To balance out the sweetness.
- Semisweet chocolate chips – It’s not a pizookie without the chocolate chips!
- Semisweet chocolate – A baking bar chopped into chocolate chunks achieves extra chocolatey goodness.
Can I Use Baking Powder Instead of Baking Soda?
Although baking powder actually contains baking soda, the two leaveners are very different. Baking powder and baking soda are NOT interchangeable. Check out my Baking Soda vs. Baking Powder article for more on these two leaveners (as well as more shocking side-by-side baking experiments, like this image below!).

Overview of Baking a Pizza Cookie:
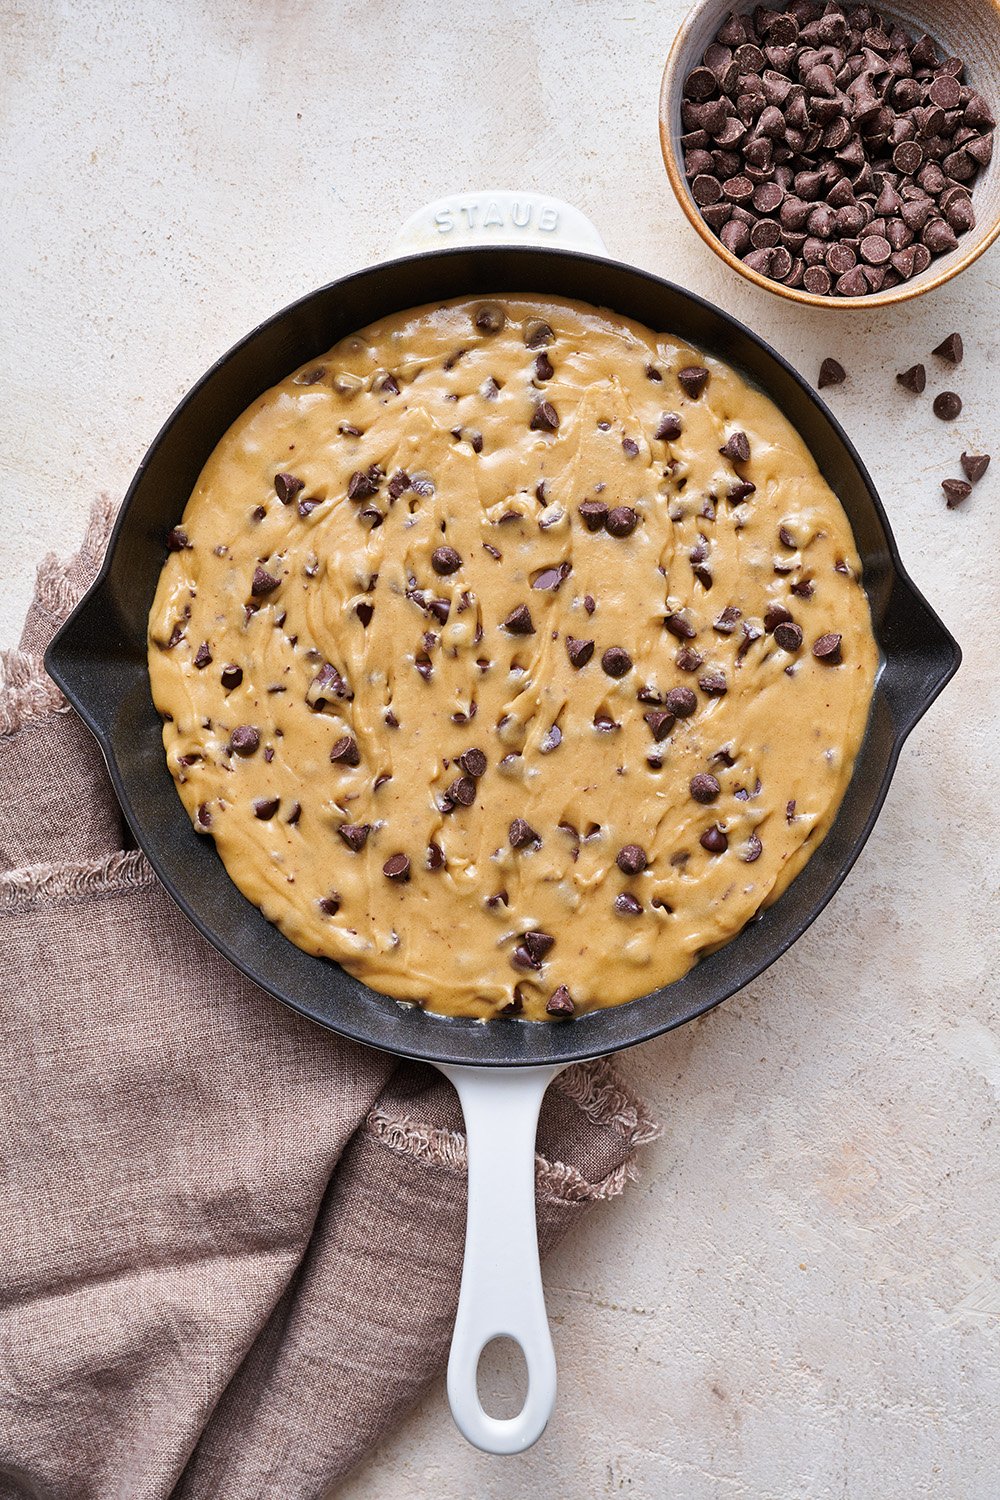
- Melt the butter in a 10-inch cast iron skillet.
- Remove the skillet from the heat, and add in the sugars. Whisk. Add the remaining wet ingredients, and whisk again.
- Fold in the dry ingredients to form a cookie dough.
- Stir in the chocolate chips and chunks.
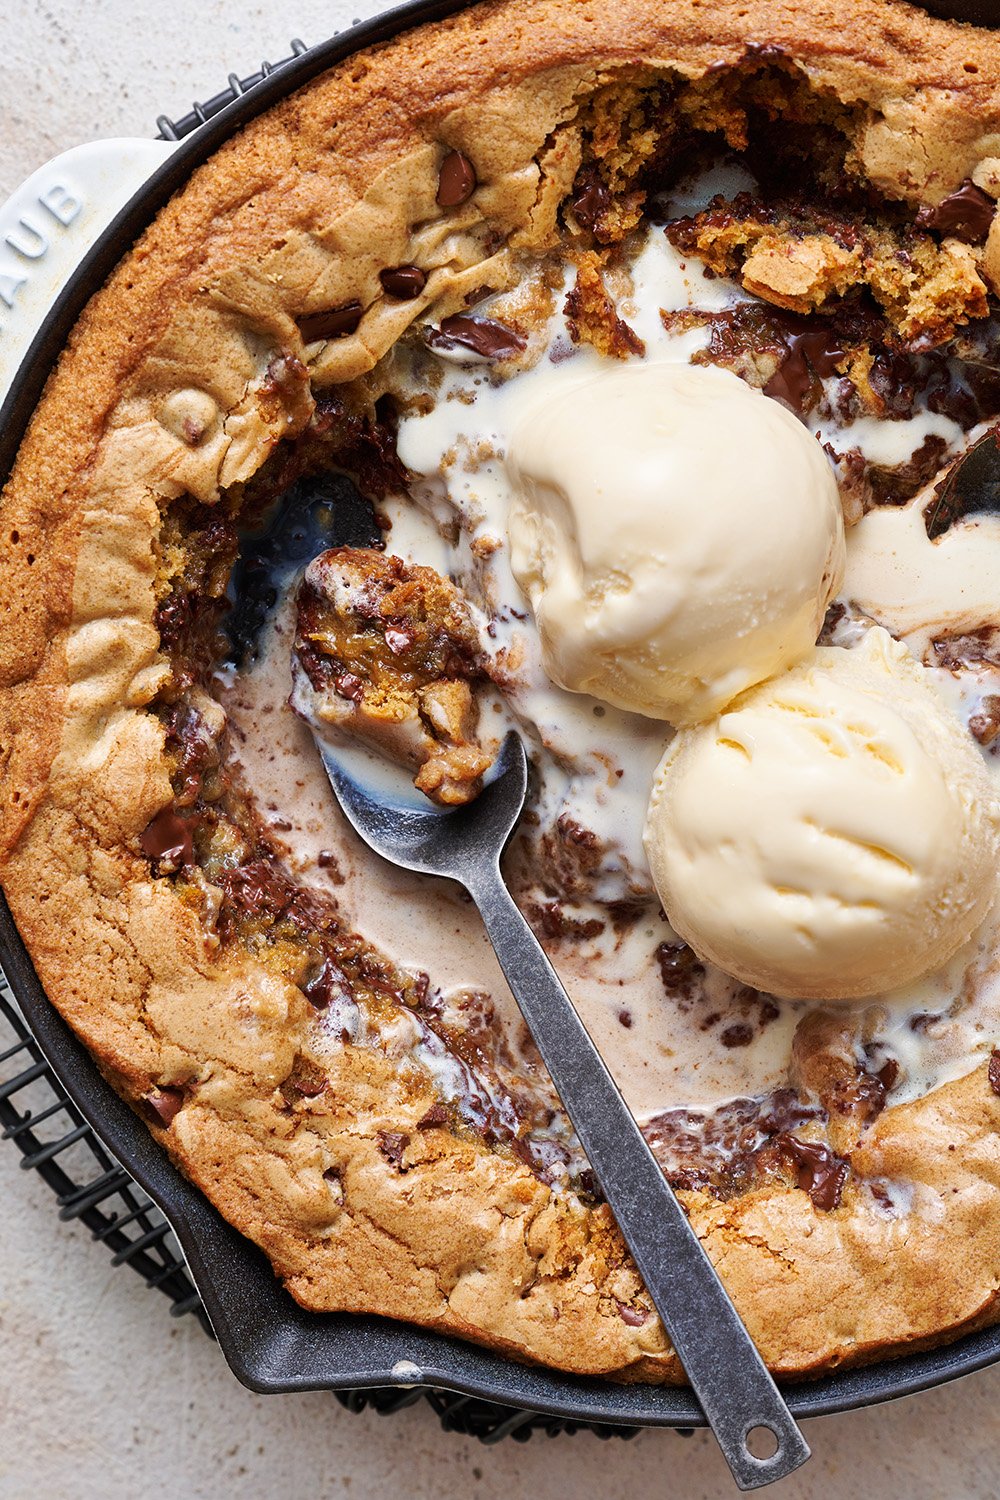
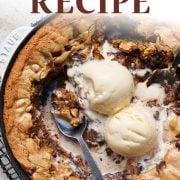
- Bake until the edges are golden but the pizookie is still slightly gooey in the center.
Can I Make a Pizookie Without a Cast Iron Skillet?
I love a cast iron skillet for pizookies because it makes them a one-pan recipe. You melt the butter and mix up the dough right into the skillet. The cast iron heats up nice and hot so you get solidified and slightly crisp edges to contrast the underdone center.
However, if you don’t have one, you can use a 9-inch pie plate or cake pan. You may need to increase the baking time slightly.
How Can I Make Individual Pizookies?
To serve 1-2 people in individual portions:
- Divide the cookie dough evenly among four 6-inch mini cast iron dishes, gratin pans, or ramekins.
- If you don’t have pans quite that size, no worries. Use whatever you have and just keep a close eye on the baking time.
- Adjust the time down for smaller or shallower dishes, and add more time for more dough or deeper dishes.
How to Store a Pizookie:
Cover any leftovers with foil or plastic wrap and store at room temperature for up to 1 additional day.
How do You Reheat a Skillet Cookie?
Reheat in a 325°F oven for about 7 to 10 minutes.
How to Make a Skillet Cookie Ahead of Time
- Prep the dough and spread it into the pan, cover, and refrigerate for up to 3 days. Bake as directed in the instructions below.
- Or, you can bake ahead of time, let cool, and cover for up to 8 hours. Reheat in a 325°F oven for 7 to 10 minutes before serving.
Pizookie Topping Ideas and Flavor Variations:
- Homemade vanilla ice cream
- Drizzle the pizookie with salted caramel sauce or hot fudge sauce
- Sprinkle with toffee bits
- Use white chocolate chips instead of semi-sweet chocolate chips
- Replace half the chocolate chips for M&M candies
- Replace half the chocolate chips with chopped Oreo cookies
More Recipes You’ll Love:
Check out ALL my cookie recipes here.
-
2
sticks (226 grams) unsalted butter
-
1/2
cup
(100 grams) granulated sugar
-
1
cup
(200 grams) lightly packed light brown sugar
-
2
large eggs,
at room temperature
-
1
large egg yolk,
at room temperature
-
2
teaspoons
vanilla
-
2 1/2
cups
(318 grams) all-purpose flour
-
1
teaspoon
baking soda
-
1
teaspoon
fine sea salt
-
1 1/4
cups
(213 grams) semisweet chocolate chips
-
2
ounces
(57 grams) semisweet chocolate,
chopped into chunks
-
Vanilla ice cream,
for serving
-
Preheat oven to 325°F.
-
In a 10-inch cast iron skillet set over medium heat, melt the butter.
-
Remove from heat and pour into a large bowl. Carefully add in the granulated sugar and brown sugar. Whisk to combine. Let cool before whisking in the eggs, egg yolk, and vanilla, until well combined.
-
With a rubber spatula, mix in the flour, baking soda, and salt until a soft dough forms. Carefully mix in the chocolate chips and chunks, reserving a few to sprinkle onto the top of the dough. Pour into the same skillet. Dot with chocolate for garnish.
-
Bake for about 30 to 40 minutes, or until the edges are golden but the center is still gooey to your preference. Remove from oven and let stand for 5 to 10 minutes before serving with vanilla ice cream.
This post was originally published in 2013 and updated in 2022 with new photos and recipe improvements. Photos by Joanie Simon.


Hi! My son requested this for his birthday “cake” this year. I only have a 12-inch cast iron skillet. Do you think that would still work? Obviously, it would be thinner and bake for less time. Any advice would be much appreciated!!
Hi Kate! This recipe was designed for a 10-inch skillet, so as you noted, a 12-inch will be thinner and bake for less time. It should still work, but feel free to use a 10-inch cake pan instead, if preferred. Let us know how it goes – we hope your son loves it! 🙂
I ended up buying the set of 4 small cast iron pans instead of using my 12-inch skillet. They came out perfect! Baked for 22 minutes. My son and his friends loved them! I will definitely be making them again!
Woohoo! So happy to hear that, Kate 🙂
Amazing! Made it in a toaster oven and turned out perfect at 30 minutes 🙂
Could I brown the butter and then continue on with the recipe as written? Can’t wait to try this!
Hi Jessica! Your question is actually a tricky one to answer. American butter is about 80% butterfat and 20% water (on average, depending on the brand of butter), so when you brown butter, you lose that extra moisture/water as it evaporates through the browning process. It takes some experimentation to alter a regular non-browned-butter recipe to work with browned butter for that reason. You can simply try adding a little water back into the recipe, or start with a little more butter than the recipe requests, in order to compensate for the moisture you’ll lose as it browns. It’s something you’ll have to experiment with a little in order to perfect, but it can be done, and it’s a fun experiment in the meantime 😉 Let us know how it goes! Happy baking!
Thanks so much! I was thinking I’ll add a little extra butter and see! I’ll respond back if I figure it out!
Is there any recipe without egg?
I want to make Pizookie without egg
Hi Tarun! Unfortunately, we do not test recipes without eggs. Feel free to experiment and see if you can find a substitution that works for you, but eggs bring SO many important things to baked goods, and we don’t find they can be replicated well. Good luck!
Making this again! Realized that we don’t have eggs, is there a good egg substitute?
Thank you!
Hi Josafina! Unfortunately eggs are such a crucial part of baking that we don’t believe can be perfectly replicated. I highly recommend waiting until you can grab some real eggs before making this – but if you give it a try with an egg substitute, let us know how it goes! Happy baking 🙂
I followed this to a T except added some sea salt on top and holiday sprinkles in the batter! It was delicious and got rave reviews. Baking was the tricky part for me, the edges browned quicker and I took it out at about 30 minutes and it was cooked through although I do wish I had taken it out a few minutes earlier so it was gooey. I made it ahead of time and had it in the fridge so I thought the cold pan may have taken longer but I suspect even room temp would be shorter. Will make it again, big hit with the kids. I served with vanilla ice cream and whipped cream!
I haven’t made this recipe yet but have a few questions: First, I see a note on how much dough you use on a 6″ skillet however I was wondering if you adjust the baking time for then 6″skillet? Also, I only have one 6″ skillet and would like to make these and remove them from the skillet and package to give them to friends. Will they come out of the skillet easily or is this a bad idea?
Sweet Regards,
Linda
Hi Linda! Yes, in the pink tip box above the recipe, Tessa mentions to adjust the bake time down if using a 6-inch skillet. Unfortunately, we have not tested this ourselves, so we do not know the exact baking time. I would just recommend following the sensory indicators in the recipe as written (“bake until the edges are golden but the center is still gooey to your preference”). However, removing these cookies will present an issue; as they are baked to be deliciously ooey gooey, they will be super difficult to remove from the skillet intact. I think the Giant Chocolate Chip Cookies (which I see you are also looking at from your other comment!) would be a better idea to individually package and gift to your lucky friends!
I hope this answers your questions! Please let us know if you have any questions or need any further help – we are always more than happy to help!!
Made this for dessert today and wow! It was such a hit! Everyone absolutely loved it and came together so quickly too
Yay! So happy to hear everyone loved this pizookie, Eesha!! 🙂
Warm, gooey, and perfectly sweet. Everyone loved this dessert.
So thrilled to hear you loved this pizookie, Emily! 🙂
I only have a 12” skillet. I’m not sure if that’s why it came out dry like cake rather than ooey gooey chewy. Perhaps I should’ve shortened the time for the larger pan?
Hi Diane! I’m sorry this pizookie recipe didn’t turn out as you had hoped, but it sounds like it’s definitely the larger skillet that was the culprit here! A larger skillet means the cookie dough is thinner and therefore bakes faster. I hope you give this recipe another try! Start checking the cookie for doneness after 20 minutes, and remove from the oven as soon as the edges are golden but the center is still gooey (to your preference). I hope that helps!
I gave it another try and started checking it after 2 minutes as you said. Between 25 and 30 minutes was perfect. This recipe is a keeper. Thank you!
Typo! 20 minutes, not 2 minutes! Lol!
Hi Diane! I’m so excited to hear that you gave this recipe another try – and so thrilled that it worked out so much better this time! Hooray!! 🙂
This was soooo good!! I made a 1/4 of the recipe and baked it in a 6” cake pan for 20 minutes. It came out PERFECT!! Topped it with vanilla ice cream and devoured it with my son! Now I’ll have to make it for my daughter next time she visits! Yum!!
So, SO good! Perfect butterscotch flavour and super chewy! I didn’t have a skillet so I made it in a 9-inch spring form cake tin, and and took about 8 minutes longer, but still had perfect results. My whole family loved it! It was even amazing cold, the next day. Definitely going to make this again! Thank you!!
Hi Abby! Thank you for sharing! I’m so happy you loved this recipe, and it worked out for you without a skillet!
Also, can I bake it in a pan, that you would do for a cake?
And is there a replacement for brown sugar?
Wow – so by pizza cookies do you mean like cookie cakes? It’ll make three cookie cakes?!
Magical is right. I can’t even imagine how delicious these are!
This looks amazing. I have a couple questions…
How much, if at all, does this recipe differ from a standard chocolate-chip cookie dough?
I don’t have any mini-pie-plates or mini-cast-iron dishes. Would I get the same effect if I use a mini-stoneware (corningware) casserole dish?
Thanks!
It differs slightly from most chocolate chip cookie recipes (notice the milk in the ingredients). You could use anything similarly shaped – just be mindful of the baking time (something deeper may require more time).
Oh, love-hate thing going on here. Looks so heavenly. Where did you get the pans? (Clearly, the love side is pushing out the “I really shouldn’t” side.)!
I got them at Sur la Table!
Those look absolutely delicious!
My love for chocolate chip cookies combined with the appearance of a pizza – is there anything more I need? It’s great 🙂 Since it’s weekend, I will most likely make them tomorrow.
But I always have problems with your measurements….How much exactly is 1/2, 1 and 2 cups? Where I live we don’t have those measurements and I often have some troubles with using the right amount. Any help?
Sarah – I’m not sure what kind of measurements you are looking for but you could convert the cups to grams (or something else) specific to each ingredient using this website: http://www.traditionaloven.com/tutorials/conversion.html Good luck!
Oh these look divine! In fact, these look better than the ones at the restaurant.
I don’t have a little skillet like that, so is there another piece of cookware that could replicate it? Or do you know where I could get one, because it looks so yummy in the dish. 🙂
Hi Diane! I got my little skillets at Sur la Table and they also have miniature pie tins there. Otherwise you could use anything else that is similarly shaped – even large ramekins would work (though you may need to add some minutes to the baking time since the cookie dough would be packed in deeper area with less surface space).
i LOVE cookie skillets! i have a similar recipe for it as well. our family can not get enough of it! that scoop of ice cream is mandatory! 🙂