

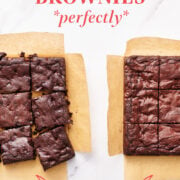
How to Cut Brownies Cleanly in 5 Steps
This post may contain affiliate links. Read our disclosure policy.
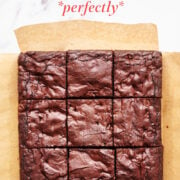
I get so many questions, especially on Instagram, about how to cut perfectly clean and beautiful brownie pieces.
Is it better to cut brownies when they’re hot or cold?
What is the trick to cutting perfect brownie slices without them falling apart?
If you don’t care about food styling or the appearance of your brownies, you might want to skip right to our Brownie Recipes.
But science has shown our visual perception of food actually influences how tasty we perceive food to be. So, taking a few extra minutes to beautify your brownies not only makes them look more impressive when you bring them to work or to a BBQ, but it can actually make them seem even more delicious!
I’m sharing my 5 tricks for cutting perfect brownies every time just below. I actually shared these tips first with HTH Baking School Students. Want to get exclusive access to more science of baking content like this, join monthly live classes, whip up impressive treats, and find new baking BFFs? Get on the Baking School waitlist here.
How to Cut Brownies Perfectly
Step 1: Prepare Your Baking Pan
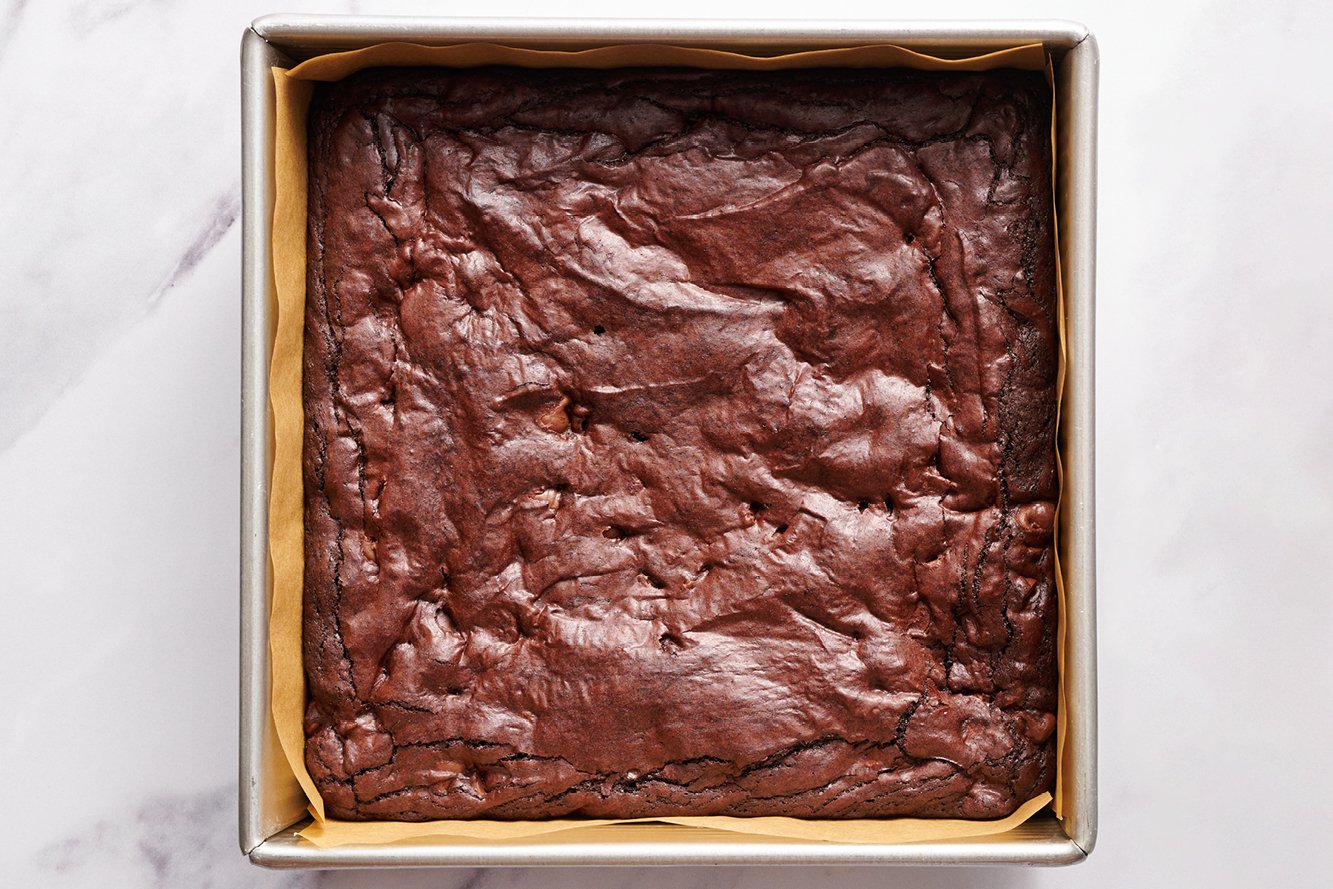
Line your baking pan with parchment paper. I like to cut two sheets of parchment just slightly thinner than the width of my square baking pan. I line them crossways so the bottoms and sides of the pan are lined with an overhang on all sides. If the parchment is extra long and flopping around, I’ll use metal binder clips to clip the paper down to the sides of the pan (yes, they’re oven safe!).
For really perfect-looking brownies, avoid using aluminum foil, which can create a bumpy texture to the edges of your brownies. Also avoid using baking pans that have rounded corners and opt instead for pans with 90 degree angle corners for perfect squares. I love this metal baking pan for brownies.
Step 2: Allow Brownies to Cool
Wait until your brownies have completely cooled to room temperature. As brownies cool, they will solidify and set up, so slicing into them too early can result in brownie squares that fall apart or become a mess very quickly.
Note: I don’t recommend slicing baked brownies until just before you plan to serve them! The more surface area of the brownie that’s exposed to air, the faster the brownies will dry out and stale.
Step 3: Remove Brownies from Pan
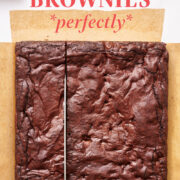
Remove the entire brownie from the pan and onto a cutting board. This is where lining the pan with parchment and leaving an overhang comes in handy!

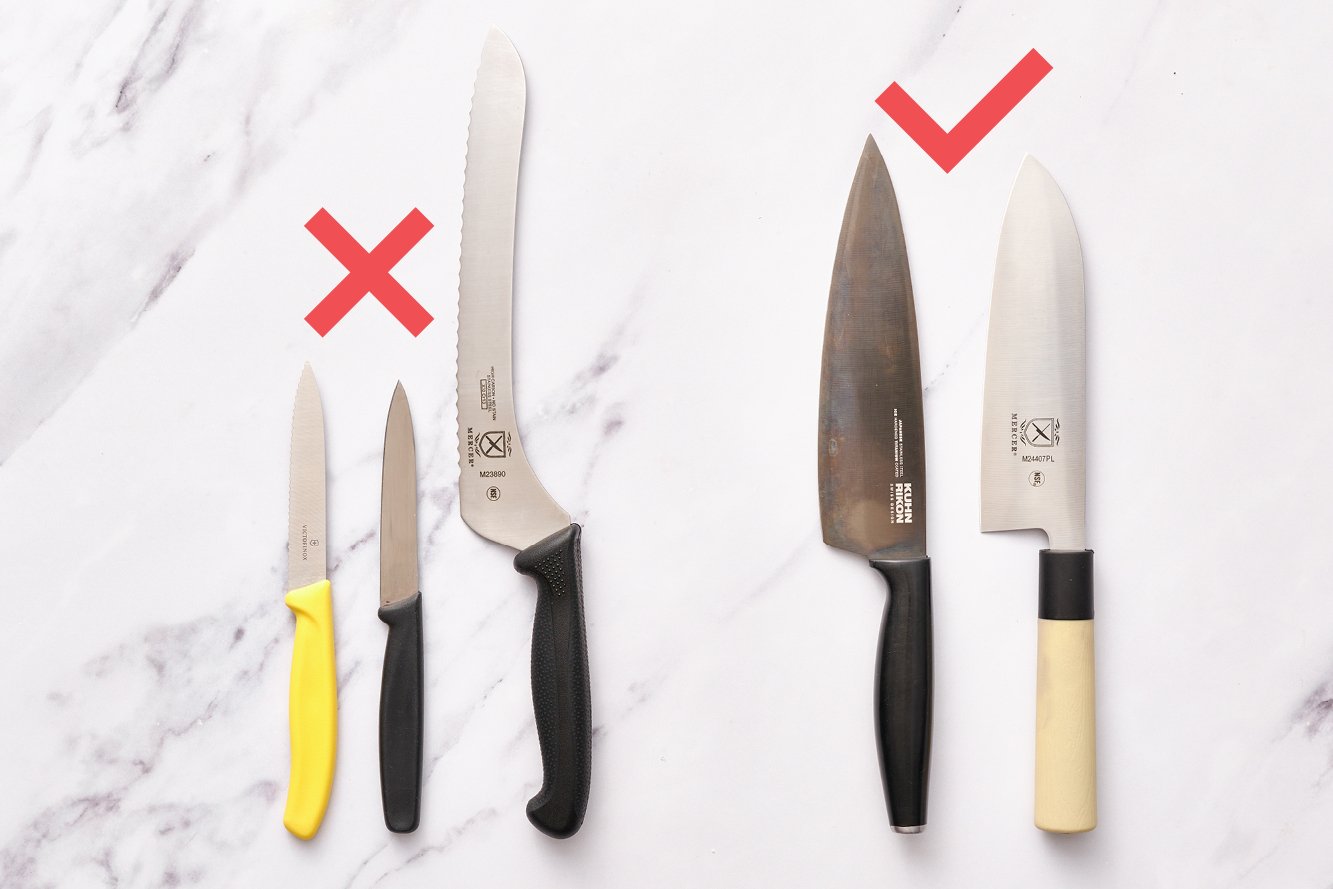
Step 4: Use the Correct Knife
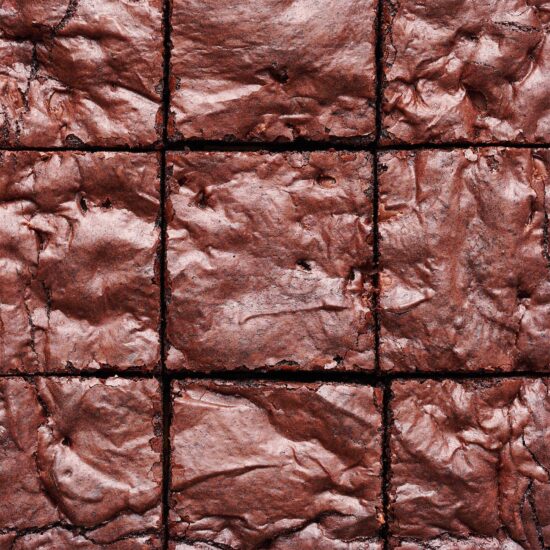
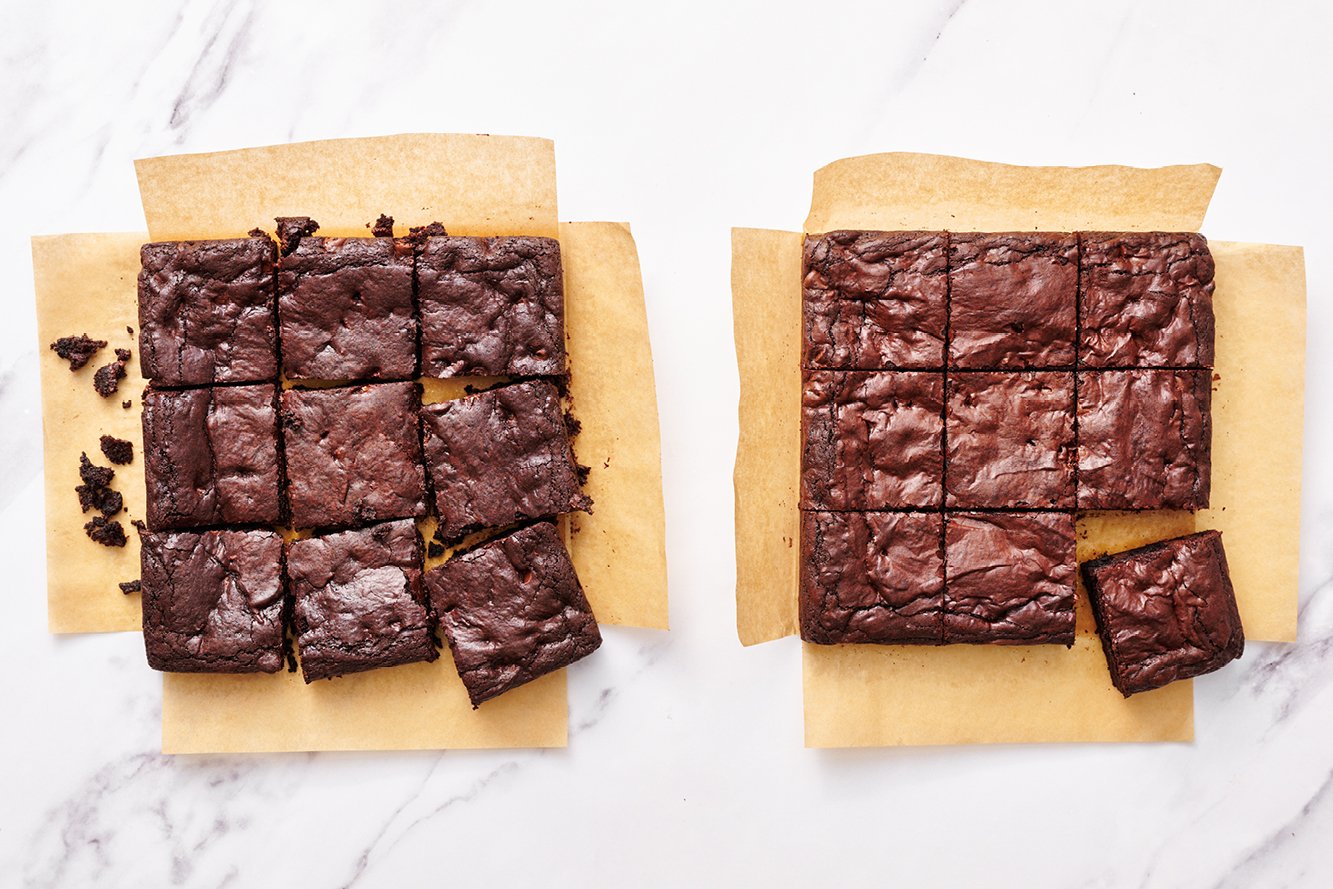
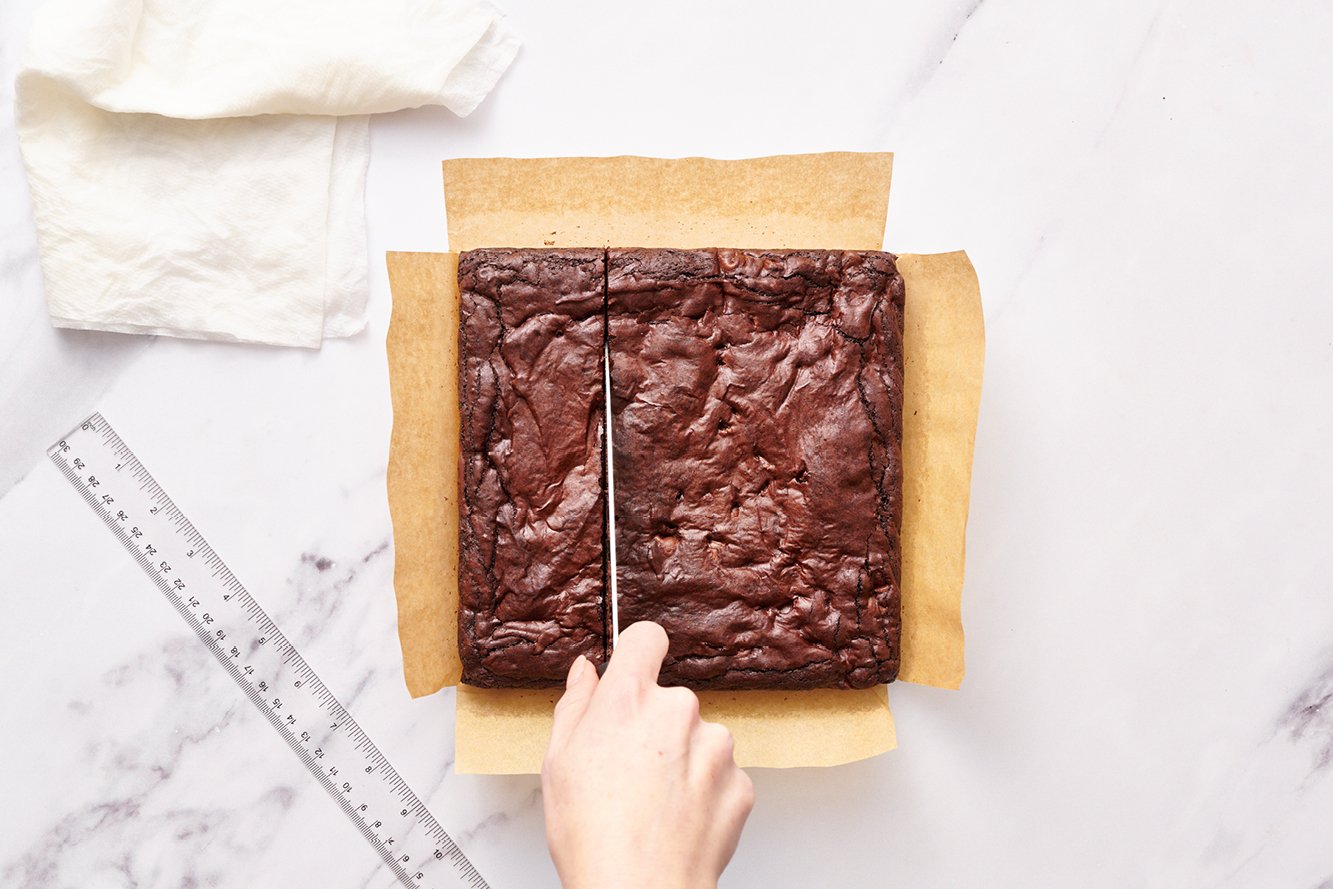
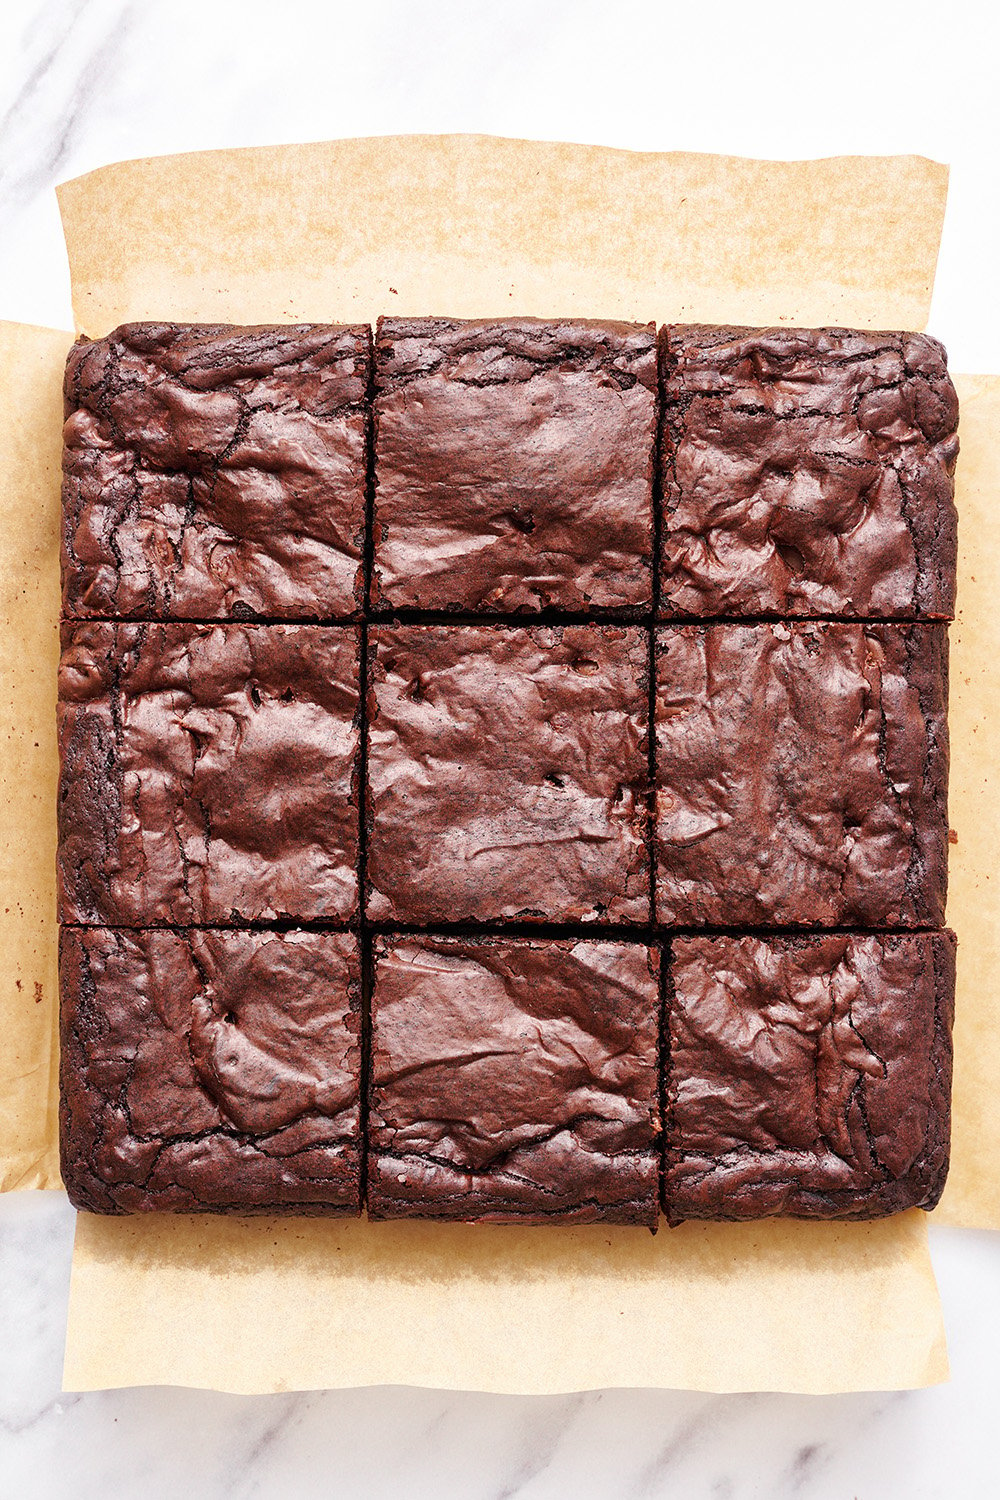
To cut brownies cleanly, use a straight-edge blade rather than a serrated knife or a plastic knife. I like to use a chef’s knife that’s at least 8-inches long so I can make 6 even cuts into an 8-by-8-inch pan of brownies for a total of 9 generously sized brownies. If you use a knife that’s far too small, you run the risk of smudging your brownies and ending up with crumbs everywhere.
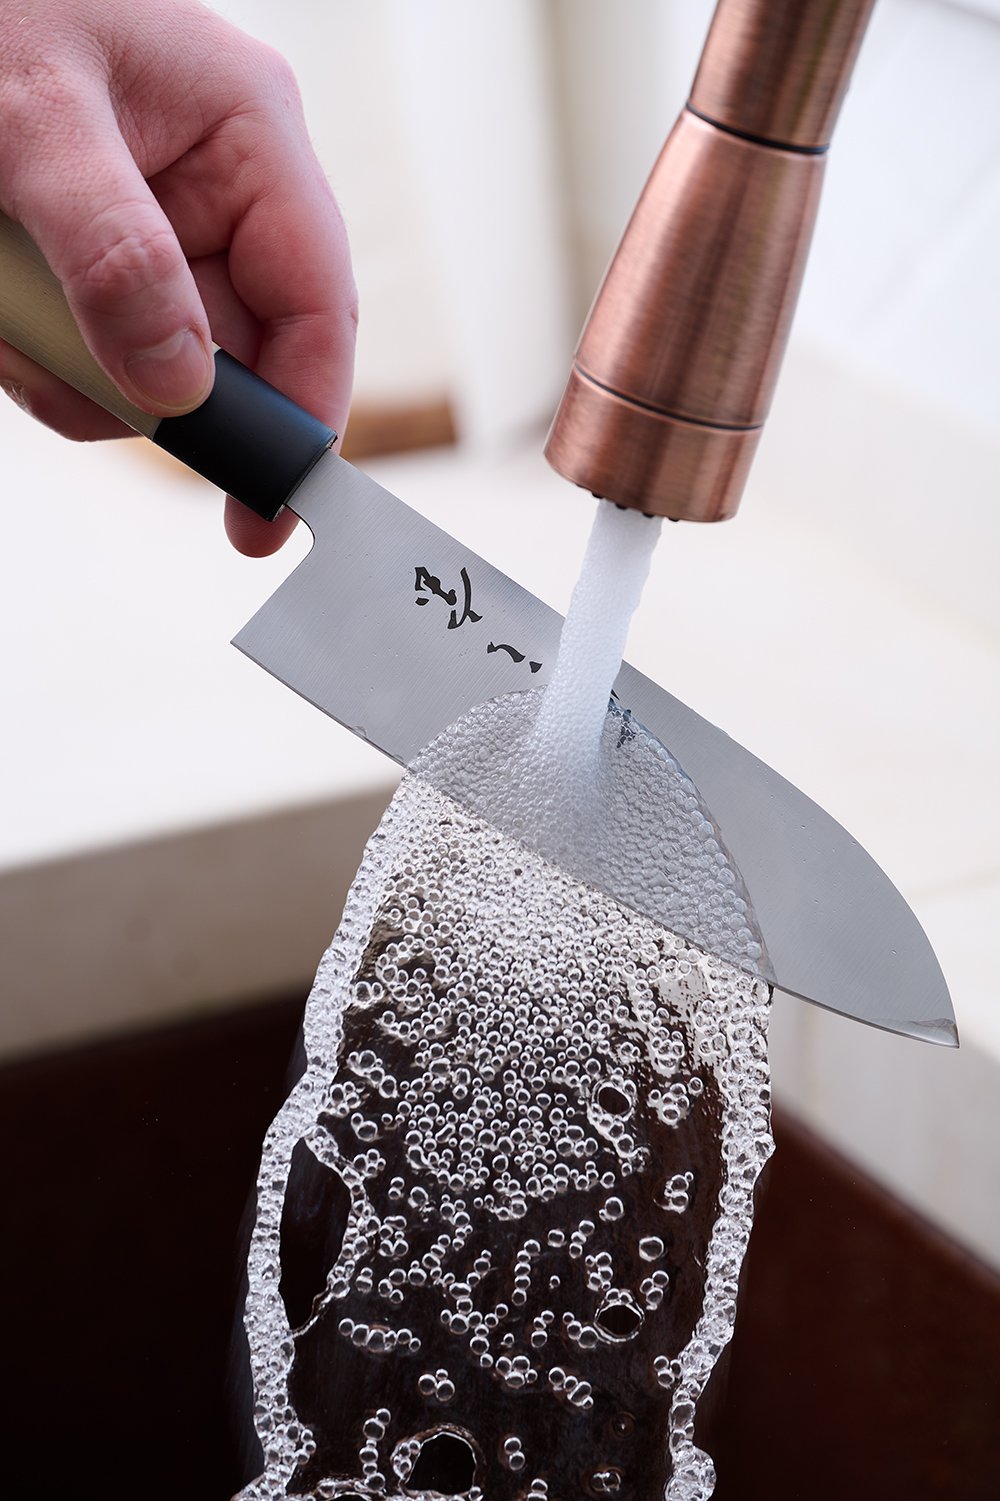
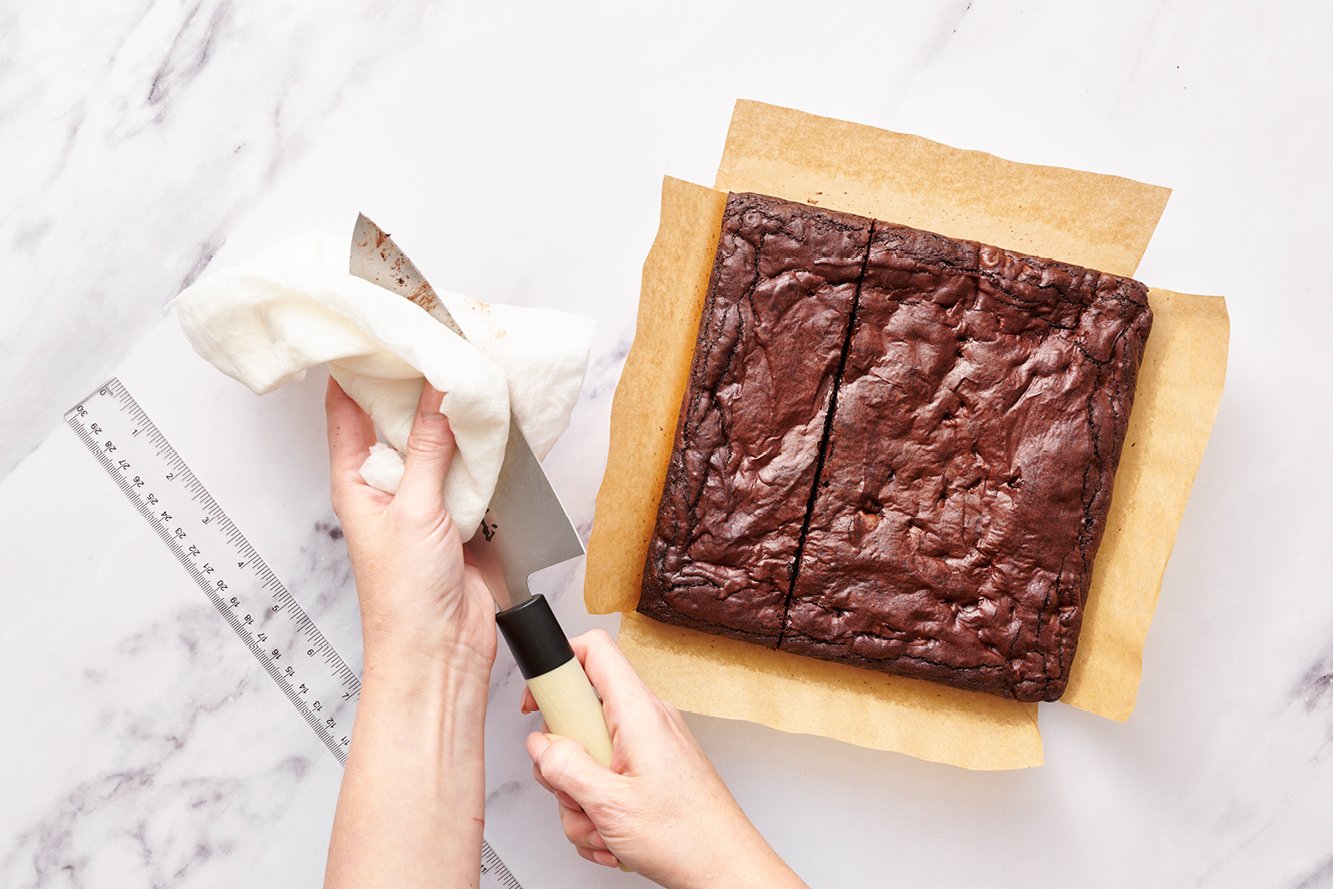
The other key step here is the hot knife method. Run the knife under hot water and wipe it off in between EACH slice. This prevents any crumbling or gooey chocolate from smearing the edges of the brownies.
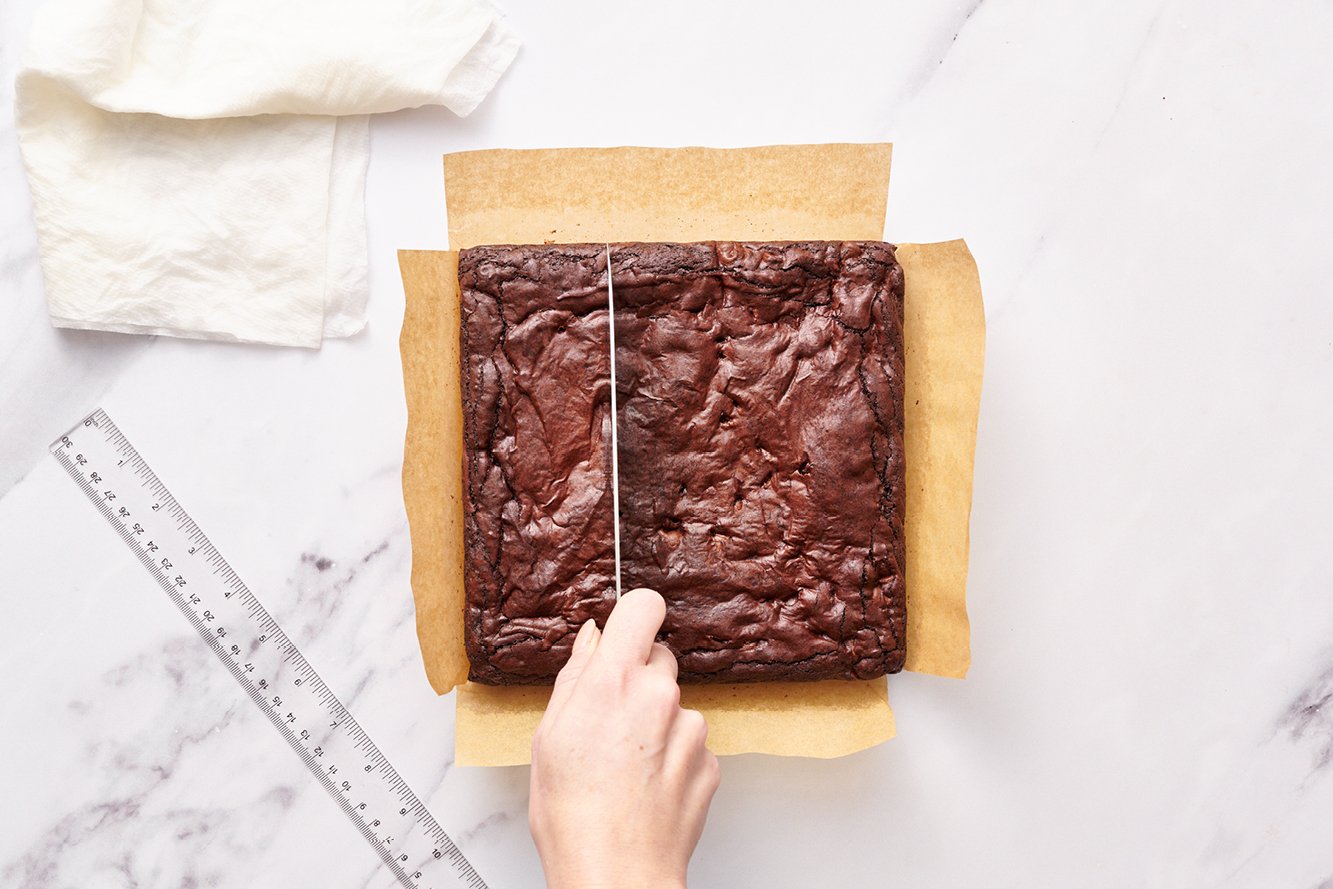
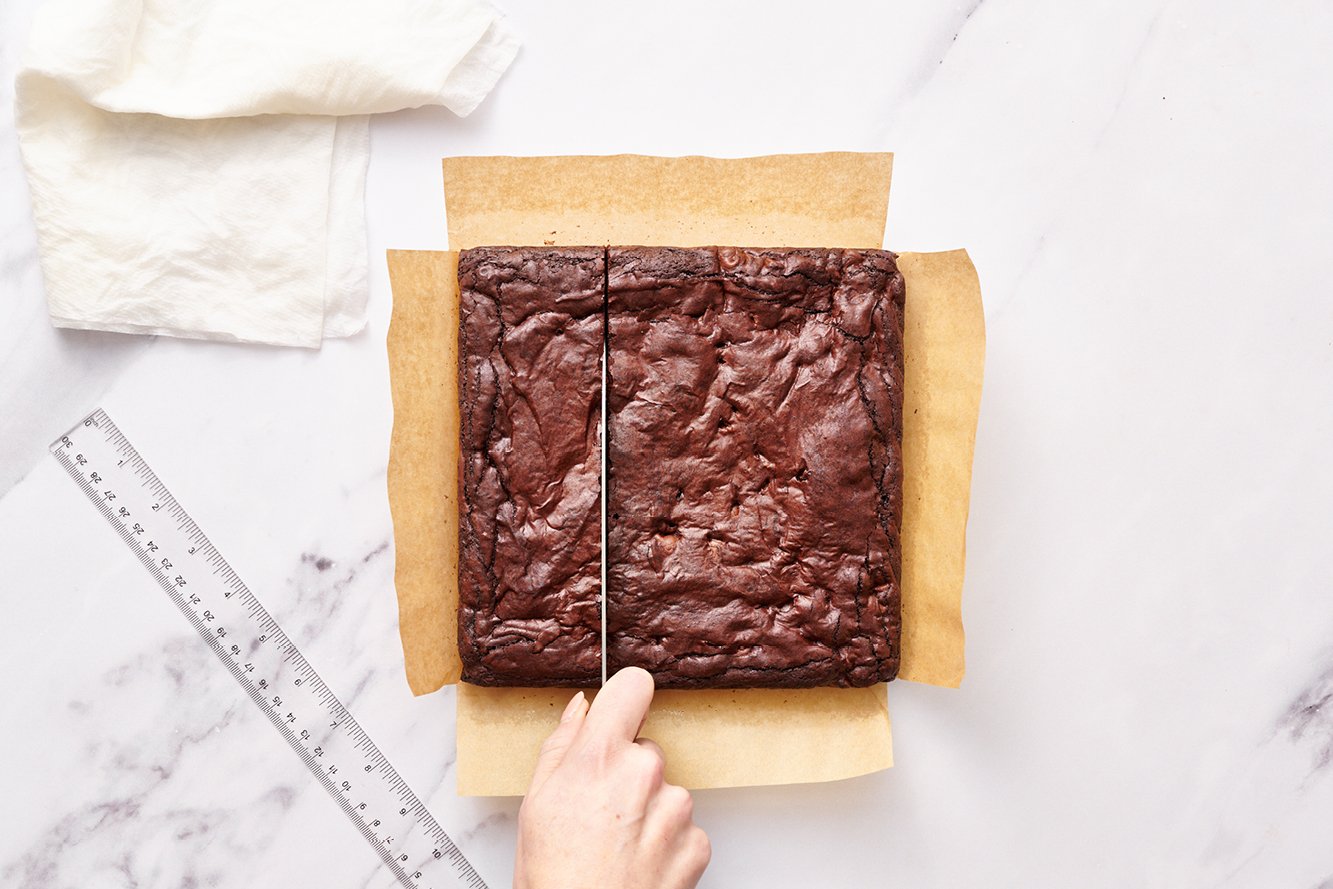
You can also use a ruler to measure each cut into perfectly equal brownie slices.
Cut up and down with each slice and don’t drag the knife out, instead pull it back up, to continue to prevent smearing.
Step 5: Serve Brownies
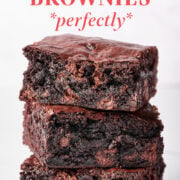
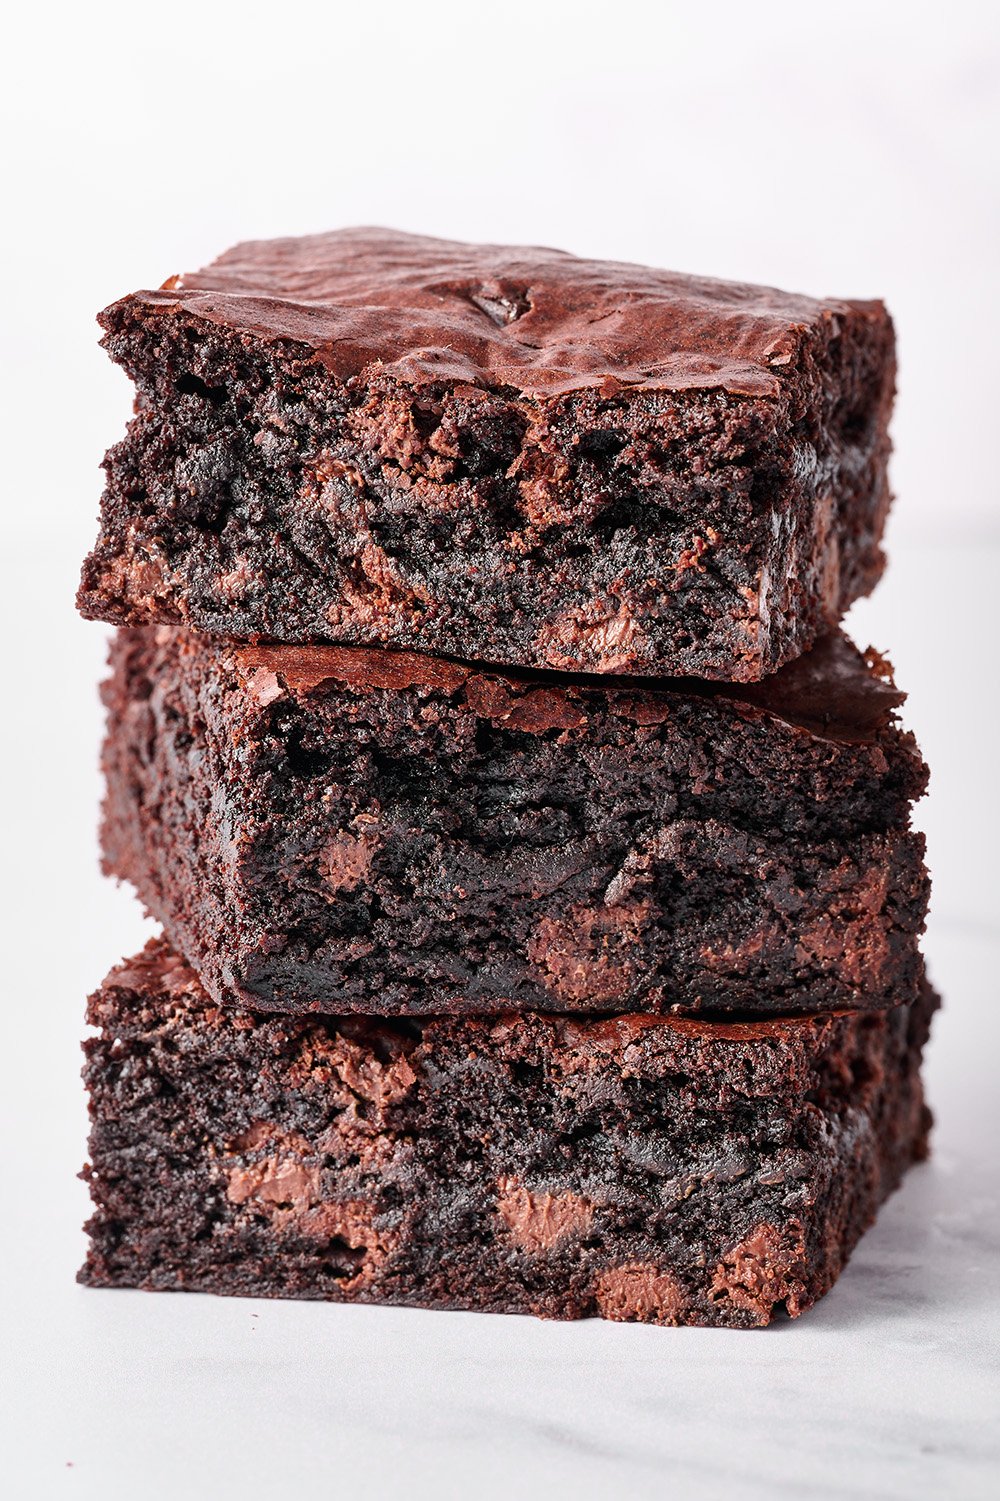
Use a small offset square spatula, like this brownie spatula, to carefully lift the clean cut brownie pieces up and out to serve. Enjoy with a glass of milk!
Brownie Recipes You’ll Love:
More Science of Baking Tips & Articles:
- How to Bake Picture Perfect Chocolate Chip Cookies
- Butter vs. Oil in Baking
- How to Bake TALL Bakery Style Muffins

Author: Tessa Arias
I share trusted baking recipes your friends will LOVE alongside insights into the science of sweets. I'm a professionally trained chef, cookbook author, and cookie queen. I love to write about all things sweet, carb-y, and homemade. I live in Phoenix, Arizona (hence the blog name!)
About Tessa...
I share trusted baking recipes your friends will LOVE alongside insights into the science of sweets. I'm a professionally trained chef, cookbook author, and cookie queen. I love to write about all things sweet, carb-y, and homemade. I live in Phoenix, Arizona (hence the blog name!)
Leave a Comment & Rating
Add a Review or Question
© Handle the Heat - handletheheat.com

As a trained chef and cookbook author, I share trusted baking recipes your friends & family will love alongside insights into the science of sweets. I help take the luck out of baking so you *always* have delicious results! Learn more here.

-
6 Crowd-Pleasing Thanksgiving Recipes


Order your Ultimate Cookie Handbook Hardcopy!

Join the Handle the Heat Community

Instead of digging through cookbooks and magazines and searching the internet for amazing recipes, subscribe to Handle the Heat to receive new recipe posts delivered straight to your email inbox. You’ll get all the latest recipes, videos, kitchen tips and tricks AND my *free* Cookie Customization Guide (because I am the Cookie Queen)!
I basically follow the procedure you presented here, HOWEVER, rather than using one of my good knives, and chance damaging the blade – I have found that a clear plastic ruler ( which I have found to be a VALUABLE addition to my kitchen ), and a simple 6″ bench scraper with handle works perfectly!
This works perfectly! I made Chewy Brownies (my favorite Brownie recipy) for a group today and they were cleanly cut moist, and delicious!