


Ingredients
For the brownie cake layers:
- 1 stick (113 grams) unsalted butter
- 8 ounces (227 grams) semisweet baking chocolate, chopped
- 1 cup (200 grams) granulated sugar
- 2/3 cup (133 grams) dark brown sugar
- 3/4 cup (95 grams) all-purpose flour
- 1 cup (85 grams) unsweetened natural cocoa powder
- 3/4 teaspoon baking powder
- 1/2 teaspoon salt
- 5 large eggs, at room temperature
- 1/2 cup fresh vegetable oil
- 1 teaspoon vanilla extract
For the peanut butter frosting:
- 2 sticks (227 grams) unsalted butter, at room temperature
- 1 cup (270 grams) creamy conventional peanut butter
- 1 teaspoon vanilla extract
- 1/8 teaspoon fine salt
- 2 1/2 cups (313 grams) powdered sugar, sifted
For the chocolate drip:
- 4 ounces (113 grams) semisweet or bittersweet chocolate, finely chopped
- 1/2 cup heavy cream
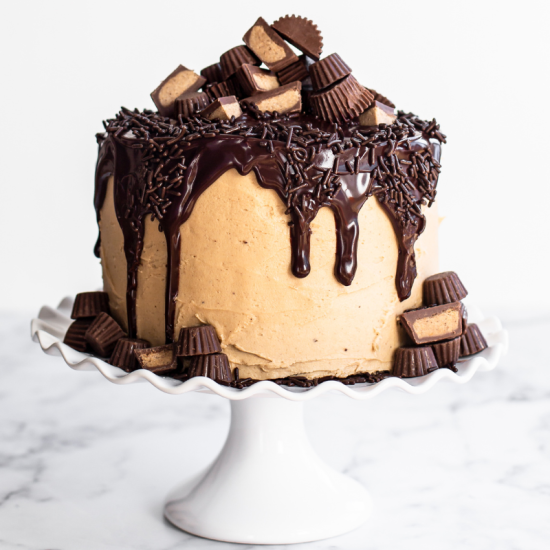
- Chopped peanut butter cups, optional
Directions
Make the cake layers:
-
Preheat the oven to 350°F. Grease and line three 6-inch cake pans with parchment paper.
-
In a heat-safe bowl, combine the butter and chocolate and microwave for 45 seconds. Stir and continue to heat in 30-second bursts, stirring between bursts, until melted and smooth. Whisk in the sugars until combined. Let cool.
-
In a small bowl, whisk together the flour, cocoa powder, baking powder, and salt.
-
To the cooled chocolate mixture whisk in the eggs, one at a time, Whisk vigorously for 30 seconds until very well combined. Add in the oil and vanilla and whisk until combined. Add the dry ingredients and gently fold to combine.
-
Divide the batter between the three cake pans, and tap on the counter to prevent air bubbles.
-
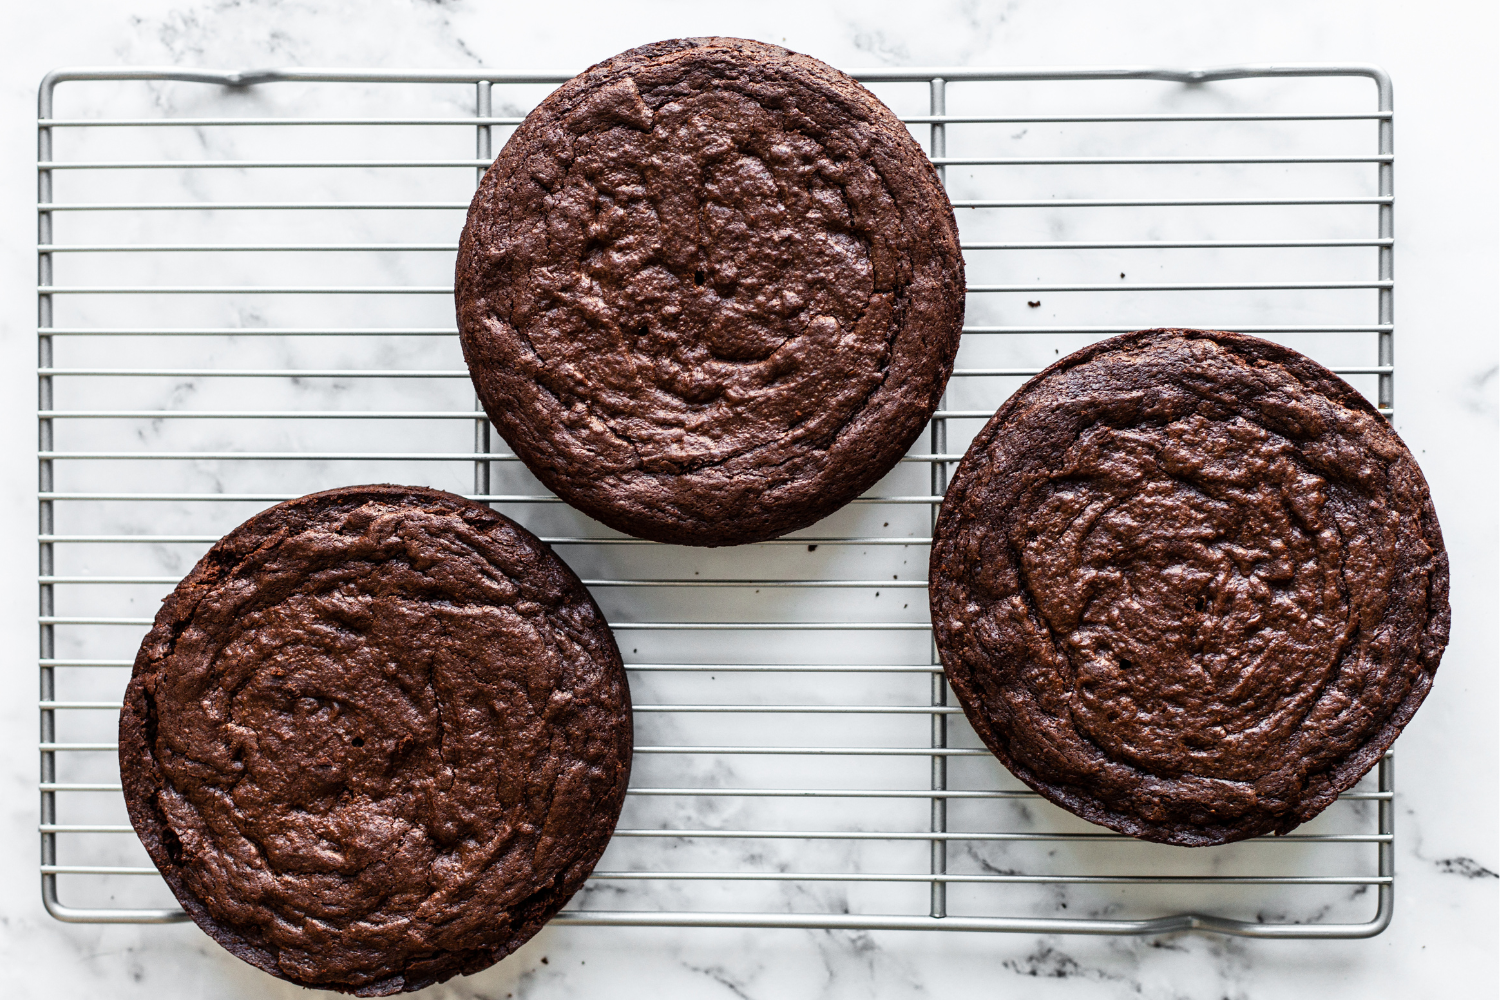
Bake for 25 to 30 minutes, or until the tops are dry and a cake tester inserted in the middle comes out with a few crumbs attached. Be sure not to overbake, the cakes will continue to cook after being removed from the oven.
-
Cool in pans for 10 minutes, then turn out onto a wire rack and allow to cool completely. At this point, the brownie cake layers can be stored in the fridge, wrapped tightly in plastic wrap, for up to 2 days before assembling.
Make the frosting:
-
In the bowl of an electric mixer fitted with the paddle attachment, beat the butter and peanut butter on medium-high speed until light and fluffy, scraping down the sides and bottom of the bowl as needed. Add the vanilla, salt, and powdered sugar and continue beating until the frosting is smooth and fluffy, about another 3 minutes.
Assemble the cake:
-
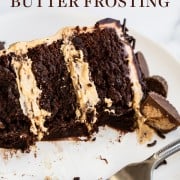
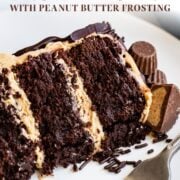
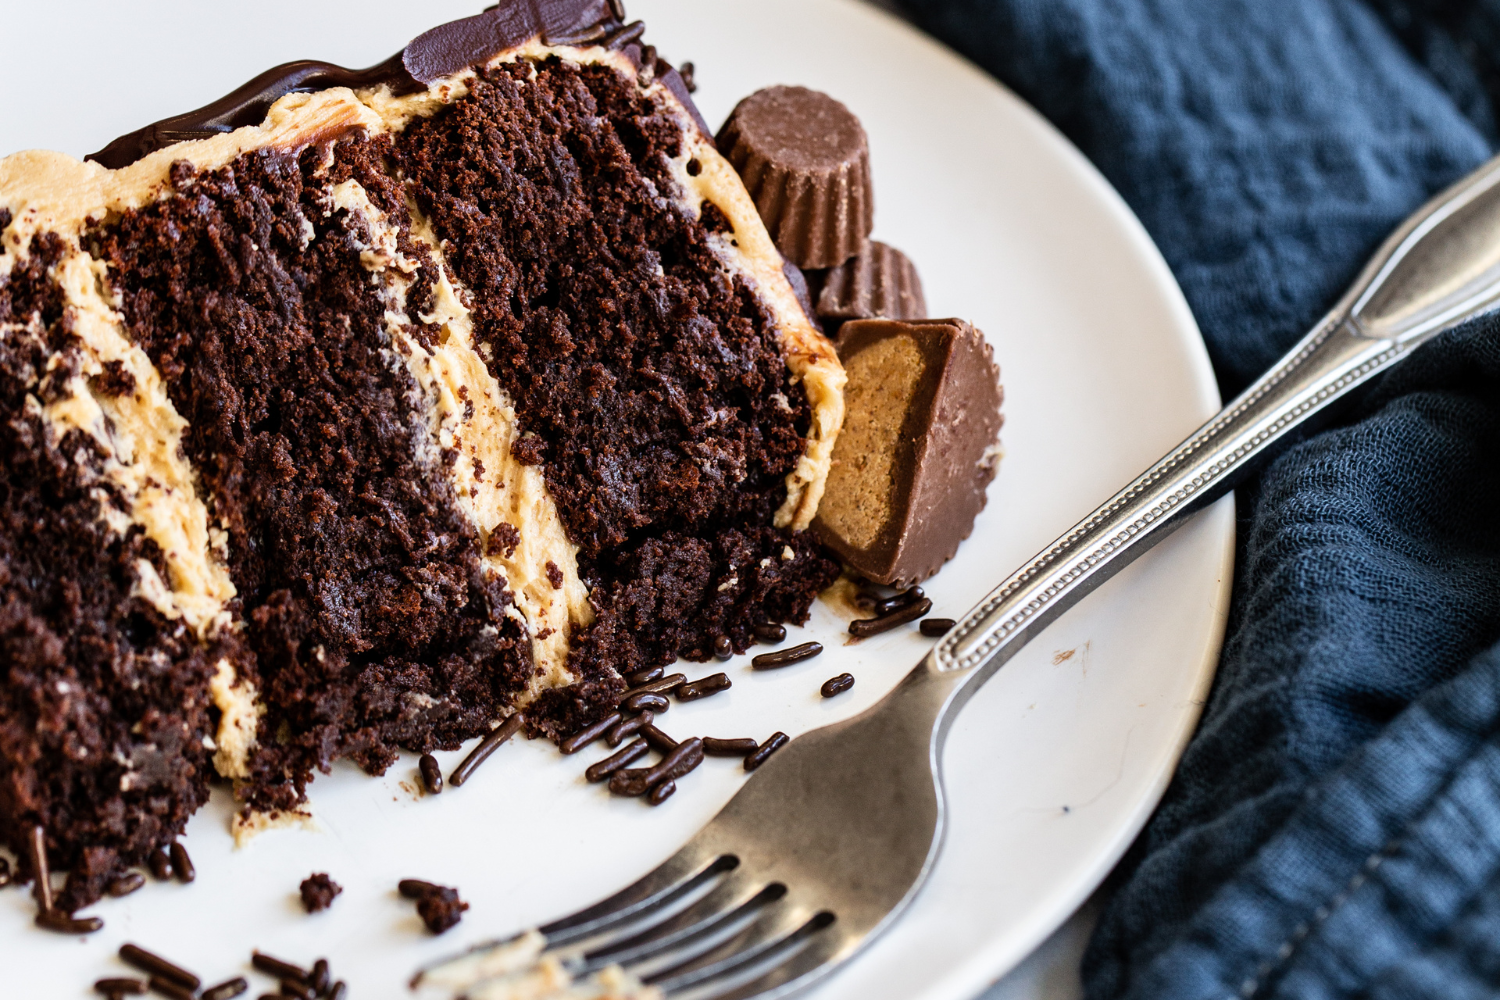
Place one cake layer on a cake stand or serving plate. Spread with about 1/2 cup of the frosting. Repeat with the remaining two cake layers, leaving the top layer flat side up.
-
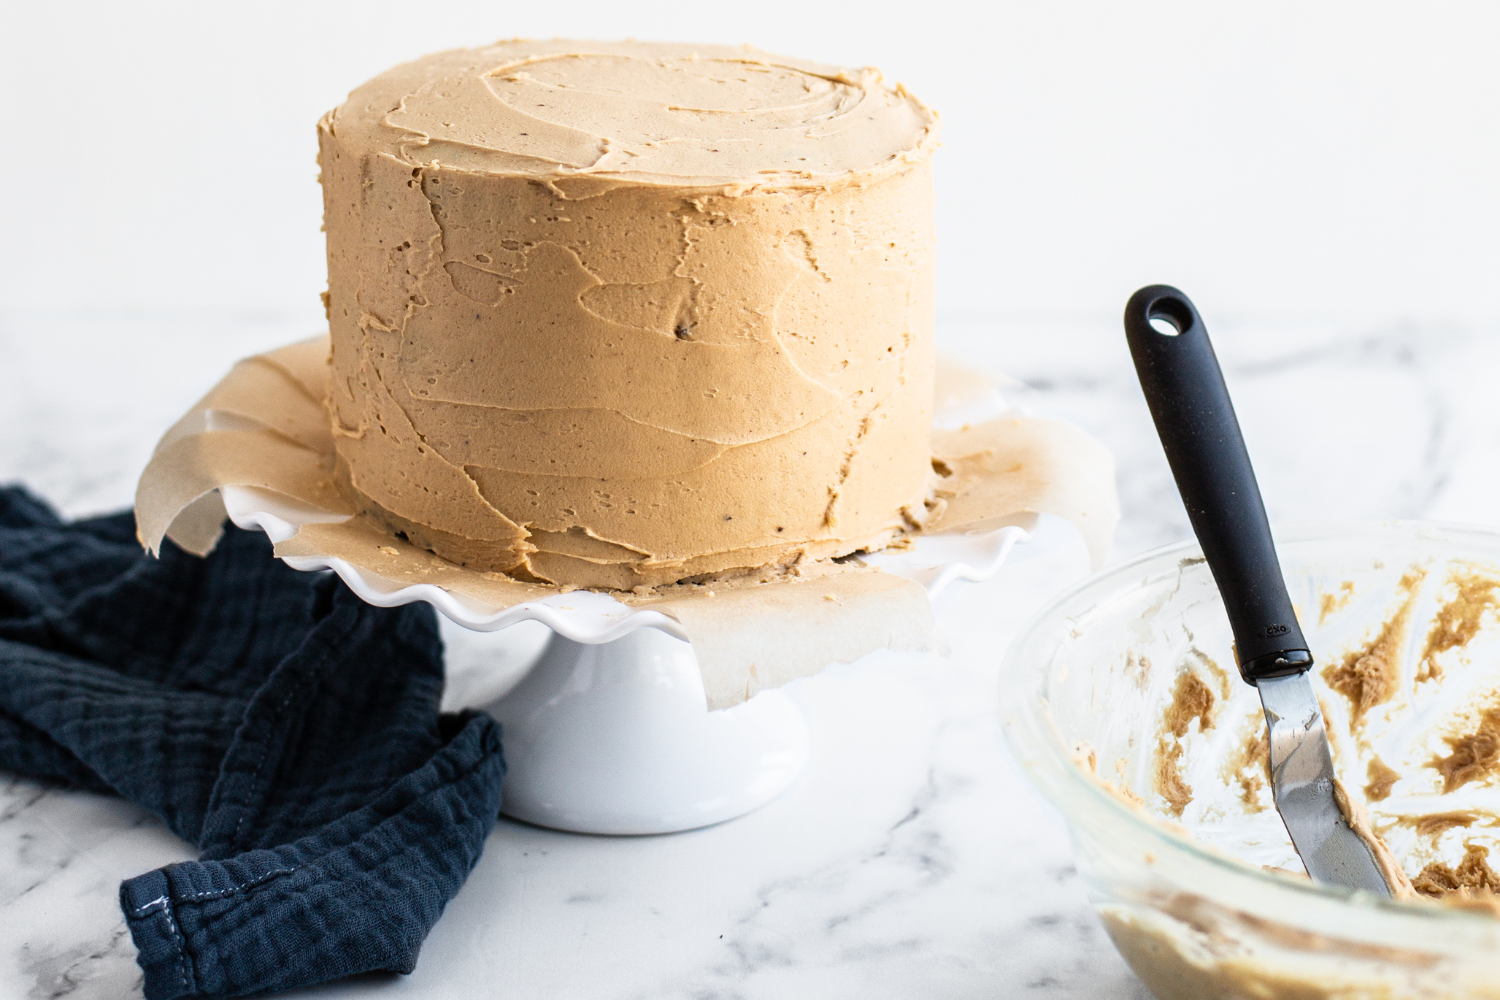
Apply a thin layer of crumb coat icing to the entire surface of the cake, scraping away any excess with an offset spatula or bench scraper to create a spackle-like coating. Refrigerate until solid, about 15 to 20 minutes.
-
Spread the remaining frosting in an even layer all over the cake. Refrigerate to solidify again while you make the chocolate drip.
Make chocolate drip:
-
Place the chopped chocolate in a heatproof bowl. Bring the heavy cream to a simmer, then immediately remove from heat and pour over the chocolate. You can also do this in the microwave. Cover for a few minutes then stir until smooth.
-
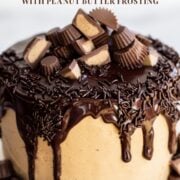
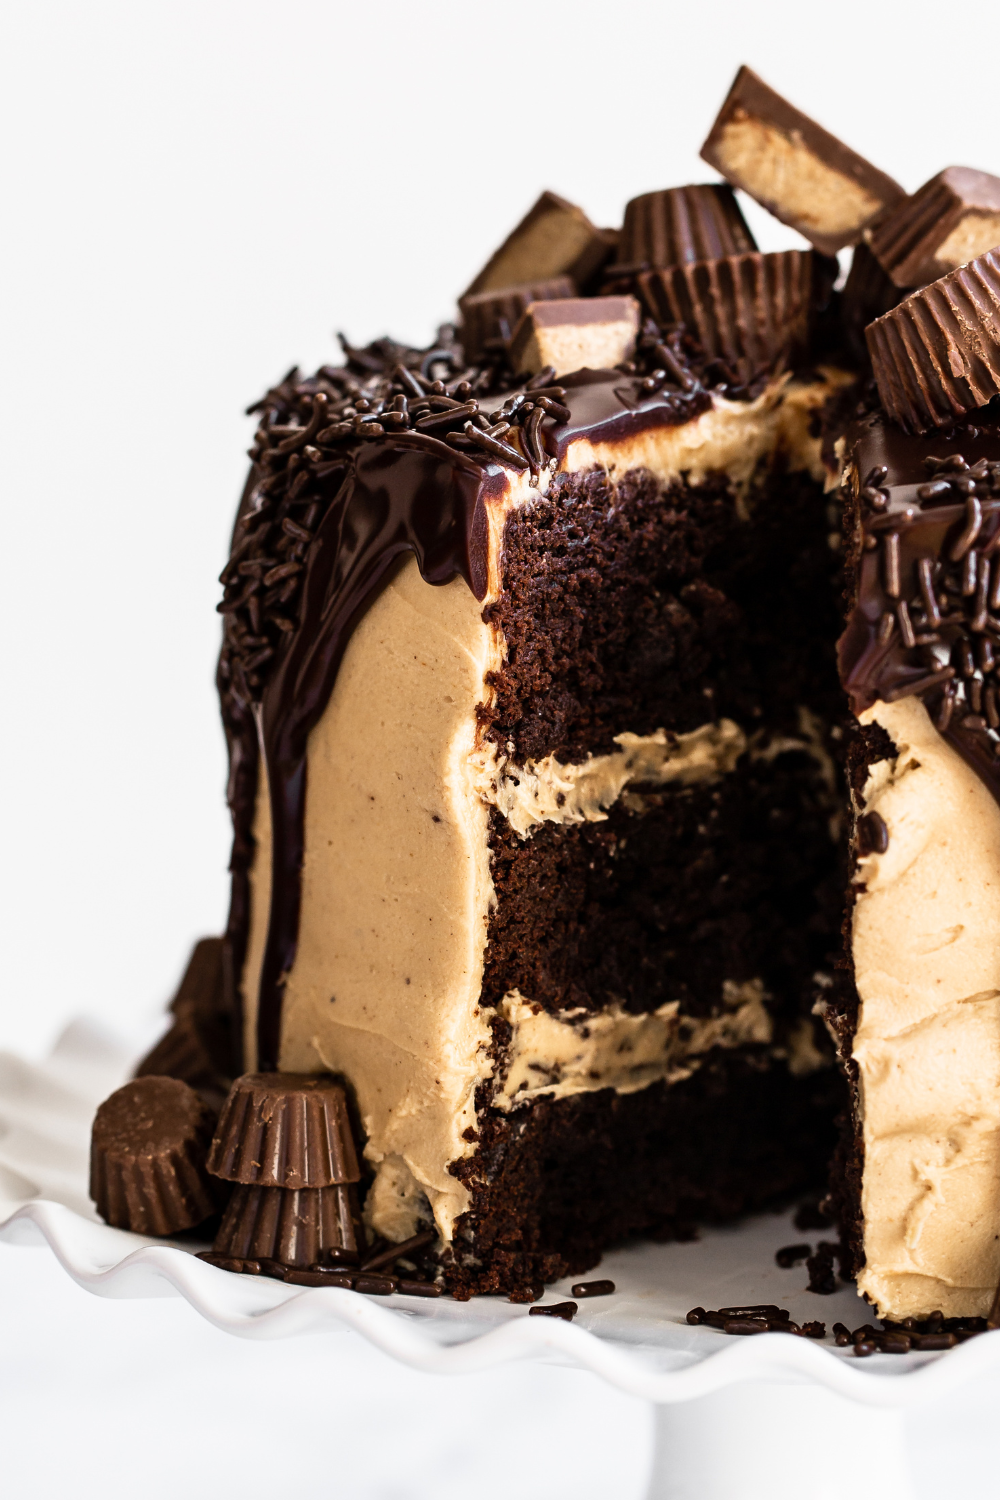
Allow to cool until ganache has thickened but is still pourable, about 10 minutes. Don’t place ganache in the fridge to cool. Test the consistency of the drip by pouring a little down the side of a glass. If it’s too thick, microwave for 5 to 10 seconds. If it’s too thin, allow to continue to cool. Spread the drip all over the top of the cake and allow it to drip down the sides.
-
Allow to set slightly before garnishing with the peanut butter cups, if desired.
-
The cake can be stored, covered, at room temperature for up to 1 day or in the fridge for up to 3 days.


Made it for a friend’s birthday. The peanut butter frosting is to die for. Turned out perfectly.
Have you ever just put in a 9×13? I’m short on time and this would help
Hi Michelle! We haven’t tried that, so I can’t say how that will go. Let us know if you give it a try! You could alternatively use this PB frosting recipe to frost a double batch of Tessa’s crazy-popular Chewy Brownie Recipe here 🙂
I’ve made this cake two times now & it is AMAZING. So rich & perfect. Freezes nicely too!
Hi!
I made the cake and only had 9inch pans.
the batter was SUPER thick and it hardly rose, if at all.
they came out pretty thin and dense looking.
This is my second attempt at this cake and I am worried it didn’t turn out again. 🙁
Hi Lisa! We haven’t tested this cake in larger pans like you used, so the layers will be very thin. You would therefore need to shave quite a bit of time off the baking time, to account for the larger pans making the cake layers thinner. These brownie cakes are just like they sound – brownies! They won’t rise a whole lot (but a little) and will be nicely dense like a perfect brownie – but it sounds like your cakes may be a little overbaked. I would also check to make sure your leavening agents are still active – learn how here! I hope something here helped 🙂 Happy baking!
We always celebrate my granddaughters’ birthdays with a family dinner, which they get to choose the menu for. The eldest granddaughter chose to have some kind of chocolate peanut butter cake for her 21st birthday, so of course I went to Handle the Heat for a recipe, and voila! Tessa’s Chocolate Peanut Butter Cake appeared and that was the end of the search. Not only is the taste and texture out of this world, but it turned out to be one of the prettiest cakes I’ve ever made! Thanks Tessa for another 5 star recipe!
When you line the cake pans, do you also line the sides or just the bottoms? Thanks! This looks like a winner!
Hi Robert! It’s totally personal preference. Tessa typically doesn’t line the sides, as the parchment paper rounds she loves have tabs, so you can more easily remove the cake from the pan. You can absolutely line the sides fully with parchment, though, if you prefer. Let us know what you think of this cake once you’ve given it a try 🙂
This is the first cake that I have ever made from scratch (referred to by a friend who made it and it looked amazing)! It took a little time, but was it so easy and so worth it – YES YES YES ON BOTH ACCOUNTS! The directions and ingredient list was also so easy to follow, down to the time to let things cool, chill, whisk, etc. (thank you for that – I’m a major rule follower so it was perfect)! I made this for my husband’s birthday (my mother-in-law was pushing me to make another kind of chocolate cake – and she was so happy that I pushed back lol) and he looooved it! So amazing and literally THE best!
I really like yr chocolate cake, can I use that recipe with this peanut frosting instead?
Hi Tricia! Yes, that would work well and be delicious too 🙂
I just made this amazing cake..hoping it tastes as good as it looks. I did forget to put it in the fridge while the ganache was cooling.. the ganache didn’t set as quickly but I don’t think that’s going to matter..