

This post may contain affiliate links. Read our disclosure policy.


One of my favorite summer treats and DIY projects has to be making ice cream from scratch!
I’ve owned my ice cream maker for nearly 10 years and have discovered all the best tips and tricks for making incredible homemade ice cream that beats any expensive shoppe.
Let’s dive in!
How to Use An Ice Cream Maker (and which to buy!)
Is it worth it to buy an ice cream maker?
If you love ice cream, making things from scratch, and have the space in your kitchen and freezer, then yes, an ice cream maker can be a worthwhile purchase.
Homemade ice cream is so much fun to make. Not to mention, way more tasty and unadulterated than a lot of store-bought ice cream with tons of gums, fillers, and preservatives.
If you make enough, it can also become cheaper than going out for ice cream at a high end shoppe where a sundae is $7.
Can an ice cream maker make gelato? Frozen yogurt?
Yes, absolutely!
If you don’t have the space, budget, or interest in buying an ice cream maker, check out my article on How to Make Ice Cream without an Ice Cream Machine here.
Which ice cream maker should I buy?
Freezer Bowl Ice Cream Machines vs. Compressor Ice Cream Machines:
Freezer bowl: Freezer bowl ice cream machines have a removable bowl that needs to be frozen completely solid before you can use the machine to make ice cream.
That means you must have room in your freezer to fit the bowl and you must plan accordingly. It can take 8 hours for the bowl to freeze solid. If it’s not frozen solid, your ice cream won’t thicken and churn. It’ll remain soupy.
While this is slightly inconvenient, this style of ice cream maker is much smaller and cheaper, around $60-100. This is what I would recommend to most households.
Compressor: If you make ice cream A LOT, you may be interested in investing in a compressor ice cream machine. Unlike above, this machine has the ability to automatically freeze itself so it’s a lot more convenient. This is what you’d find in a commercial kitchen.
That convenience comes at a price of hundreds of dollars per machine. Cuisinart and Breville make two of the top units for home use. I’ve only used the Breville and didn’t find it to be worth the price tag (and I usually adore Breville products).
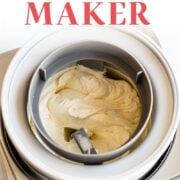
My Favorite Ice Cream Maker (it’s the cheapest!)
My absolute favorite Ice Cream Maker is the Cuisinart ICE-21 1.5 Quart machine.
I’ve had mine for almost 10 years and used it to test all the recipes for my first cookbook, Cookies & Cream: Hundreds of Ways to Make the Perfect Ice Cream Sandwich. I’ve used this machine literally hundreds of times and it’s worked without fail.
What I love about this machine is that it’s relatively compact, easy to use, and affordable for many. The bowl rotates instead of the paddles, it churns quickly (about 15 to 20 minutes), and produces ultra smooth and creamy ice cream.
In fact, I have THREE freezer bowls for this machine so I can make multiple batches in a day! I can’t recommend it enough. It also makes a great gift!
Since I’ve owned the ICE-21, a newer Cuisinart model with 2-quart capacity has been on the market: the Cuisinart ICE-30BC.
It’s a more attractive machine and also more expensive. The freezer bowl is quite a bit larger and I simply don’t have the room for it in my vertical freezer. If I had a larger freezer, this one would make better sense. My photographer Ashley actually has the ICE-30 (shown in the pictures in this post) and enjoys it!
WARNING: Ice cream makers are loud! If you have an open kitchen, you may want to find another place to churn your ice cream to prevent noise pollution throughout your house.
Cuisinart vs. KitchenAid Ice Cream Maker:
The other ice cream maker I’ve had the most personal experience with is the KitchenAid Ice Cream Maker Attachment. I did not enjoy it nearly as much as I do the Cuisinart, which is a shame. I already have a stand mixer, and it would’ve been easier than owning another kitchen appliance. It doesn’t look like it’s actually sold anymore, which further underscores my recommendation to go with the Cusinart!
Where do I buy an ice cream maker?
Here’s the link to buy the Cuisinart ICE-21 Ice Cream Maker on Amazon. You can also purchase it in-store at the following retailers:
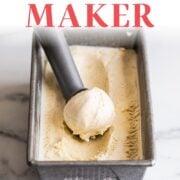
How to Use an Ice Cream Maker: Step by Step Instructions
Below you’ll find instructions for how to use a freezer bowl ice cream maker like the Cuisinart ICE-21. My photographer, Ashley, has the Cuisinart ICE-30BC machine which is the one pictured in the photos below.
- Freeze your freezer bowl.
This is the MOST IMPORTANT step. Your bowl must be 100% frozen solid. Give it a shake and if you hear any slushing of the liquid inside the walls of the bowl, it’s not ready to use yet. If your bowl isn’t totally frozen, your ice cream won’t thicken and churn but remain soupy instead.
TIP: Make sure your freezer bowl is completely dry before placing it in the freezer. Water droplets will turn into ice and end up in your ice cream!
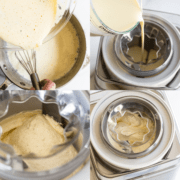
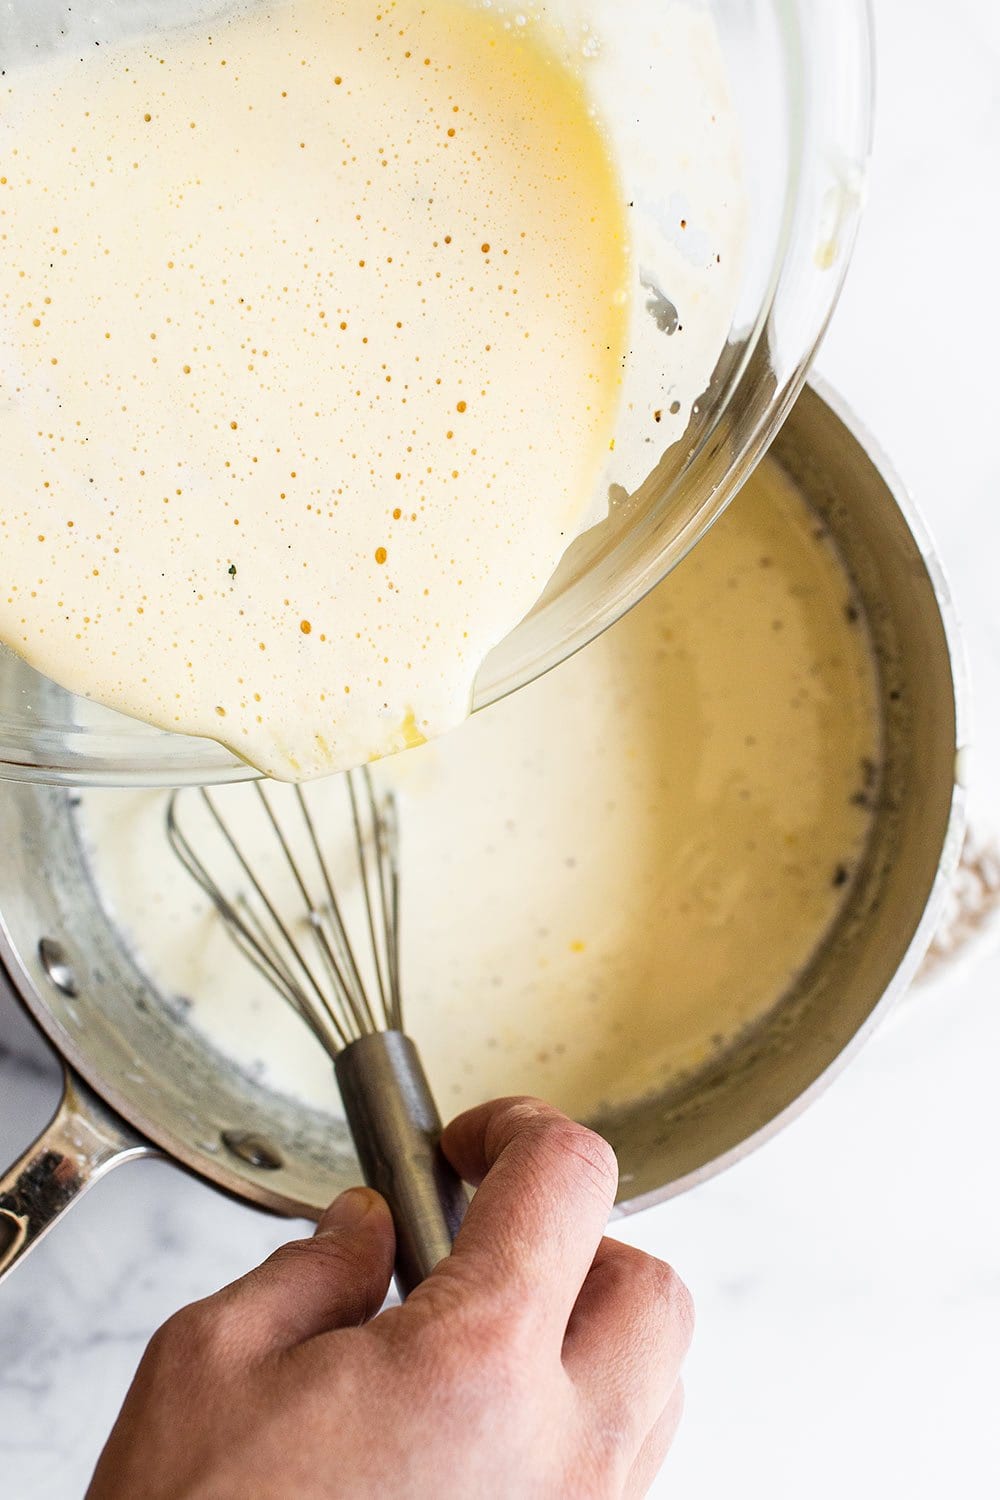
- Prepare your ice cream base.
If you’re following a recipe for Philadelphia-style ice cream (sometimes called American-style ice cream) then you can generally combine your cold milk, cream, sugar, and flavoring ingredients (no mix-ins), in a mixing bowl then add it straight to the machine. As long as the mixture is cold, you can churn it straight away.
If you’re following a custard-based ice cream recipe (sometimes called French-style) then you must refrigerate your mixture until it’s well chilled before churning. If you don’t, you’ll end up with soup (seeing a theme here?).
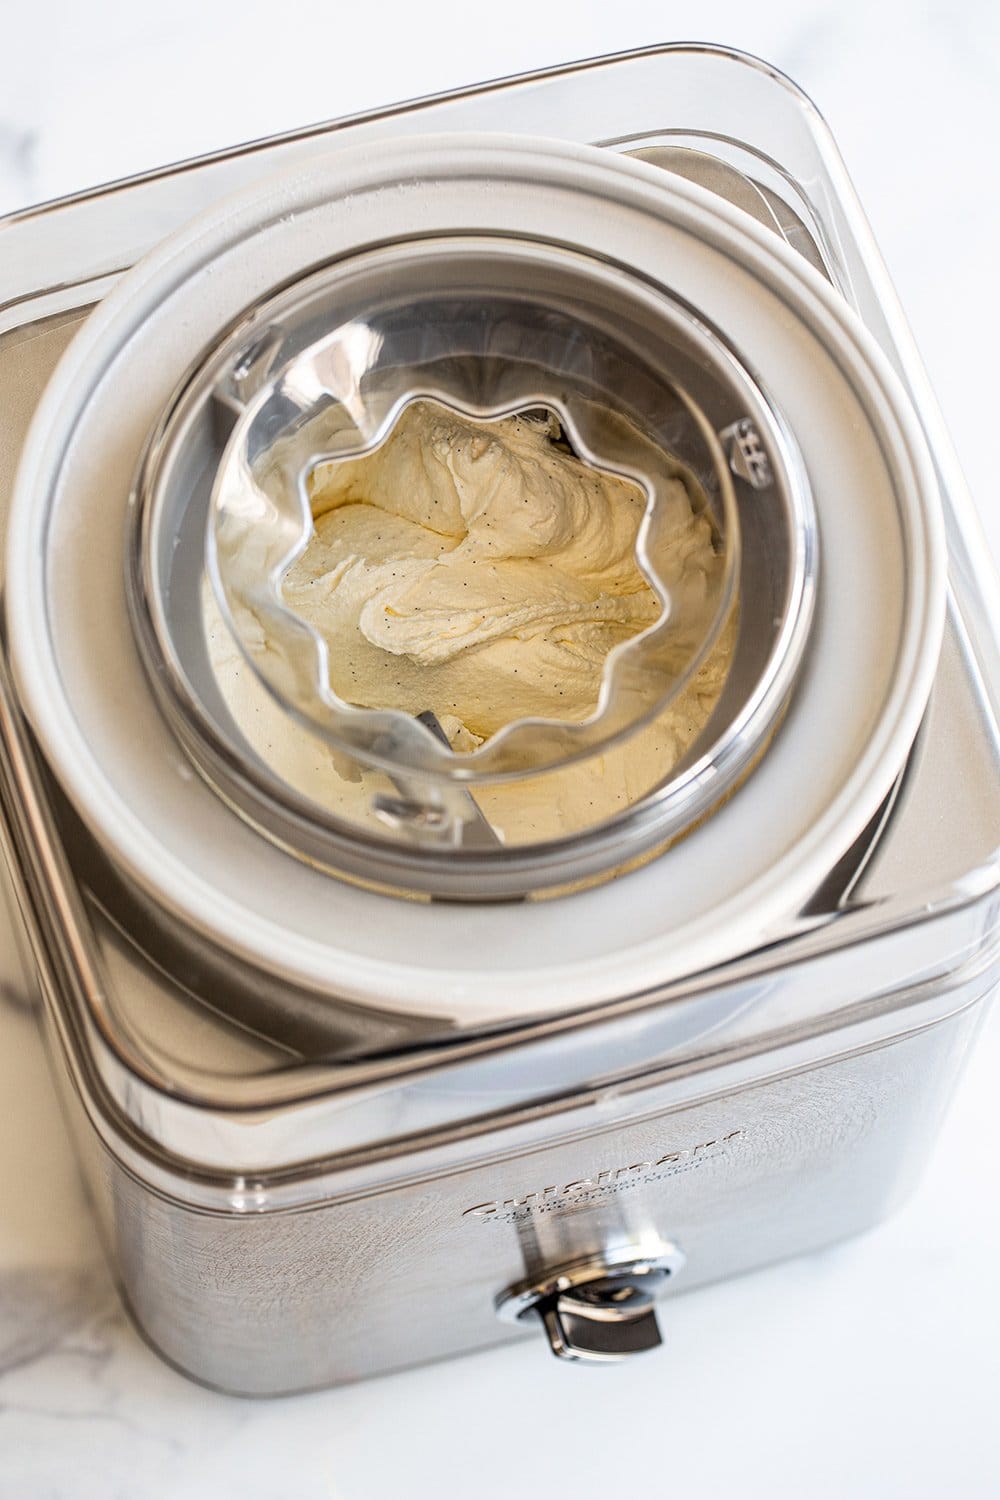
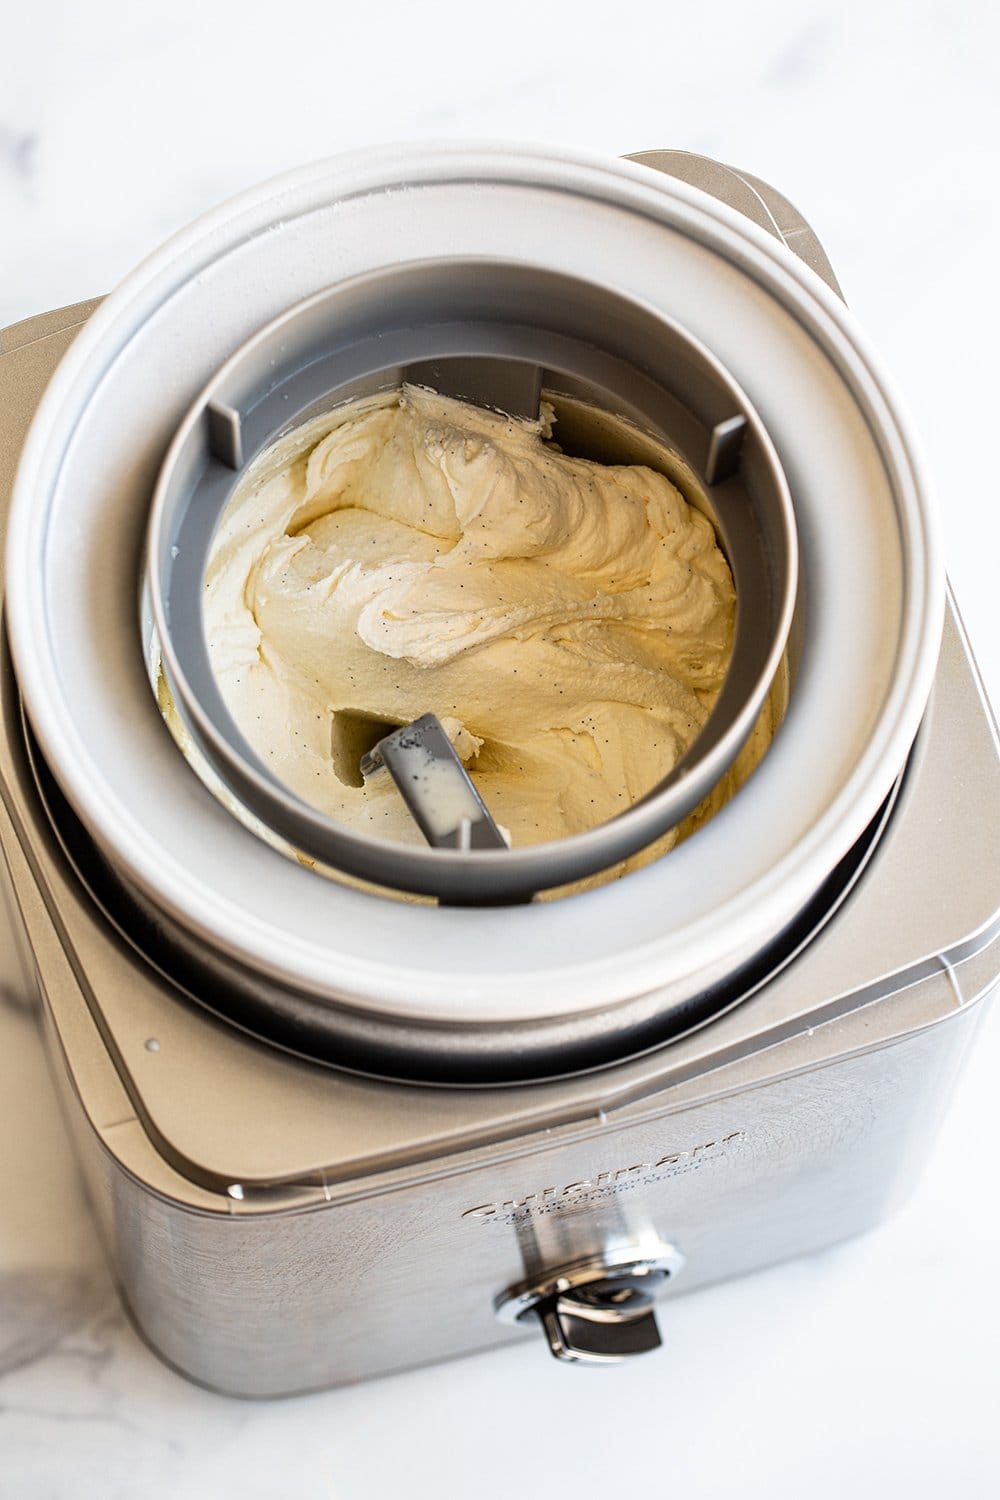
- Churn your ice cream.
Remove the freezer bowl from the freezer when ready to churn. Don’t let it sit at room temperature for any period of time otherwise it’ll begin to defrost.
Place the mixing paddle in the freezer bowl with the circle side facing up. Place the plastic lid on the base and rotate until it fits into place.
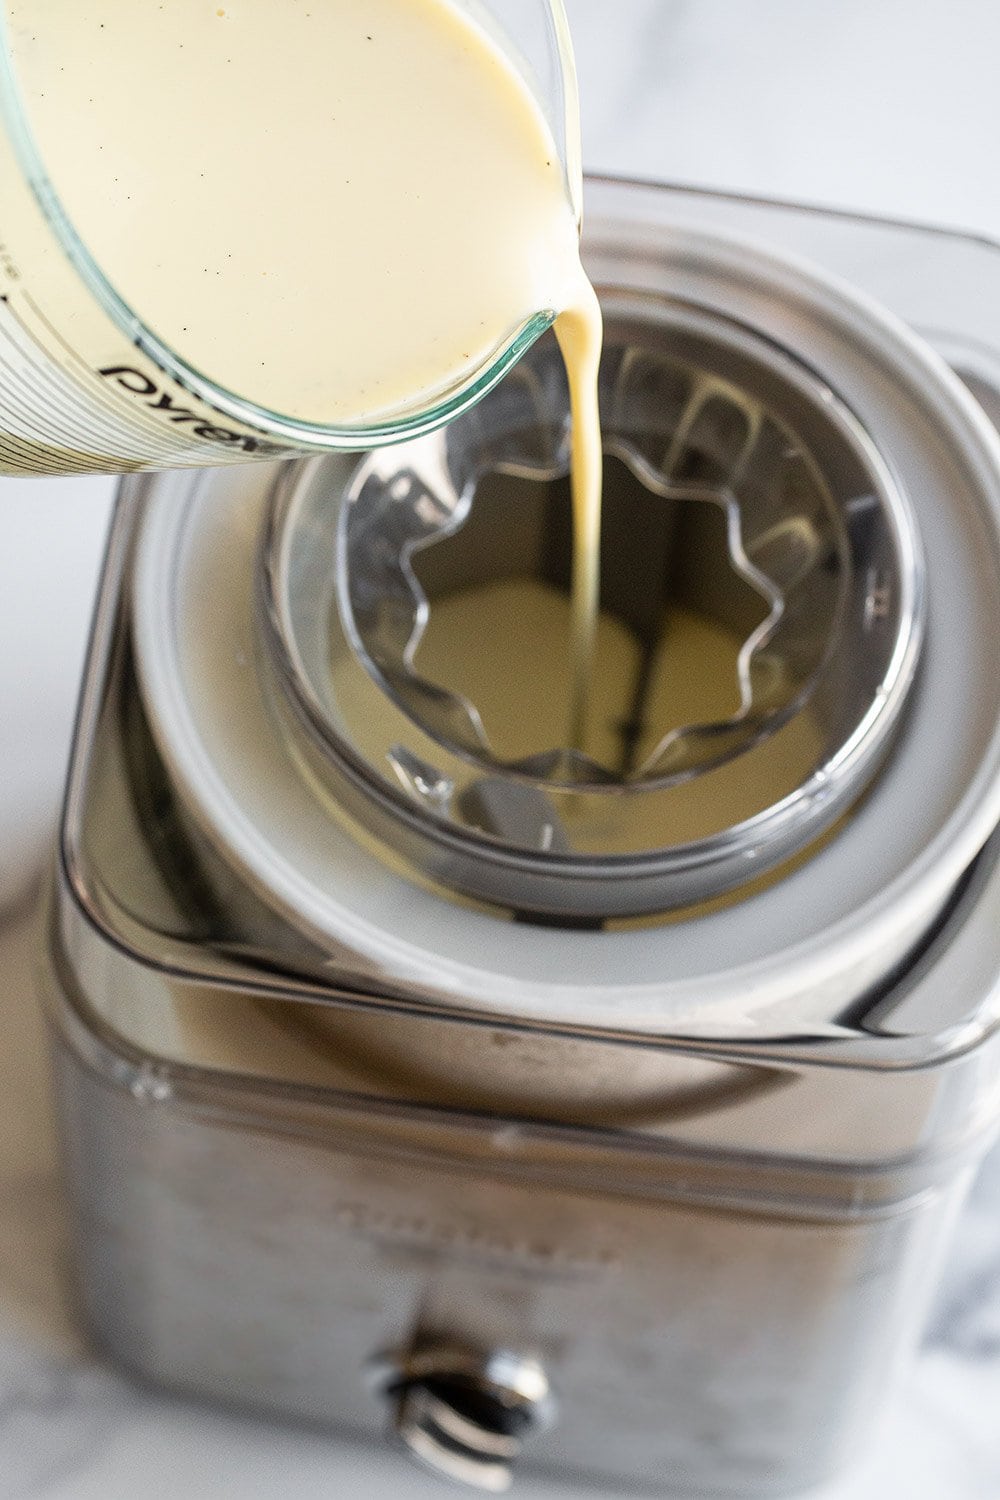
Turn the machine ON to begin turning the bowl. Immediately pour your ice cream base in through the spout. You want to have the machine running when you pour your ingredients in so you don’t end up with any icy pieces.
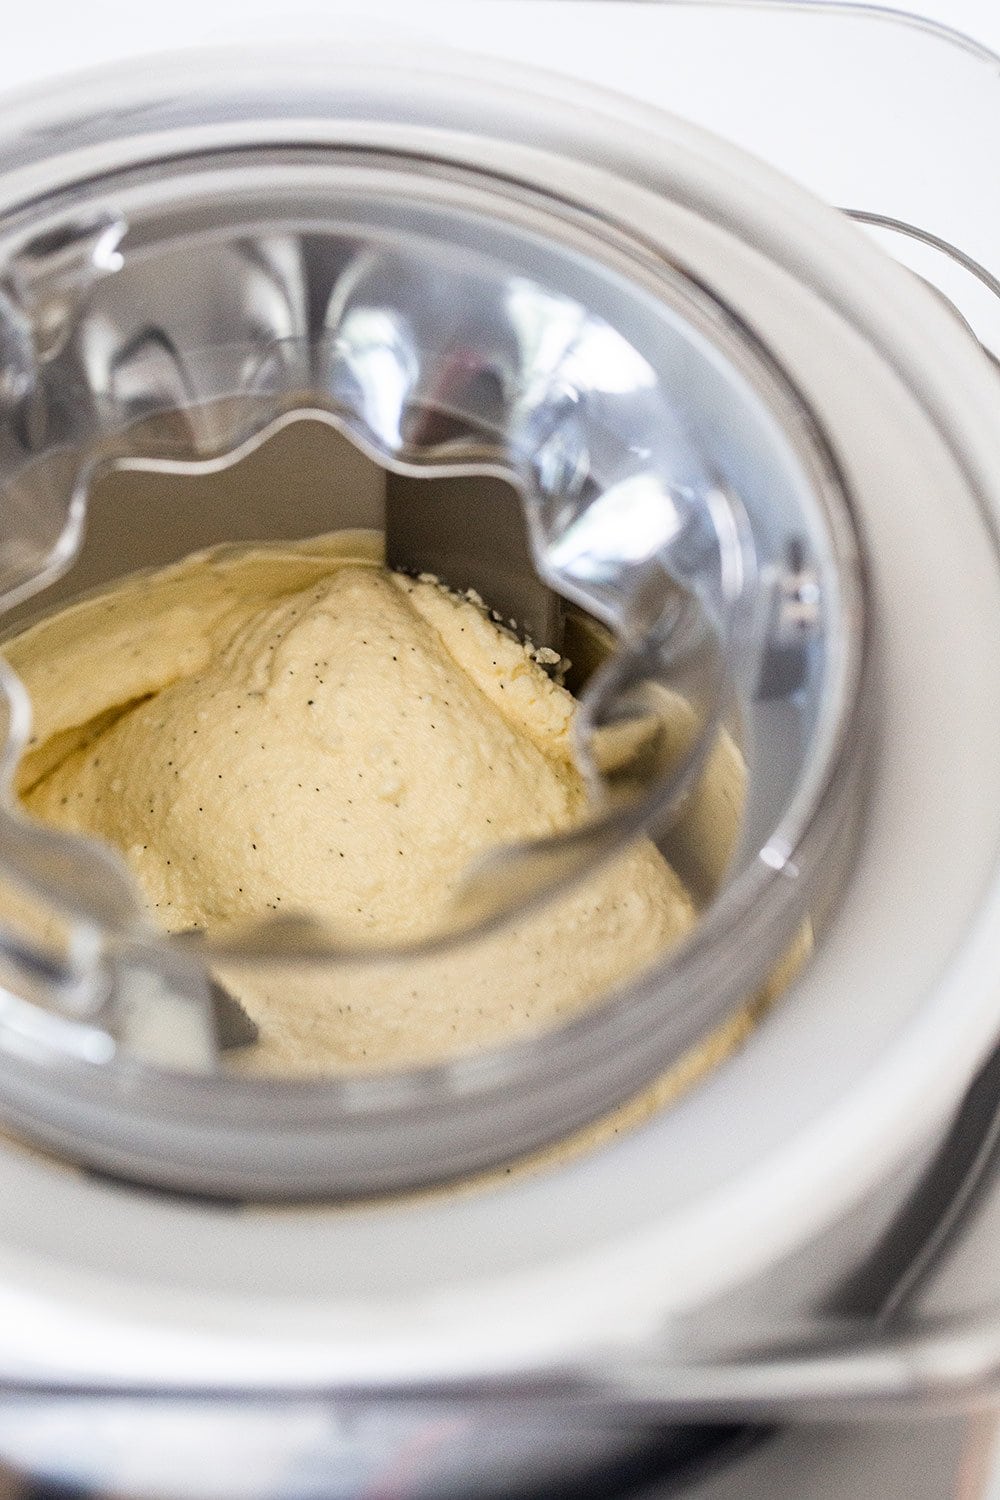
Churn for about 15 to 20 minutes, or until the mixture has thickened and increased in volume to your desired consistency.
If you have any mix-ins such as chocolate chips, nuts, or even alcohol you plan to add, do so in the last several minutes of churning. Gradually pour them in through the opening of the plastic lid. Don’t add alcohol before the last few minutes otherwise the ice cream won’t churn properly. Avoid adding mix-ins larger than the size of a chocolate chip.
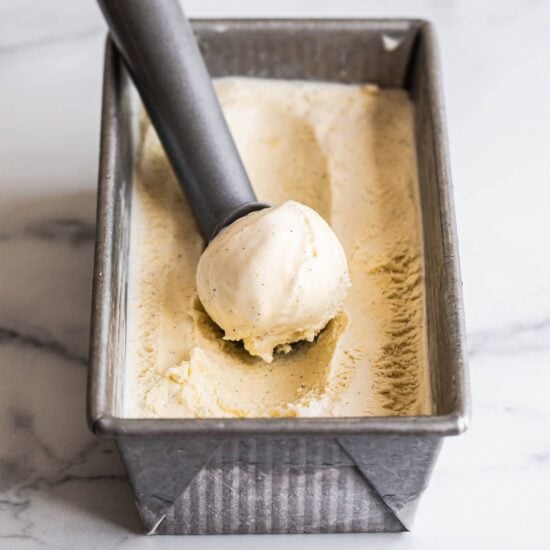
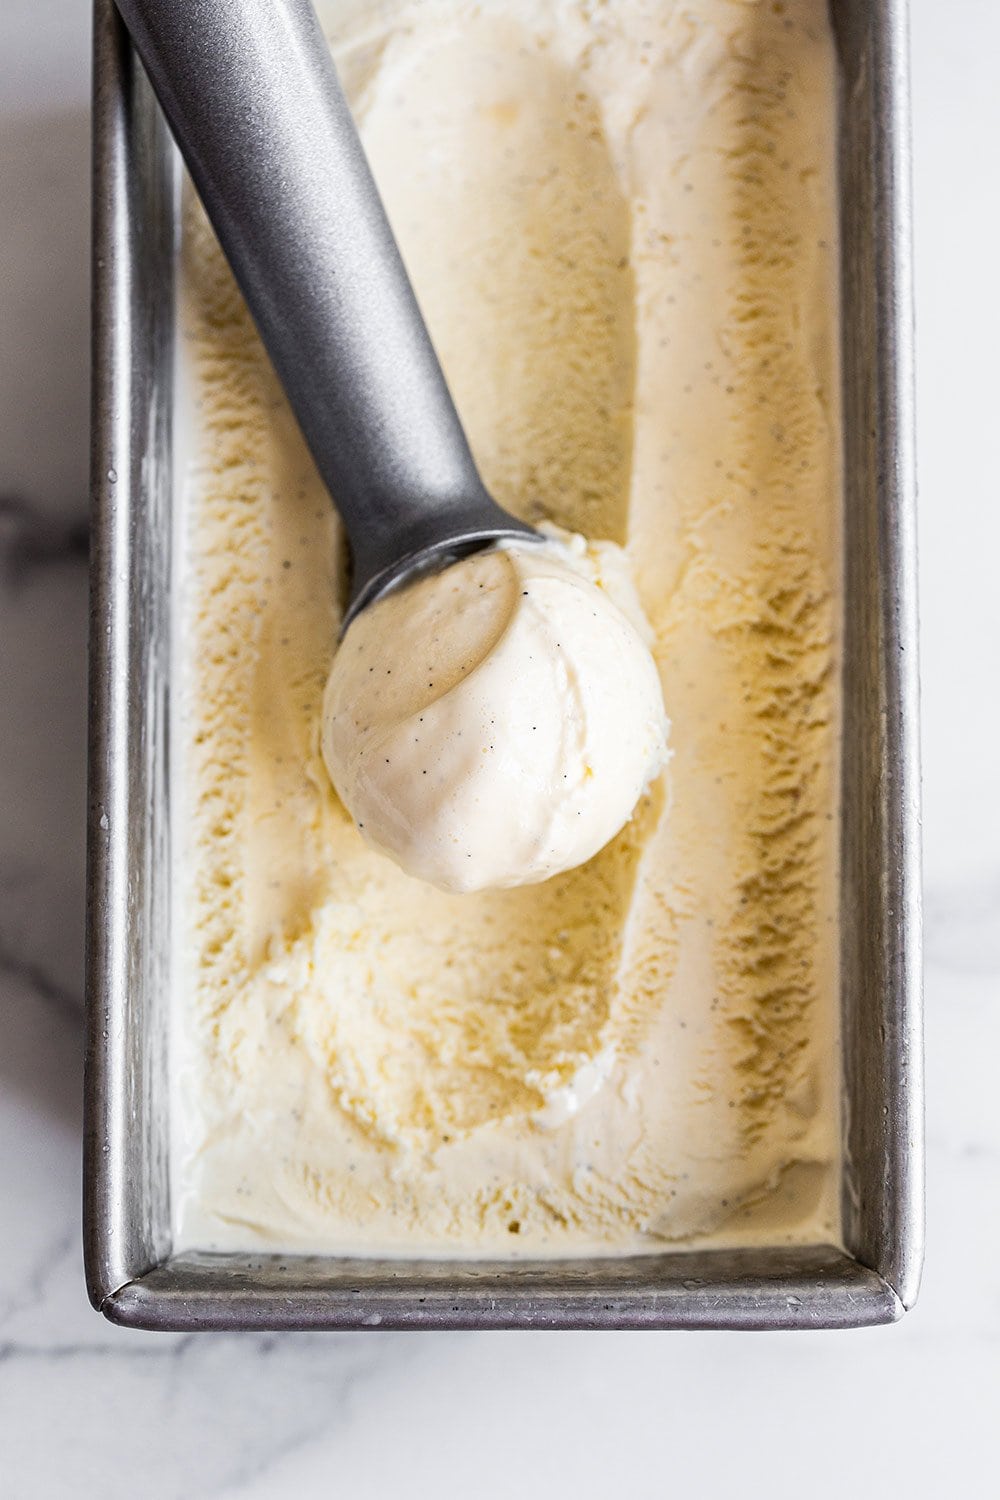
- Serve or store.
For more of a soft-serve ice cream consistency, serve immediately.
For a firmer consistency, transfer to an airtight container and store in the freezer for at least 2 hours. If storing longer, cover the ice cream surface with plastic wrap before placing the lid on to prevent ice crystals from forming.
The longer the ice cream is stored, the more the flavors will intensify.
If the ice cream has been in the freezer for more than a couple days, it’ll need to soften before scooping and serving. Allow it to sit in the fridge for 30 minutes before scooping for best results.
TIP: Don’t store your ice cream in the ice cream maker freezer bowl! The ice cream will stick to the sides of the bowl.
My Favorite Ice Cream Storage Containers:
- Pint Sized Ice Cream Containers with Lids – These are so cute and fun, especially if you plan to experiment with different flavors or want to gift homemade ice cream. Click here to download our free Ice Cream Label template to use!
- Tovolo Reusable Ice Cream Tub – This has a tight-fitting silicone lid to prevent freezer burn.
- Tovolo Insulated Storage Tub – Unlike the typical upright containers, this one is long so you can get beautiful scoops with ease.
Ice Cream Recipes You’ll LOVE:
- French Vanilla Ice Cream (even vanilla ice cream haters love this recipe!)
- Death by Chocolate Ice Cream (ridiculously chocolaty)
- Strawberry Cheesecake Ice Cream (absolutely bursting with flavor)
- Chocolate Chip Cookie Dough Ice Cream (with WAY more cookie dough than the store-bought stuff!)
Photos by Ashley McLaughlin.

Author: Tessa Arias
I share trusted baking recipes your friends will LOVE alongside insights into the science of sweets. I'm a professionally trained chef, cookbook author, and cookie queen. I love to write about all things sweet, carb-y, and homemade. I live in Phoenix, Arizona (hence the blog name!)
About Tessa...
I share trusted baking recipes your friends will LOVE alongside insights into the science of sweets. I'm a professionally trained chef, cookbook author, and cookie queen. I love to write about all things sweet, carb-y, and homemade. I live in Phoenix, Arizona (hence the blog name!)
Leave a Comment & Rating
Add a Review or Question
© Handle the Heat - handletheheat.com

As a trained chef and cookbook author, I share trusted baking recipes your friends & family will love alongside insights into the science of sweets. I help take the luck out of baking so you *always* have delicious results! Learn more here.

-
6 Crowd-Pleasing Thanksgiving Recipes


Order your Ultimate Cookie Handbook Hardcopy!

Join the Handle the Heat Community

Instead of digging through cookbooks and magazines and searching the internet for amazing recipes, subscribe to Handle the Heat to receive new recipe posts delivered straight to your email inbox. You’ll get all the latest recipes, videos, kitchen tips and tricks AND my *free* Cookie Customization Guide (because I am the Cookie Queen)!
Hi! I have been wanting an Ice Cream maker for a while now, especially after purchasing your Ice Cream Sandwich cookbook! I was just curious if you have an opinion about the Ninja Creami machine. I can’t wait to try your Ice Cream recipes!
Hi Elizabeth! Tessa has not had any experience with the Ninja Cremi, so she can’t say for sure how that one works. She’s still a huge fan of her Cuisinart Ice Cream Maker. It’s comparatively inexpensive, and has served her well for many years now, including throughout writing an ice cream cookbook! I hope that helps! 🙂
Have you tried using the ice cream maker attachment for a kitchen aid mixer?
Hi Margeaux! Yes, Tessa talks about this in the article! Check it out for all the info – second to last paragraph in the pink tip box 🙂
Hi Tessa, I have the same Cuisineart ICE-21 machine and the recommendation is to put the freezer bowl into a plastic bag when storing in the freezer to prevent freezer burn. Is it ok to use a Tupperware container with a lid instead – it’s just a bit more convenient. Thanks in advance
Hi Chris! We haven’t tried that, but if you have a lid that fits the top of the ice cream maker’s bowl snugly, then that should work just fine! The idea is just to keep out unwanted smells that linger in your freezer, so the smells/flavors don’t transfer to your ice cream! A plastic bag keeps the bowl airtight and therefore prevents any smells/flavors from making their way into the bowl and later your ice cream; but again, as long as the lid fits the top of the bowl tightly, you should be all set 🙂
A+
Thank you for sharing! I have the same ice cream maker and it works well but I’m never sure when its sufficiently churned but not over churned. Any tips on how to prevent over churning?
You want to churn until the ice cream is about the consistency of soft serve and it’s thickened and increased in volume to your desired consistency. Depending on the ingredients, it’s normally about 15-20 minutes. The best advice I can give is just to keep an eye on your ice cream! 🙂
Have you ever used the compressor models and are there any down sides to using them?
I talk about compressor models in the article 🙂